
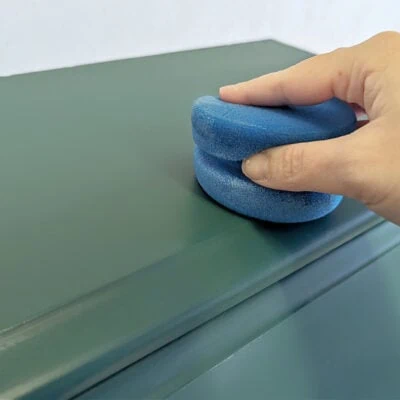
How to Seal Painted Furniture and Protect your Paint Finish
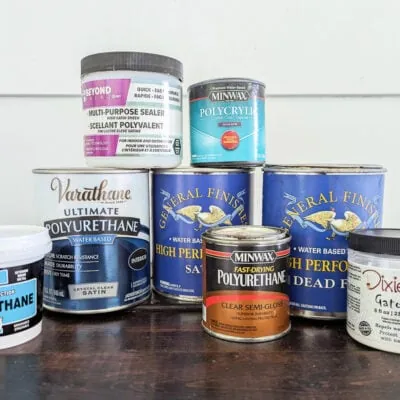
The 5 Best Top Coats for Painted Furniture
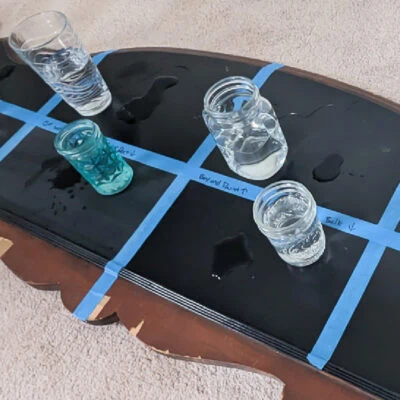
The Best and Worst Top Coats for Black Painted Furniture
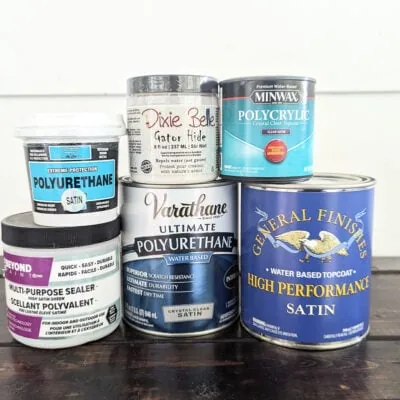
The Best Top Coats that Won’t Yellow White Painted Furniture

23 Clever DIY Desk Ideas To Upgrade Your Workspace
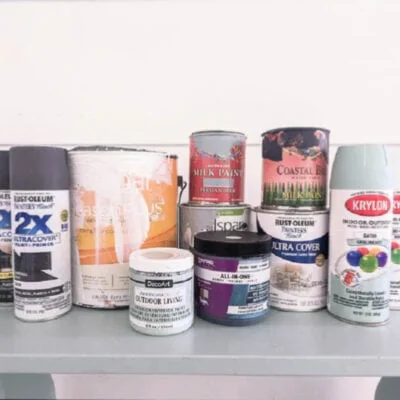
The Best Outdoor Furniture Paint for a Paint Finish that Lasts

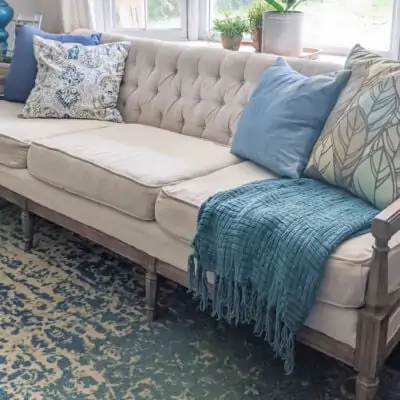
21 genius ways to transform your old sofa
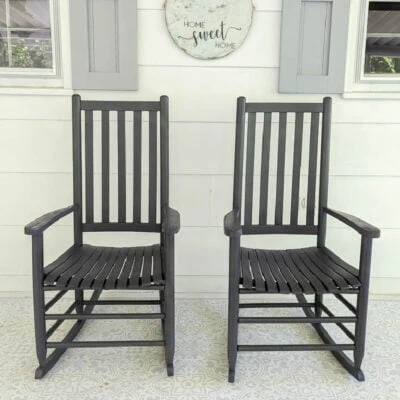
How to Paint a Rocking Chair the Easy Way

Dresser Vanity Makeover: A Huge Transformation with Paint and Hardware
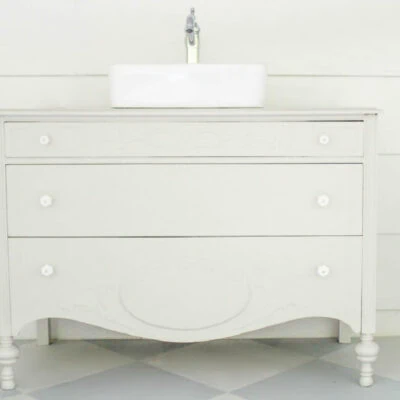
How my Antique Dresser Bathroom Vanity is Holding Up 7 Years Later
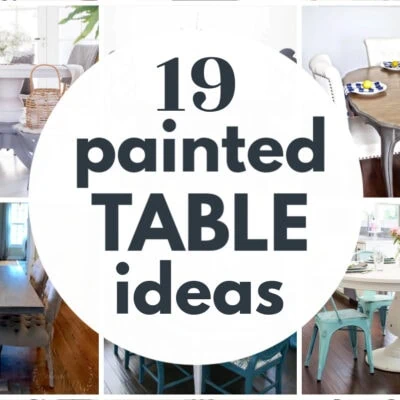
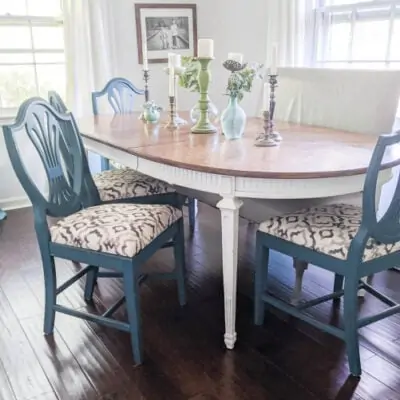
19 Beautiful DIY Painted Table Ideas You Can Easily Recreate

How to turn a dresser into a bathroom vanity: What you really need to know
Drop Cloth Upholstery Four Years Later: How it really holds up
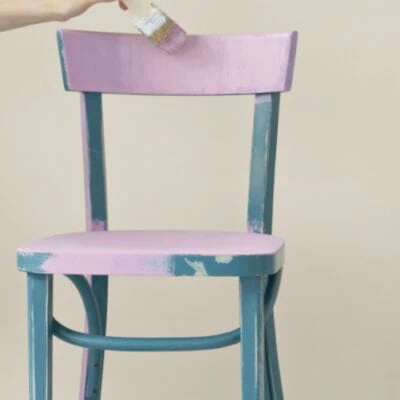
How to Repaint Painted Furniture without Stripping the Old Finish First

How to turn a Basic Dresser into an Easy DIY Apothecary Cabinet
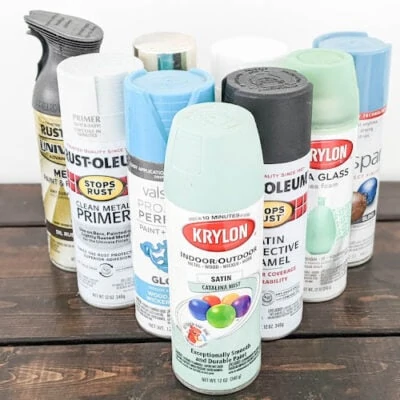
How to Spray Paint Furniture with a Flawless Finish
How to Reupholster Dining Chairs and Get Perfectly Smooth Corners
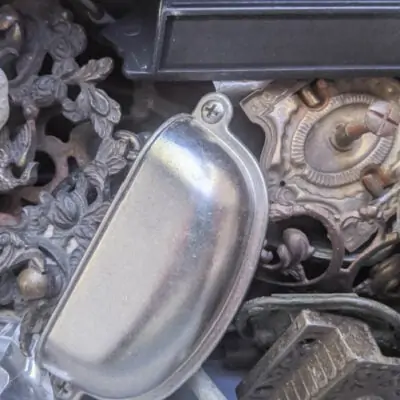
Updating Furniture Hardware: 25 DIY Drawer Pull Ideas + The Best Places to Buy Hardware
51 Painted Dresser Ideas for Dressers of all Shapes and Styles
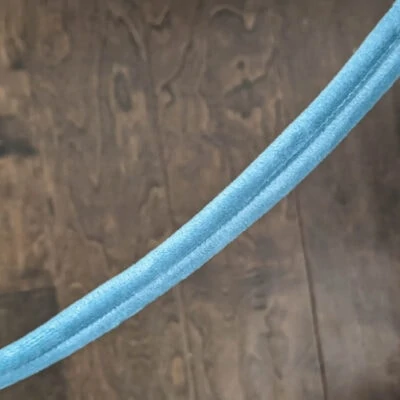
How to Make Easy Double Welt Cord for Reupholstering Furniture
- 1
- 2
- 3
- 4
- Next Page »