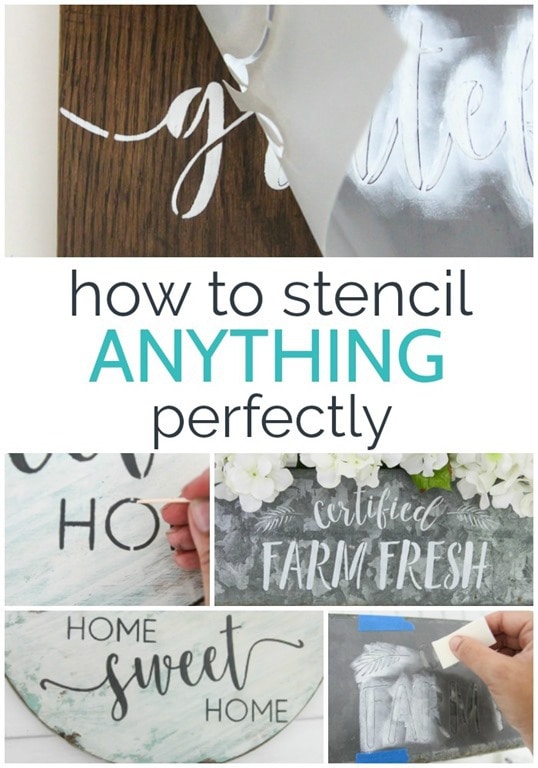
Learn how to stencil anything including metal and wood to create unique home decor. I’m sharing the 3 secrets you need to know to get perfect stencil lines every time.
I have always loved stencils. I mean that’s probably obvious just based on the fact I stenciled an entire floor a few years ago!
Stencils are such a fun way to add a graphic punch to a wall, bring an old floor to life, or create a beautiful wooden sign even if your handwriting is terrible. There is something almost magical about lifting up a stencil to reveal a perfect design underneath.
When I first started using stencils I definitely did not have such awesome results. It seemed like every time I lifted up the stencil, instead of seeing my perfect design, I saw lots of bleeding and extra smudges.
This really became a problem a few years ago when I was making wood signs to sell. I made custom stencils to add the wording but almost every time, I ended up with a ton of little imperfections.
I ended up spending way too much time using tiny paintbrushes to touch up all of my mistakes. So frustrating!
I got to work figuring out how to stencil perfectly so I could stop wasting all of my time fixing problems. I discovered a few secrets that finally made it possible to get those perfectly crisp stencil lines I was after.
These stencil hacks make the process so much simpler and the results are seriously perfection!
This post was sponsored by I Like That Lamp. This project and all opinions are my own. This post also contains affiliate links. If you make a purchase using those links, I may receive a small percentage at no additional cost to you. See my full disclosure here.
A few weeks ago, I Like That Lamp sent me an assortment of their new stencil designs and I was super excited to play around with them.
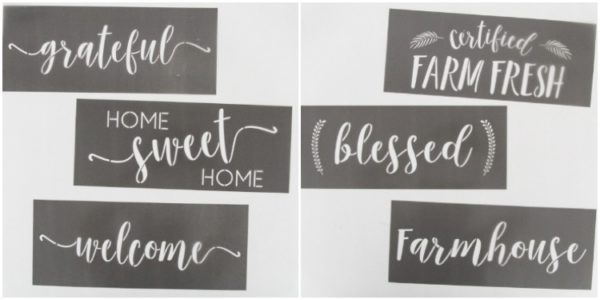
Certified Farm Fresh, Blessed, and Farmhouse Stencils
I seriously spent way too long deciding what to stencil and which stencils to use. And then I got started and I just kept finding more things to stencil!
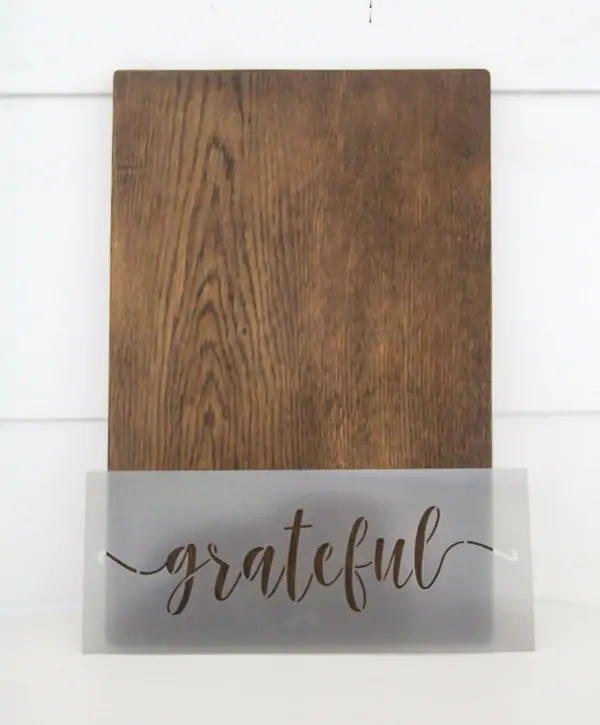
In the end I went a little stencil crazy and made three new projects using three of the stencils.
But first, here are my stencil hacks for that perfect stencil finish every time. And I also have a step-by-step tutorial for stenciling on wood, if that’s what you are looking for.
How to stencil anything perfectly
The first step of pretty much any project that involves paint is making sure the surface is clean and smooth. One of my projects involved stenciling an old galvanized planter so I made sure to give it a good scrub before trying to stencil anything. No matter what, paint won’t stick to oil, dirt, or dust.
Stencil Secret 1: The Adhesive
Now you’re ready to get your stencil in place. I used to use painter’s tape to hold my stencils in place but that really isn’t the greatest. It works okay for keeping thing from moving around, but it doesn’t do anything to prevent the paint from bleeding.
Now I use repositionable spray adhesive instead and it is amazing.
You spray a light layer onto the back of your stencil and then set it in place. (If you want your wording centered, be sure to center the stencil. Also check that your words are straight.)
This works so well. The adhesive is strong enough to hold the stencil in place while you work, but it is super easy to remove when you are done.
Even better, the entire stencil is firmly adhered to the surface so stray paint can’t creep under the plastic around your letters.
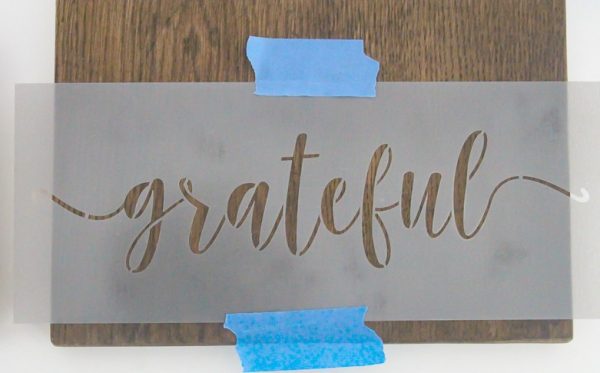
After you remove your stencil, there may be a very light residue left on the surface from the adhesive. This is easily wiped away with a baby wipe or damp paper towel. (In the picture above, I used painter’s tape in addition to the adhesive spray, but then I figured out it really isn’t needed.)
If you are stenciling something large like a wall or a floor, you typically won’t need to use spray adhesive, but it works really well for smaller, more detailed projects like stenciled signs.
Stencil Secret 2: The Paintbrush
The second secret is all about the brush. There are special stencil brushes out there and they work okay but I’ve never had great luck with them.
Sponge brushes were slightly better, but I found something that works even better.
This might sound strange, but makeup sponges are the perfect tool for stenciling. I’m talking about the wedge shaped cosmetic sponges that are super cheap. The sponge has a nice smooth texture that gives a great finish.
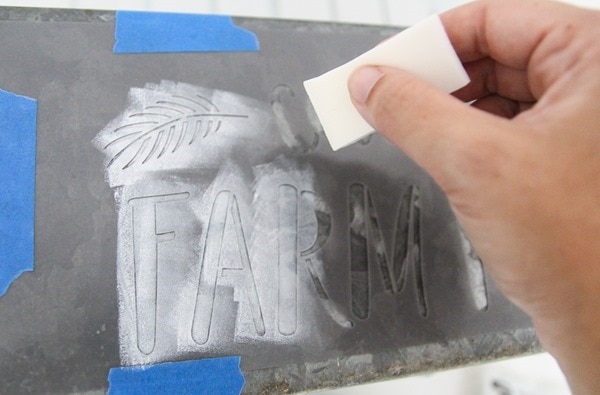
Just pour a little of your paint onto a paper plate or a plastic painter’s palette if you have one. Lightly dab the sponge into the paint.
The key is to get very little paint on the sponge. Extra paint will just squish under the stencil and make a mess.
You can gently dab off any excess paint on your paper plate or a paper towel before stenciling.
When you start painting your stencil, gently dab the paint straight down onto the surface.
DO NOT rub it back and forth as if you were using a paintbrush. This will definitely cause paint to squeeze under the stencil and make a mess. Just gently up and down.
You can use craft paints, leftover latex paint, chalk paint, pretty much anything will work.
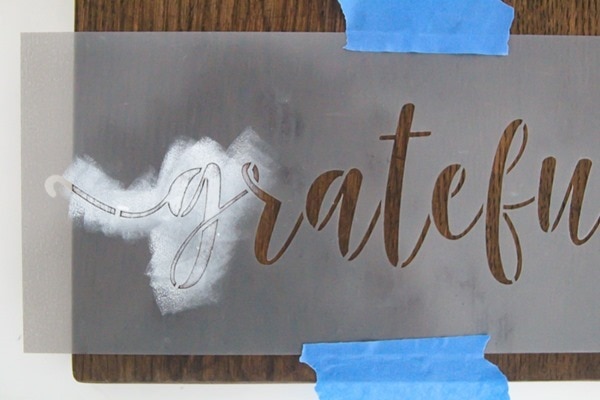
Because you are only adding a very thin layer of paint at a time, there’s a good chance you are going to want to do a few coats to get good coverage, especially if you are painting with white paint over wood.
Luckily because the paint is super thin, it dries pretty quickly.
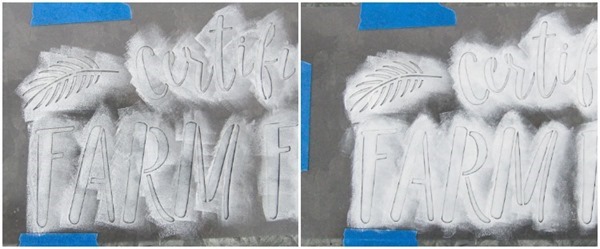
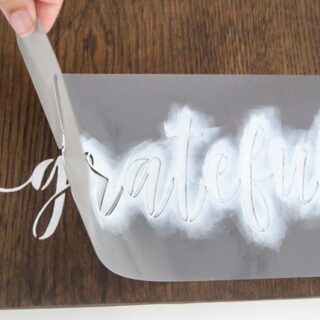
Once you are done stenciling, it’s the moment of truth. I’ve got to be honest, after so many fails in the past, I still get nervous when it is time to peel the stencil off.
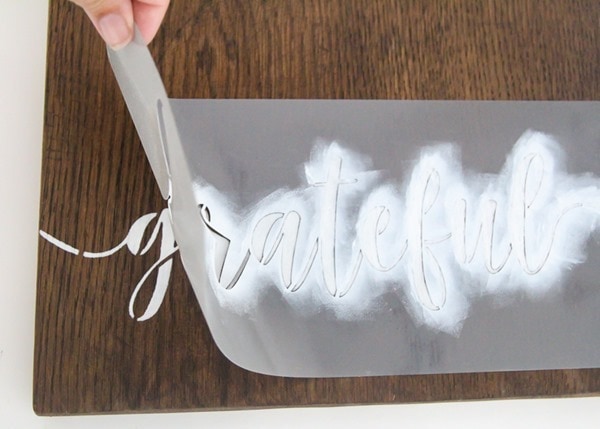
Yes! Just look at those lines! Beautiful!
But wait, aren’t we done? What’s the third secret?
Stencil Secret 3: The Hand-painted Look
When you are using stencils to make ‘hand-painted’ signs, there may be some times you don’t want it to look like you used a stencil.
Stencils have little connector lines that are a dead giveaway that you used a stencil. Sometimes these lines are so perfectly placed, it adds to the beauty of the finished product.

But occasionally you might want to ‘hide the evidence’. If that’s the case, you are going to need a way to perfectly fill in those teeny tiny little gaps in the paint without ruining all of your hard work.
The solution?
Just take a toothpick and lightly dip it in your paint. Again, you really don’t want a ton of paint on there, so it’s a good idea to gently dab any excess off first.
Then carefully use it like a paintbrush to fill in the letters. It’s easy and it works beautifully.

Those are my three hacks for perfect stenciling every time:
And when you’ve finished your stenciling project, I’ve got all the details on the fastest, easiest way to clean paint and spray adhesive from stencils right here.
Three New Stencil Projects
So what did I end up making? You can check out the finished projects below and you can see the tutorials for each at the links.
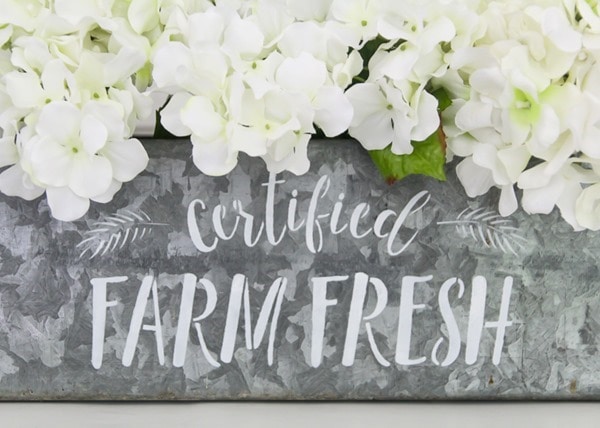
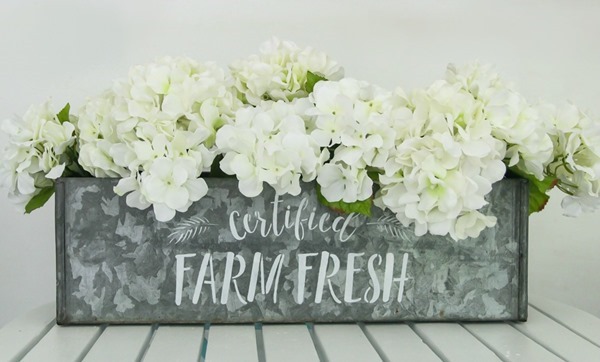
How to Make a 10 Minute Farmhouse Centerpiece
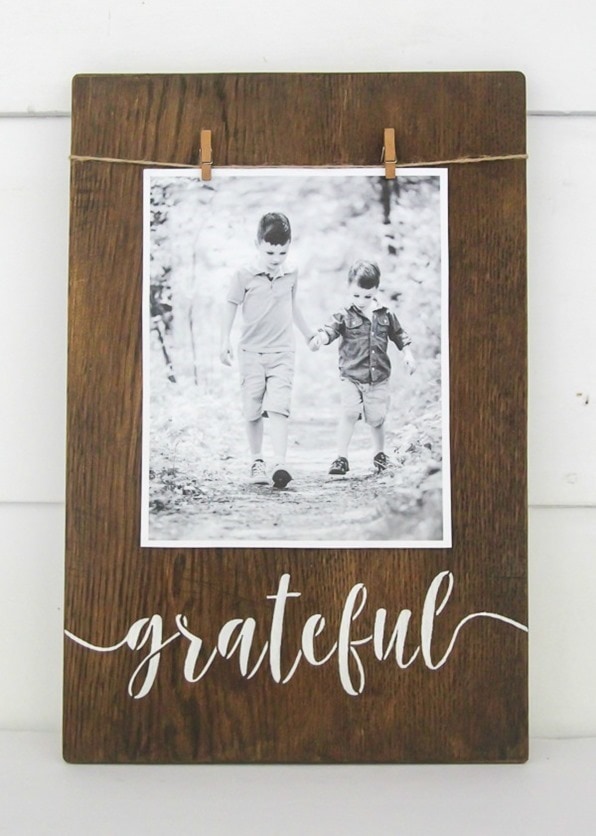
Grateful photo clipboard. (Full tutorial in my book Wood Plank Projects: 30 Simple and Creative DIY Decor Ideas for Your Home and Garden )
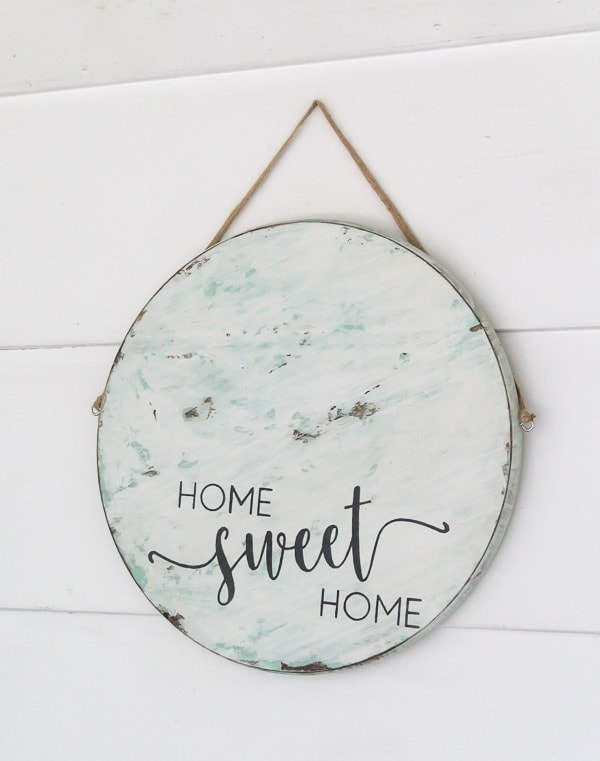
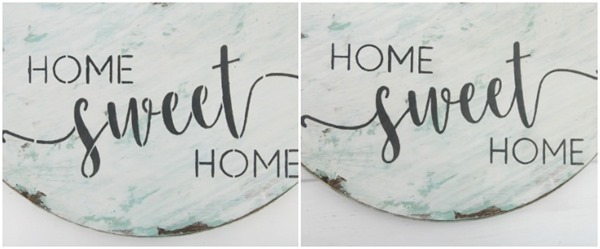
How to make this easy Home Sweet Home sign (It’s a super cute wreath alternative for your front door.)
And since I’m a stencil lover, here are my other favorite stenciling DIYs:
- How to Stencil on Wood with Beautiful Results
- The best stencils for signs plus how to choose one
- How to make a stencil the cheap and easy way
- The best way to clean stencils
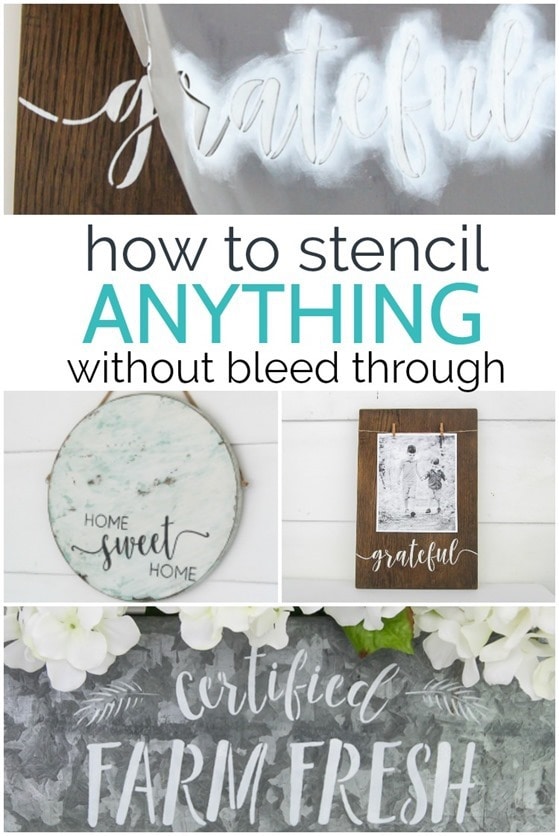
I’d love for you to share this post on Pinterest!
Happy stenciling!
How to Stencil Anything: 3 Secrets to Perfect Results Every Time
Stencils are such a fun way to add a graphic punch to a wall, bring an old floor to life, or create a beautiful wooden sign. These tips will help you get perfectly crisp stencil lines no matter what you are stenciling.
Materials
- Stencil of your choice
- Stencil Ease Repositionable Stencil Spray Adhesive
- Cosmetic Wedges
- Paint
- Tooth Picks
Instructions
- Make sure the surface you are stenciling is clean and smooth.
- Use repositionable spray adhesive to hold your stencil in place.
- Pour a little of your paint onto a paper plate.
- Lightly dab a cosmetic sponge in the paint. Wipe off any excess paint.
- Gently dab the paint straight down onto the area you are stenciling.
- Peel the stencil off.
- To fill in the stencil marks, take a toothpick and lightly dip it in your paint. Carefully use it like a paintbrush to fill in the stencil gaps.
Recommended Products
As an Amazon Associate and member of other affiliate programs, I earn from qualifying purchases.
-
Amazon Basics Cosmetic Rectangular Foam Wedges For Makeup, 32 Count, White
-
1000 Count 100% Natural Bamboo Toothpicks – Kitchen Essential
-
Welcome, Home Sweet Home, Grateful Calligraphy Stencilling Set - Country Farmhouse Word Stencils – Set of 3 Reusable Sign Stencils – Easy Rustic DIY Décor
-
Stencil Ease Repositionable Stencil Spray Adhesive - 4.4 oz. can


Michele Hayden says
Thanks for the tips on stenciling – I’m eager to try the make-up sponges!
Carrie says
Thanks Michele! They work so well!
Lin says
Thank you so much for this post! I am going to attempt to stencil a ceiling medallion around my mini chandelier and will use your tips!
Brenda Bartel says
Thank you so much! I just tried the make-up sponge and it worked like a charm. I was so frustrated with my stencils and now I can play again. ☺ I just need to remember to be patient and do it in layers because it still bled a little when I used too much paint.
Carrie says
Yay, I am glad it helped you Brenda!
Amy says
Thank you very much! Great tips, especially the makeup sponges and toothpicks.
Do you remove the adhesive between uses? If not, how do you store them so that they don’t stick together or get dust in the adhesive?
Once again, great work. It is very generous to share your secrets.
Best,
Amy
Catherine says
I store my adhesive sprayed stencils between two sheets of freezer paper against the plastic side. They come right off.
Carrie says
Great tip! Thank you for sharing.
Denise Fletcher says
I am just starting…. how do you know what kind of stencil material do you purchase? Is there only one kind? Please advise.
Carrie says
Hi Denise. There are a few types of stencils, but they basically fall into two categories – reusable stencils and one-time use stencils. One-time use stencils are usually made from thin vinyl that sticks to the surface you are stenciling. After use, you peel off the stencil and it typically can’t be used again. Reusable stencils are made from slightly thicker plastic and can be cleaned and used over and over. If you are planning to make your own stencils using a cutting machine, you can buy reusable stencil material or use regular vinyl for one-time use stencils. If you are buying stencils that are already made, pretty much any stencil will work unless it specifically says it is just for one use.
Elyse says
What about spelling out your own sign with individual letters on one stencil page? Do you have any tips for doing that so you don’t make a huge mess?
Carrie says
Hi Elyse, great question! I would mostly use the same process, with a couple of changes. It would be a good idea to make a straight line with a piece of painter’s tape so you can make sure all of your letters end up straight. Then I would start with the middle letter of your name and place it in the center of where you will be stenciling. Working out from the middle will keep everything spaced evenly. Also be sure to let each letter dry before adding a letter next to it to avoid smudging the paint. Good luck!
Jen Mackel says
Thank you for sharing your tips on stenciling. I have question about the stencils themselves. It seems they are so high priced, even on Ebay. Do you know of any websites that offer discount prices?
Thank you so much.
Carrie says
Good question. Stencils can be pretty pricey – especially the large floor/wall stencils. Craft stores like Michaels do carry some smaller stencils and you can always use a coupon there to get a deal. And I have also found that smaller stencils in general are much more affordable. If you are stenciling a wall, you can use a small tile stencil rather than a huge stencil. It will be cheaper but take more work. Another option if you are buying a popular design is to pay for it upfront but then try to recoup some of your cost by selling it when you are finished.
Dawn says
Awesome ideas. Thanks for this! Any suggestions if you are using the cardboard lettering and numbers? Would adhesive work on those as well?
Carrie says
It depends on the type of cardboard. If it has a slick, waxy finish to it, the adhesive should still help. If it is regular cardboard that feels more dry to the touch, I would probably skip the adhesive.
Margie smokov says
I enjoyed reading your page! Do you have any ideas on painting a 3″x4″ stencil on paper bags? I bought a custom stencil, but now am having being trouble.
Carrie says
Hmm, what is the trouble? Is it smearing? I wouldn’t use adhesive on paper bags but would definitely use painter’s tape to hold the stencil in place. Also, be sure you are just using a very small amount of paint on your sponge or brush, even if that means doing a couple of coats of paint.
Shelia says
was asked to paint a name on the side of a boat. stenciling sounds easier but i dont know what materials to use to make the stencil with. any suggestions?
Carrie says
You could find someone with a Silhouette or Cricut cutting machine to cut a stencil using adhesive vinyl. If you don’t know anyone, you may be able to find someone to make a custom stencil on etsy or just by asking on facebook. Another option is to simply print or draw your design on regular paper and do a simple pencil transfer to transfer the design to the boat for painting. I have a post that describes it in detail but it is super easy – https://www.lovelyetc.com/how-to-easily-transfer-lettering-and-designs-onto-any-surface/ Good luck!
Jackie k Bauer says
I have cut all my stencils apart, then separated and labeled them. Does anyone else have trouble using stencils from a full sheet? I also can’t do this if I can’t see through to line things up. I hope I did not ruine my stencil collection. I find it easier to store them also, they can all fit in one box, not tale up so much room. I put them in zip lock bags and labeled them w a sharpie. Any better ideas to store and save room?
Carrie says
This sounds like a great system! I often trim my stencils to make it easier to place them for painting. I like to store my smaller stencils in a drawer in a spare dresser and I hang my larger, wall stencils from pants hangers in our coat closet. :) I don’t know if that is the best way but it works well for me!
Sandy says
I store stencils in a 12 x 12 binder and use the 12 x 12 clear storage sheets for 12 x12 and 9 x 12 stencils. The storage sheets also come subdivided so I can use them for 6 x 6 or 4 x 4 stencils. The stencils are organized by designer or by design type for the generic stencils to make them easier to find. Labeled separator sheets or tabs are also handy in a binder.
Carrie says
This is such a great idea!
Lauren says
Hi,
Do you use anything once you’re finished to protect the paint? I’m going to attempt making a wood sign for all of our little campground stickers we collect. I’ll be staining the wood, then stenciling some cute “camping” stencils I got! Not sure if I should use a clear coat of something when I’m finished?
Carrie says
That sounds like such a cute idea. I generally do not use anything to protect decorative signs. Most decor doesn’t receive the wear and tear that furniture does. If it is going to be used outdoors, I would use a topcoat just to protect it from weathering, otherwise, I wouldn’t worry about it.
Captn Jack says
I just made a sine for my woodshop and it will be outside. I coat anything that goes outside with a Spar Marine Varnish it lasts for years.
Carrie says
Great tip!
Willie Simpson says
Thank You Very Much; You are an inspirational treasured resource for those of us aspiring craft stencilers
Carrie says
So glad to help!
Lisa says
Thank you sooo very much for this. You make it sound so simple.
Carrie says
You can definitely do it!
VICTORIA BRIGHT says
I have acrylic paint and then bought stencil paint. Which is better to use. I have been working on Halloween signs for weeks. It has a lot of words and a big witch. I would get one thing to look good, then something else would be smeard.
Which paint should I use?
Thanks
Carrie says
I am sorry you are having trouble with smearing! Either paint should work. Stencil paints are generally thicker to help keep them from seeping underneath the stencil. But acrylic craft paints also work well because they stick to most surfaces and dry quickly. Personally, I prefer the acrylic paint because it dries faster but that is just my personal preference.
Astral Signs says
Keep up the great work! Thank you so much for sharing a great posts.
Rachel says
Finally something that works! Thank you so much for sharing this! The adhesive spray and makeup sponges worked perfectly!
Carrie says
Yay, I am so glad to hear it was helpful!
Cheryl Atkinson says
Hi Carrie! First time on your blog and i have subscribed so i’m looking forward to your DIY’s. This one about the stencil hacks really has helped. i knew about the adhesive but not the make up sponges and the toothpicks. Thank you!
Carrie says
I am so glad it was helpful!
LaVonne says
Hi there. Thanks for the tips! Question. I just watched you pain the woods. What kind of paint did you use? I tried to read the bottle but it wasn’t at a good angle. Chalk paint? Chalk ink? I know the ink is permanent…Thanks!
Carrie says
Are you talking about in the video? I believe that was DecoArt chalky finish paint.
Donna Weathers says
First time here, this is super helpful. Thank you,! I can’t wait to try this!
Carrie says
Glad it was helpful!
Karen W says
My adhesive says to wait 3 hours to dry-do I really have to wait that long? I cannot wait to try all your tips-I was in tears looking at all my failed signs that looked like a toddler painted them so this was such a blessing to find! Thank you!
Carrie says
I’m glad it is helpful! Make sure you are using repositionable adhesive. You should only need to wait a moment or two before stenciling. If it says to wait three hours that is probably until it is fully adhered. We don’t want our stencils to truly adhere – just to stick enough not to move around while we’re painting. Good luck!
Delhia A Chapman says
I am not one to comment. But, for the first time, I have found useful information. Thank you so much for sharing your tips, especially the one about using a makeup sponge. I had one I never used (the egg-shaped kind), and it worked PERFECTLY! My kitchen cabinets look beautiful, and I was done in less than half the time I thought it would take and with absolutely no bleed-through or any kind of a mess. Thank you again.
Carrie says
Yay, I am so glad my tips were useful!
Elart Coello says
What do you recommend for making your own stencils? I hear the cricut and other similar options are all difficult to learn, expensive, and or not practical for larger stencils. Do you have any personal experience or something you can vouch for? I want to get a large format plotter but I keep seeing them for sale online listed as “for parts” not very encouraging.
Carrie says
Cricuit and Silhouette both work well for this, but you are right – they are expensive and you are limited as far as size. I used to have a Silhouette and made a lot of stencils with it that worked well – usually in 12×24′ size. But I since sold my Silhouette because I didn’t use it enough to justify the cost. I have also made stencils by hand using thin plastic and an exacto knife. I wouldn’t recommend this unless you only want to make one stencil because it takes a lot of time. I’m sorry I don’t have a great suggestion. This is something I also looked into quite a bit and I never found a great solution.
LeAnn says
Thank you for these stenciling hints! I have stenciled for years and have several vintage stencils that I plan to dig out again!
I especially wanted to say how much I LOVE your logo! So creative and cute.
Thanks again…happy painting :)
Carrie says
Thank you so much!
Richard Jacobson says
I had a problem stenciling with acrylic on top of Rust Oleum on aluminum. There was a lot of glue residue and I couldn’t wipe it off without also removing the acrylic stenciled lettering. Any suggestions?
Carrie says
Hmmm, it’s really hard to say what the cause was – paint and glues can be affected by many things including temperature, humidity, the type of paint, residues, etc. I’m sorry that happened to your project.I have used temporary spray adhesive on tons of projects with no problem but had something similar happen one time. I couldn’t figure out what the problem was either, so I cleaned the whole thing off well and re-stenciled it without the adhesive. Good luck!
Jennifer Maynard says
If you are using an oil based stain and poly and then stenciling on top of that with a water based paint, how would you seal it? I am wanting to make something for my kitchen and don’t want the paint to scratch off after working so hard on it.
Carrie says
Hi Jennifer, If this were me, I would use General Finishes High Performance top coat over both the stain and paint instead of using oil-based poly. That is what I did for this stool that has both oil-based stand and water-based paint: https://www.lovelyetc.com/making-an-ikea-step-stool-pretty/ If you have already done the stain and poly, you should still be able to use the general finishes top coat as long as you wait at least 72 hours after applying the oil-based products. Good luck!
Chris says
These are great tips for stenciling! I’m making my own scrabble tiles for my wall and am a first-time stencil user. My test letter was smudged and bled. Then I found your tips. I’m having great results now! Thank you so much!
Carrie says
I’m so glad to help! A few small changes really does make a huge difference!
Ellen Reising says
Hi-any suggestions on how to stencil a screen, in a roll up screen door? What type of paint would adhere to the screen? And your adhesive tip and make-up wedge would work on a screen application? Do you know of anyone who would make a custom stencil design? Thanks so much and I look forward to your input!
Ellen
Carrie says
Hi Ellen, I haven’t tried to paint a screen before. But I have painted the walls around my screened porch and the paint had no problem sticking to the screen when I accidentally brushed it, lol. I think pretty much any paint would work well for a screen. The makeup wedge would definitely still work. I don’t know if the adhesive would be as necessary – the tiny holes in the screen are going to work in your favor because it won’t be nearly as noticeable if the stencil lines aren’t 100% perfect. And I would look on etsy for a custom stencil – just search for custom stencil and a lot of options come up. Good luck!
Chittu says
How do u clean (get the paint off) your stencil after using?
Carrie says
Cleaning stencils is my least favorite part of the whole process. I usually put my stencils in the sink (or the bathtub for extra large stencils) and soak them in water with a little bit of dishwashing soap. Then I use a dish scrubber to gently scrub off the paint/adhesive.
Olivia Jensen says
I use q tips with the fuzzy end cut off, the cotton stick kind and for bigger stencil gaps on larger stencils I pull the fuzzy off as much as I can I had issues with toothpicks and globs of paint and then they get into my carpet and everywhere. nothing like walking around barefoot and getting a toothpick jammed through your tonenail
Carrie says
Thanks for the tip! And yes, stepping on toothpicks is definitely not fun!
Penny says
I’m new to sign painting, and crafting in general. I’m wondering if using an adhesive on the stencil will remove paint? I’m painting my boards and canvas before stenciling. I’ve had some messes that I’ve had to start over with. Love the idea of makeup sponges! Going to use that on my next project.
Hopefully you see and answer this 2021 question.
Thank you!
Carrie says
Hi Penny, I would probably skip the adhesive on a painted surface. Usually repositionable adhesive works just fine, but sometimes the adhesive can peel up a little bit of the paint. This is especially true of fresh paint because it can take paint weeks to fully harden even when it is dry to the touch. The good news is that there’s another great trick you can use for painted surfaces. You can first paint a thin layer of the base color over the stencil. So if you are stenciling a white painted canvas, put your stencil in place and paint one layer of the same white over top of the stencil. The white paint will seal the edges of the stencil so the next color of paint can’t seep under the stencil and cause a mess. Once the base coat of paint dries, you can paint over it with your real color. But in a lot of cases, if you use the makeup sponges and don’t add too much paint, you’ll probably be fine without the extra paint layer. I hope that helps!
Katherine A Richards says
Thank you so much for sharing this! I have been having a problem with an art project & stencil that kept bleeding around the edges. Kind of hard to resin over the colors with like colors when the little bleed marks and such kept peeking out.
Carrie says
Sounds like an awesome project! Good luck!
Sally hadley says
Having only used tiny stencils before I want to stencil a fairly large “banksy” onto shed wall that has been painted with white snowcem. I will practice on something else first. Could be a disaster. What paint…spray can? Would you suggest. I will follow your tips.
Sally
Carrie says
Some people use spray paint with stencils but it is really hard to get clean stencil lines that way. For large stencils I like to use a small high density foam roller. Roll off the excess paint onto some paper towels or a scrap of cardboard. The roller should be damp but not dripping. Then gently roll it over the stencil. Don’t press down hard or the paint will squish under the stencil, just roll it back and forth. Regular latex wall paint should work fine. Good luck – sounds like a cool project!
Jacob says
Hi,
I was wondering If you could give me some advice on stenciling. I know that’s not what you do, but you seem like you know what you’re doing with stencilling so I thought I would shoot you a message to see if you can help me.
I need a stencil machine that can cut custom designs through mylar sheets, and alongside that, I also need software to create these custom stencil designs.
Is there any chance you could advise on a machine + software that would be best for this?
Many thanks,
Jacob.
Carrie says
Hi Jacob, you can make reusable stencils at home using a Cricuit or Silhouette cutting machine to cut mylar sheets. Each has their own software that you can use to help design the stencils. They can both make stencils up to 12″x12″ and can also make longer stencils that are 12″ wide. That is what I would recommend. If you need something more robust than that or need to make stencils in a larger size, you may need a more commercial machine, but I don’t know anything about those. Good luck!
Terry MacNeill says
How do you clean the adhesive off the back if the stencils? TIA
Carrie says
It comes off really easily with goo-gone.