This DIY nativity Christmas ornament is made from simple inexpensive materials and is easy enough that even children can make it.
I’m always on the lookout for simple ways to bring the true meaning of Christmas into our celebrations and decorations.
And since making handmade Christmas ornaments is one of my favorite Christmas traditions, a DIY nativity ornament seemed like the perfect thing.
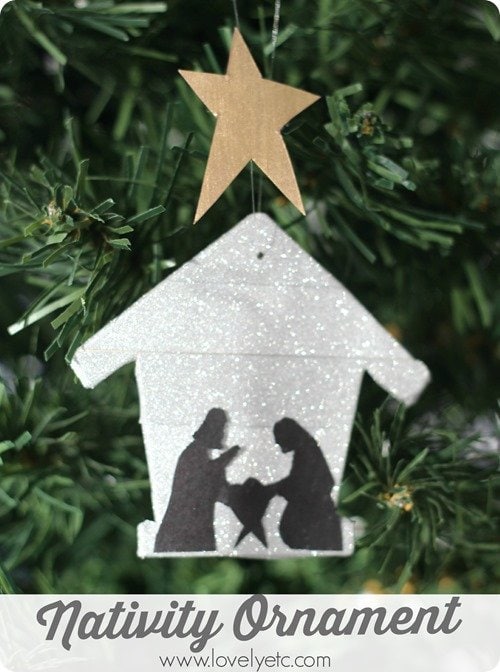
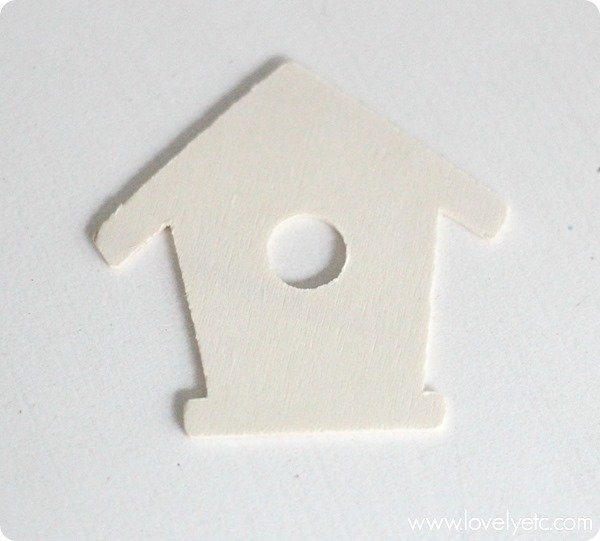
I didn’t have a firm plan for these ornaments until I came across this cute little wooden birdhouse for only 29 cents at Michaels. I knew it would make the perfect stable and everything fell into place from there.
This post contains affiliate links which means if you make a purchase after clicking a link I will earn a small commission but it won’t cost you a penny more. Click here to see my full disclosure policy.
Materials
- small birdhouse or house cutout – you can usually find these at craft stores or they are also available on etsy in a huge range of sizes.
- silver glitter washi tape – for covering the stable background
- hammer and nail – for poking a hole in the top of your ornament for hanging if it doesn’t already have one
- silhouette of Mary, Joseph, and Jesus – I have one below you are welcome to print and use
- craft knife and cutting mat – for cutting out your silhouette
- gold card stock – for the star, if you don’t have any gold card stock, you could paint a scrap of cardboard with gold paint instead
- fishing line – for hanging
How to Make an Easy DIY Nativity Ornament
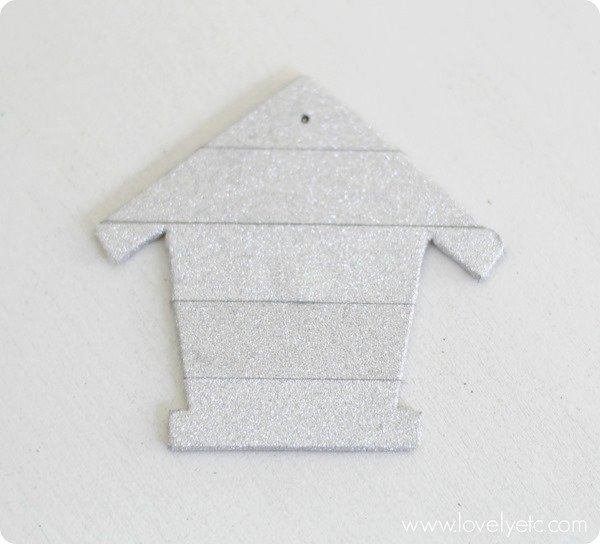
I started by covering the whole birdhouse with silvery glitter washi tape.
Then I used a hammer and a small nail to make a small hole at the top of the ornament for hanging.
You could also hot glue a loop of string to the back of the ornament, but I prefer the clean look of the hole.
Now for the silhouettes. I have a silhouette of Mary, Joseph, and baby Jesus below that you can use for your ornament. Just right-click the image, save, and print.

You may need to resize your image a bit to get the perfect fit on your ornament. Once you have the size you need, you can carefully cut out your silhouette using a craft knife and cutting mat.
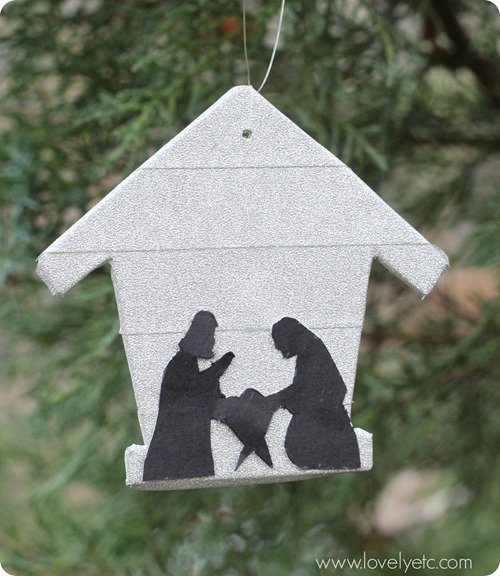
Once the silhouettes were in place, it looked great but it was still missing something.
It really needed a star.
The easiest way to make a beautiful star is simply to cut a star shape from shiny gold card stock.
I didn’t have any gold card stock on hand at the time, but I did have some cardboard scraps and gold paint. So I cut a star shape from cardboard and painted it gold.
I wanted the star to look like it was hovering over the stable, so I decided to use fishing line to attach it. I strung a loop of fishing line through the hole I made earlier to serve as a hanger for the ornament.
And then I used a small piece of clear tape to attach the star to the fishing line just above the roof.
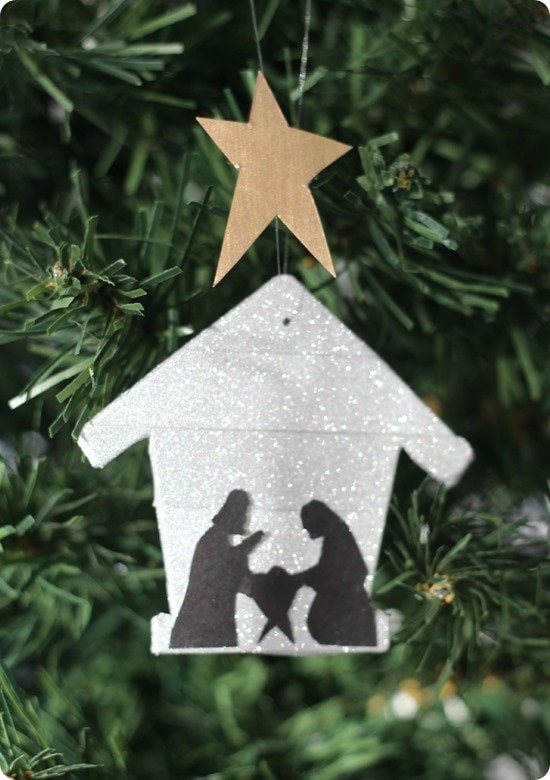
And now I have the perfect little ornament to show the real meaning of Christmas!
You can see all of my other handmade ornament tutorials right here.
And I also have DIY ornament ideas from some of my favorite bloggers below.
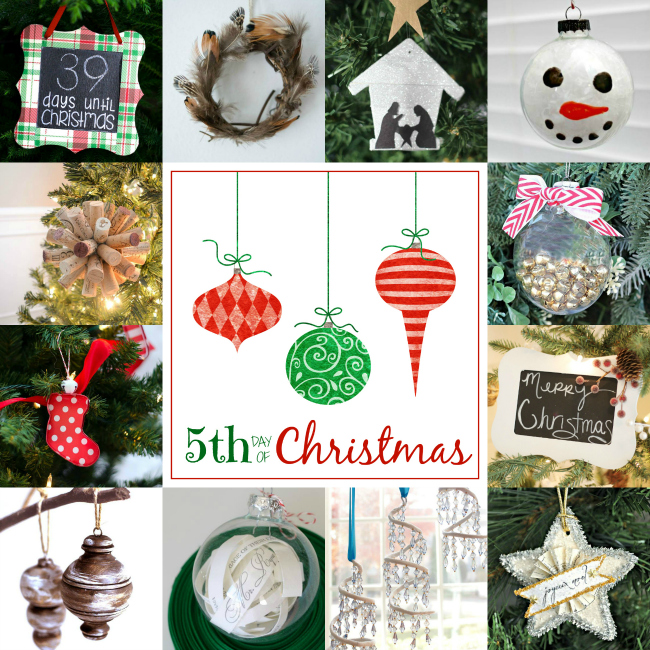
“Days Until Christmas” Chalkboard Ornament | All Things G&D * Feather Wreath Ornament | Bigger Than The Three Of Us * Nativity Silhouette Ornament | Lovely Etc. * Snowman Glass Ornament | Mom 4 Real * Cork Ball Ornament | Whats Ur Home Story * Easy Bell Filled Ornament | The Happier Homemaker * Cookie Cutter Ornaments | It All Started With Paint * Chalkboard Holiday Sign | Thrifty and Chic * Stained Wooden Ornaments | Cherished Bliss * Wedding Invitation Glass Ball | May Richer Fuller Be * Spiral Christmas Tree Ornament | Remodelando la Casa * Vintage Style Glittered Wood Star Ornament | Serendipity Refined

Linda @ It All Started With Paint says
I love that you included a real meaning of Christmas ornament! Such a special idea! And glittery washi tape here I come!
:) Linda
Carrie says
Thanks Linda! And glittery washi tape is amazing – I think I need to get some gold too!