How to Make Easy DIY Clay Christmas Ornaments
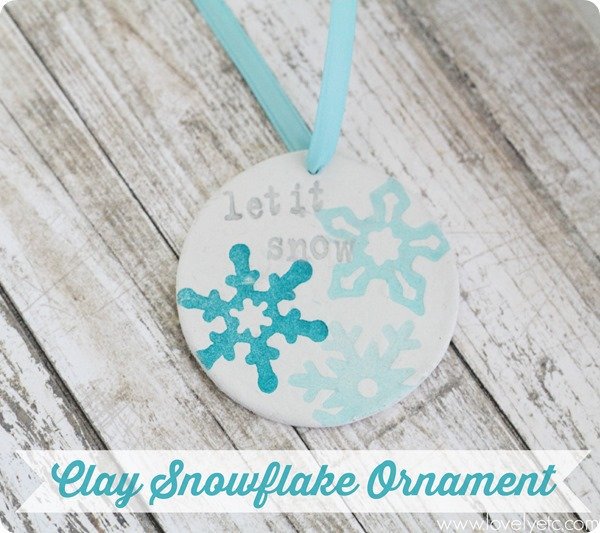
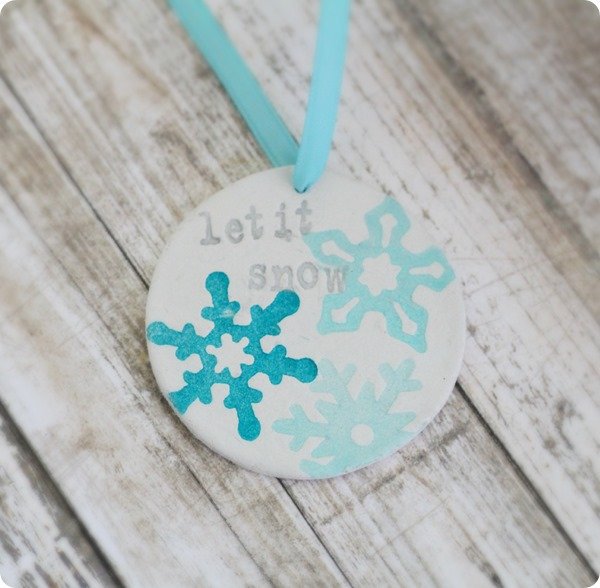
These stamped clay Christmas ornaments are made from air dry clay and are easy to personalize with any colors and stamps you like.
Hello again lovely readers! I’m back again with another handmade Christmas ornament.
This time I decided to break out the air dry clay again. I absolutely love the clay tags and clay cake stand I made recently, so I figured why not an ornament too!
This post contains affiliate links which means if you make a purchase after clicking a link I will earn a small commission but it won’t cost you a penny more. Click here to see my full disclosure policy.
Supplies
- air dry clay – this is exactly what it sounds like, clay that dries in the air. It’s inexpensive and comes in lots of colors.
- rolling pin – for rolling out your clay nice and flat
- stamps – I used snowflake stamps and alphabet stamps, you could use any stamps you like
- ink in the colors of your choice
- round cookie cutter or small drinking glass – for cutting your clay into a circle
- 220 grit sandpaper – for smoothing the edges of your ornament
- ribbon or bakers twine – for hanging your ornament
DIY Clay Ornament
This ornament is super quick and simple to make. It would even be a great project to let your kids try.
Roll out a small amount of clay with a rolling pin. You want the clay to be thick enough that it isn’t overly fragile. Around 1/8-1/4″ works well.
Use a cookie cutter to cut out a circle of clay. If you don’t have a cookie cutter or biscuit cutter, a drinking glass also works well.
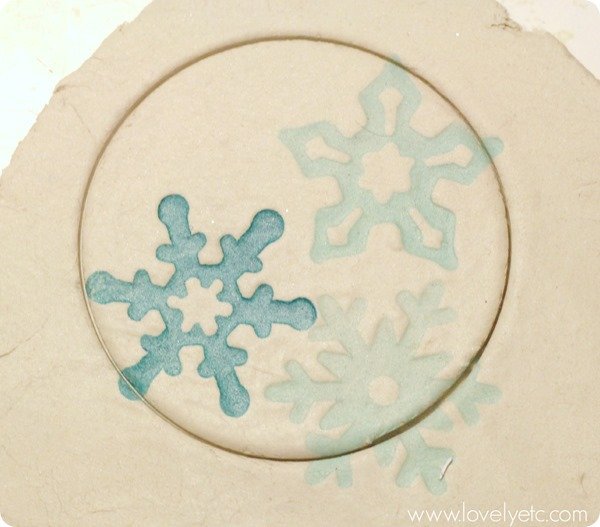
Use your stamps and ink to stamp on a design.
I used several snowflake stamps to stamp a snowflake pattern that extended past the edges of the ornament.
And then I thought it could use a little something more. So I used some small alphabet stamps to spell out ‘Let it Snow’ with silver ink.
The great thing about these ornaments is the design possibilities are really endless. You can use any stamps you like as well as any colors of ink.
You can add Christmas scenes or personalize them with names or make ornaments to commemorate your first home or your baby’s first Christmas. This could really be turned into any type of custom ornament you can think of.
Once you have stamped your design, use a pen or nail or whatever is handy to poke a small hole in the top for hanging.
Set your finished ornament aside to dry.
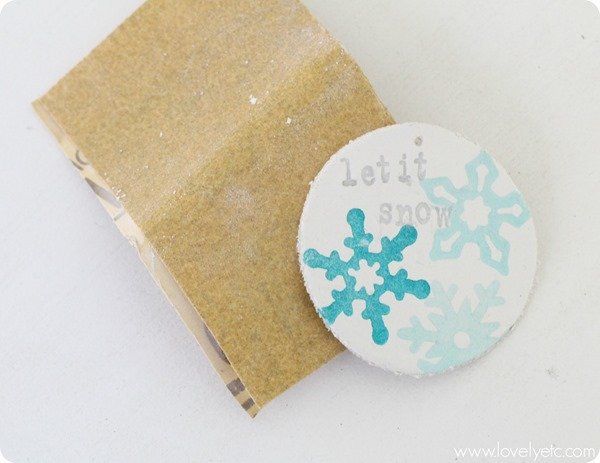
Once your clay has fully dried (usually overnight), gently sand the edges of the ornament with a piece of sandpaper to smooth any rough edges.
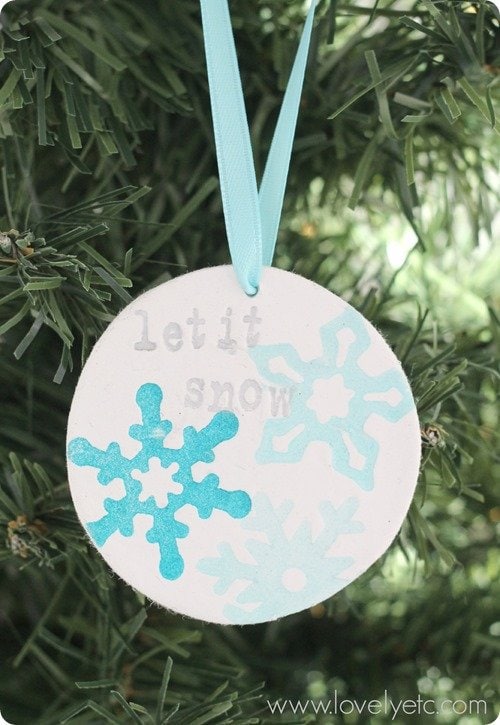
Add a piece of string or twine and hang it on your tree!
If you’re looking for more ornament ideas, I’ve got more than a dozen handmade ornament ideas for you right here.
And here are eleven more amazing handmade ornament tutorials from some of my favorite bloggers!
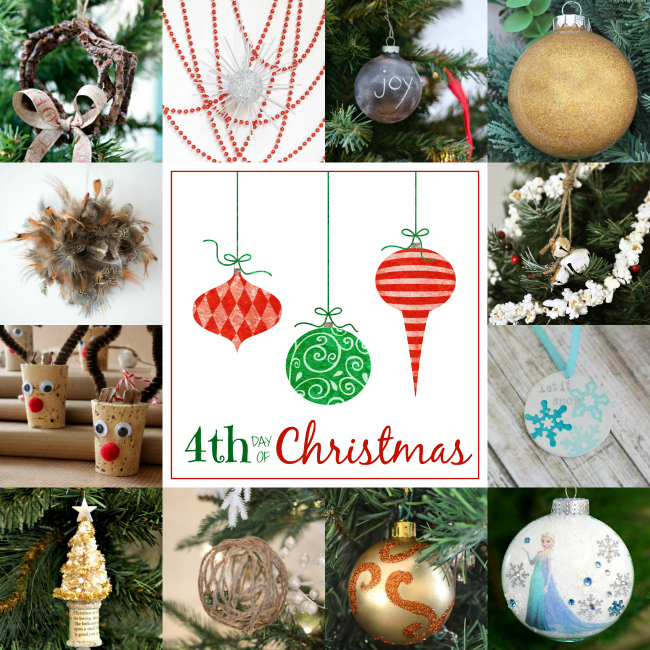
Rustic Twig Wreath Ornament | Mom 4 Real * Silver Starburst Ornament | May Richer Fuller Be * Chalkboard Paint Ornament | It All Started With Paint * Holographic Glittered Ornament | The Happier Homemaker * DIY Feather Ball | Bigger Than The Three of Us * Rustic Jingle Bell Ornament | Cherished Bliss * Wine Cork Reindeer Ornament | Remodelando la Casa * Clay Snowflake Ornament | Lovely Etc. * Vintage Style Bottle Brush Tree | Serendipity Refined * Jute Ball Ornament | Thrifty and Chic * Glitter Swirl Ornament | Whats Ur Home Story * Princess Elsa Ornament | All Things G&D


I love the idea of stamping the clay with ink! Genius idea!!!
:) Linda
Thanks Linda! I love how these turned out and want to start making clay everything!
Love it! I gotta show it to my daughter, she loves to work with clay.
Thanks Cristina! Hope your daughter likes it!
That is so pretty. Love the colors. Pinning.
Thanks Vidya! I pretty much think you can never go wrong with blue!
Could you email me what where you get the clay. Like Michael’s or from a pottery studio? I love this idea. Thank you for sharing, I have wanted to do this for a while. I purchased some from Etsy and was wondering how it was done.
I ordered my clay from Amazon. It is the kind that air dries which makes it super easy. You could also get clay from a store like Michael’s – most of their clay needs to be dried in your oven but that is definitely doable as well. Plus that type of clay is a little cheaper.