As soon as my college roommate Hannah told me she was pregnant, I knew I wanted to make her some DIY onesies. It is one of those projects that just looks like so much fun and I never had the time to make any for my own sweet boy.
Plus there is a certain holiday coming up – I refuse to name it seeing as it is still more than two months away and needs to patiently wait its turn instead of taking over Halloween and Thanksgiving. But anyway, when this unnamed holiday does arrive, these would make an excellent gift for any new babies or expectant mamas.
If you’ve never tried it, freezer paper stenciling is pretty magical. You can buy freezer paper from your local grocery store in the aisle with the wax paper and aluminum foil. I have no idea what freezer paper’s actual purpose is, but it is completely amazing for stenciling on fabric.
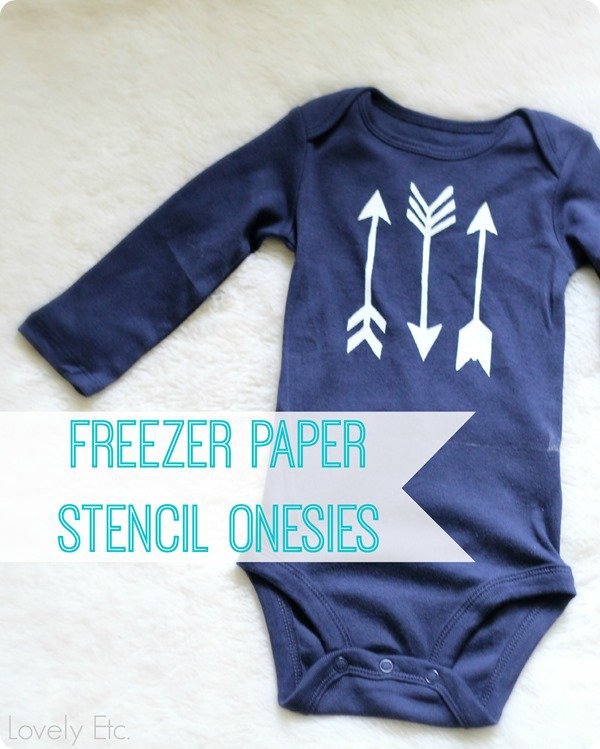
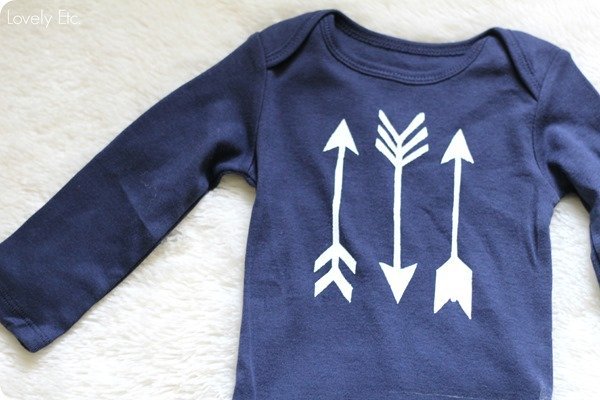
First, choose a design. For my first onesie, I went with an arrow design. I chose to draw my arrows onto the freezer paper, but if you aren’t feeling confident about your drawing skills, you can also print some arrows and trace them onto the freezer paper. Once your design is drawn, carefully cut it out. You don’t need any fancy cutting machines to make freezer paper stencils (though if you have one, it will definitely make it faster!) I didn’t use a cutting machine at all – just a good old fashioned x-acto knife and cutting mat.
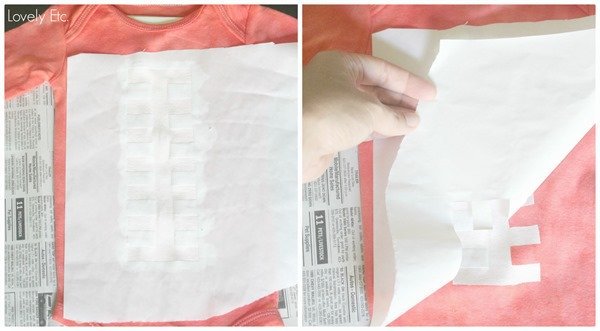
Lay the stencil on top of the onesie with the plastic side down and iron it for a few seconds. The heat seals the plastic to the fabric so that no paint sneaks underneath when you are painting your design. Now you are ready to paint! You can either use fabric paint or you can use regular craft paint mixed with fabric medium. Once your design is painted on, carefully peel off the freezer paper. If you want to make a few different pieces with the same design, you can usually use the same freezer paper stencil a few times before it loses its stickiness.
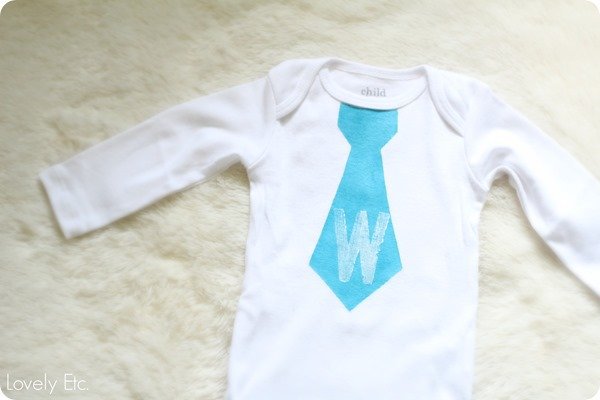
For the second onesie, we decided to do a cute little monogrammed tie. The tie was painted using another freezer paper stencil and then the initial was added with a large rubber stamp.
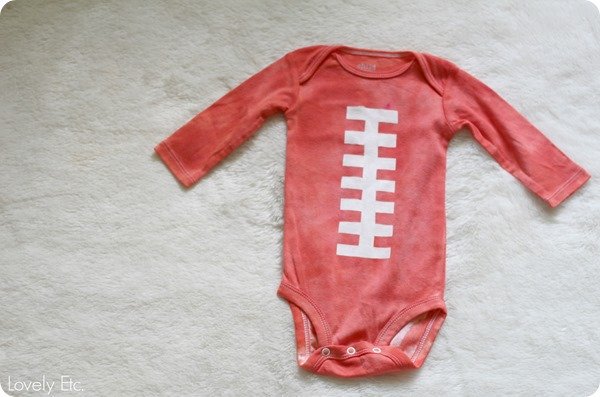
The third onesie was more of a gift for the daddy. He is a huge fan of University of Tennessee football, so a UT onesie had to be thrown in the mix. UT is all about orange and we didn’t have an orange onesie, so we dyed one. We used some one-step tie dye to dye the whole thing but any fabric dye would work. Once it was orange, we went with a cute little football seam design using freezer paper and white fabric paint.
I’m a bit of a perfectionist (perhaps an understatement) so I love the clean, crisp lines you can get with freezer paper. I also love that the possibilities are pretty much endless!
And I’m thinking that even though I missed the onesie train with my son, I’m just going to have to make him some adorable little toddler t-shirts now!

chris aka monkey says
these are adorable…i want to try that freezer paper stencil have to get a iron and board first lol xx
Carrie says
Haha, thanks!
Vicky says
Does the fabric paint adhere after washing it several times? I have never used fabric paint on anything that needs repetitive washing?
Carrie says
I made my son some fabric paint/freezer paper stencil shirts as well. So far I have washed them a few times and they have held up pretty well. I would recommend not putting them in the dryer though. One shirt that had a large painted area, came out of the dryer with lots of cracks in the paint. I will be air drying from now on!
Renee says
so cute! i think i’m confused – you paint on the freezer paper and it soaks through? or…?
Carrie says
The freezer paper acts as a stencil. When you iron it on, it seals the edges to the fabric so that none of the paint seeps under the edges of the stencil. It is basically just stenciling the fabric with a stencil that works really, really well. After you paint it, you just peal off the freezer paper and everything looks wonderful! I hope that clears it up.
Kaz says
Fantastic idea thanku so much x