I’m sharing how to cut tile even if you don’t have a wet saw, using five inexpensive tile cutting tools.
One of the best ways to save thousands of dollars on a bathroom remodel is to do the tiling yourself. But DIY tiling can be really intimidating and I think the most intimidating part of all is figuring out how to cut the tile.
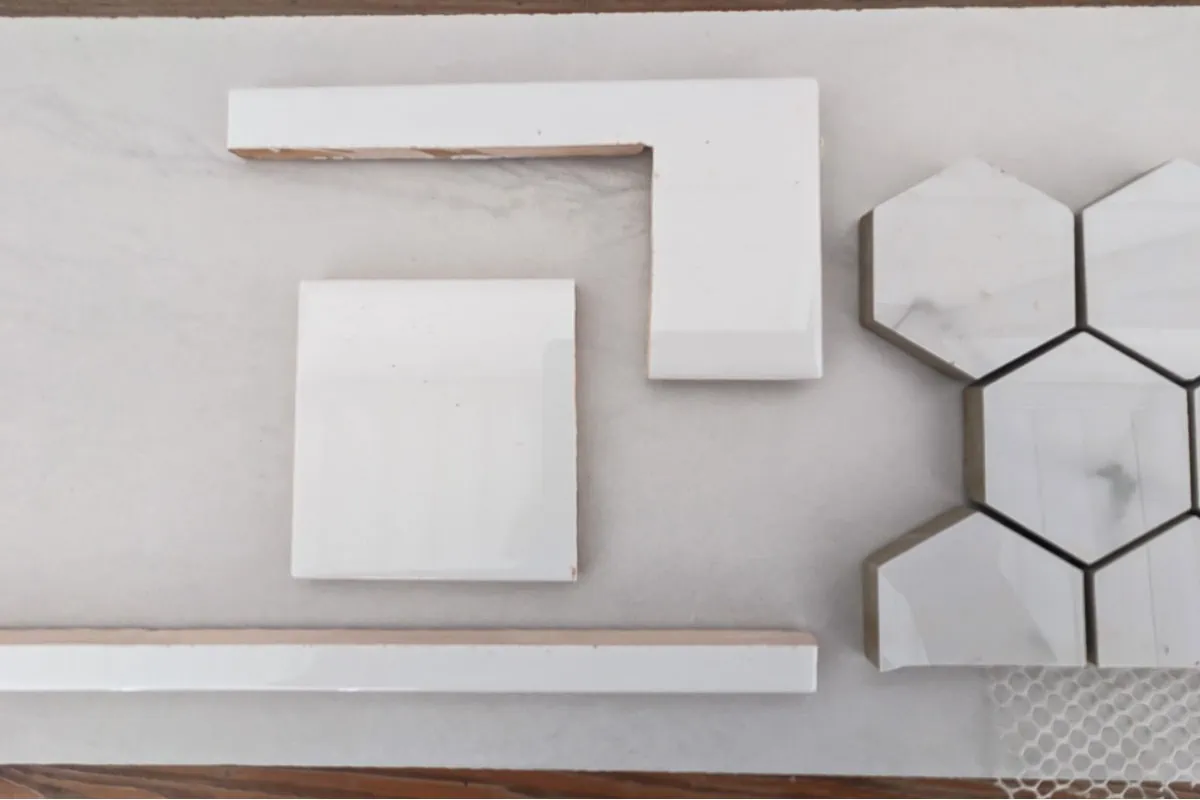
When I was planning my master bathroom remodel, I knew I wanted to install all of the tile myself to save money. And while this wasn’t my first time installing tile, it was definitely the biggest tile job I had ever tackled. I tiled the bathroom floor, shower walls, and shower floor using three different types of tile – subway tile, mosaic tile, and thick 12″x24″ porcelain tile.
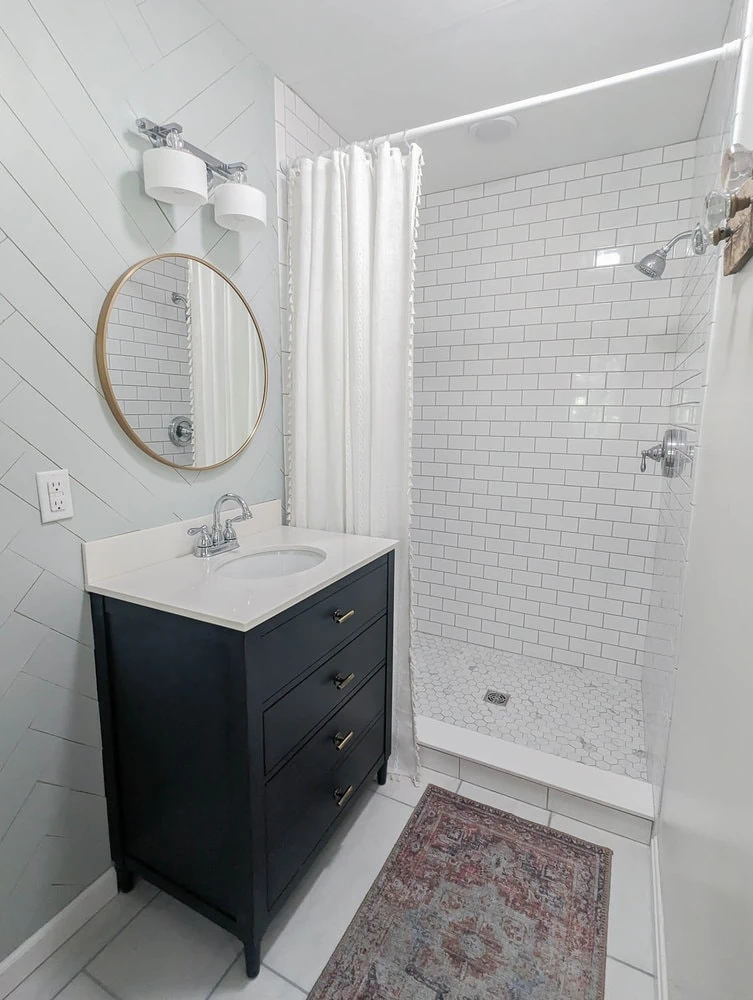
As I was planning the renovation, I did a lot of research into the best ways to cut tile. Not only did I need to cut three different types of tile, I also needed to cut it in a bunch of different ways.
I needed to cut the tile to the right size. I needed to cut holes in the tile to fit around plumbing fixtures. I needed to cut bits off the tile to fit around the door frame and the shower niches.
And it quickly became clear that different tools work best for different types of tile and different types of cuts.
In the end, I did end up buying an inexpensive wet saw which I’ll share more about later. But you really don’t need to have a wet saw for many types of tile cuts. In fact, there are certain types of cuts that a wet saw won’t work for at all.
Today I’m sharing the five best tools for accurately cutting different types of tile without chipping, shattering, or cracking it (plus one bonus).
This post contains affiliate links which means if you make a purchase after clicking a link I will earn a small commission but it won’t cost you a penny more. Click here to see my full disclosure policy.
The Best Tools for Cutting Tile
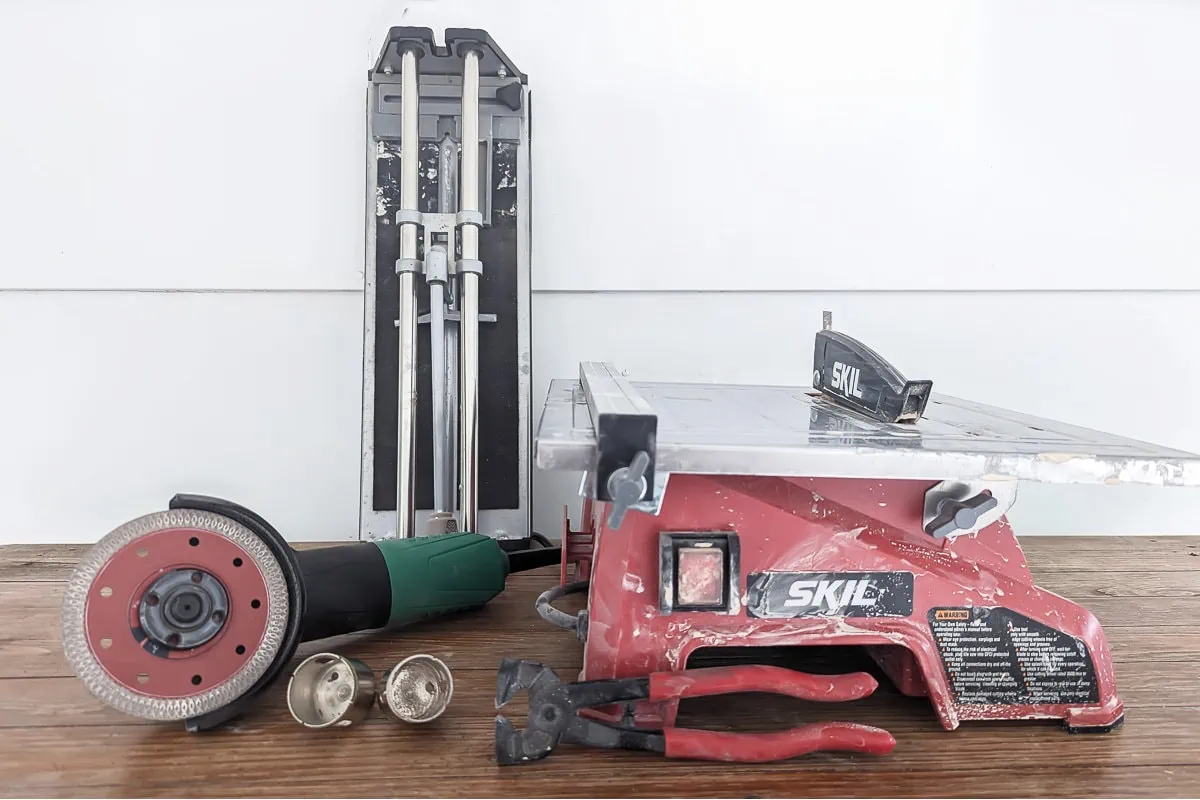
I’ll share more details below, but here is a quick overview of all the tools and their uses.
| Tool | Types of Tile | Types of Cuts |
| Manual Tile Cutter | ceramic, porcelain | straight cuts on small to medium tiles and mosaic tiles |
| Angle Grinder | ceramic, porcelain, marble, stone, glass | cutting odd shapes and curves around doorways, vents, toilets; plunge cuts |
| Hole Saw | ceramic, porcelain, marble, stone, glass | cutting small to medium circles in tile (to fit around shower heads and water lines) |
| Tile Nippers | ceramic, porcelain, marble | trimming small bits of tile, cutting notches, arcs, and irregular shapes |
| Glass Cutter | ceramic, glass | small, straight cuts |
| Wet Saw | ceramic, porcelain, marble, stone, glass | straight cuts on medium to large tiles, L shaped cuts and notches, extra thick tiles and thresholds, and large tiling projects |
Remember, it’s always a good idea to practice using any of these tools on a few inexpensive tiles before beginning your tile project. Each of these tools takes a bit of practice to use precisely.
1. Manual Tile Cutter
- Works best for straight cuts on small to medium tiles and mosaic tiles
- Not great for very small tile or very thin cuts of less than 1″, thick tiles, extra long tiles, cutting curves and shapes
- Types of tile: ceramic, porcelain
- Cost: $25+
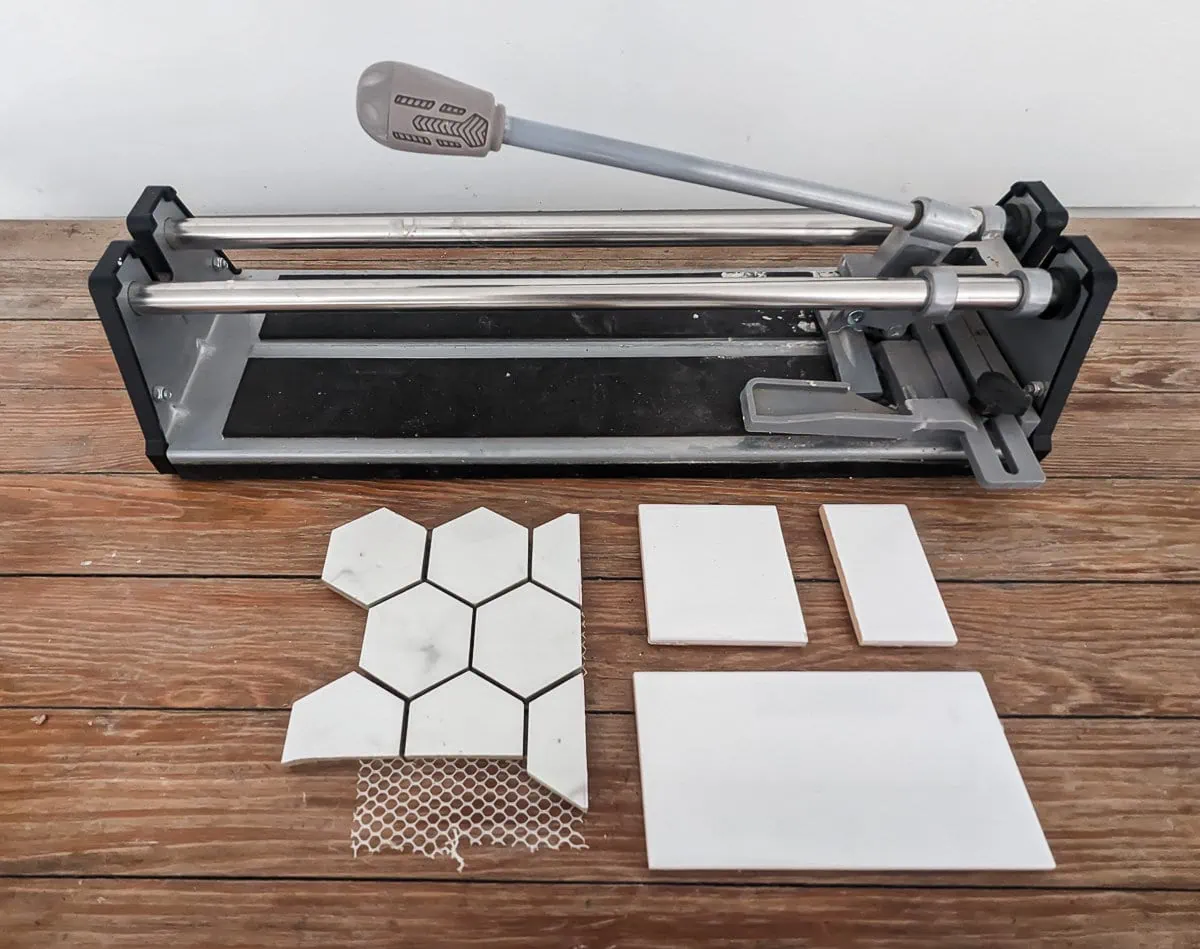
I’m a huge fan of cutting tile using a manual cutter. It’s super straightforward and easy to use and since it isn’t a power tool, it’s much less intimidating than some other tile cutters.
Manual tile cutters work really well for cutting thinner tile like subway tile. I also found this was the best way to make straight cuts across mosaic tile. (A wet saw tended to move the individual tiles around during cutting.)
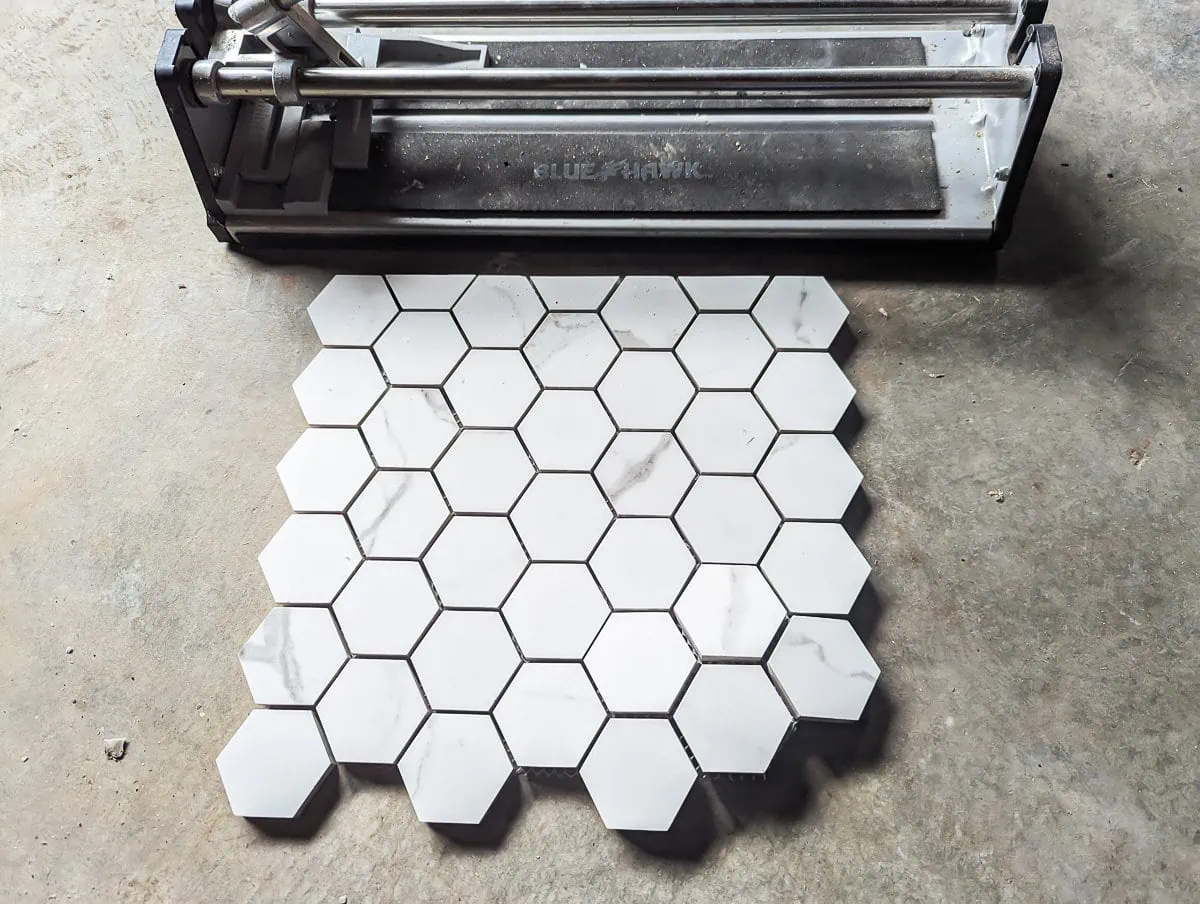
There are limitations though. Manual tile cutters can only cut straight lines, not curves or intricate cut outs to fit around pipes and fittings. It’s also a lot more difficult to cut thick floor tiles with a manual tile cutter. It takes a bit of muscle to get the tile to snap at all and when it does, uneven chips along the cut edge are more likely.
How to Cut Tile with a Manual Tile Cutter
- Measure and mark your tile where it needs to be cut.
- Position the cutter on a flat surface with the lever facing you. Raise the lever and push the cutting tip to the top of the cutter.
- Place your tile on the base, face up, against the top of the cutter. Make sure your mark is lined up with the cutter’s guideline and your tile is straight.
- Press the lever down so the scoring wheel sits against the tile. Pull the lever toward you to score the length of the tile. (You can go over the tile a few times if you feel like you need to, just make sure it doesn’t move at all as you do.)
- Flip the breaker bar down over the cutting wheel.
- Snap the tile along the scored line be applying firm, even pressure to the lever.
- Use a sanding sponge or rubbing stone to smooth any rough edges.
2. Angle Grinder with Diamond Blade
- Works best for cutting odd shapes and curves around doorways, vents, toilets; plunge cuts
- Not great for cutting a large number of straight cuts
- Types of tile: ceramic, porcelain, marble, stone, glass
- Cost: $35+ (with a diamond cutting blade)

An angle grinder is a handheld power tool that can be used for cutting, grinding, sanding, and polishing a variety of materials including tile. When you need to cut a large curve or a more intricate shape from a tile, an angle grinder is your best bet. These work great for cutting tile to go around a toilet hole or any other plumbing that is too wide to use a hole saw. You can also use an angle grinder to cut out odd shaped notches to fit around door jambs and vents.
When cutting tile with an angle grinder, be sure you are using the correct blade. A diamond blade works well for most types of tile.
Angle grinders can be used to cut circular or straight lines and they give you more control than most other types of tile cutters. However, there is a bit of a learning curve to using an angle grinder well. I will admit that I found this to be more difficult to use than any of the other tile cutting tools. But once you figure out how to use it, you can use it for a wide range of cuts.
How to Cut Tile with an Angle Grinder
- Measure and mark where you want to cut your tile.
- Secure your tile to a work surface using a clamp.
- Pull the angle grinder carefully along your marked lines to score the tile. For rectangle cuts, it is a good idea to also score the tile along the back.
- Pull the angle grinder along the scored line, making deeper and deeper cuts until you cut cleanly through the tile.
- Use a sanding sponge or rubbing stone to smooth any rough edges.
3. Diamond Hole Saw
- Works best for cutting small to medium circles in tile (to fit around shower heads and water lines)
- Not great for cutting any other shape
- Types of tile: ceramic, porcelain, marble, stone, glass
- Cost: $10+
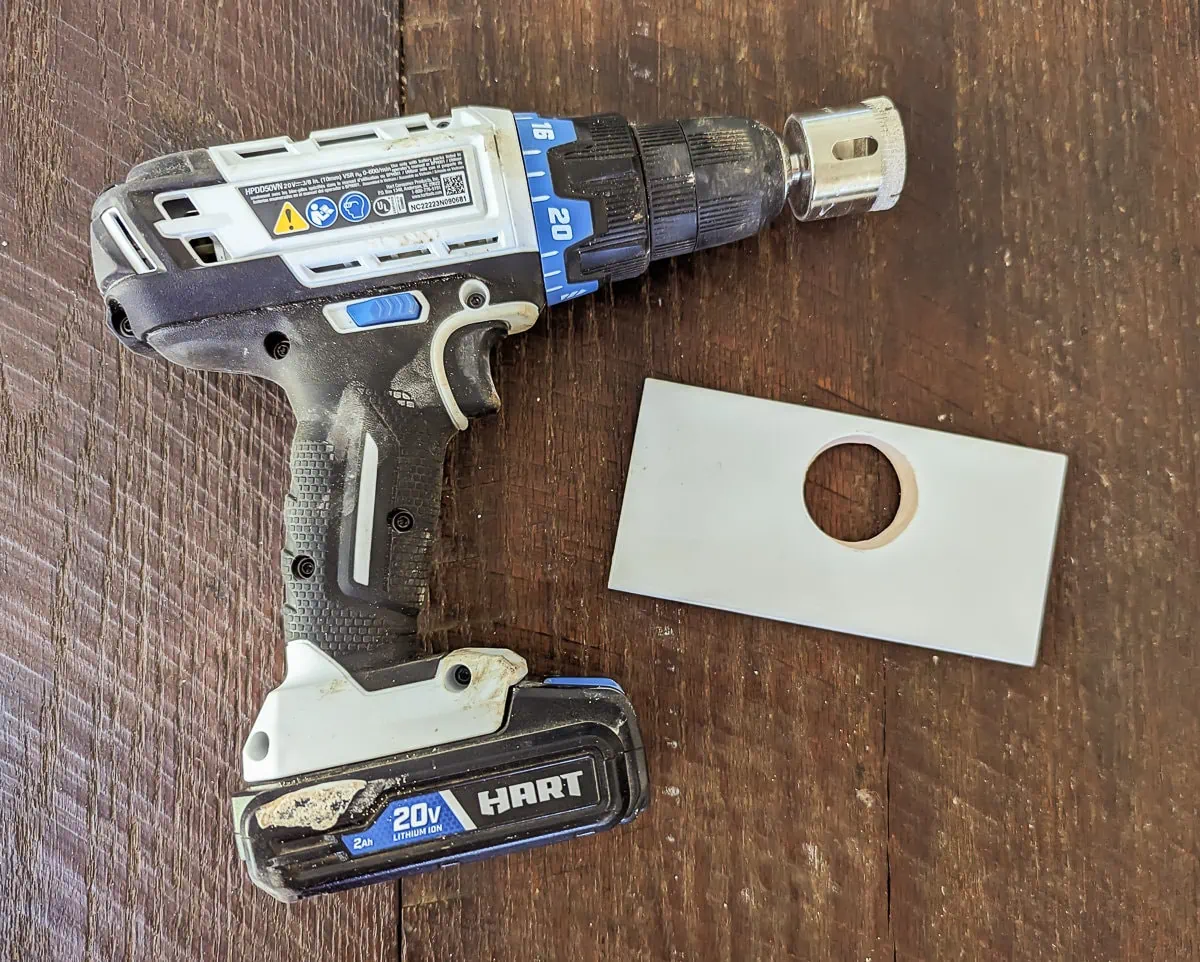
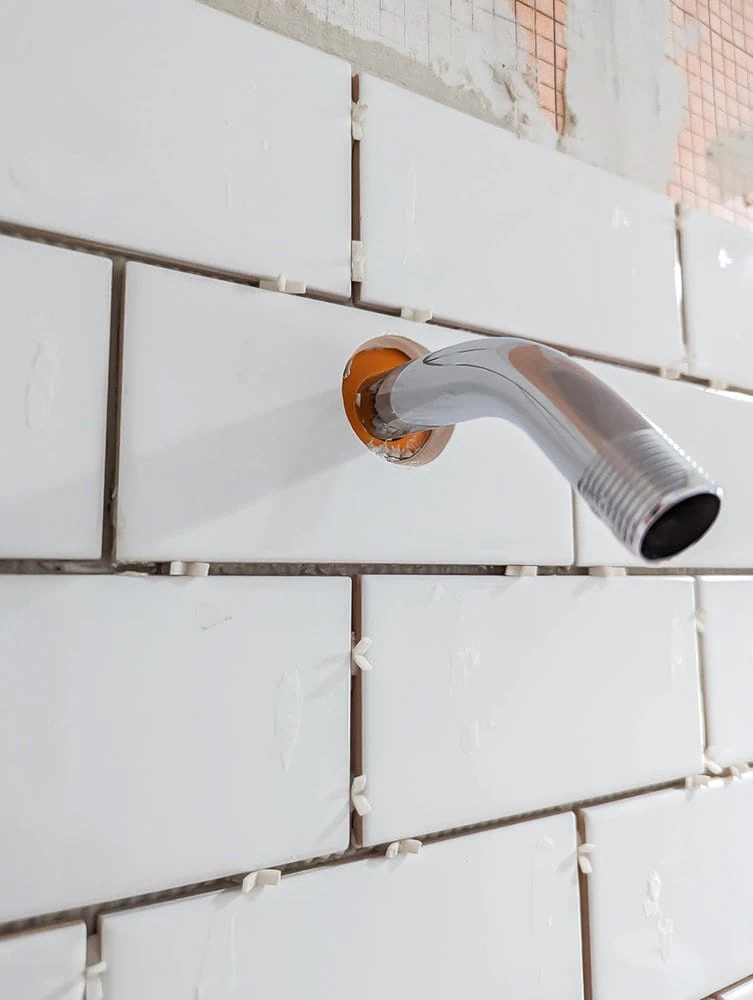
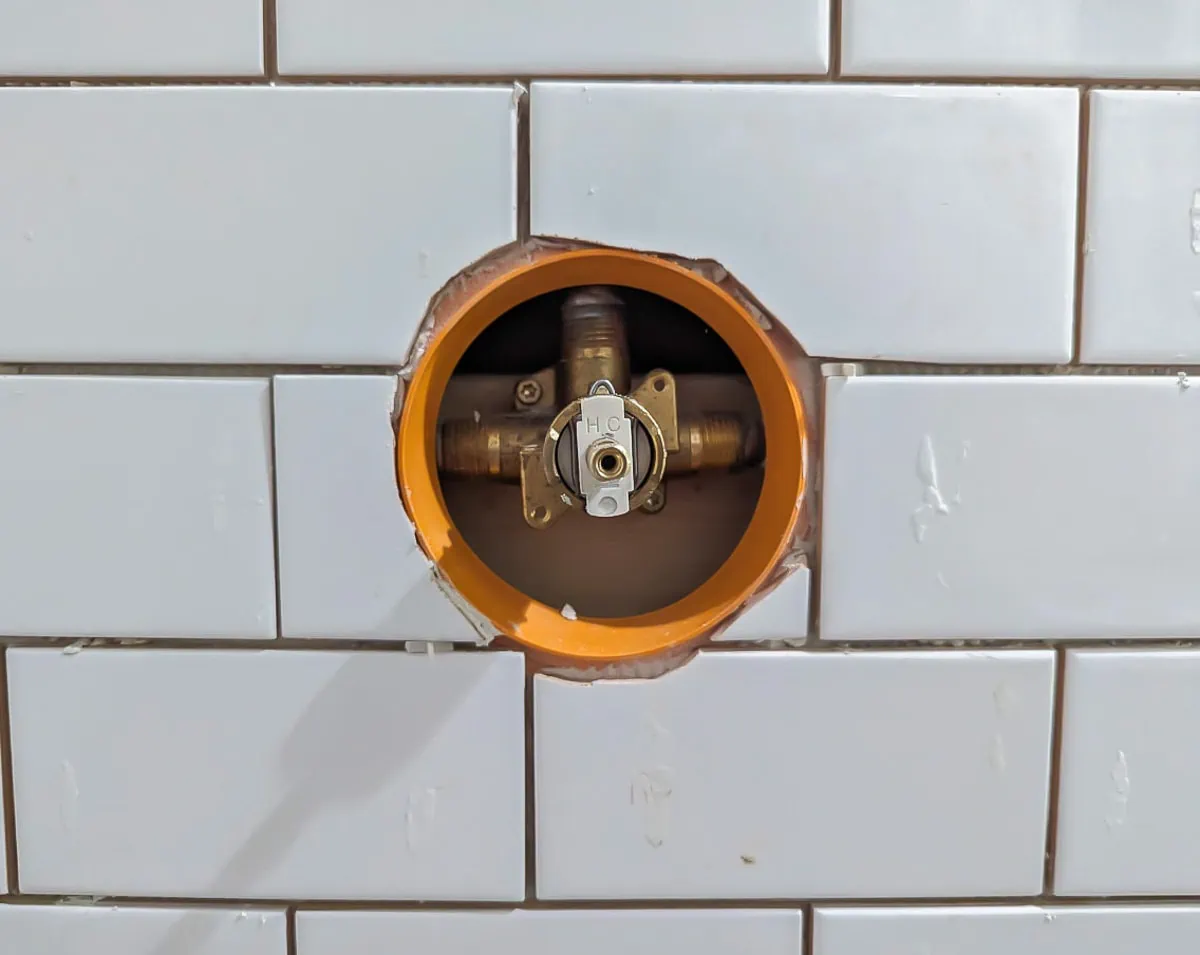
A lot of tile jobs involve fitting tile around plumbing of various kinds. When you need to cut a small hole in your tile to fit around a pipe, a hole saw is the way to go.
A hole saw or hole cutter is a circular blade that attaches to a power drill. It spins around and cuts cleanly down through your tile. You can buy hole saws in various sizes from tiny 1/4″ saws up to 8″ saws to create the exact size hole you need. Just make sure that you get a diamond tipped blade for cutting tile.
How to Cut Tile with a Hole Saw
- Measure and mark where the hole will be on your tile.
- Secure your tile to a work surface using a clamp.
- Attach the correct sized hole saw to your drill and set your drill to a low speed.
- Begin drilling the hole using firm, steady downward pressure. It is recommended to keep your hole saw wet as you cut to keep it from overheating. You can do this by spraying it with water or pouring water from a pitcher onto the bit as you drill.
4. Tile Nippers
- Work best for trimming small bits of tile, cutting notches, arcs, and irregular shapes
- Not great for cutting straight lines or smooth curves
- Types of tile: ceramic, porcelain, marble
- Cost: $10+
I was first introduced to tile nippers years ago when I was creating stained glass mosaics and they’ve turned out to be super handy for tiling jobs as well. Tile nippers are handheld nippers that look a bit like pliers. Some have two flat pinchers at the ends and some have two small cutting wheels instead.
Tile nippers work great if you need to trim off just a small corner or edge to make a tile fit perfectly. It can be surprisingly difficult to cut just a small sliver of tile using a manual tile cutter or wet saw, but a tile nipper does it easily.
You can also use tile nippers to cut curves and irregular shapes in tile, but keep in mind your cuts probably won’t look perfect. Tile nippers tend to chew small bits of tile off, rather than cutting smooth curves and lines. But when your cuts will be covered by trim, they are a super fast way to cut irregular shapes.
How to Cut Tile with Tile Nippers
- Measure and mark where you want to cut your tile.
- Score along your cut line and then use the nippers to pinch off small bits at a time.
- Use a sanding sponge or rubbing stone to smooth any rough edges.
5. Glass cutter
- Works best for small, straight cuts
- Not great for cutting a large number of straight cuts, cutting curves or intricate shapes
- Types of tile: ceramic, glass
- Cost: $6+
A glass cutter is a small handheld tool for making simple cuts in glass. Full disclosure, I haven’t actually cut tile with a glass cutter before. If you have a manual tile cutter, you don’t really need a glass cutter too. But if you only need to make a few simple cuts in tile, a glass cutter is a very inexpensive tool you can use.
How to Cut Tile with a Glass Cutter
- Measure and mark a line along where you want to cut your tile.
- Run the glass cutter firmly along your cut line, scoring the surface of the tile. You can use a ruler to help keep your glass cutter on a straight path.
- Place the scored line over a wire hanger on a flat surface and press gently on both sides of the tile to snap it along the line.
- Use a sanding sponge or rubbing stone to smooth any rough edges.
6. Wet Saw
- Works best for straight cuts on medium to large tiles, L shaped cuts and notches, extra thick tiles and thresholds, and large tiling projects
- Not great for cutting curves, cutting very small tiles
- Types of tile: ceramic, porcelain, marble, stone, glass
- Cost: $80+
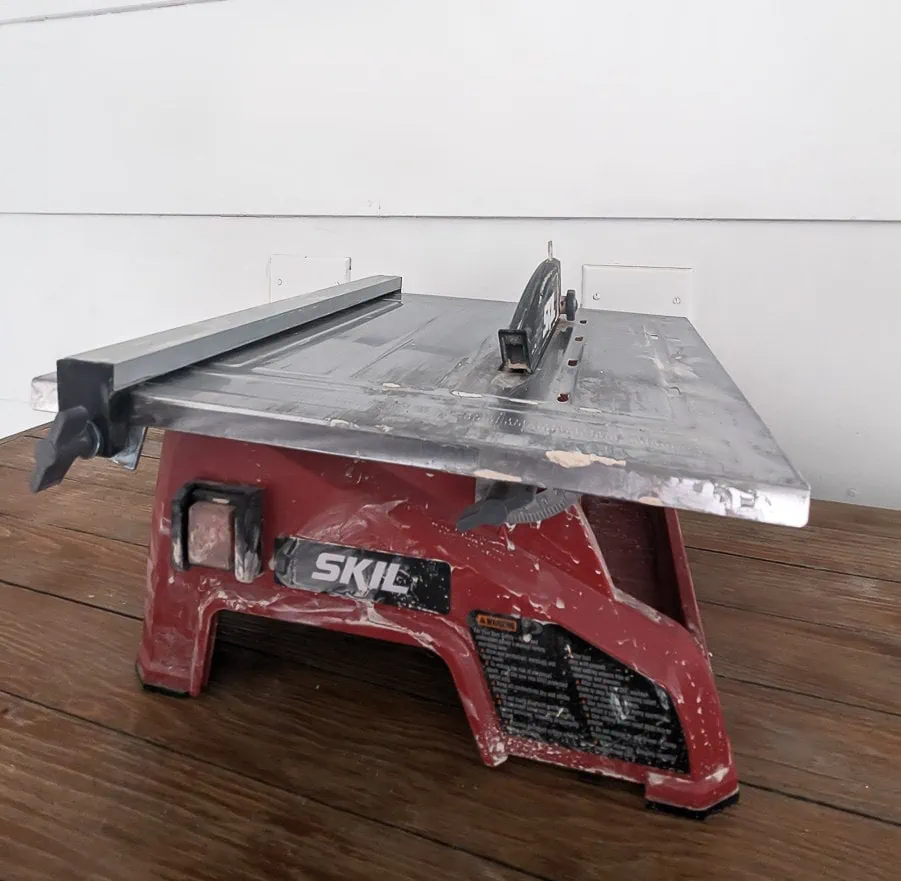
A wet saw is a power tool that is similar to a table saw, but is specifically for cutting tile. It is called a wet saw because it keeps the blade wet with water as it cuts to prevent overheating and control dust.
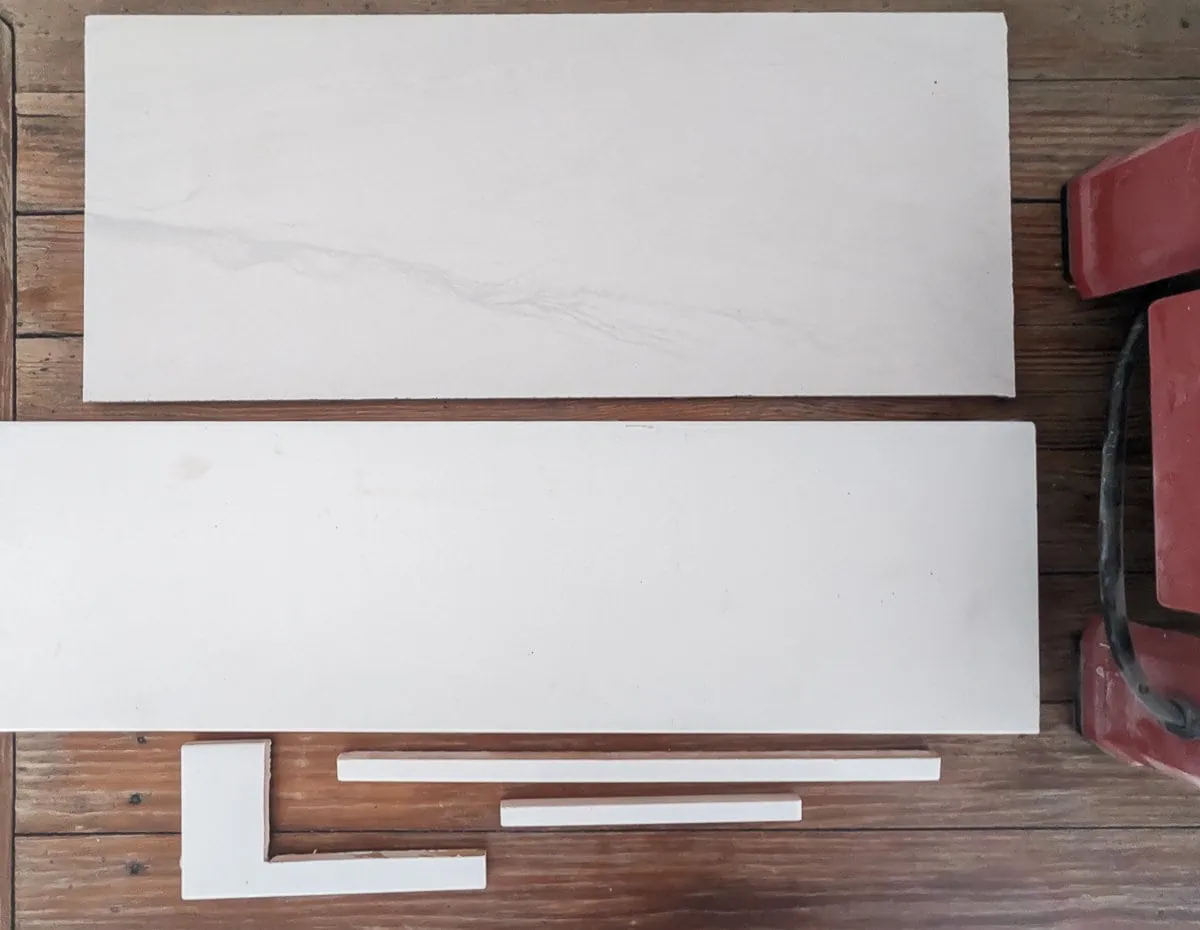
I know wet saws can seem intimidating to DIYers, but sometimes a wet saw really is the best tool for the job. Wet saws can cut tile quickly and cleanly. They can cut extra long tiles that a manual cutter can’t and they can through thicker tile much more easily than a manual tile cutter. I was even able to use my wet saw to cut a 6 foot long, 7mm thick solid threshold to size without any difficulty.
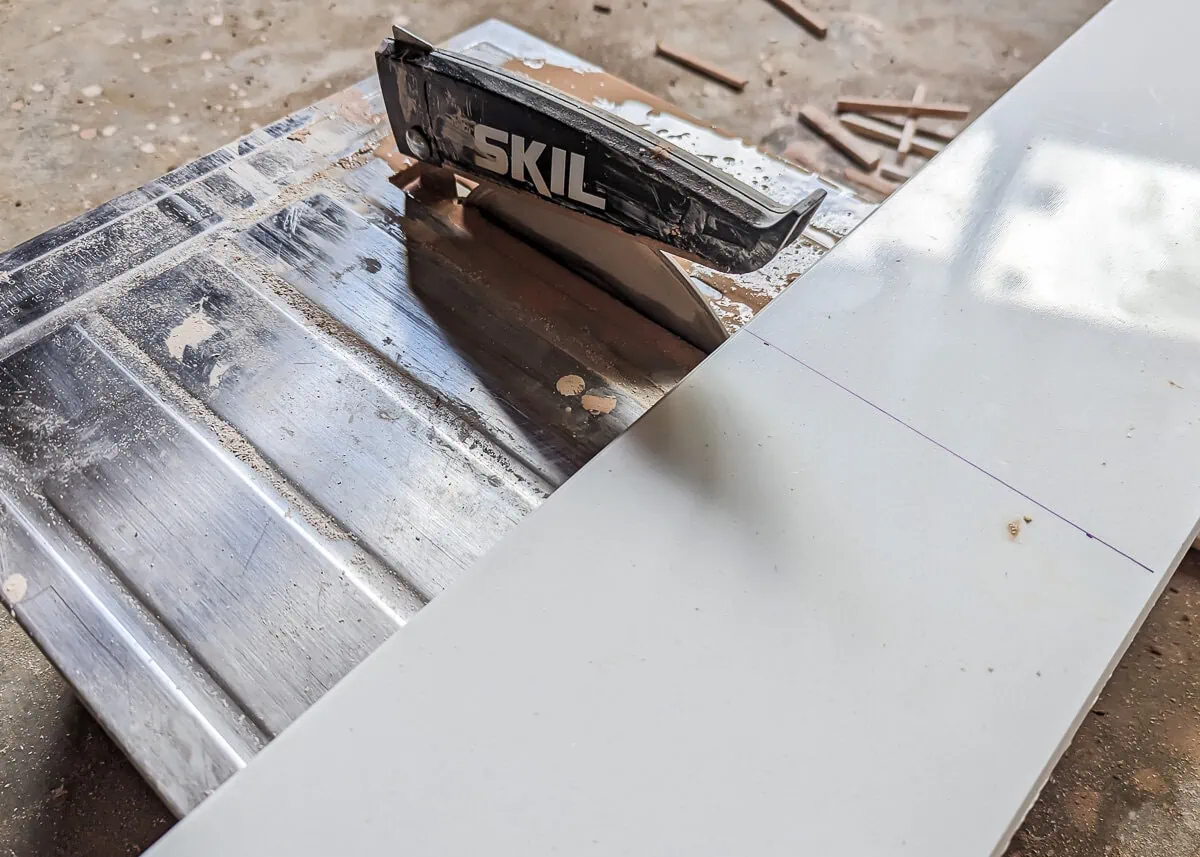
The problem is a lot of DIYers don’t have a wet saw and they don’t necessarily want to buy one just for one or two tile projects. When I was tiling my bathroom, I initially wanted to avoid using a wet saw altogether, but then I realized it was going to be really difficult to cut my large floor tiles without one. So I started researching how I could get a wet saw to use for cheap.
Renting a wet saw
I looked into renting a wet saw. There are several places you can rent them from including Home Depot, but your options will vary greatly depending on where you live. The great thing about renting a wet saw is you can usually rent a really nice, heavy duty saw for much, much cheaper than buying one.
Unfortunately for me, there were none available to rent in my area during the time I needed one.
Buying a cheap wet saw
When I realized I wouldn’t be able to rent a wet saw, I started looking into buying an inexpensive wet saw. I was really surprised to find that a wet saw doesn’t cost nearly as much as I imagined. Yes, there are some pretty expensive saws available, but you can also find several options that are $100 or less. That wasn’t that much more than it would have cost me to rent a wet saw for a day.
And while a $100 saw wouldn’t be nearly as nice and heavy duty as a saw I could rent, I wouldn’t have to rush through my tiling project to make sure I was able to finish everything in one day. Plus I would have it for future projects.
I ended up buying this saw from Amazon. It was cheap and had great reviews. Setting it up and using it was pretty straightforward. I was a little unsure how it would handle my 12″x24″ floor tile, but it actually did just fine. And it definitely saved me tons of time on my bathroom remodel.
How to Cut Tile with a Wet Saw
- Before operating a wet saw be sure to read all instructions and safety warnings in the instruction manual. Be sure to wear protective gear and keep in mind that wet saws are very messy. You will need to follow the instructions for your specific machine, but here is an overview to give the general idea.
- Measure and mark where you want to cut your tile.
- Set up your saw on a level surface and make sure the water reservoir is filled. Set the rip fence to the correct position for your cut.
- Turn on the saw and make sure that water is flowing over the surface.
- Guide the tile slowly along the fence until it is completely cut. (Keep your fingers away from the blade!)
- Turn off the saw and let it power down before removing your tile. Unplug when not in use.
- Use a sanding sponge or rubbing stone to smooth any rough edges on your tile.
Hopefully you feel a lot more prepared to tackle your next tiling project now! With a few inexpensive tools and some patience, you really can save thousands by installing your own tile.
Ready for more bathroom renovation help? Check out these posts next:
I’d love for you to pin this post on Pinterest!


Leave a Reply