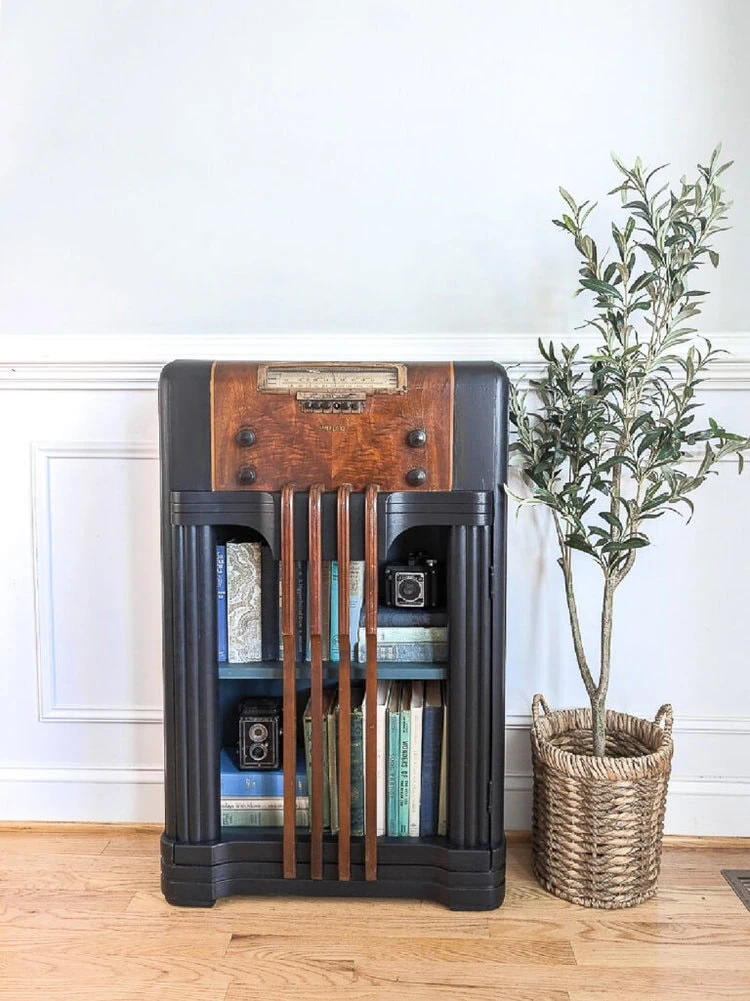
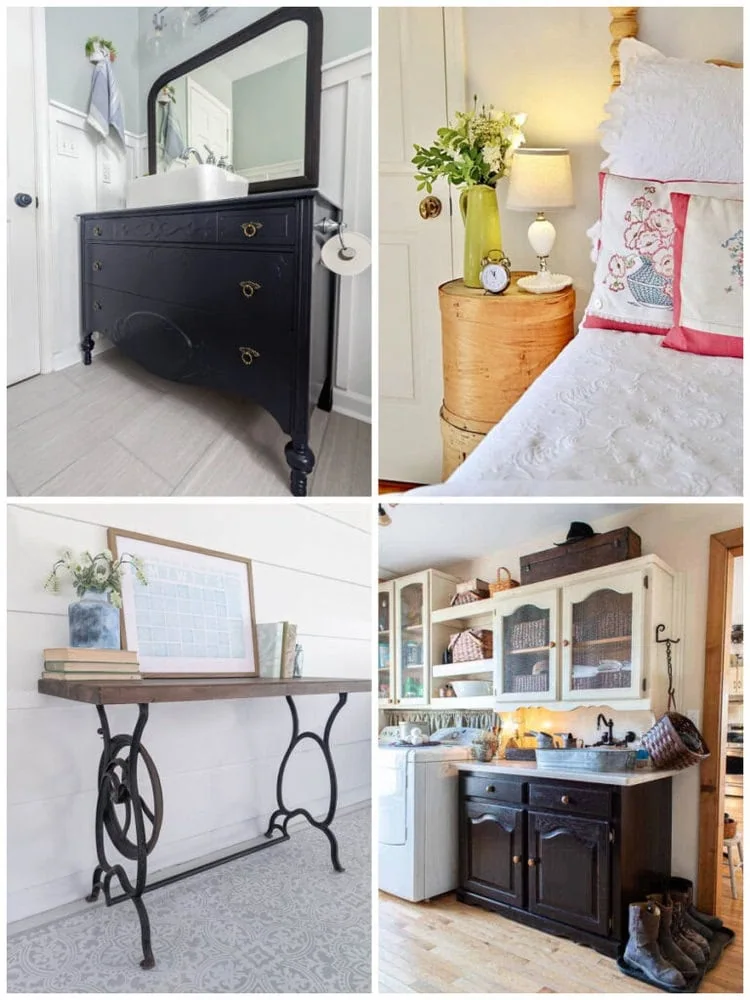
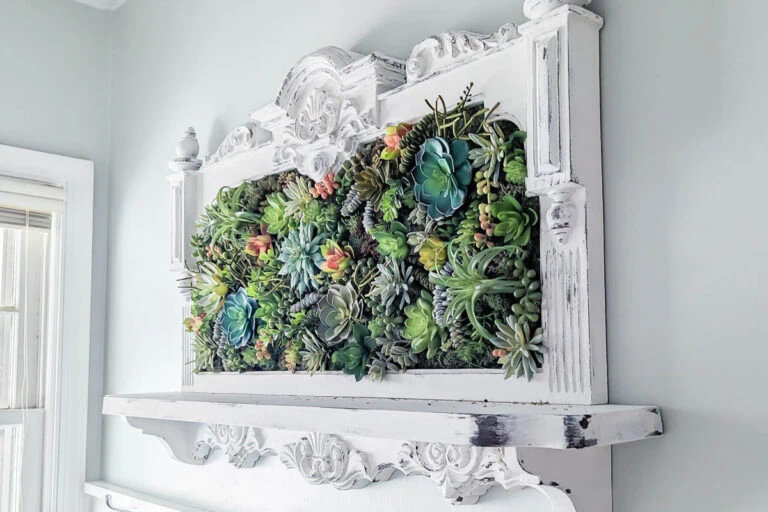
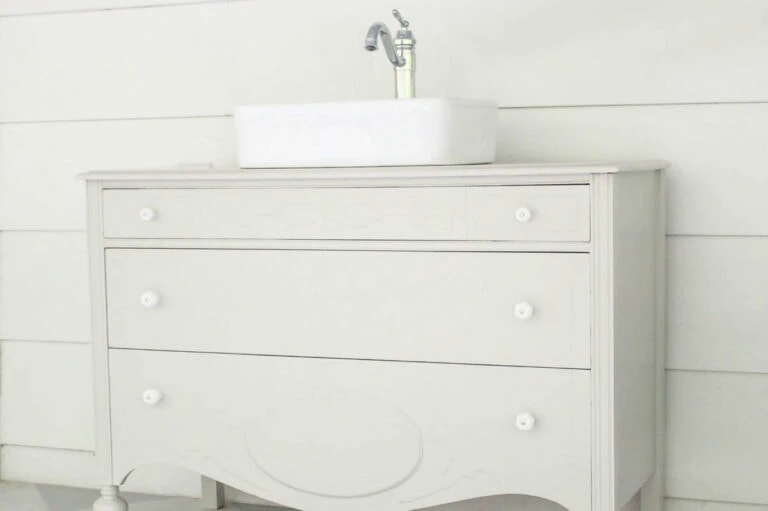
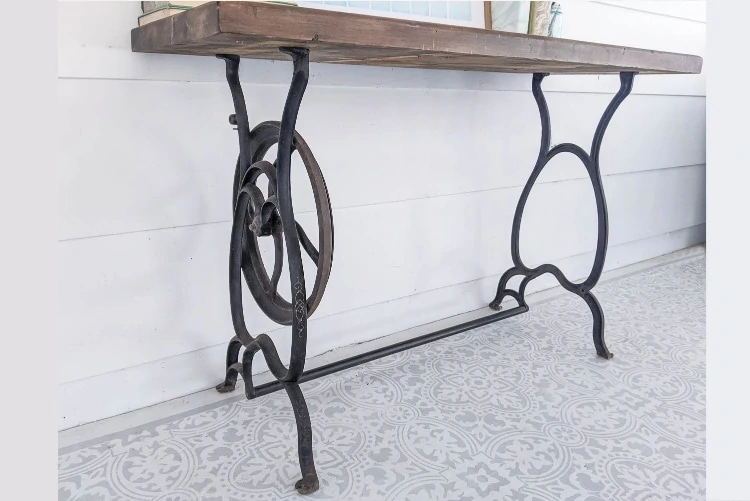
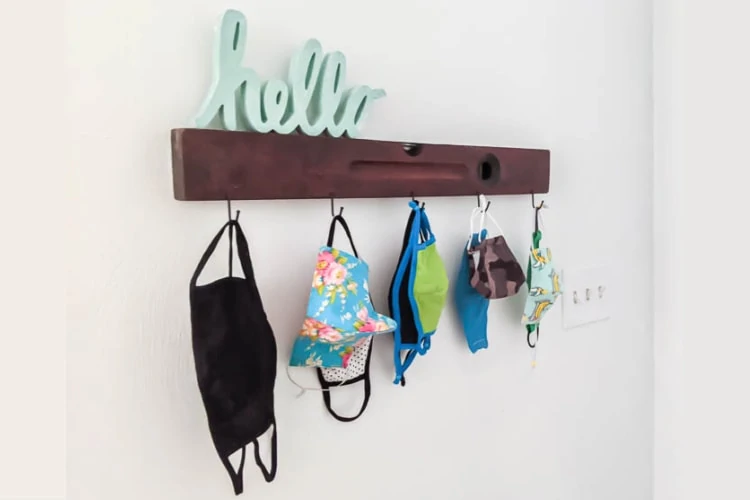
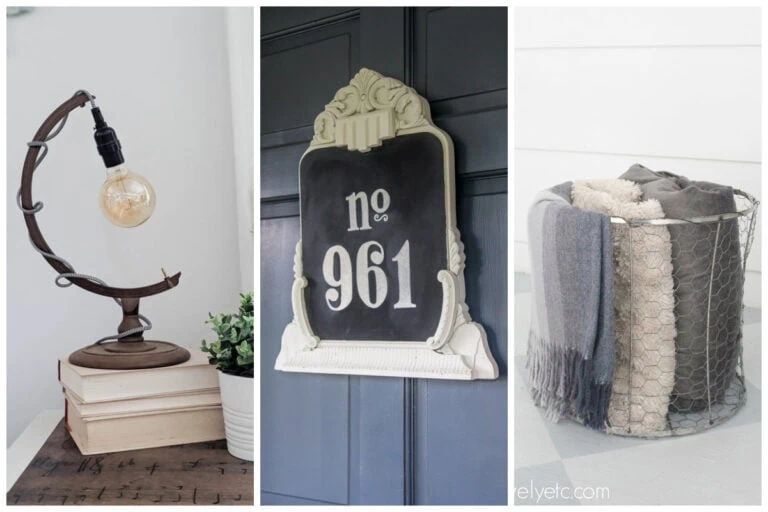
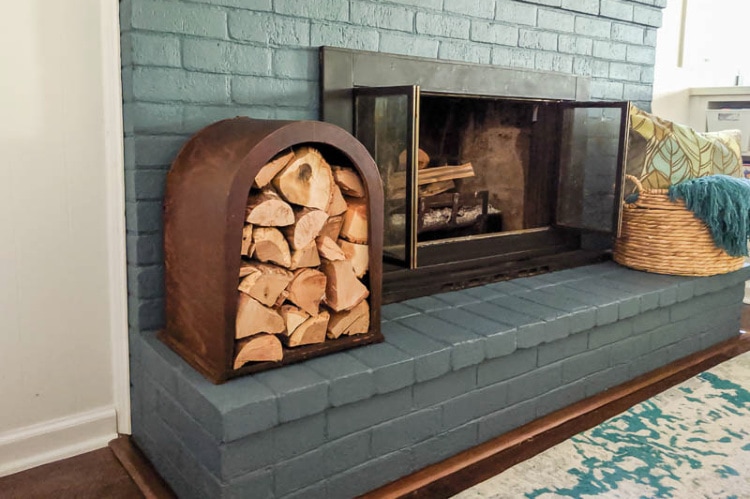
Lovely Etc.

Creating home for less

  • DIY Decor
  • Furniture Flips
  • Upcycled
  • Printables
  • Shop
You are here: Home / Crafting / How to turn a cheap candlestick into an amazing cake stand

Crafting Upcycled

How to turn a cheap candlestick into an amazing cake stand

  • Share
  • Tweet

I am super excited about this gift idea!  I love to decorate with cute cake stands.  They’re not only great for cakes (obviously!), they’re also fantastic for holding stacks of books, framed photos, seashells, pinecones, candles, pretty much anything.

I’ve seen several upcycled cake stand ideas, but I’ve never seen one quite like this one.  I am so happy with how beautiful this little cake stand turned out.  And even better, it was pretty inexpensive and easy to make… but you’d never know it just by looking at it!

DIY clay cake stand

This post contains affiliate links.  See my full disclosure here.


Materials for Upcycled Cake Stand

Small glass candle holder from dollar store

10 – 12 inch round piece of wood

air dry clay

stamp in the pattern of your choice

ink

rolling pin

strong glue (I like this one for projects like this)


How to make a Clay Cake Stand

I wanted to make sure the cake stand was actually sturdy enough to hold something, so I did not make it entirely out of clay.  The base of the stand is a small glass candleholder from the dollar store.  The top part is a small round piece of wood (you can get these at your local craft supply store).

I started by covering the candle holder with clay to make the base.  I rolled out a piece of the clay using a rolling pin until it was nice and even.  Then I used my stamp and Clearsnap ink to stamp my design over the entire piece of clay.  (You know I had to choose aqua ink right?  Love this color!)

The only tricky part of this entire project was covering the curves of the candle holder smoothly.  I found that the easiest way is to cut the clay into strips and wrap the strips around the different sections of the candle holder.

To make the top of the cake stand, I rolled out another piece of clay with the rolling pin.  This time I rolled the clay into a circle about two inches larger than my wooden circle. I again used my stamp and ink to stamp the entire circle.

stamped clay

I  carefully draped the circle of clay onto the circle of wood.  I pressed the sides of the clay to the sides of the wood circle; this caused the overhang of clay to gently ripple.  Originally, I was planning to cut this overhanging clay off but it was so pretty I had to leave it on!  I did trim around the edges of the clay circle with scissors to make everything nice and neat.

cutting clay

Once all of the clay was completely dry, I simply glued the top to the base.

I love this cake stand as a decorative piece, but you could also use it for displaying cakes and cookies.  Just be sure to seal it with a food safe sealer first.  (Or go the easy route and just put a circle of wax paper between any food and the clay surface.)

DIY clay cake stand 5

Personally, I’m loving it as a centerpiece for candles.

diy cake stand 3

diy clay cake stand 2


Happy making!

  • Share
  • Tweet


20 Comments

« Vintage slide lampshade
Easy DIY Joy to the World Ornament »

Comments

  1. Clare Gotpaintinmyhair says

    November 7, 2014 at 12:25 pm

    Brilliant idea!

    Reply
    • Carrie says

      November 9, 2014 at 11:22 am

      Thanks Clare!

      Reply
  2. Shawn Mosch says

    November 7, 2014 at 7:05 pm

    LOVE the snowflake! After they open the gift they can use it for decoration too!

    Shawn ~
    Design Team Coordinator for The Buckle Boutique
    Personal Blog ~ Crafty Chics Blog
    and
    MyCutSearch.com ~ Find your Cricut images FAST!

    Reply
    • Carrie says

      November 9, 2014 at 11:22 am

      Exactly what I was thinking Shawn!

      Reply
  3. Debby L says

    November 8, 2014 at 7:28 am

    Extremely creative. I love this. Now to just be brave enough to give it a shot.

    Reply
    • Carrie says

      November 9, 2014 at 11:22 am

      Thanks Debby! You can do it. And really, even if it turns out terribly, you aren’t out much money and you can have a good laugh!

      Reply
  4. Dixie says

    November 8, 2014 at 9:22 am

    Stunning!

    Reply
    • Carrie says

      November 9, 2014 at 11:21 am

      Thanks!

      Reply
  5. chris aka monkey says

    November 8, 2014 at 11:41 am

    carrie that stand is gorgeous love the curves love the color, make me one, i won’t be naughty any more pinky promise xx

    Reply
    • Carrie says

      November 9, 2014 at 11:21 am

      Haha! It is ok to be just a little naughty. And thank you so much!

      Reply
  6. Asia King says

    November 8, 2014 at 6:03 pm

    Fantastic project! What a great idea to decorate a cake stand with clay! Awesome!
    Crafty hugs from Asia at Under a Creative Spell
    DT for Scrapbook Adhesives by 3L

    Reply
    • Carrie says

      November 9, 2014 at 11:18 am

      Thanks Asia! I am in love with how it turned out!

      Reply
  7. Ann says

    November 9, 2014 at 4:12 pm

    Oh, the cake stand is so creative, love it. And super cute snowflake.

    Reply
    • Carrie says

      November 9, 2014 at 7:55 pm

      Thank you so much!

      Reply
  8. Katie Cooper says

    November 9, 2014 at 4:23 pm

    Very cute cake stand. I liked the of your color choice. Thank you.

    Reply
    • Carrie says

      November 9, 2014 at 7:56 pm

      Thanks Katie! I just can’t resist a good blue.

      Reply
  9. Amy | Club Narwhal says

    November 12, 2014 at 8:55 am

    Oh, this is just GORGEOUS! I haven’t worked much with clay and it never even occurred to me that you could make a cake stand from it–what a brilliant idea. Thanks so much for sharing on The Makers!

    Reply
    • Carrie says

      November 12, 2014 at 9:38 am

      Thanks Amy! I haven’t worked with clay much either but I got this crazy idea and had to give it a try. I’m so glad I did because I love how it turned out!

      Reply
  10. Susan Homeroad Stevenson says

    November 15, 2018 at 2:31 pm

    Carrie that’s amazing and soooo beautiful!

    Reply
    • Carrie says

      November 29, 2018 at 12:42 pm

      Thank you so much Susan!

      Reply

Leave a Reply Cancel reply

Your email address will not be published. Required fields are marked *

This site uses Akismet to reduce spam. Learn how your comment data is processed.

Looking for Something?

View my Web Stories

  • About Lovely Etc.
  • Contact Me
  • Privacy Policy
  • Shop

Thanks for stopping by Lovely Etc! While every effort has been made to ensure the accuracy and effectiveness of the information displayed on this website, Lovely Etc. makes no guarantees as to the procedures and information contained here. The publisher will not be liable for direct, indirect, incidental, or consequential damages in connection with the information displayed on lovelyetc.com. This website is not intended to substitute for advice from a professional.

Lovely Etc is a participant in the Amazon Services LLC Associates Program, an affiliate advertising program designed to provide a means for sites to earn advertising fees by advertising and linking to amazon.com. You can read my full disclosure policy here.

Copyright © 2022 · Divine theme by Restored 316