How to Make Beautiful DIY Succulent Wall Art
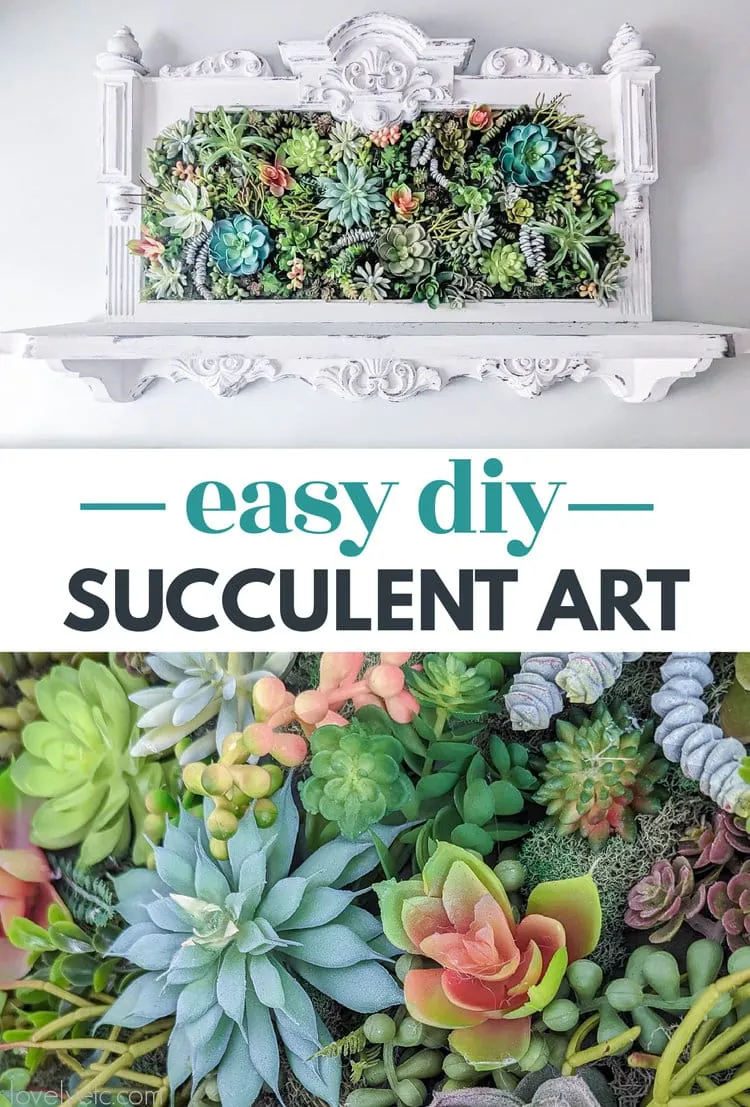
This easy step-by-step tutorial will show you how to make custom DIY succulent wall art using faux succulents.
I love finding easy ways to create beautiful DIY wall art that anyone can do, whether they have any artistic skill or not.
This succulent wall decor definitely fits that requirement! It looks beautiful and high end but you absolutely do not need to have artistic talent to create your own.
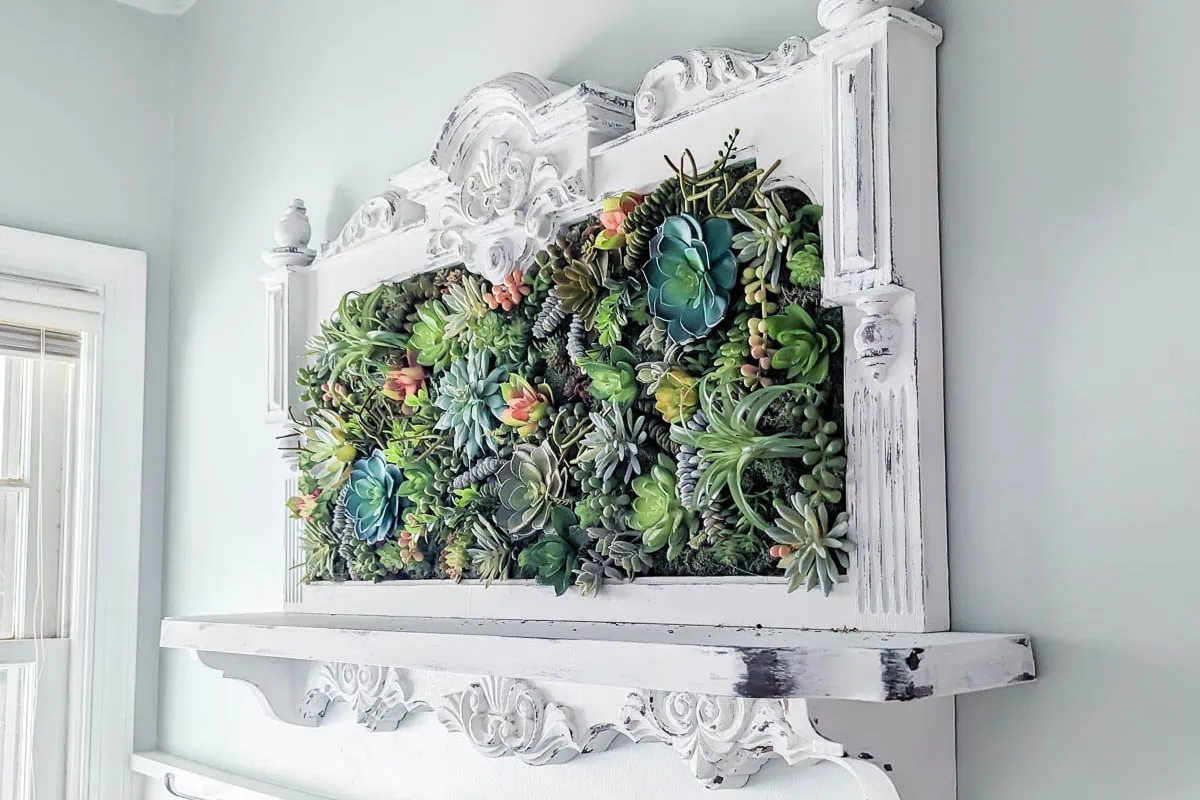
I created my succulent art to go in our bathroom, but I think it would also look incredible in pretty much any room in the house. It’s such a simple way to bring lots of texture and color to a space.
I’m using faux succulents for this project. There are ways to create true living walls and living wall art using real succulents and mosses, but they’re a lot more complicated and real succulents are a lot harder to keep alive than you might think. For this piece, I’m going the easy route and using faux plants.
This post contains affiliate links which means if you make a purchase after clicking a link I will earn a small commission but it won’t cost you a penny more. Click here to see my full disclosure policy.
Where to find great faux succulents
There are some very realistic faux succulents out there. Real succulents tend to look a bit cartoony and fake, so it’s easier for faux versions to look realistic than it is for many other plants.
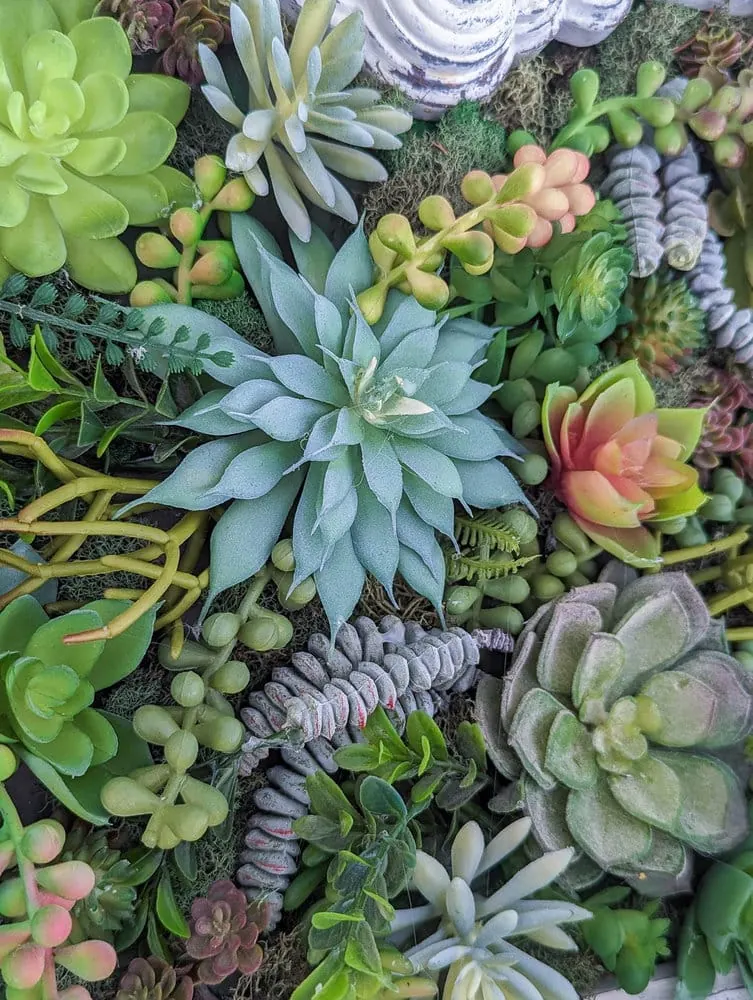
Even so, the quality of faux succulents can vary widely. Some look incredibly realistic while others look like exactly what they are – plastic plants. The cost can also vary widely, ranging from as little as a dollar per plant to as much as ten dollars for a small bunch.
I prefer to buy artificial plants in person whenever possible so I can get a better idea of how realistic they look. There are several places you can buy faux succulents in person. Dollar Tree, JoAnns, Michaels, Hobby Lobby, Target, and IKEA all carry them along with other similar stores.
I purchased most of my faux succulents at Michaels, taking advantage of sales and coupons to help keep costs down. I also purchased a couple of air plants at Dollar Tree, but sadly their succulents looked very much like cheap plastic plants.
You can find a much wider variety of unpotted succulents online, but be sure to look at photos and read reviews carefully before purchasing.
This set of 20 mini succulents from Etsy has incredible reviews with some buyers saying they couldn’t believe how realistic they look.
This Etsy shop also has a huge range of super realistic faux succulents. They are a bit pricier, but there is a huge variety so you can choose exactly the types and colors of succulents you want.
This set on Amazon has particularly great reviews and I also like that it includes mostly larger succulents rather than a lot of little tinies.
Wherever you purchase your succulents, just remember you may need more than you think to completely cover the space within your frame.
Materials
- Frame – any frame will work for this project
- Faux succulents – these are the star of the show so you want them to look good. You can find realistic options here, here, and here.
- Cardboard – to create a backing for your succulent art, cardboard from an old box works great for this.
- Green craft paint and paintbrush – to paint the cardboard backing so it blends in
- Preserved moss – this really helps make the whole thing look more realistic. You can use regular green moss or go for a mixed pack that includes a variety of textures and colors
- Hot glue gun and glue sticks– for attaching the plants
- Wire cutters – for trimming the succulents to size
- Awl or small screwdriver – to poke holes in the cardboard
How to Make DIY Succulent Wall Art
Choose a Frame
The frame you choose for your succulent art really helps set the tone for the piece.
I chose an ornate frame that I had previously painted. My frame is actually just molded plastic but you would never guess that looking at it!
Thrift stores and estate sales are full of large frames with interesting details. Often they don’t have glass which makes it more difficult to use them to frame regular art, but perfect for a project like this.
If you want a more modern, streamlined look for your art, you can also use a more plain frame. Really any style of frame will work for this.
If you are using a frame with glass, remove the glass and set it aside for some other use.
Cut backing from cardboard
The cardboard serves as a backdrop for your succulents as well as a solid base to attach everything to. You don’t need anything fancy for this; I just cut a piece of cardboard from a box in our recycling pile.
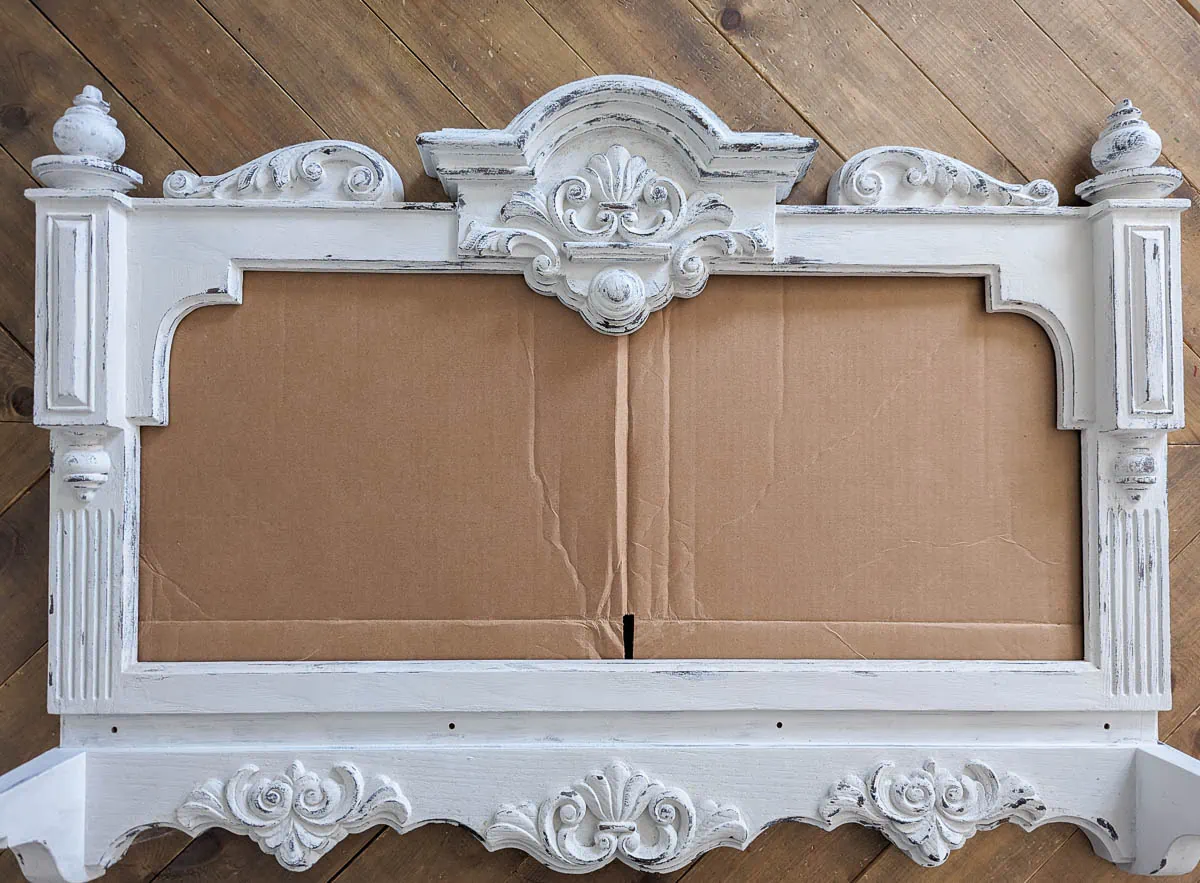
Your frame may already have a thick cardboard backing, but it’s better to cut a second piece of cardboard to use as the base of your succulent art. It will make the entire piece more stable and be easier to work with.
Paint the cardboard green
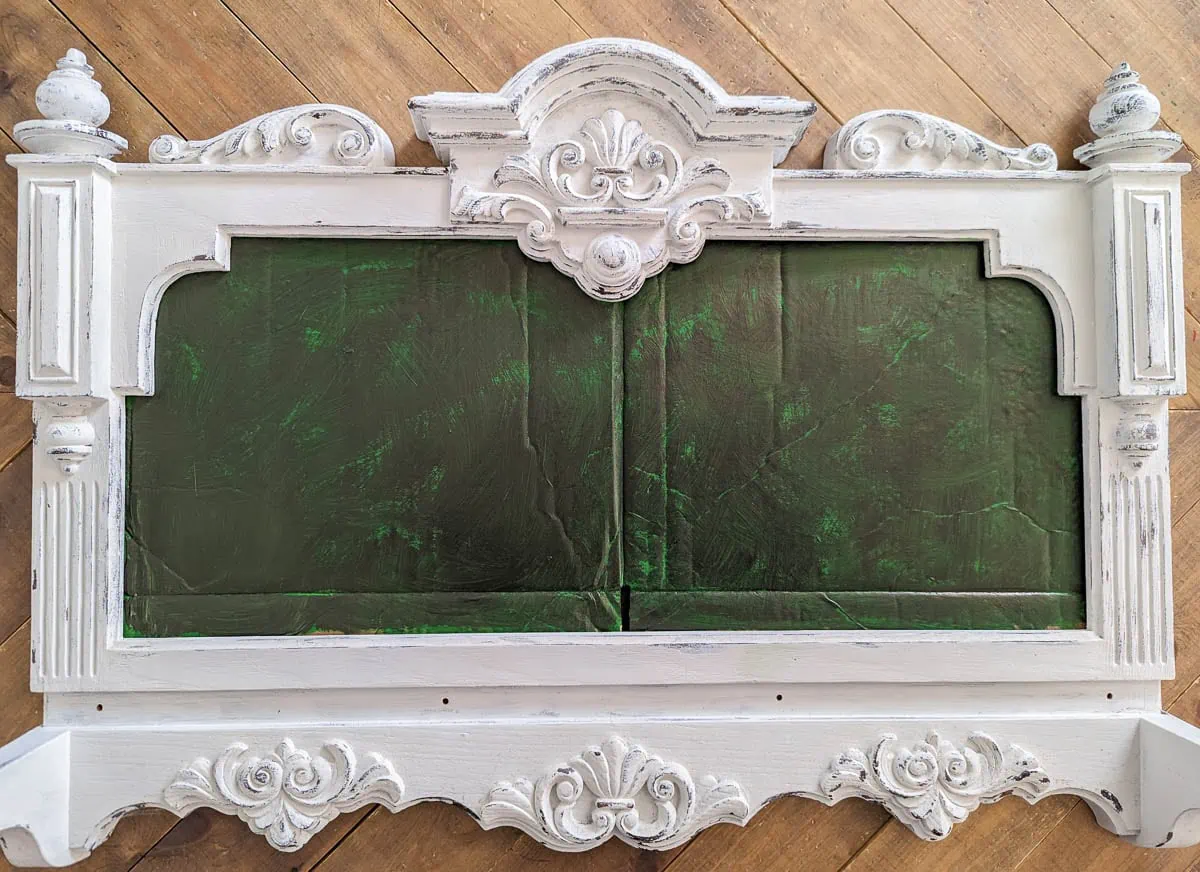
Painting your cardboard green ensures that any bits of cardboard that are visible between the succulents and moss blends right in. This paint job doesn’t need to be perfect; most of it will be covered up in the end.
A dark green craft paint works well for this. The first shade of green I painted my background was way too bright so I dry-brushed a darker shade on top to tone it down.
Prep your succulents
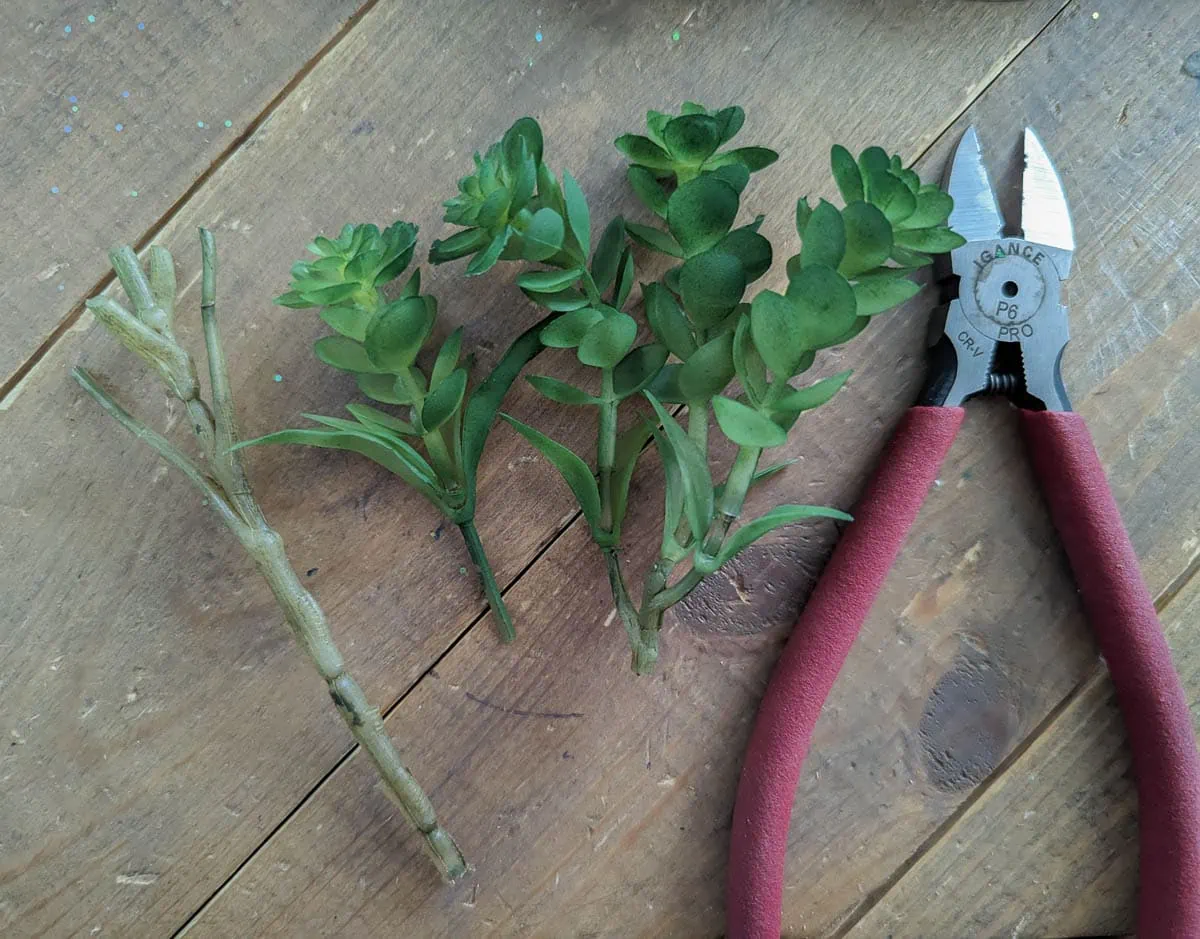
Before starting your succulent wall art, you want to break down the succulents. Any succulents that are grouped together onto a single stem can be popped off the stem or cut apart using wire cutters.
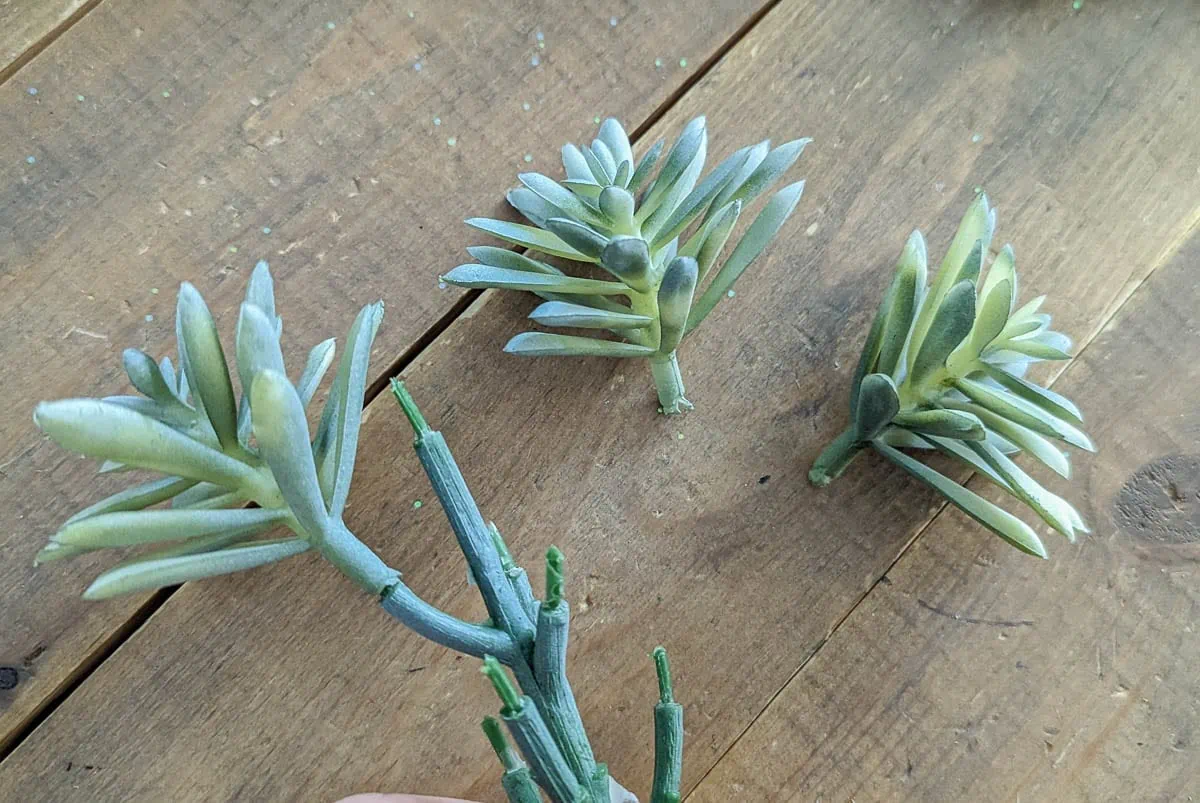
If you have succulents with long stems or long wires, these can be shortened to just a few inches long. If any of your succulents have stiff plastic stems that can’t be bent, it’s really easiest to just cut the entire stem off.
Start placing your largest succulents
Now you’re ready to start laying out your succulents where you want them to be. Start with your largest, most prominent succulents.
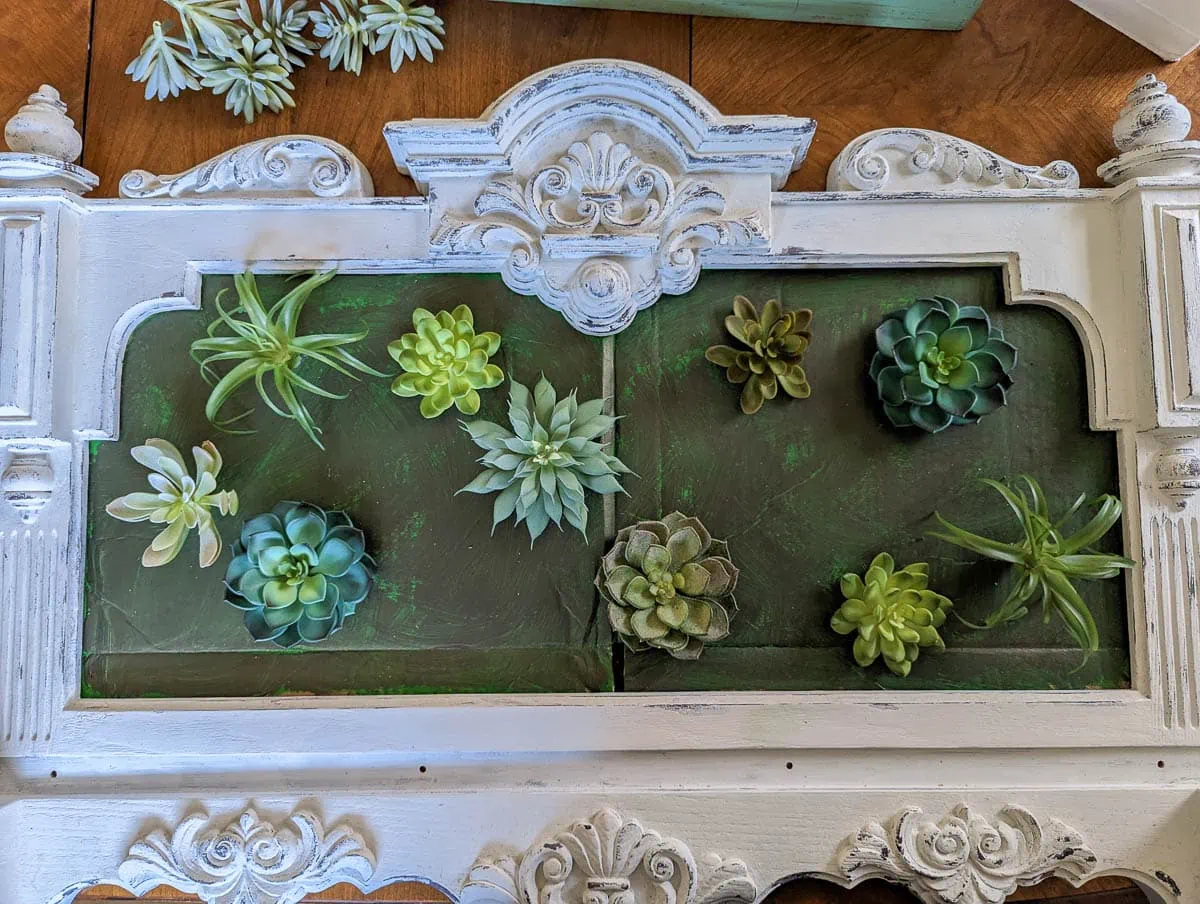
Lay them out in your frame in a way that feels balanced, but not overly symmetrical. You want your eye to naturally move around the piece; if the design has too much symmetry or too many straight lines, it will look forced.
Attach the succulents to the cardboard
There are a couple of different ways you can attach different types of succulents.
If they have a wire stem, poke a small hole in the cardboard using an awl of screwdriver and slide the wire into the hole. Then you can use a bit of hot glue to secure it firmly in place.
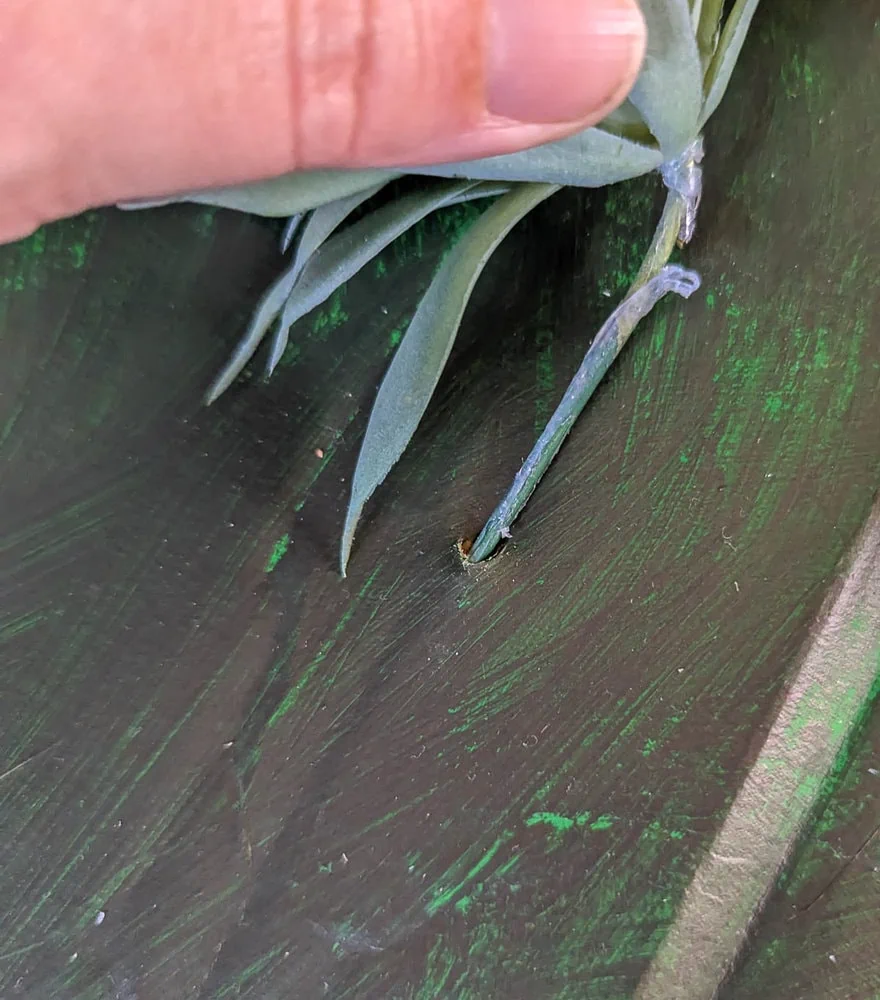
If they don’t have a stem, you can simply attach them using hot glue.
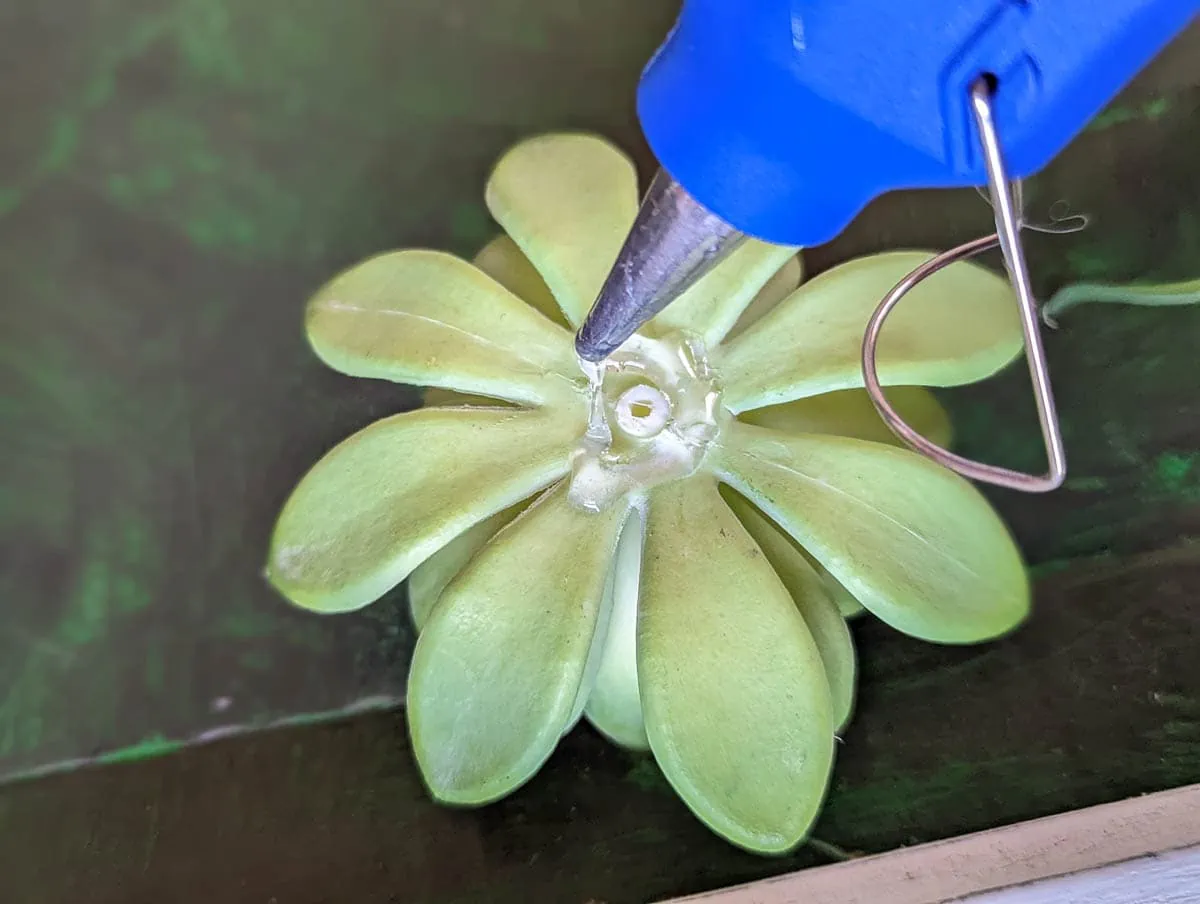
Fill in with more succulents
Fill in the rest of your frame with more succulents and small plants.
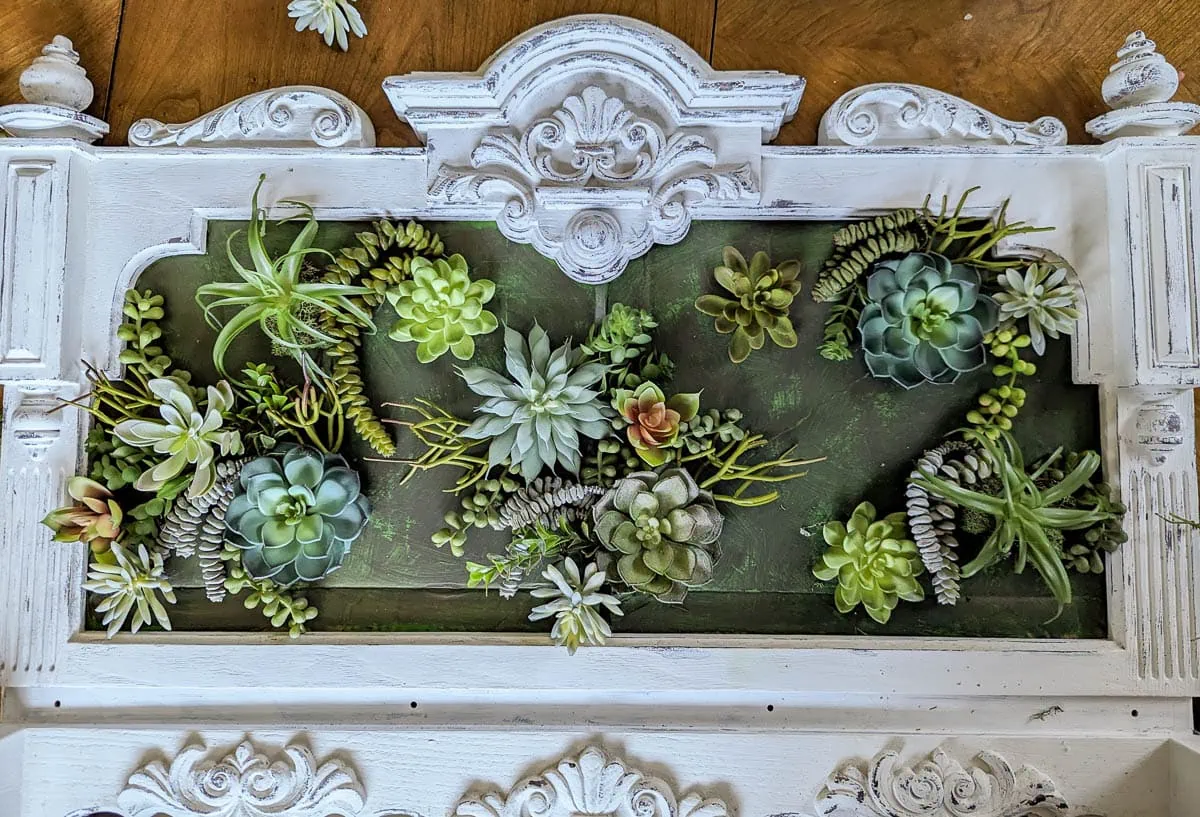
It is easiest to start by tucking in smaller succulents around each of the larger succulents you placed earlier, then move out from there.
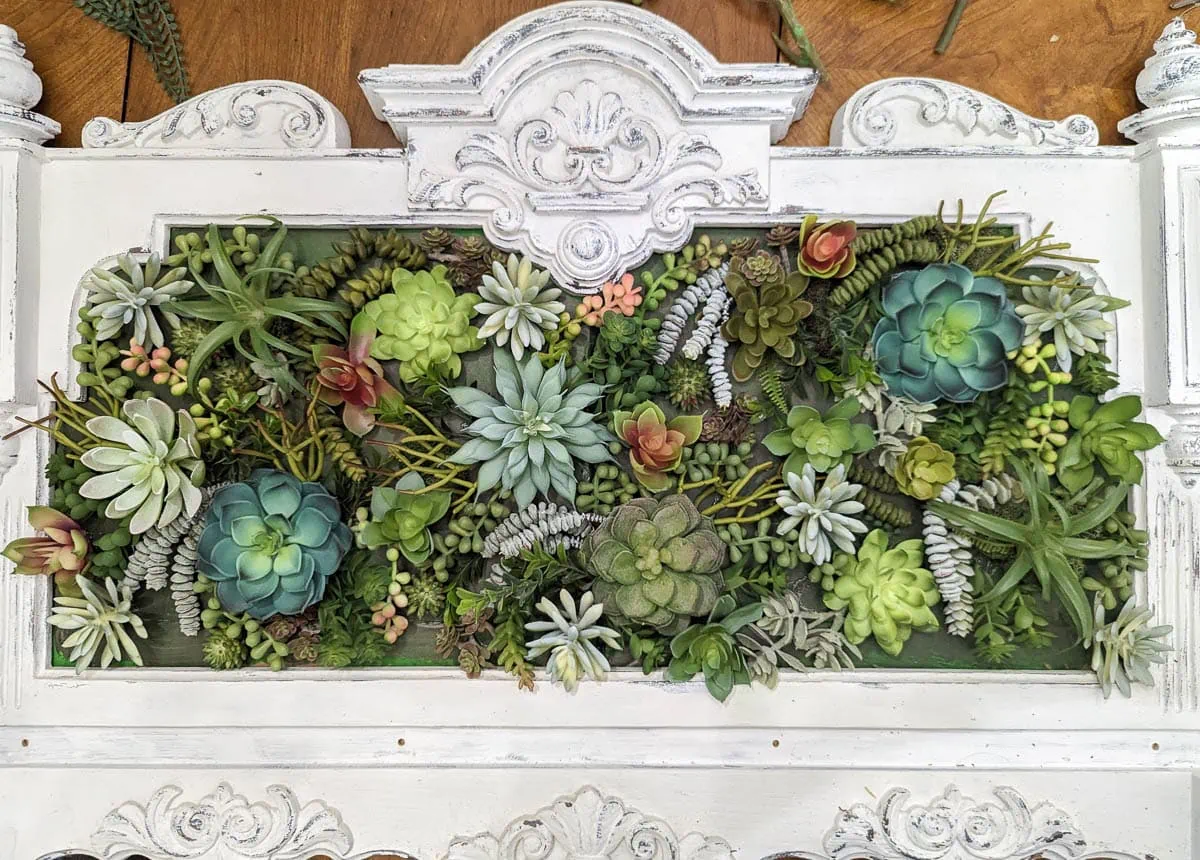
Fill as much of the cardboard as possible, arranging things however you think they look best
Fill any gaps with moss
Once the board is filled with plants, fill in any empty spaces with moss. You can use your hot glue gun to easily attach it.
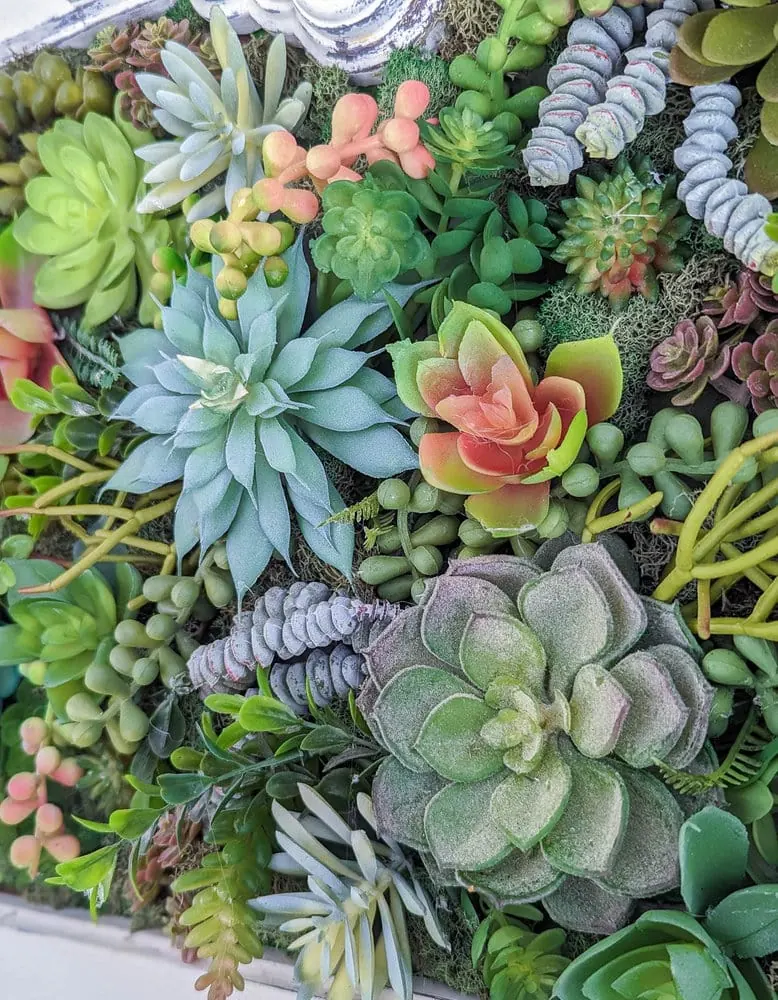
Covering all the bits of exposed cardboard really helps bring the whole thing to life.
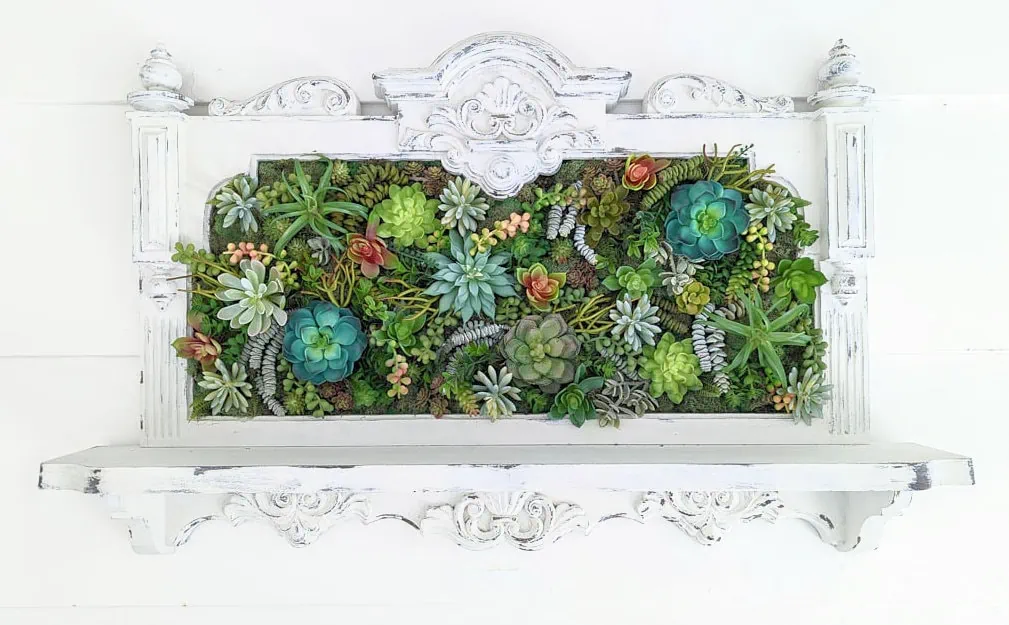
Finished succulent wall art
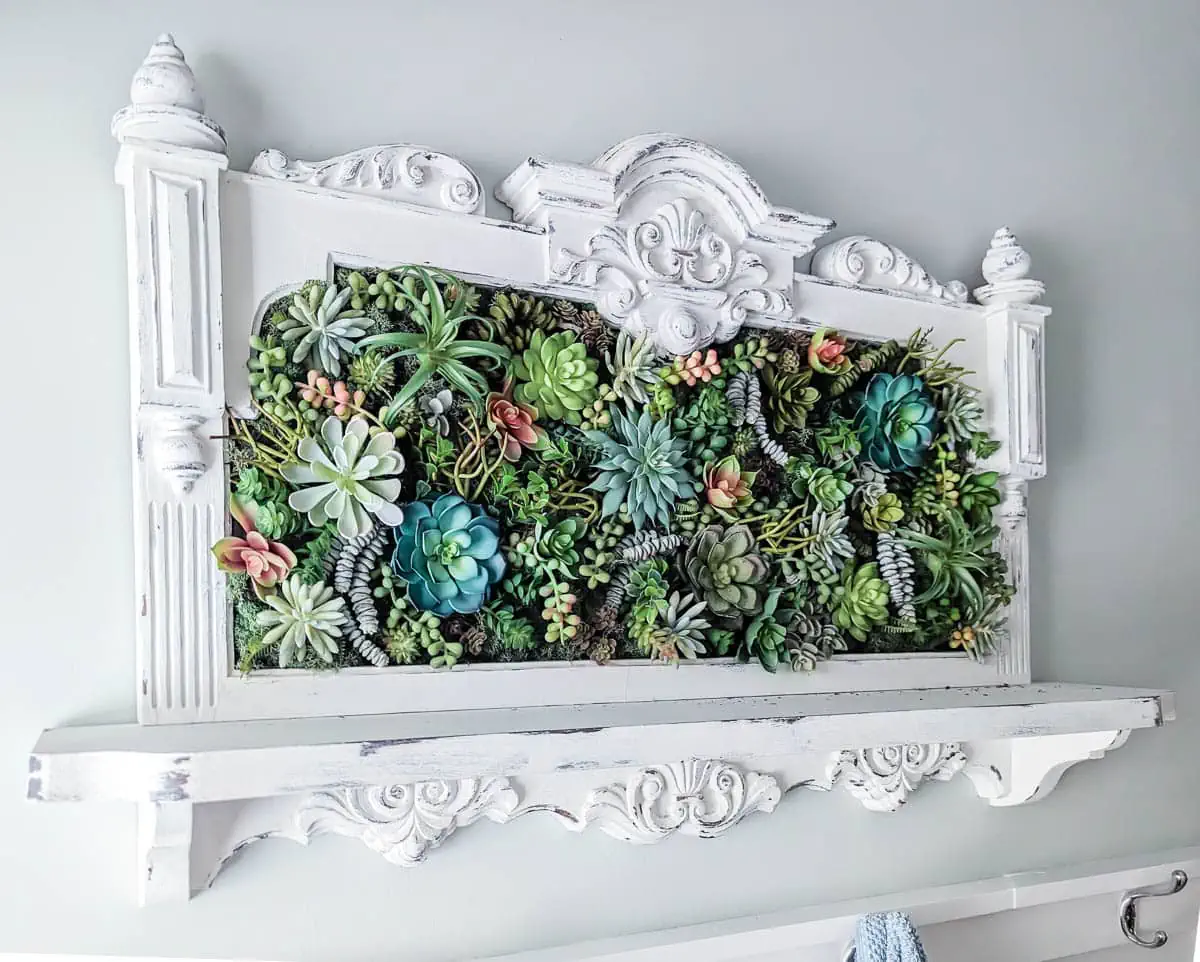
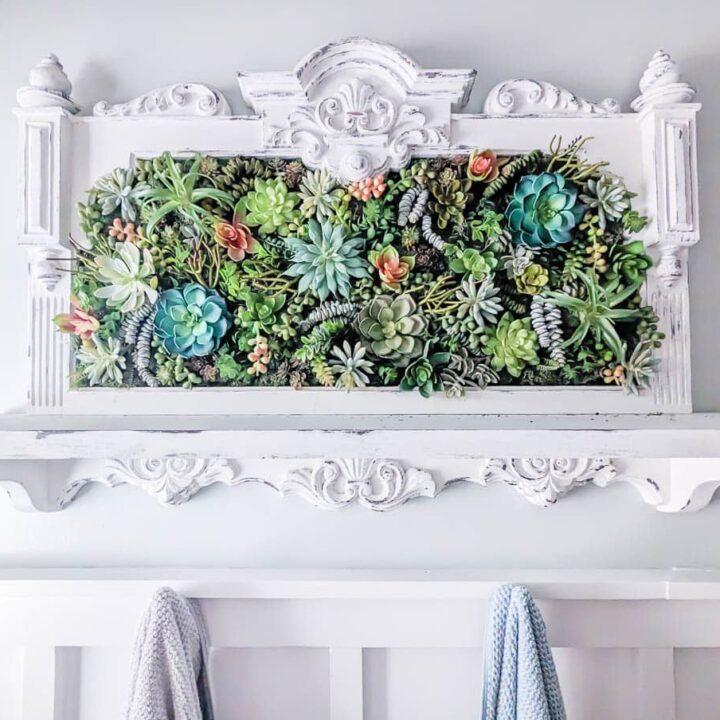
I love how this DIY succulent frame came together. It’s full of color and texture and life.
When my ten year old saw it, he said it looked like a portal to another world and I have to agree. It does look a bit like a portal to an enchanted land full of fairies and magic.
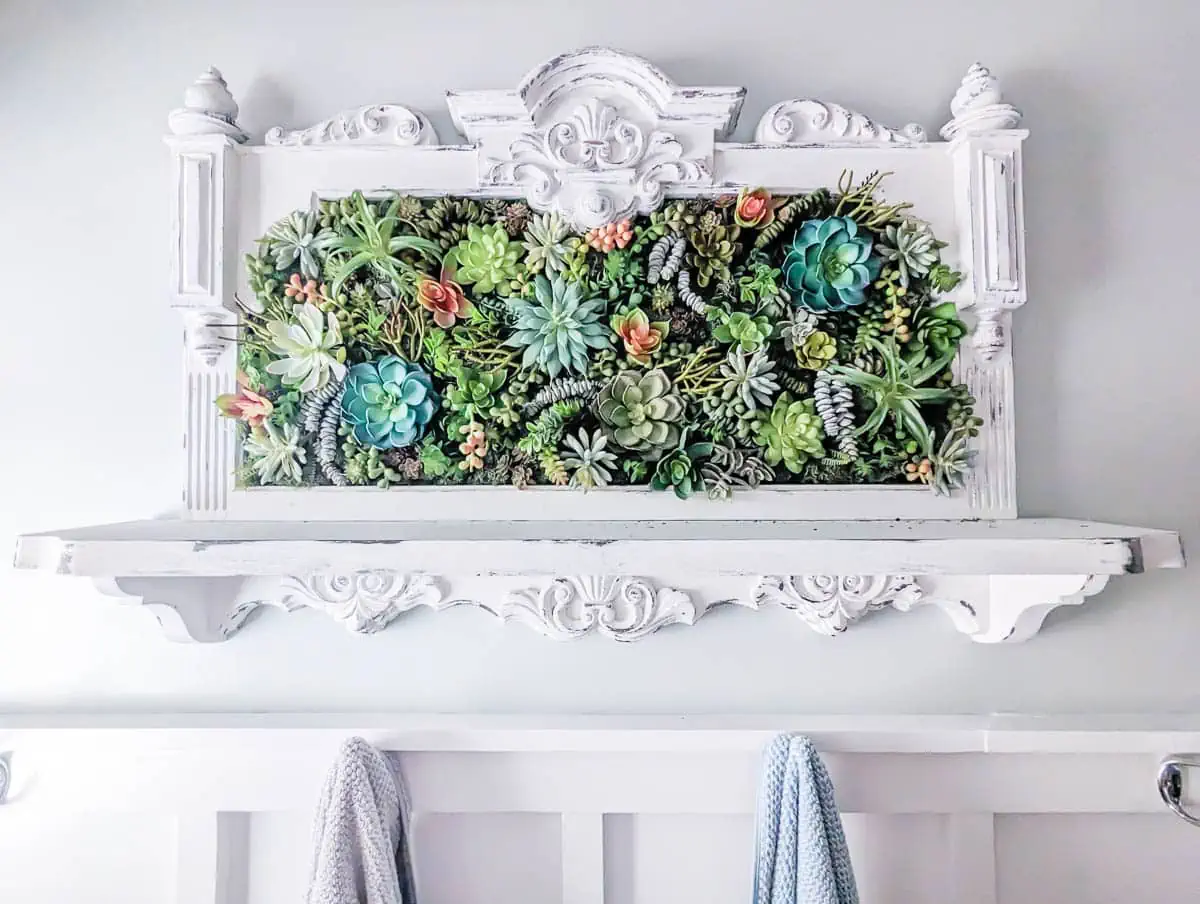
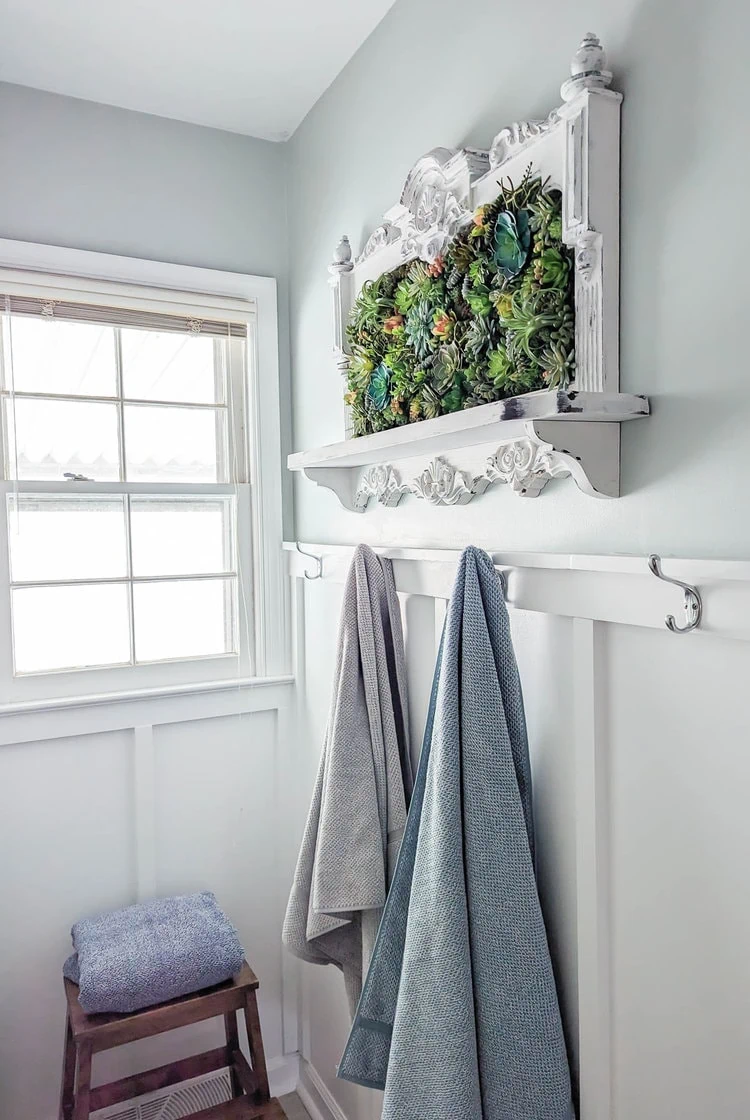
My DIY succulent wall art is now hanging in our hall bathroom right across from the shower.
Finding the perfect wall art for a bathroom can be tricky and I feel like this plant art works really well here.
Other creative wall art ideas I think you’ll like:
I’d love for you to pin this post on Pinterest!

Google Web Story: Succulent Wall Art DIY
How to Make Beautiful DIY Succulent Wall Art
Learn how to use faux succulents to create a stunning piece of wall art this is unique and surprisingly easy to create.
Materials
- Frame
- Faux succulents
- Cardboard
- Green craft paint and paintbrush
- Preserved moss
Tools
- Hot glue gun and glue sticks
- Wire Cutters
- Awl
Instructions
- Choose a frame.
- Cut backing from cardboard to fit your frame. Paint the cardboard green.
- Break down the succulents that are grouped together. A single stem can be popped off the stem or cut apart using wire cutters.
- Start laying out your largest succulents first onto your frame in a way that feels balanced. Then lay out the smaller ones.
- Once you have your placement ready, start attaching the succulents to the cardboard.
- If they have a wire stem, poke a small hole in the cardboard using an awl or screwdriver and slide the wire into the hole. Add a dab of hot glue to secure it firmly in place.
- If they don’t have a stem, you can simply hot glue.
- Continue filling in the rest of your frame with more succulents and small plants.
- Once the board is filled with plants, fill in any empty spaces with moss with a bit of hot glue.
Recommended Products
As an Amazon Associate and member of other affiliate programs, I earn from qualifying purchases.
-
General Tools Scratch Awl Tool with Hardwood Handle - Scribe, Layout Work, & Piercing Wood - Alloy Steel Blade
-
Mr. Pen- Glue Gun, Hot Glue Guns, with 10 Glue Gun Sticks, Glue Gun Kit, Mini Glue Gun, Mini Hot Glue Gun, Hot Melt Glue Gun, Craft Glue Gun, Hot Glue Gun with Glue Sticks, Small Glue Gun, Gun Glue
-
prefleur Preserved Reindeer Moss Natural Green DIY Kit Gardenning Art Wall Decor Florist Decor Easter Table Decor Wedding Decor (0.85lb)(Green-06)
-
Seeko Artificial Succulents (14 Pack) - Premium Succulent Plants Artificial - Realistic Faux Succulents - Unpotted Textured Fake Succulents Decor for DIY - Fake Plants


I love this succulent craft. Awesome.
Thank you!
The DIY frame final result came out amazing!!! I loved the colors that were added on them they stand out
Thank you!