How to Cut in Paint: Easy Tips for Perfect Paint Lines
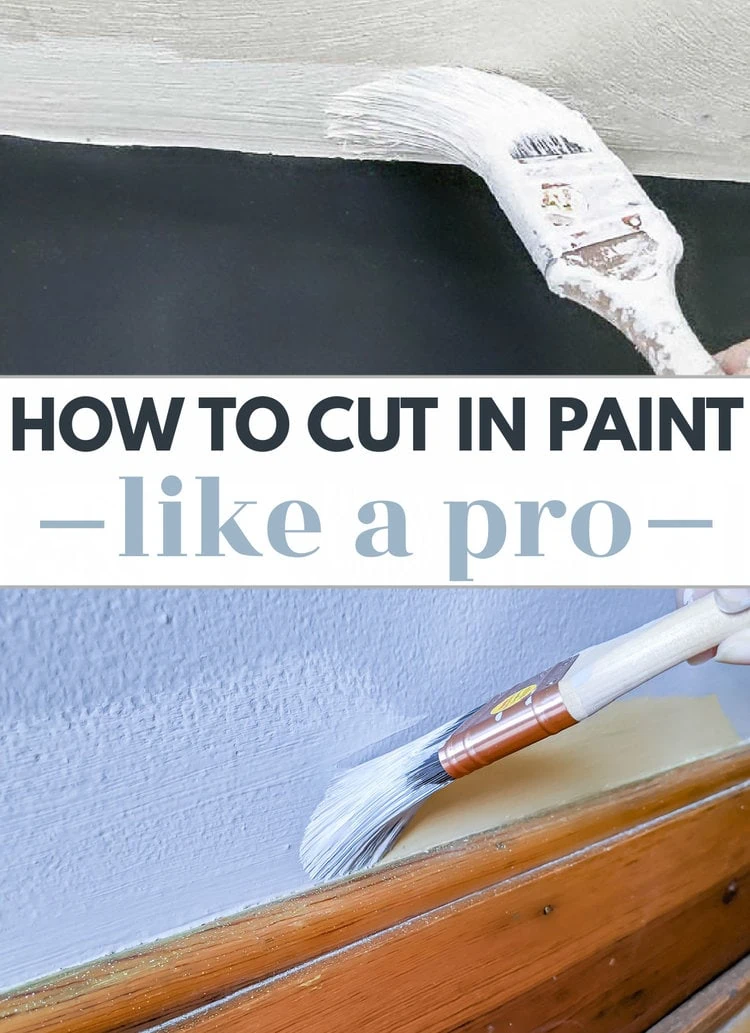
Learn how to cut in paint around the edges of a room like a pro so you get clean, straight paint lines every time – without the added time and hassle of painter’s tape.
The most intimidating part of painting any room is painting around the edges of the room.
Getting nice clean lines along the edge of the ceiling, floor trim, door frames and more can mean the difference between a sloppy, amateurish paint job and one that looks like it was painted by professional painters.
I’m sharing simple tips for cutting in paint that will help you get beautiful results from your next paint job including the best paint brushes to use, how to get clean paint lines, and how to fix mistakes along the way.
This post contains affiliate links which means if you make a purchase after clicking a link I will earn a small commission but it won’t cost you a penny more. Click here to see my full disclosure policy.
What is cutting in paint?
Cutting in paint simply refers to painting around the edges of a room. Anywhere the wall you are painting meets another surface like the ceiling or trim, you are cutting in.
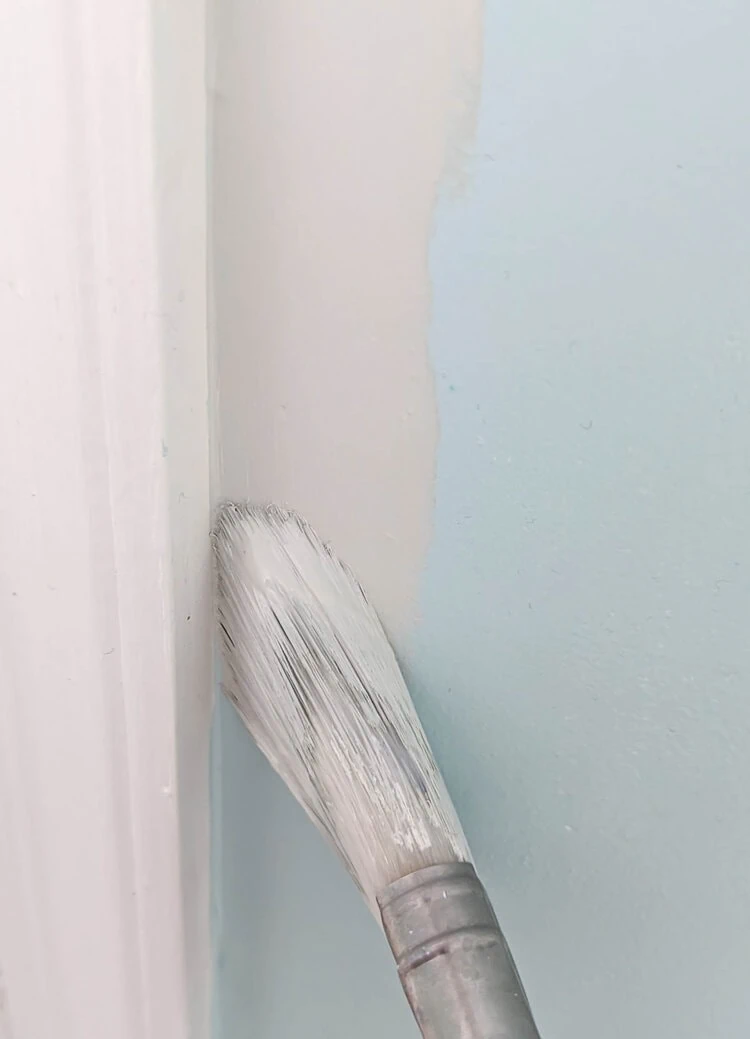
Cutting in is the most delicate part of any paint job. You want to make sure you paint a nice straight paint line, while at the same time, being careful not to get paint paint on any adjoining surfaces that aren’t meant to be painted.
Cutting in vs. Painter’s Tape
If cutting in is such an intimidating thing, why bother? Can’t you just use painter’s tape instead?
A lot of people have the mistaken idea that using painter’s tape is much faster and easier than free hand cutting in, but I disagree.
Using painter’s tape actually takes much longer than cutting in without it and using it effectively isn’t quite as easy as you might think.
You really can’t just slap some painter’s tape on the wall and expect to end up with a beautiful paint job. Properly applying painter’s tape can be pretty time consuming. And yes, there can be a bit of a learning curve with getting perfect paint lines even with tape.
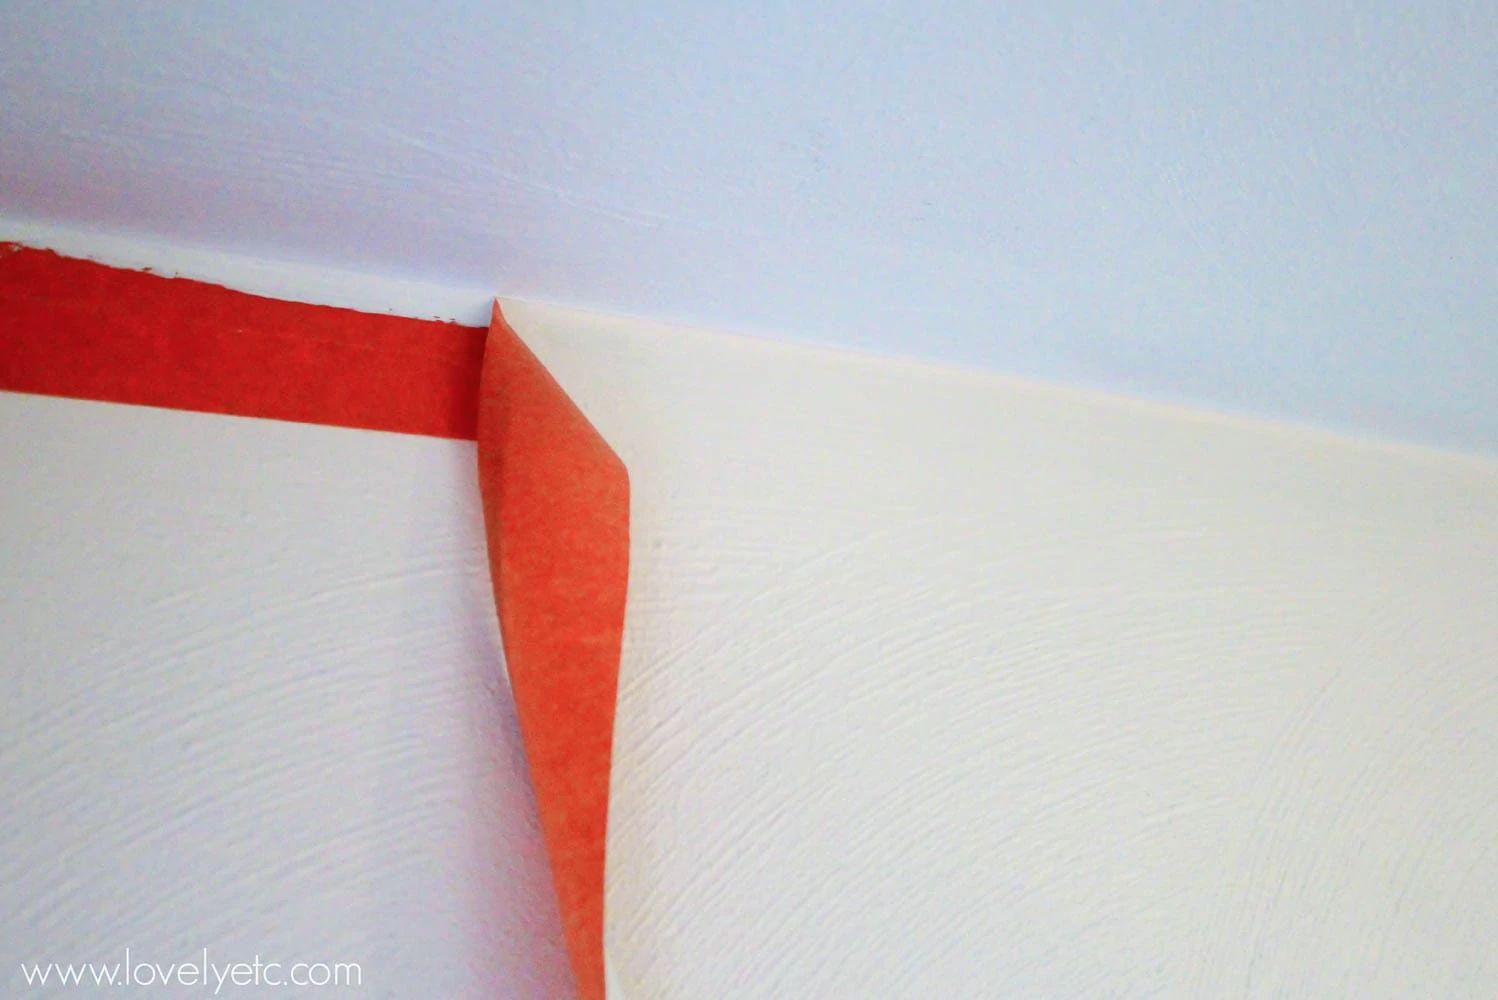
Cutting in without using tape sounds intimidating at first, but if you have a steady hand, it usually only takes a little practice to get the hang of it.
And when you don’t need to worry about painter’s tape, painting goes much, much faster.
Should you cut in before or after using a paint roller?
It’s best to cut in around the edges of the room before painting the rest of the room with a paint roller. Typically painting with a roller goes much faster than cutting in. By cutting in first, you get the most time consuming part out of the way.
It also works best to paint one entire wall in your room at a time, rather than cutting in around the whole room before rolling on the rest of the paint.
Cut in around the edges of that wall and then fill in with the roller before moving on to the next wall. For the best results, you don’t want the paint around the edges of the room to completely dry before you roll on the rest of the paint. If it does, it can lead to a distinct paint line between the two sections.
What is the best paint brush for cutting in?
Over the years I’ve come to realize that using the right paint tools for any paint job gives better results and makes the entire process easier.
When you are are cutting in, you want to use a high quality angled sash brush.
This isn’t the time to use a super cheap paint brush; cheap paint brushes are more likely to have loose, uneven paint bristles that are going to make it difficult to control where the paint goes.
An angled brush will glide more easily along the edge of the wall, leaving a nice straight paint line.
A lot of painters also like to use a paint brush with a short, stubby handle for cutting in because it is easier to hold and control.
Any good angled paint brush will work for cutting in, but I have three specific paint brushes I personally recommend. Each of these brushes work well for cutting in, but they have different features and come in at three different price points.
The budget paint brush
The Wooster shortcut is a short-handled paint brush that is very popular for cutting in and it is super affordable. Not only does this brush have a shorter handle for easy gripping, the handle is also flexible which makes it easier to bend and maneuver in corners and tight areas.
The long lasting paint brush
The Purdy 1.5″ angle paint brush has been my go-to for cutting in and painting trim for many years. Purdy paint brushes are high quality and help the paint glide on smoothly. And if you take care of these paint brushes, they will last for years.
The super comfortable paint brush
The last time I painted a room, I used the Zibra cut-in palm handle brush to cut in. It’s a bit pricey compared to the other two brushes above, but this brush gives a super smooth finish and the handle is incredibly comfy and easy to control. (I sometimes have carpal tunnel flair ups when I paint and this brush really helps prevent that.)
How to Cut in Paint
Cutting in well isn’t magic, but it does require you to be able to paint a nice straight line of paint. And while that is intimidating at first, with a few simple tips and some practice, it will become second nature in no time.
Get close to what you are painting.
When cutting in, you need to really control your paint brush. Getting those straight paint lines will be much, much easier if you physically move in close to the surface you are painting.
This will allow you to better control the paint brush as well as to more clearly see the area where you are painting.
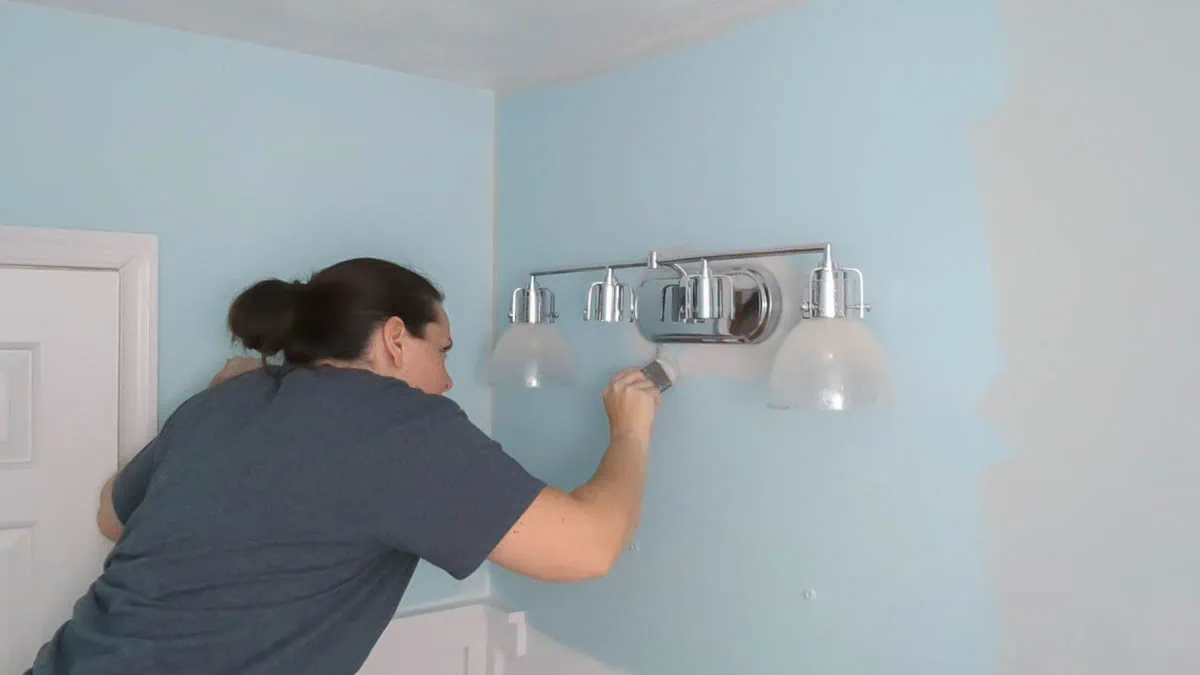
That means if you are painting next to the ceiling line, use a ladder to get up near the top of the wall. If you are painting near the floor, get down on the floor.
Since you are likely to be perched on a ladder or kneeling in the floor, it also helps to transfer some of your paint into a smaller cut bucket or even a plastic cup. That way you can keep your paint close as you work so you can quickly reload your brush as needed rather than climbing up and down the ladder every time you need more paint.
Load your brush with paint.
When you are ready to start painting, dip your paintbrush into your paint and the gently wipe any excess paint on the edge of your paint can or cup.
You want the last inch or so of the paint brush bristles to be damp, but not dripping with paint.
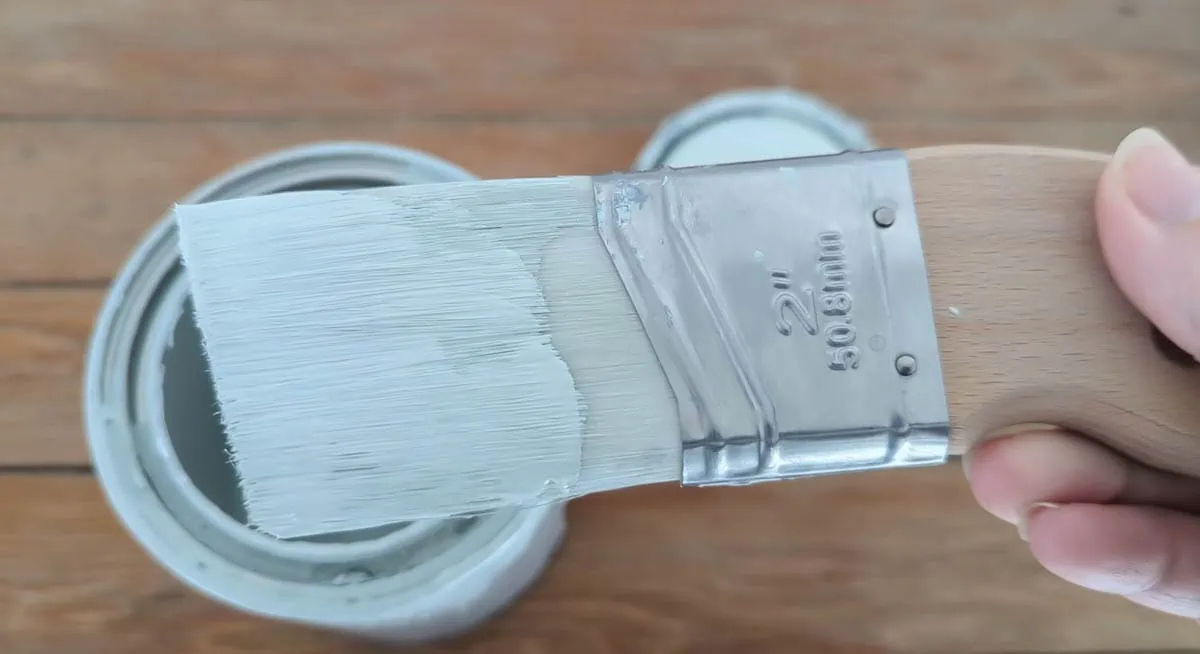
If you don’t have a lot of painting experience, start with just a little paint on your brush and slowly build up if needed. It’s easy to add a little more paint to your paintbrush, but cleaning up a dripping overloaded brush can be a real pain.
Start painting near the edge of the wall.
As you start painting, you want to start your paintbrush an inch or two away from the actual edge of the wall.
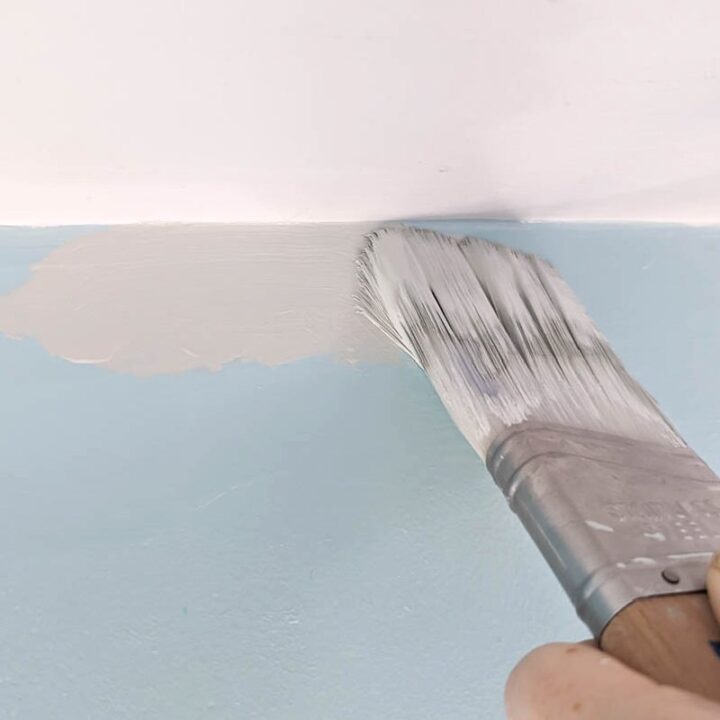
Hold the paintbrush a 45-degree angle to the wall and let the bristles fan out.
Then you can gently work it closer to the edge as you begin painting. Move the paintbrush at a steady pace, pulling it smoothly along the edge you are painting.
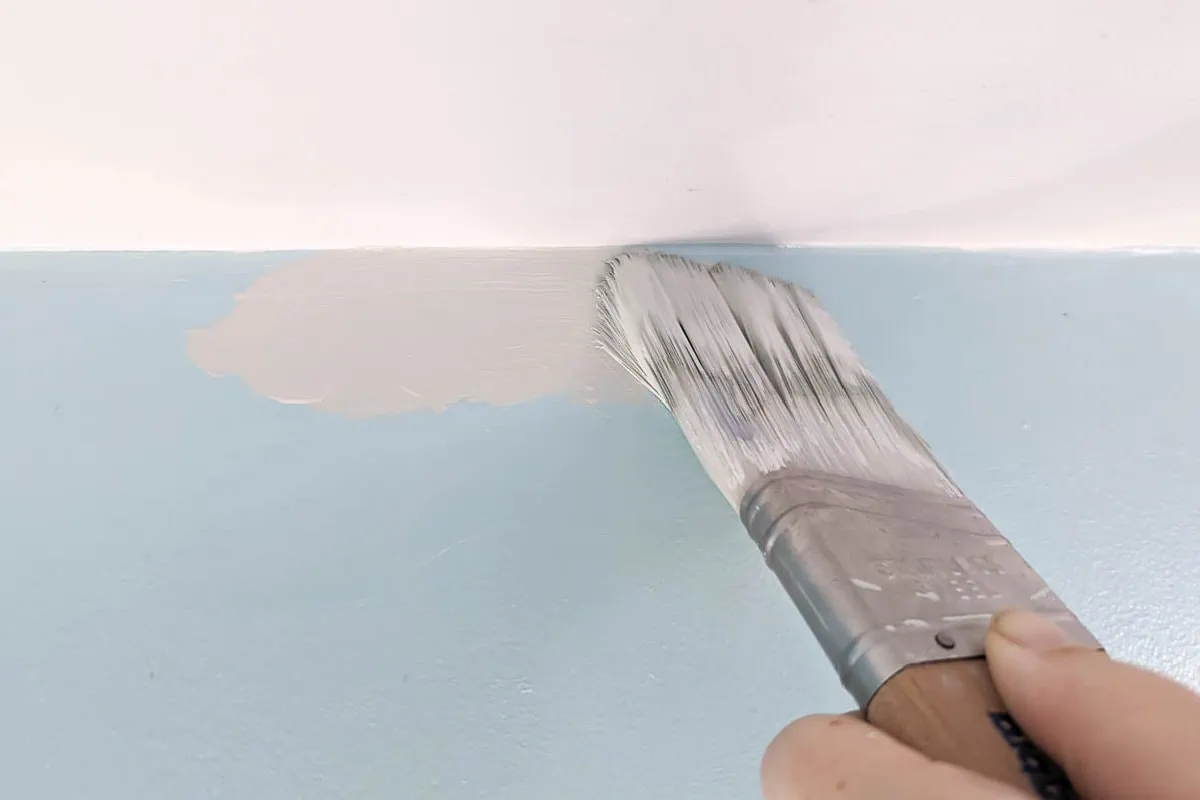
As you paint try to keep a light touch on the paintbrush; if you push down too firmly, it can cause paint to squish out in a less controlled way.
You should find your rhythm pretty quickly and as you go, keeping a straight line will get easier and easier.
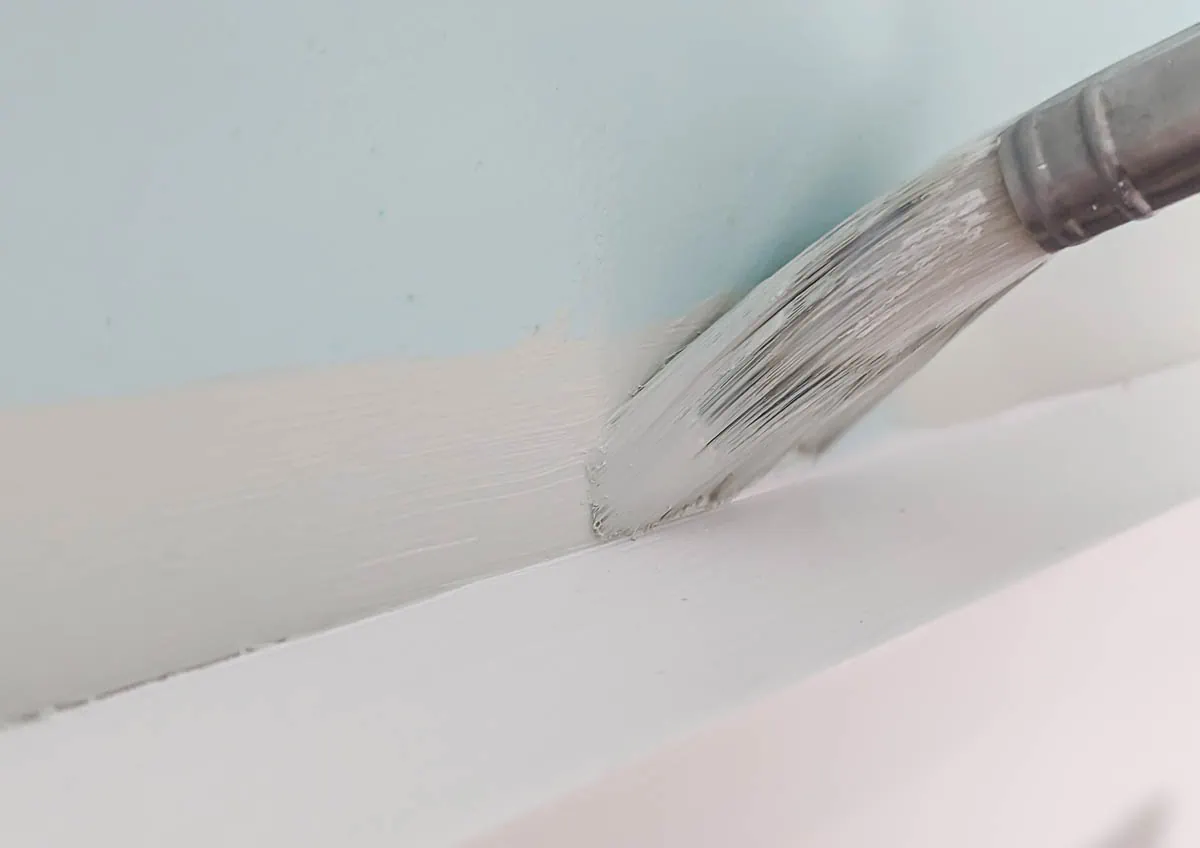
Once you’ve painted your nice clean paint line at the very edge of the wall, it’s helpful to come back and extend your paint line a bit further down the wall.
When you use a paint roller to fill in the rest of the wall, you won’t want to have to get it too close to the edges of the wall. If you try to maneuver it as close to the ceiling and trim as possible, there’s a good chance you’ll end up accidentally getting paint where you didn’t want it.
Instead, it’s much easier just to make sure wherever you cut in with a paint brush, you leave a border of paint at least four inches wide.
Dealing with corners.
Inside corners are typically the toughest part of cutting in. It can be tricky to perfectly cover the corner with paint, without getting any on the adjoining surfaces.
To cut in around corners, start your brush a few inches away from the corner. Then you can gently wiggle it into the corner to help spread the paint where you need it.
If you find that cutting in around corners is a bit too challenging, you can always apply a bit of painter’s tape just around the corner to help get straight lines there.
Fill in with a paint roller.
Once you’ve finished cutting in around the first wall, go back and fill in using a paint roller.
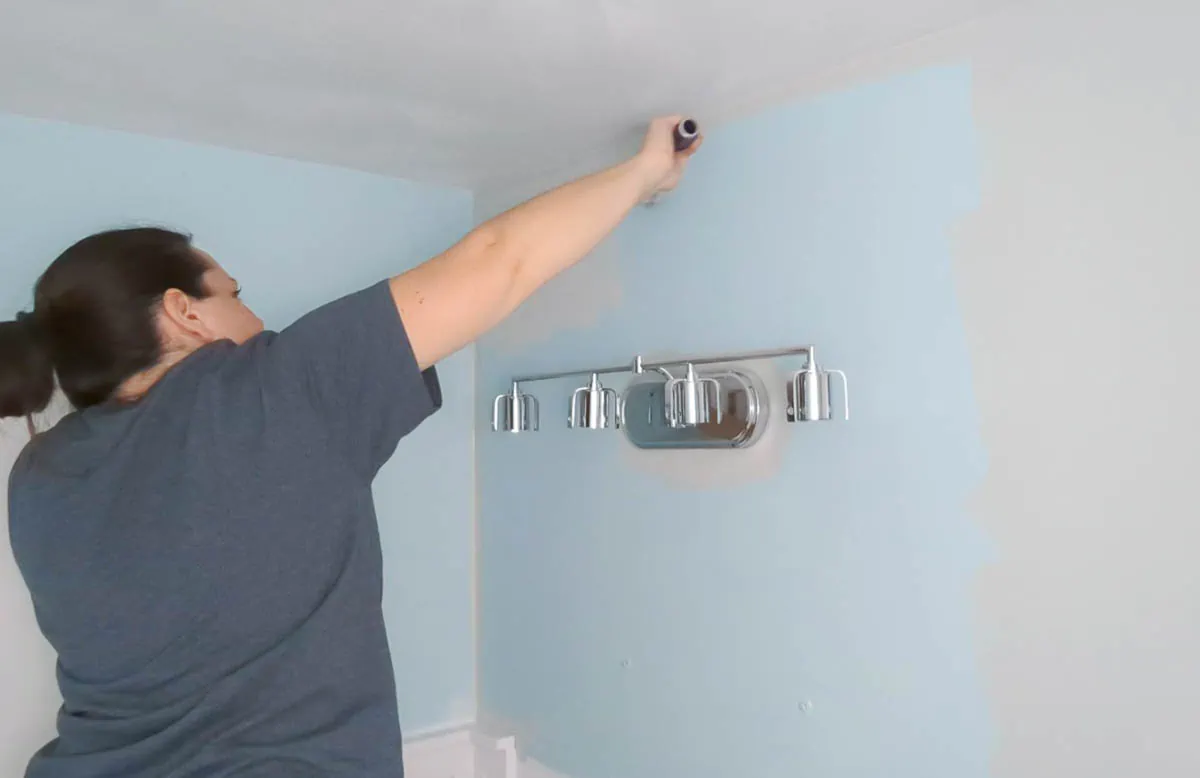
Remember, you’ll get better results if you paint one wall at a time rather than trying to cut in the entire room and then go back with a roller. Painting the rest of the wall immediately after cutting in the edges helps maintain a wet edge so that you don’t end up with lines of paint that don’t quite match.
How to fix mistakes
If your paint line isn’t quite as straight as you want, you can always go over it again to straighten it out.
If you accidentally get a bit of paint on one of the adjoining surfaces, you can usually wipe it away if you act quickly. Keep a clean cloth or paper towel nearby in case of spills or mistakes. You can wipe wet paint off most surfaces pretty easily if you do it immediately.
If a little excess paint bubbles over right at your paint line, you can usually wipe the excess carefully away to leave a perfectly straight line behind. I often just use a fingernail to wipe away excess paint, but you can also use a putty knife wrapped in damp paper towel. Either way allows you to really control where you are cleaning to leave behind a nice clean line.
Do you need to cut in for each coat of paint?
Most paint jobs require two coats of paint, but you don’t usually have to fully cut in twice.
The first coat of paint will lay down your nice straight line. You may not need to do a second pass around the edges at all if the paint covered well with the first coat.
But if you do need to touch up a few areas, you shouldn’t need to go all the way to the edge of the painted area. Instead you can paint close to the edge of the wall, but not quite to the line. This will still give you nice even paint coverage without risking messing up your straight paint lines.
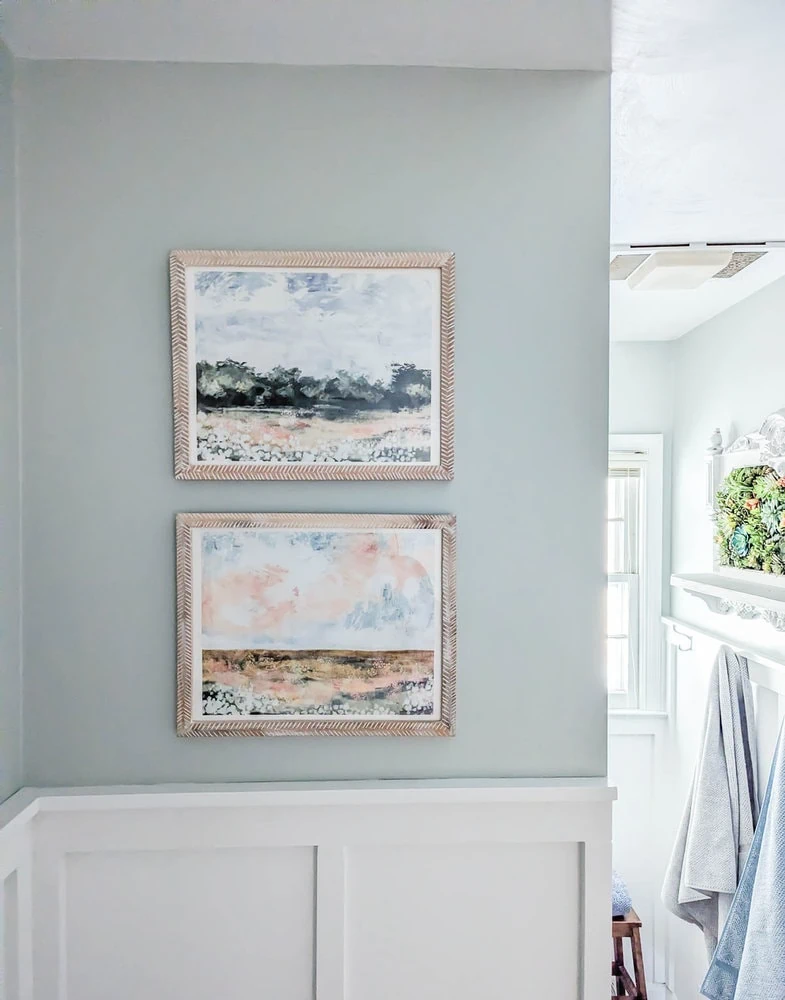
With these tips, you should be cutting in like a pro in no time! Once you get the hang of it, all of your paint jobs will be faster and easier and also look amazing.
I’d love for you to pin this post on Pinterest!
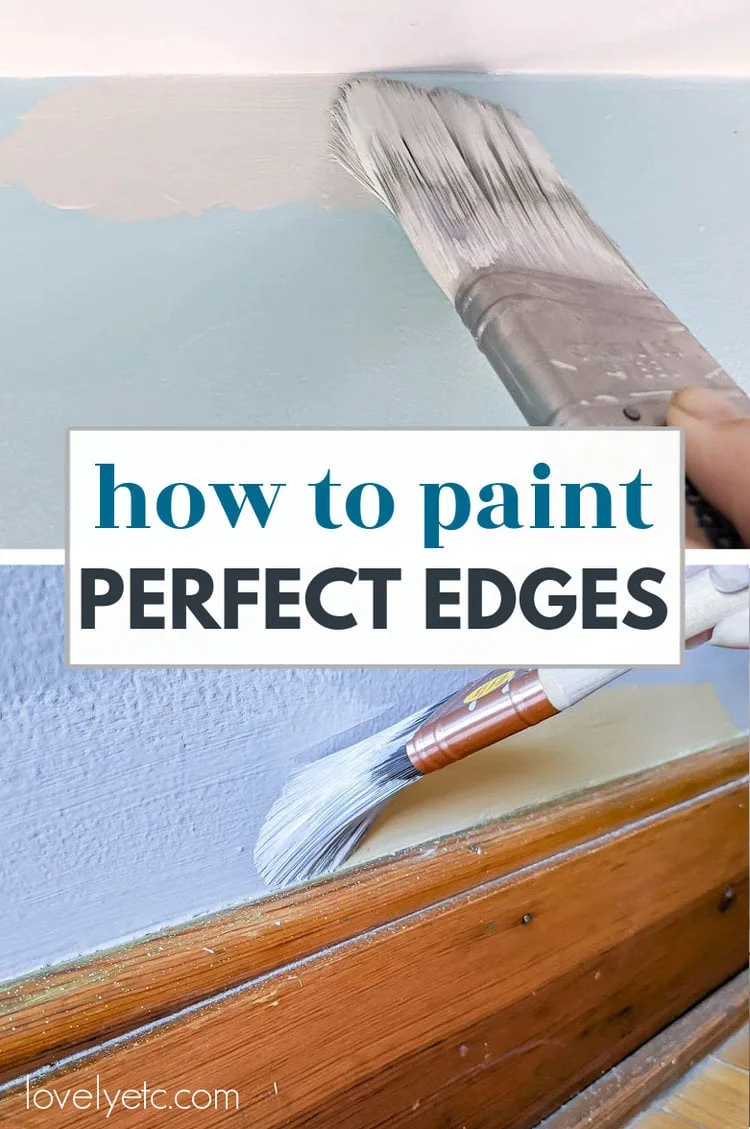

HOW TO CUT IN PAINT: EASY TIPS FOR PERFECT PAINT LINES
Follow these simple tips for cutting in paint that will help you get beautiful results from your next paint job. Plus, I'll show you how to fix mistakes along the way.
Materials
- Paint Brush
- Paint
- Smaller Cut Bucket
Tools
- Ladder (if needed)
Instructions
- Start by physically moving in close to the surface you are painting. This helps control the paint brush.
- Transfer some of your paint into a smaller cut bucket or even a plastic cup.
- Load your paint by dipping your paintbrush into your paint and wiping any excess paint on the edge of your paint can or cup.
- Start painting near the edge of your wall with your paintbrush an inch or two away from the actual edge of the wall.
- Hold the paintbrush a 45-degree angle to the wall and let the bristles fan out.
- Gently work it closer to the edge as you begin painting. Pull it smoothly along the edge you are painting.
- Extend your paint line a bit further down the wall.
- Use a paint roller to fill in the rest of the wall.
- To cut in around corners, start your a few inches away from the corner.
- Gently wiggle it into the corner to help spread the paint where you need it.
Recommended Products
As an Amazon Associate and member of other affiliate programs, I earn from qualifying purchases.
Google Web Story: How to Cut in Paint Like a Pro


This is a very helpful post – Thank you! I am striving to become a better painter. By the way, what is the beautiful blue-grey paint color in your final photo of the wall with wainscotting and two pictures on it? It almost looks like the atmosphere itself and I would love to paint with it.
Thank you! The paint color is Sherwin Williams Lapland Ice.