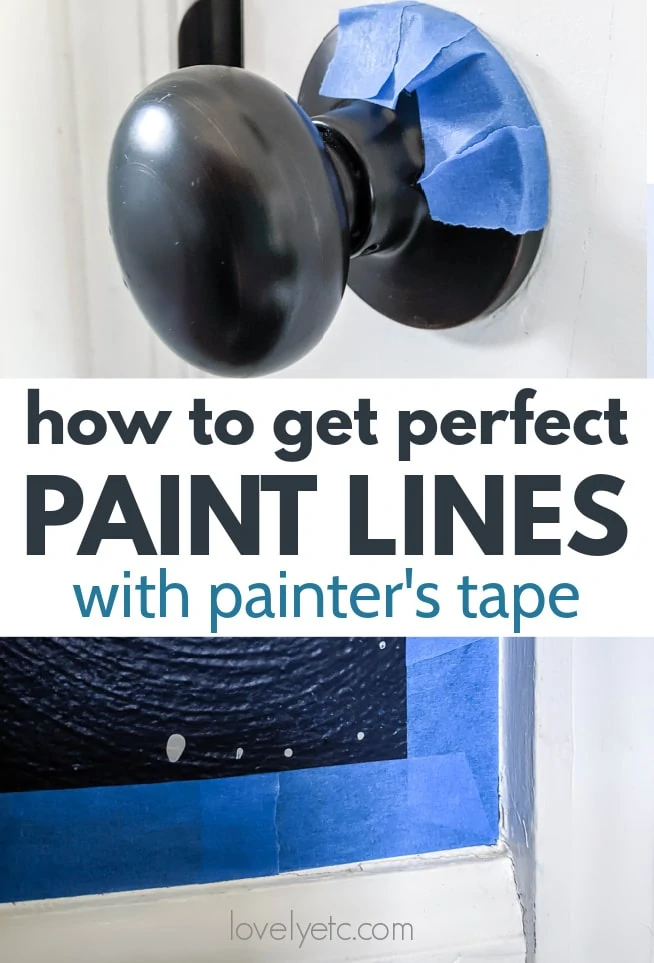
How to get perfect paint lines with painter’s tape
Learn how to use painter’s tape like a pro with these three easy steps.
Painter’s tape is one of the things I see newer painters struggle with the most.
Using painter’s tape seems so obvious – everyone knows how to use tape!
But actually, getting clean paint lines with painter’s tape isn’t quite as simple as it sounds. It doesn’t take any special skills, but there are some tricks you really need to know to get good results.
Today I’m sharing three simple steps to getting perfect paint lines with painter’s tape along with the answers to the most common painter’s tape questions.
When should you use painter’s tape?
Most of the time using painter’s tape is totally optional. Most professional painters don’t use tape at all. They’ve perfected their technique for painting really straight lines free hand.
But for everyone else, painter’s tape can be a lifesaver. Painter’s tape works really well for protecting any surfaces that are touching the wall or area you will be painting. For example, if you painting a wall, painter’s tape can help keep paint off the wall, floor, and trim.
Even better, painter’s tape doesn’t just keep paint off of other surfaces like a drop cloth, it also helps you get a really nice sharp line where the paint meets those other surfaces. And wonky paint lines are the biggest reason some paint jobs look messy and amateurish.
Painter’s tape is also extremely helpful in protecting the surrounding surfaces if you are using spray paint which is a lot harder to control.
Which painter’s tape is the best?
Blue tape vs. green tape; which is actually the best? There are a few big painter’s tape brands and they each seem to have a very devoted following.
I have used a lot of painter’s tape over the years and I have used painter’s tape from Frogtape, Scotch Blue, 3M and more many times. I even did a couple of sponsored posts for Frog Tape many years ago.
After using both types of painter’s tape, my honest assessment is that both work just fine. They tear easily, stick well, and come off cleanly.
If you aren’t having good luck with painter’s tape, it’s probably not because of the tape you are using. It’s how you are using it.
Why isn’t my painter’s tape working?
Tape problems show up in all kinds of different ways
- wavy paint lines where they should be straight
- paint dripping under the tape
- paint peeling when the tape is removed
- tape moving around when you are trying to paint
So if the brand of tape you are using isn’t the problem, then what is?
Sadly most of us don’t really know how to use painter’s tape the right way.
It seems simple enough – put tape on whatever you don’t want painted and then pull it off when you’re done.
But in reality there is a little more to it than that. There are some simple tricks you need to know that will help you get perfect paint lines every time, no matter which painter’s tape you use.
How to use painter’s tape the right way
Whenever you are using painter’s tape, there are three main steps you need to use to get perfect paint lines.
1. Applying painter’s tape
Most painter’s tape problems start right from the very start – when the tape is put in place.
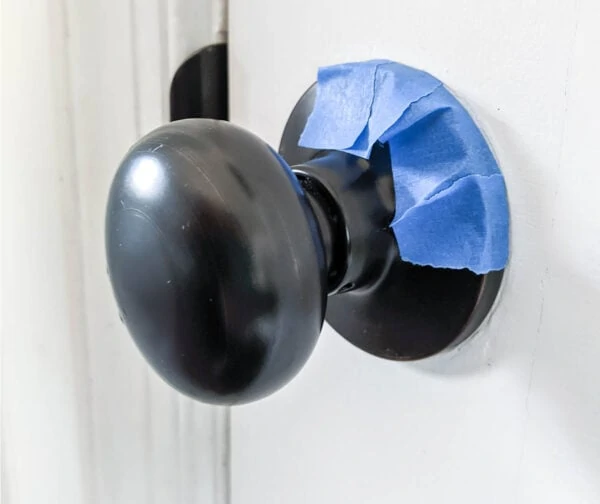
You want to use the painter’s tape to protect anything that is touching the surface you are painting.
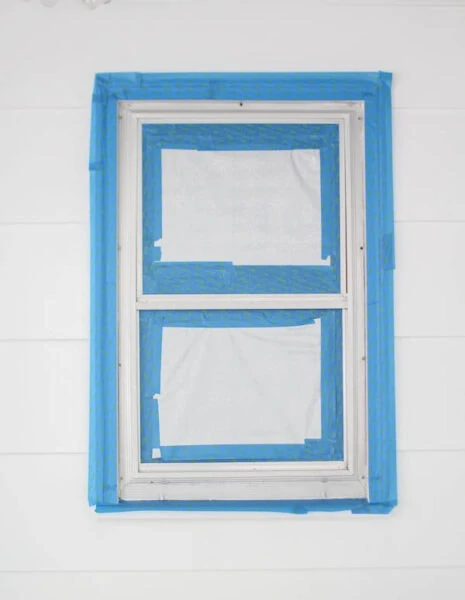
But when you are applying tape, it isn’t enough to simply roll it out around where you need it. You need to carefully line the tape up with the edge of the surface you are painting.
Remember that the most important part of the painter’s tape is the edge that meets the wall you are painting. That edge is doing 90% of the work of the tape.
If the edge of the tape is too high on the wall, the very bottom of the wall won’t get painted. If it is too low on the trim, paint will get on the trim. And if it isn’t straight, you are going to have a noticeably wavy paint line.
Making sure that tape edge is straight and in the right spot will make a huge difference in your finished paint job.
It’s also important to clean any baseboards or other surfaces that may be dirty or dusty before applying tape.
Once you have the tape in place, run a finger along it and press it down firmly. This doesn’t take much time but will make a huge difference in making sure that no paint seeps under your tape.
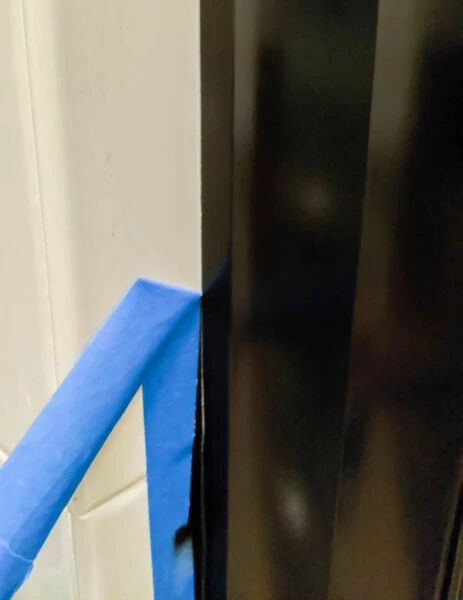
Taping corners and curves
When taping an inside corner, you can get nice clean lines but cutting or tearing each piece of tape at a slight angle as shown below. The two angles will overlap to form a clean corner.
When taping curves it works best to cut or tear off small pieces of tape and carefully put them in place so they are overlapping.
2. Sealing Painter’s Tape
Pressing your painter’s tape into place will do a lot to help it adhere well so paint doesn’t get under the edges of the tape.
But this next step will do even more to help make sure no paint gets past the tape. This is especially important if you are painting something a high-contrast color.
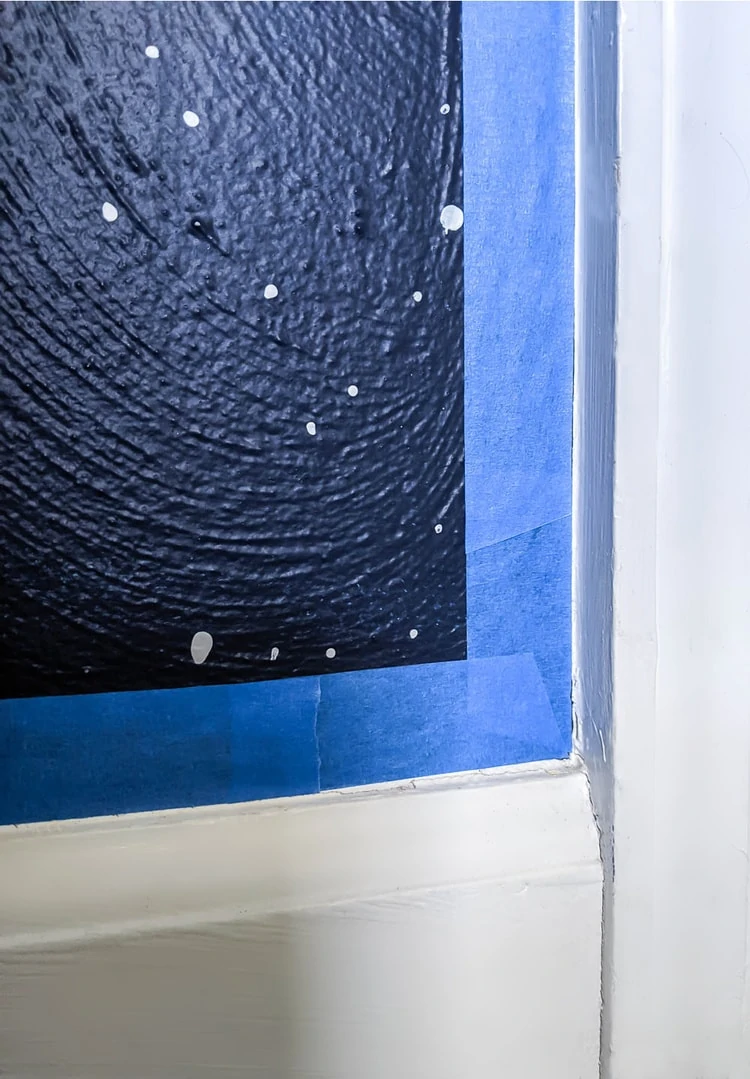
Before you paint your actual paint color, seal the paint edges by painting over them with the adjoining color.
If you are painting a colorful wall against a white ceiling, paint over the tape with the white ceiling paint. If you are painting a dark accent wall next to a neutral wall, paint over the tape with the neutral paint color. If you are painting stripes, paint over the tape with the base color first.
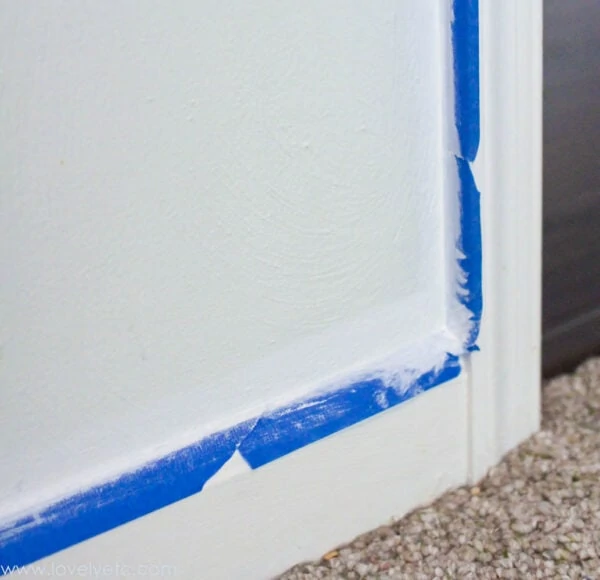
This first layer of paint will form a seal along the edge of the the tape that will stop any other paint from seeping underneath. And if any of this first layer of paint manages to get under the tape it’s fine because it matches what is underneath anyway.
Once this first layer of paint is completely dry, you can paint the wall or other surface with your actual paint color without worrying about any paint making it past the tape.
3. Removing Painter’s Tape
Removing painter’s tape when you are finished painting sounds simple enough, but this is actually where a lot can go very wrong with your paint job.
If you’ve ever pulled your tape off the wall only to have bits of paint peel right off with it, you know what I’m talking about.
The first thing most people don’t realize is that timing is everything when it comes to removing painter’s tape.
There are two times when you can safely remove painter’s tape without peeling the paint off with it.
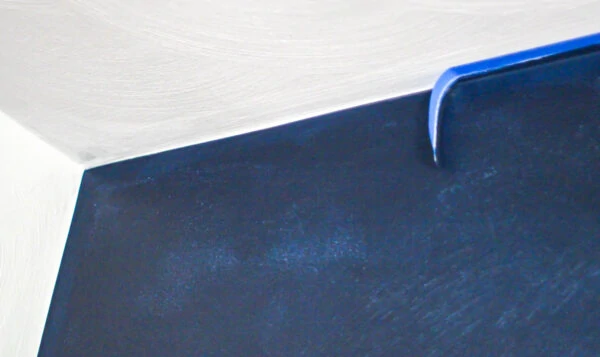
1. While the paint is still wet.
You can remove your tape when your final coat of paint is still wet. Since the paint is still liquid, it hasn’t formed a seal over the tape yet. You can pull the tape right off without any peeling.
Of course the downside is the paint is still wet so this can be a bit messy. You will probably get some paint on your hands and you’ll want to have a trashbag handy to put the wet tape in.
But the paint on the wall will stay exactly where it is supposed to be and you will have a beautifully straight paint line.
2. After scoring the edges of the tape.
You can also remove painter’s tape once it has fully dried if you break the seal first.
Removing tape before the paint dries is my preference, but if it isn’t practical to remove your tape while the paint is still wet or you simply forgot, there is a way to safely remove it later.
Run a utility knife carefully along the edge of the tape right where it meets the wall. You want to be careful to follow the edge of the tape exactly so you will have a straight paint line once you remove the tape.
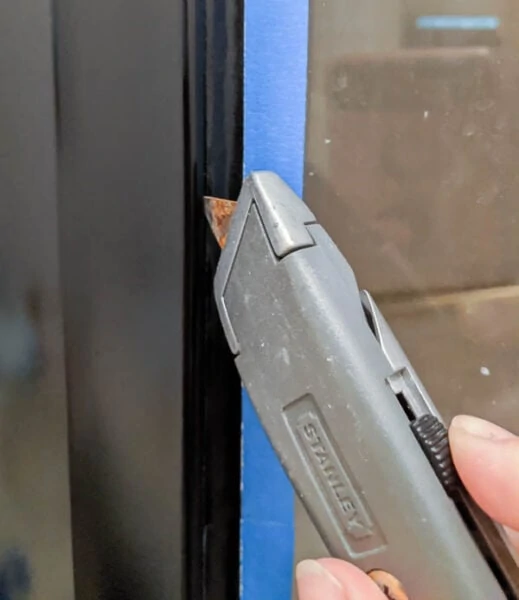
Scoring the tape with a utility knife separates it from the painted surface and you can pull it right off the wall easily.
Although the second method can be used at any time once the paint is dry, it’s never a good idea to leave painter’s tape up longer than necessary.
I know I’ve gotten busy with other projects and left tape on the wall for days and even weeks. And sometimes it turns out fine, but it’s risky.
The longer the tape is on the wall, the more likely it is to pull off some of the finish of the trim or wall of whatever the tape is protecting.
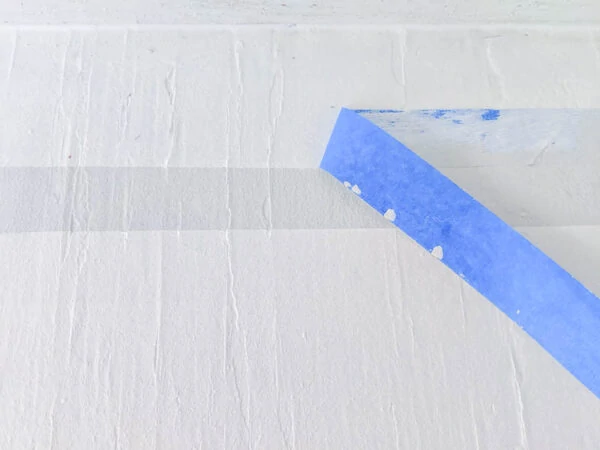
When you do remove your painter’s tape, you can simply pull it off slowly. Pulling it off at a 45 degree angle works best, but really if you have your timing right, tiny details like the angle won’t make much difference.
With these tips, you can be confident that your next paint job will look amazing. If you have other questions about painter’s tape, be sure to ask in the comments and I’ll be happy to answer!
And if you want to learn more painting tips and tricks that will help you avoid tons of mistakes, check out these posts:
- Everything you need to know about primer for painting
- The best paintbrushes for a perfectly smooth paint finish
- 8 painting tips: how to paint with less mess and less stress
I’d love for you to share this post on Pinterest!


How to get perfect paint lines with painter's tape
I’m sharing exactly how to get those perfect paint lines with painter’s tape along with the answers to the most common painter’s tape questions.
Materials
- Painter's Tape
Instructions
- Apply the painter's tape to anything that is touching the surface you are painting.
- Carefully line the tape up with the edge of the surface.
- Run a finger along the tape and press it down firmly.
- When taping curves, tear off small pieces of tape and put them in place so they are overlapping. Press your painter’s tape into place.
- Seal the tape edges by painting over them with the adjoining color.
- Let dry.
- Then paint the wall or other surface.
- You can remove your tape when your final coat of paint is still wet.
- Or remove the painter’s tape once it has fully dried if you break the seal first. Run a utility knife along the edge of the tape right where it meets the wall.
Recommended Products
As an Amazon Associate and member of other affiliate programs, I earn from qualifying purchases.

