Photo canvases are wonderful; they elevate your family photos to real art. But they are expensive. Even when they are majorly on sale. I once saw 8×10 photo canvases at the amazing rock bottom price of $5 each. I was about to buy a whole bunch of them, when I did some quick research and found out the shipping was $15. Each. Twenty dollars isn’t so bad for a photo canvas, but if you are wanting to buy more than one it adds up fast.
Luckily many wonderfully creative and inventive people have figured out ways to DIY their own photo canvas. Just search for DIY photo canvas on Pinterest and you will see hundreds of results come up. I perused a few different tutorials and decided to go for it…..with less than stellar results.
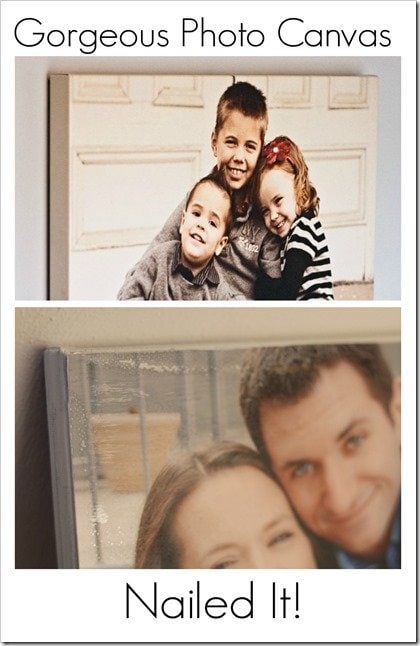
Apparently making a DIY photo canvas is easy…the hard part is making one that looks, well, good.
So here are my tips on how to make a huge failure of your DIY photo canvas.
Be sure to paint the edges of your canvas white.
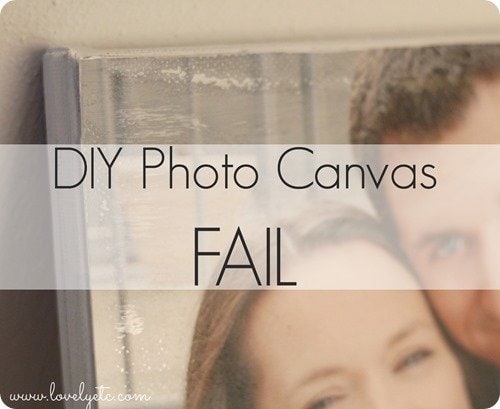
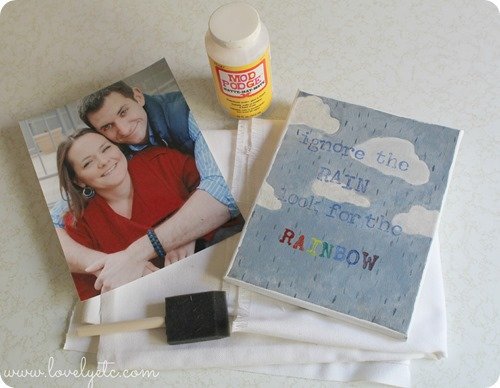
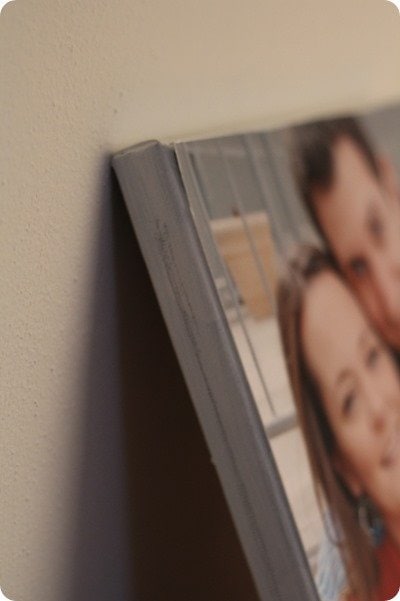
Since I am all about saving a buck, I decided to reuse a canvas I had previously painted but wasn’t loving. (That may have been my only great idea of this whole project). I decided to paint the edges white to blend in with some white picture frames that I planned to hang with my photo canvas. FAIL. Since blank canvases are white, painting the edges white left it looking like, well, a photo stuck on a blank canvas. While that may be pretty close to what it actually is, it is the opposite of what I wanted it to look like. ‘
Use a photo printed on photo paper.
Once I painted the edges of my canvas, I used mod podge to attach my photo to the front of the canvas. I already had an 8 x 10 photo that I had been planning to frame so I figured why not just use that. Why was that a terrible idea? Let me count the ways: The paper was too thick. The photo was too shiny. The paper was too hard to cut. And on and on.
Always rush to trim your photo before the mod podge completely dries.
After attaching the photo, I trimmed the edges to better fit the canvas with an X-acto knife. Trying to trim moist paper is a terrible idea. Moist paper doesn’t cut, it rips.
Make sure you use a dull X-acto knife to trim your photo.
Not much explanation needed here. More ripping.
Finally, you need to really skimp on the Mod Podge.
Canvases are not glossy – at all. So I tried to tone down my very glossy photo with some matte Mod Podge. That was actually a really great idea…except I was almost out of matte Mod Podge. I tried to make it stretch as much as possible but I just didn’t have enough. Which left my canvas riddled with random shiny streaks.
I am working on a new DIY photo canvas that actually looks good… without having to stand across the room and squint. But in the meantime, hopefully these tips will help you avoid making my same mistakes. And it’s always nice to know that you aren’t the only one whose projects don’t always turn out so great.
So what has been your biggest crafting fail? Anyone have any tips for successfully making a photo canvas?


cassie says
too funny! i am sure it looks fine up on the wall- honestly!
Carrie says
It probably wouldn’t look that bad on the wall – but everytime I saw it, all I would see is all the scraggly edges and shiny spots!
Chaney says
Oh Carrie! So sorry that happened, but I loved this post. Hilarious!! I’m sure you’ll come up with a good solution :).
Carrie says
Thanks Chaney! I have some ideas to make it better – we will see how it goes.
Andrea says
I’ll be very interested in the new-and-improved version of how to do this. I’d love to make one! I was surprised about the photo paper. That right there probably saved me a disaster. Thanks for sharing your fail, for the common good! :)
Carrie says
I’m glad my fail has helped someone! I think I’ve figured out how to solve all of the problems – I just have do it and see if it truly works! I’ll share when I figure it out.
Sandy says
Well, I just went for it and mod podge a poster on a 20×30 canvas….I used the big brush applicator that worked great….The Brayer roller didn’t work so well for me I smoothed air bubbles with and with fingers It’s drying but I have wrinkles…I’m hoping doing the texturing on top a few times will help….What do you think I did wrong?
Carrie says
Hmm, I’m not sure. Maybe the poster paper was thinner than the one I used? I have had major wrinkles in the past when using very thin papers like maps. I hope the texture covers it!
Sandy says
I textured 4 times, still wrinkles. When you put the poster on the podged canvas, do you start @ the top and start smoothing with your fingers and work your way down..
How do you do it? I think I centerd it on the canvas and just started smoothing out from the center….
Carrie says
Oh no. I am sorry it isn’t working for you Sandy! When I put the poster on, I laid it on and smoothed from the center. Then I turned it over and let it dry before wrapping the edges. But I am wondering if the poster you used was a thinner paper than mine? I didn’t have any wrinkling when I did mine.
Sandy says
Thank you Carrie…..I intend to try it again, but on something smaller and work my way up to larger pieces and different poster paper….. I didn’t realize they had different thickness poster paper…and the poster I used was an expensive poster…..Hope are exchanges helps new comers like me….
Carrie says
Thanks Sandy – I am so sorry it didn’t work out! Good luck with a smaller photo. I am hoping to make a huge canvas this year so I will definitely report back on what I learn in the process.
Lucy says
Where do I find poster paper?
Carrie says
What worked for me was using photos printed as poster prints – you can get these printed through most photo sites. I have just gotten most of mine at Walgreens because I can pick them up in the store and it is faster than waiting on shipping.