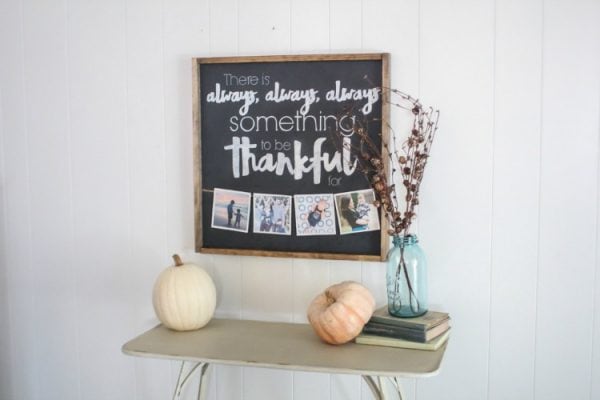
DIY Thankful Sign and Easy Fall Decor
This time of year always gets me thinking about all I have to be thankful for.
I know, I know, you’re probably thinking that being thankful for all of my blessings shouldn’t be a once a year kind of thing. And I agree – it really shouldn’t.
I try to remember how blessed I am all year long, but every year when the seasons start to change, it tends to be on my mind a bit more.
Lately I’ve had some really long, frustrating days. Nothing terrible but when you have three little boys under the age of five, there are days (and nights) that seem like they will never end. And I’ve found myself so focused on how tired I am and how messy our house is and how many tantrums the 2 year old has had that I forget to remember all of the amazing things we have happening in our lives.
Including those three frustrating little boys that not too many years ago I thought we would never have as we struggled with infertility and repeated miscarriages.
That’s just not how I want to go through my days, only focused on the problems I see right in front of me, forgetting all of the wonderful things we’ve been given.
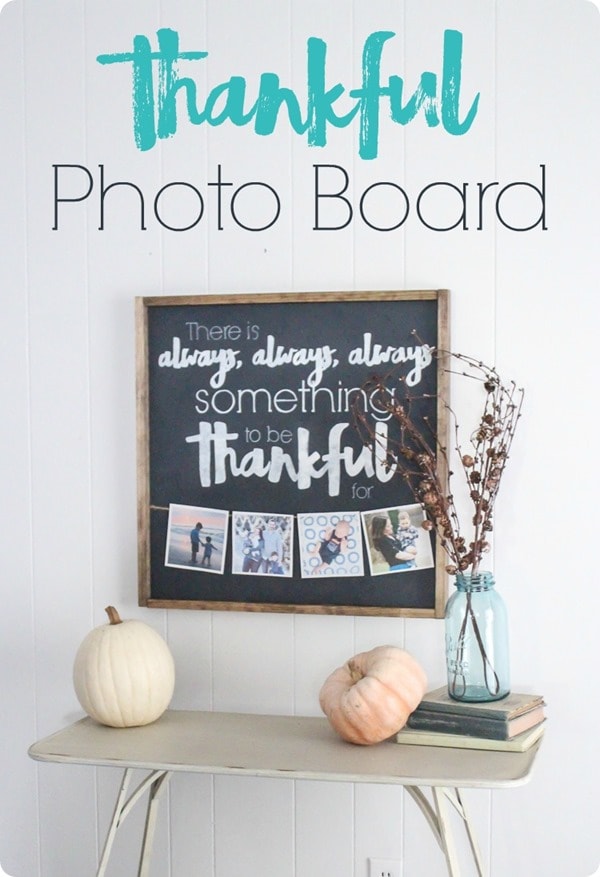
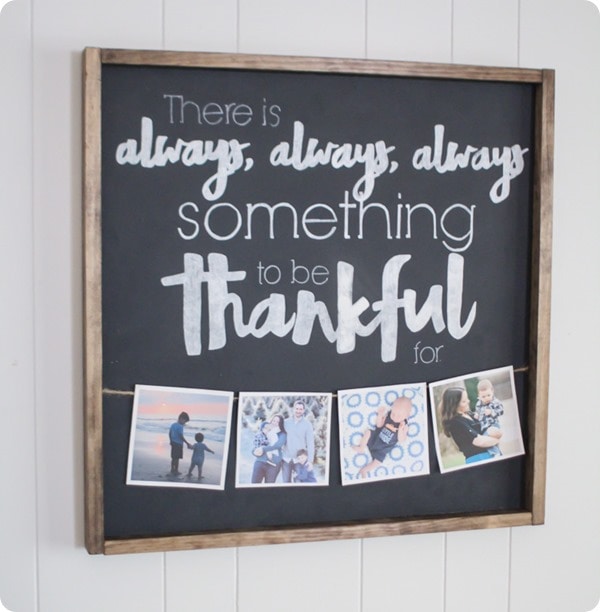
So it seemed like the perfect time for a new DIY thankful sign. And I wanted this one to have a spot for photos because nothing gets me feeling all warm and glowy inside like photos of my favorite people.
Materials for DIY Thankful Sign
- 2’x2’ piece of 1/2 inch birch plywood –you can buy this size right off the shelf – no cutting required!
- 1”x2” pine board cut into two 24” pieces and two 25.5” pieces – they can do this for you at the store if you want
- chalkboard paint
- chalk
- Sharpie white oil paint pens
- 220 grit sandpaper
- Minwax English Chesnut Stain
- small foam paint roller
- paint brush
- soft rag (for applying stain)
- hammer and finishing nails
- wood glue
- thin jute rope
- mini clothespins
How to Make this DIY Thankful Sign with Photos
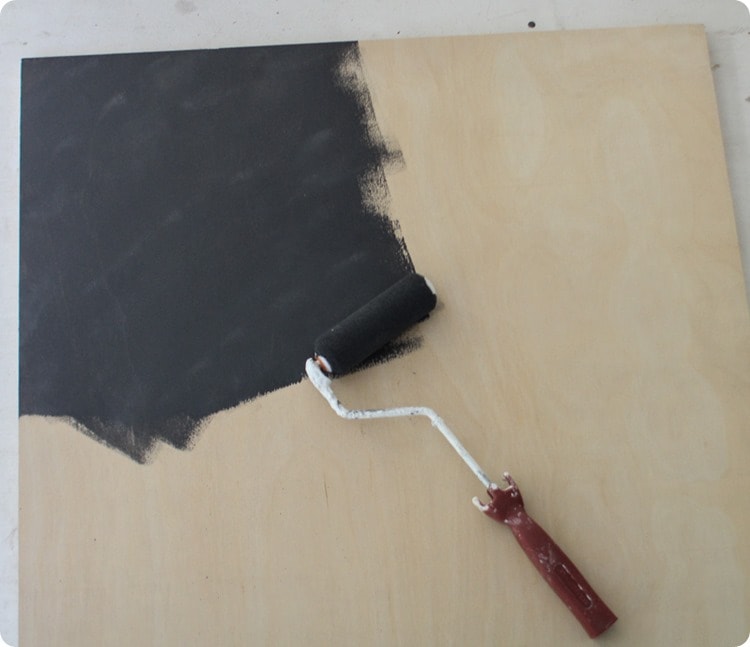
Paint the wood with the chalkboard paint using a small foam roller. I like to use chalkboard paint for signs sometimes even when I’m not making a chalkboard because it has a nice matte finish. Any matte paint can work though.
Use a rag to stain the 1”x2” boards. These are going to make the frame.
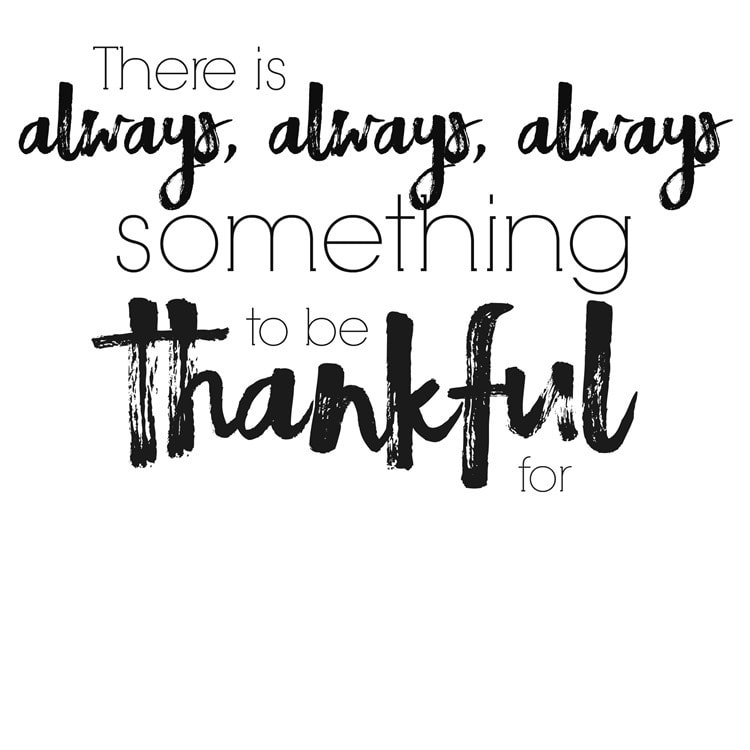
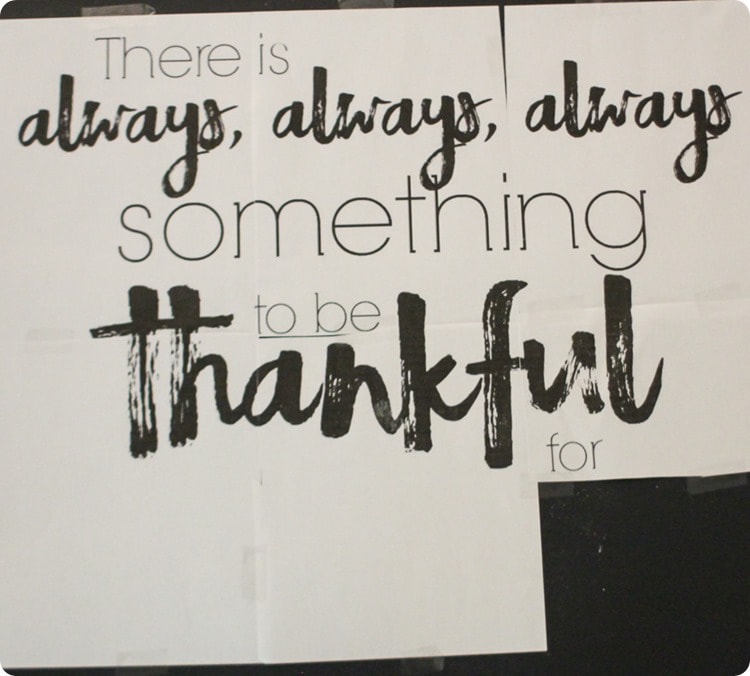
For the thankful quote, I designed my saying and then printed it out on my home computer using 6 sheets of paper. (I explain more about how to do that here if you aren’t sure.)
You can download the design by right-clicking the photo below and saving it to your computer.
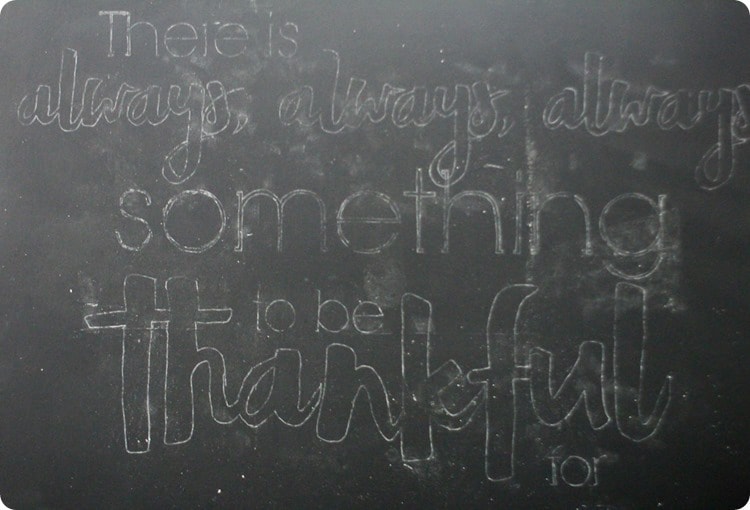
I taped the design together and then used a simple chalk method to transfer the design onto my painted board. Simply rub chalk all over the back of the printed design, tape it into place, and then trace around each letter using a pencil.
When you remove the paper, there will be a chalk outline left on the board. I mean seriously, how easy is that!
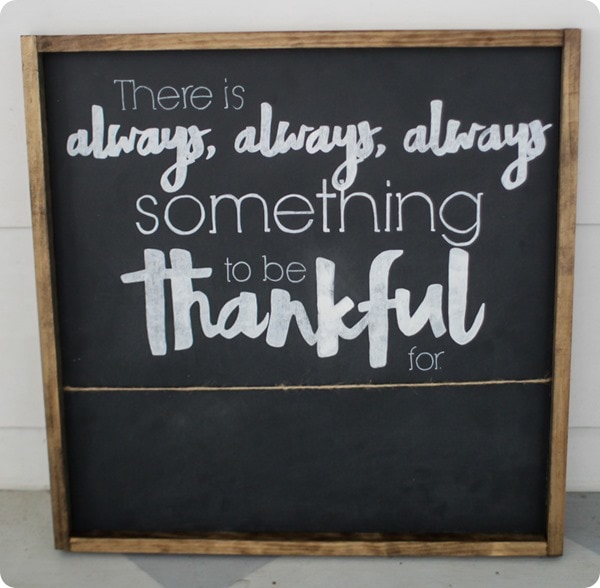
Then you can simply, trace and fill in the chalk letters with a white Sharpie paint pen. So simple.
I went over each letter with the paint pen and then lightly sanded the entire sign with a piece of high grit sandpaper. This helps keep the letters from looking like they were colored using a paint pen and softens the whole thing a bit.
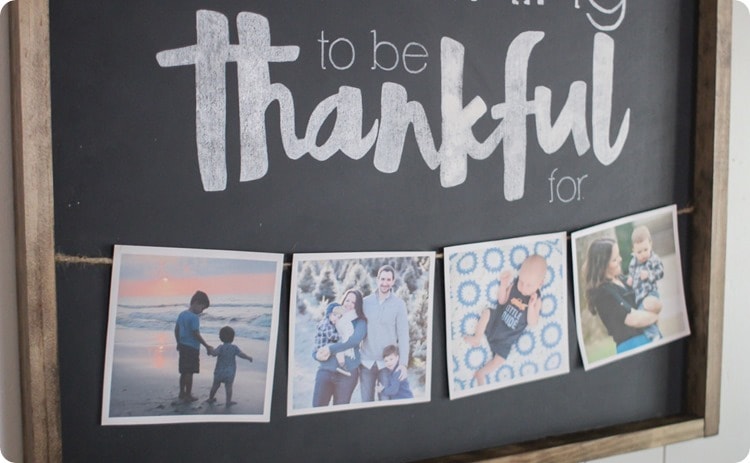
I cut a piece of twine and taped it to the back of the board and then all that was left was adding the frame. I added a bit of wood glue to each of the joints of the frame and used 2 finishing nails in each corner to connect the pieces together.
Then came the fun job of browsing through my favorite photos from the past few years to choose a few to add. To give the photos a polished look, I cropped them into a square, added a small white border, and then printed them on card stock.
Such a good reminder to stop and be thankful!
I added a few fun pumpkins as well as these simple pine cone branches.

