Easy Farmhouse Christmas Ornaments with Free Printables
I’m so excited to share my latest handmade ornaments with you! These DIY farmhouse Christmas ornaments are not only super cute, they are insanely fast and easy to make.
The genius of these ornaments all started with a random stroll through Michael’s. (I love when inspiration strikes in the middle of a craft supply store!)
This post contains affiliate links which means if you make a purchase after clicking a link I will earn a small commission but it won’t cost you a penny more. Click here to see my full disclosure policy
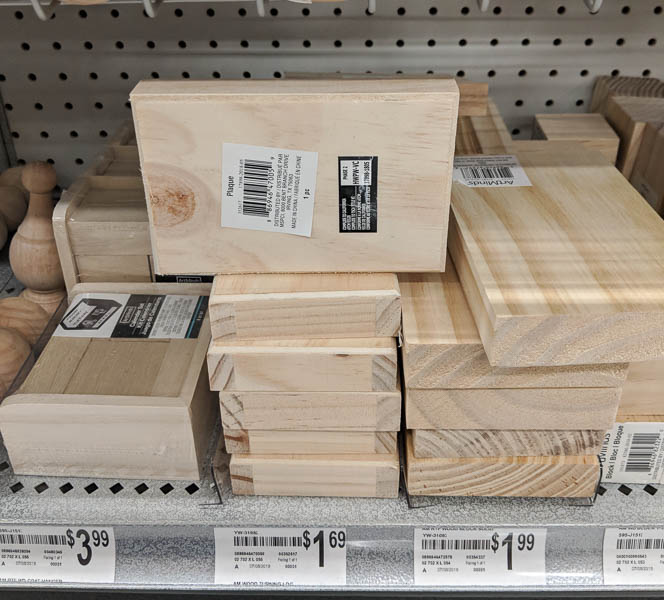
I spotted these small wooden plaques with all the other unfinished wood surfaces.
Pretty cute. But the magic happened when I turned one over.
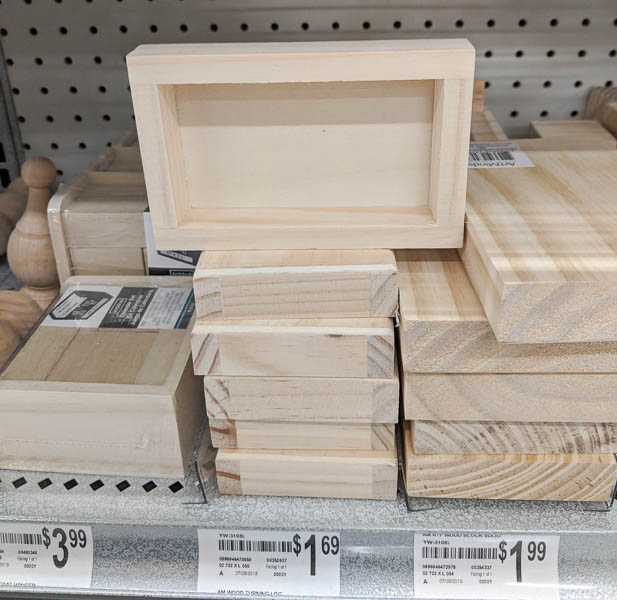
Doesn’t that look just like a mini wooden sign, frame and all?
These awesome wooden plaques are what make these farmhouse ornaments so ridiculously easy to make. The ornaments look like handmade wooden frames, but in reality, not a single tool is needed most of the work is already done.

And to make things even easier, I’m sharing the adorable farmhouse sign designs I created as free printables. All you have to do is print them out and add them to your ornaments. Easy-peasy.
If you want to see this DIY in action, you’ll find the video tutorial at the bottom of this post.
Materials
- 3″x5″ wooden plaques – These are the exact ones I used from Michaels.
- wood stain – I used Minwax special walnut stain. It’s a great medium brown color, but any stain will work.
- clean rag or foam brush – to apply the stain
- free printable Christmas sign designs printed on cardstock – you can find all three designs free to print below.
- scissors
- craft glue – regular white school glue also works fine.
- bakers twine – to make the ornament hanger
- hot glue gun – to attach the twine hanger
How to Make Farmhouse Christmas Ornaments
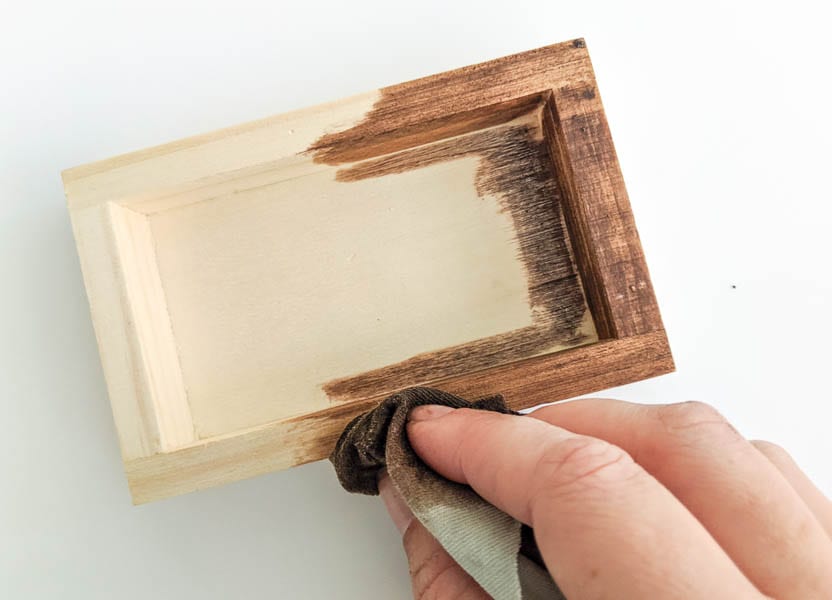
Stain the ornament ‘frame’
Start by staining the ‘frame’ part of your wooden plaques.
I used Minwax Special Walnut stain but any stain will work.
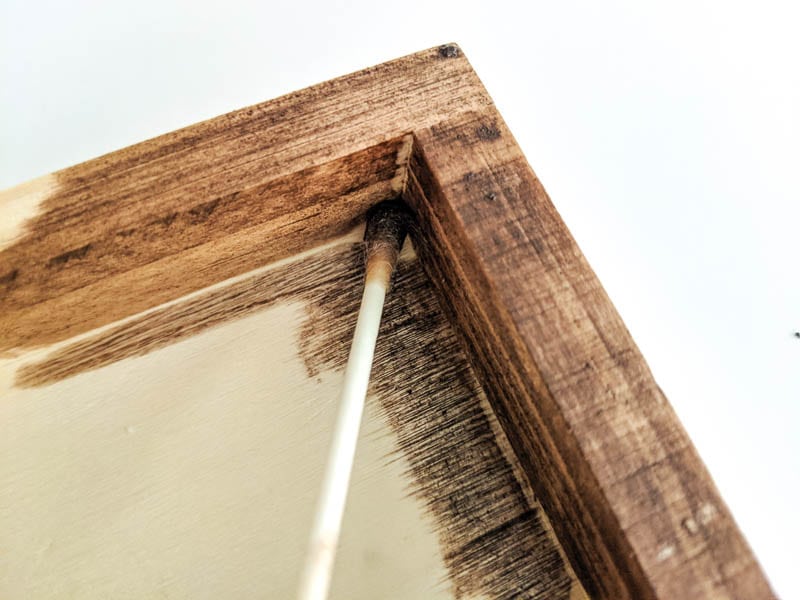
I was having a little trouble getting the stain all the way into those tiny inner corners, but I found that a q-tip did the job perfectly!
I also stained the back of my ornaments so they would look good from all sides. Don’t worry if you get stain on the sign area of your ornament. That section will be covered up anyway.
Wipe any excess stain from the the wood plaques with a clean cloth and then allow them to dry thoroughly.
Free Printable Designs
I created three farmhouse Christmas ornament designs – Fresh Cut Christmas Trees, Old-Fashioned Sleigh Rides, and Gingerbread Bakery.
I’ve sized these to perfectly fit these little DIY ornaments. Just click the links below to download each printable. When the image opens, you can right click and choose ‘save image as’. You can also print the image directly from the page that opens, though depending on your printer settings, you may not have as many size options that way.

When printing, all you need to do is set your image size at 3.5×5 inches and they should print at just the right size.
Be sure to print these onto cardstock.
Or you can print your own design to frame. You could easily personalize your ornaments with your name or a favorite saying.
Assemble the ornaments
Cut each mini sign to fit the inside of your frames.
It can be a little tricky to figure out the exact size you need. I found it easiest to cut my ornaments slightly larger than the opening and then carefully trim each side until they fit perfectly into the space.

Just be sure to cut each sign individually. Even though I bought my wooden plaques at the same time, I found they weren’t all exactly the same size.
Use a small amount of craft glue or school glue to attach each sign to the wooden frame.
Attach bakers twine or other ribbon to the back of each ornament with hot glue to make an ornament hanger.
Or if you want your hanger to have a cleaner look, you can screw two small eye hooks into the top of your frame and tie the baker’s twine to the eye hooks.


I absolutely love these ornaments!
They look super cute on my tree and I think they would make a fabulous inexpensive gift as well.

And if you love these, you have got to check out my other DIY Christmas ornaments. Making ornaments is one of my favorite Christmas traditions and over the years I’ve made so many really cute ornaments.
Video Tutorial
I’d love for you to subscribe to my Youtube channel!

DIY Farmhouse Christmas Ornaments with Free Printables
These DIY farmhouse Christmas ornaments are so cheap and easy to make! The secret to these amazing ornaments is the inexpensive pre-made wooden frames along with the free printable designs. These will look gorgeous on your Christmas tree and also make great inexpensive gifts.
Materials
- 3x5 wooden plaque
- wood stain
- free printable Christmas sign designs
- white cardstock
- craft glue
- bakers twine
Tools
- rag or foam brush to apply wood stain
- scissors
- hot glue gun
Instructions
- Use a rag or small foam brush to stain the 'frame part' of the wood plaque. You can use use a q-tip to get stain into the interior corners if needed.
- Wipe off any excess stain with a clean rag. Allow the wood to dry thoroughly.
- Print the free printable farmhouse signs in 3.5"x5" size on cardstock.
- Cut each sign to fit into the stained frames. I found each frame to be a slightly different size so the easiest way to do this is to cut the sign slightly larger than needed and then trim each side until it fits perfectly in the opening.
- Use a small amount of glue to glue each sign into place.
- Use hot glue to attach baker's twine to the back of each ornament for hanging.
Notes
Here are links to all of the free printables used for these ornaments: Fresh Cut Trees, Sleigh Rides, Gingerbread Bakery
I’d love for you to pin this post on Pinterest!


Super cute and easy too! Love it!
Thank you! I love when projects are both cute and easy!
Hi Carrie! Thank you so much for this fun and easy project. I am all about fun and easy this time of year. I sure do appreciate the printable’s. Pinned!
Thanks Cheryl! And I agree – fun and easy definitely wins this time of year!