How to Choose the Perfect Paint Color Every Time
A tried-and-true method for choosing a paint color you love on the first try along with tips to make the entire process easier.
Sadly, I’ve learned from experience that just grabbing some paint that looks great in the store and getting started painting is a really terrible idea. The times I’ve tried it, I almost always ended up unhappy with my color choice.
Which meant not only more trips to the store (and more money) to buy different paint, but also more work repainting things. No thank you!
After painting dozens of rooms, ceilings, front doors, fireplaces, and more, this is my tried-and-true method for choosing the perfect paint color every time. This method takes a little bit more time upfront, but it saves you from the extra time, money, and frustration of ending up with a paint color you hate.
This post contains affiliate links which means if you make a purchase after clicking a link I will earn a small commission but it won’t cost you a penny more. Click here to see my full disclosure policy.
How to choose the perfect paint color
1 – Gather paint chips
It helps if you start with a general idea of what general color you want – cream, light gray, navy, etc.
Then head to the paint store and grab all the paint chips that catch your eye.
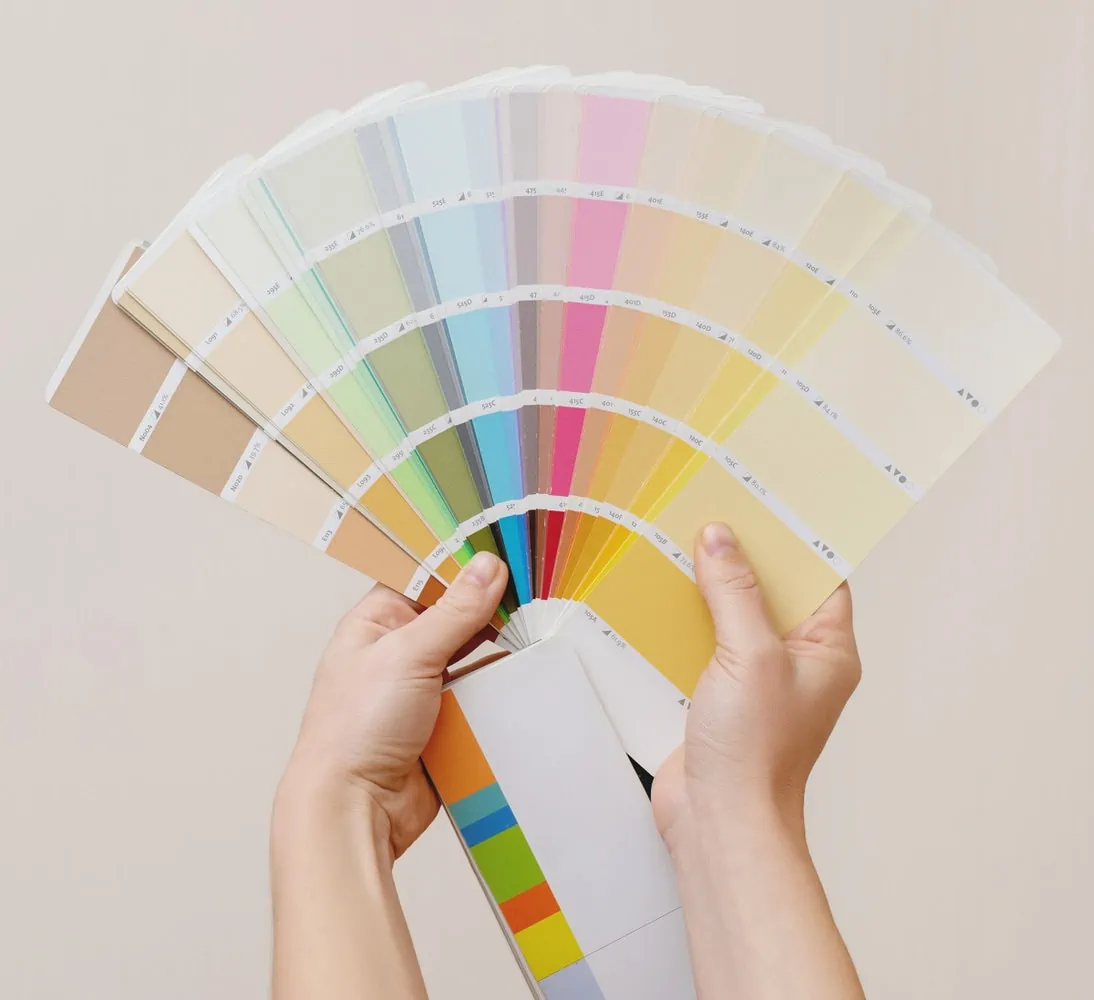
At this point don’t worry about editing your choices.
If a color looks like it might possibly work, there’s no harm in taking the paint chip home to check. That’s exactly what they are there for.
You never know when the color that just barely made the cut will end up being your favorite of the whole bunch.
2 -Tape them to the wall.
Take your paint chips home and tape them to the wall in the room you are planning to paint.
This will help you get a better idea of what each color will look like in the actual room you’re painting.
You’ll be able to see how your paint colors look next to any other finishes in the room including the trim color, cabinets, flooring, and tile.
This also gives you a chance to see how the paint color looks in the room’s lighting. The tone and intensity of the lighting in a space can make a surprisingly big difference in how colors look.

Because light plays such a large roll, it’s important to tape your paint chips to the actual surface you’ll be painting.
So if you’re painting a door, tape them to the door. If you’re painting the ceiling, tape them to the ceiling. It’s crazy how different a paint color can look on the wall versus the ceiling all because of how the light hits it.
3 – Take a closer look and narrow down your choices.
Once you’ve taped your paint samples to the wall, you may be able to eliminate several choices right away. Then you can check out the remaining choices throughout the day as the lighting in the space changes.
Pay attention to how each color looks in the morning, in the afternoon, with the overhead lights on, etc.
Each time you pass through the room, see if you can eliminate a few more choices.
Tip – Look at the rest of the paint strip.
It can be tough to really see the nuance and undertones of a paint color on a tiny paint chip, especially when you are choosing a lighter, more neutral shade.
You can get clues about your paint color by looking at the other colors on the same paint strip. The darkest color on the strip is usually a more saturated version of the lightest shade. This darker, more saturated color can make some of the more subtle nuances of the color much more obvious.
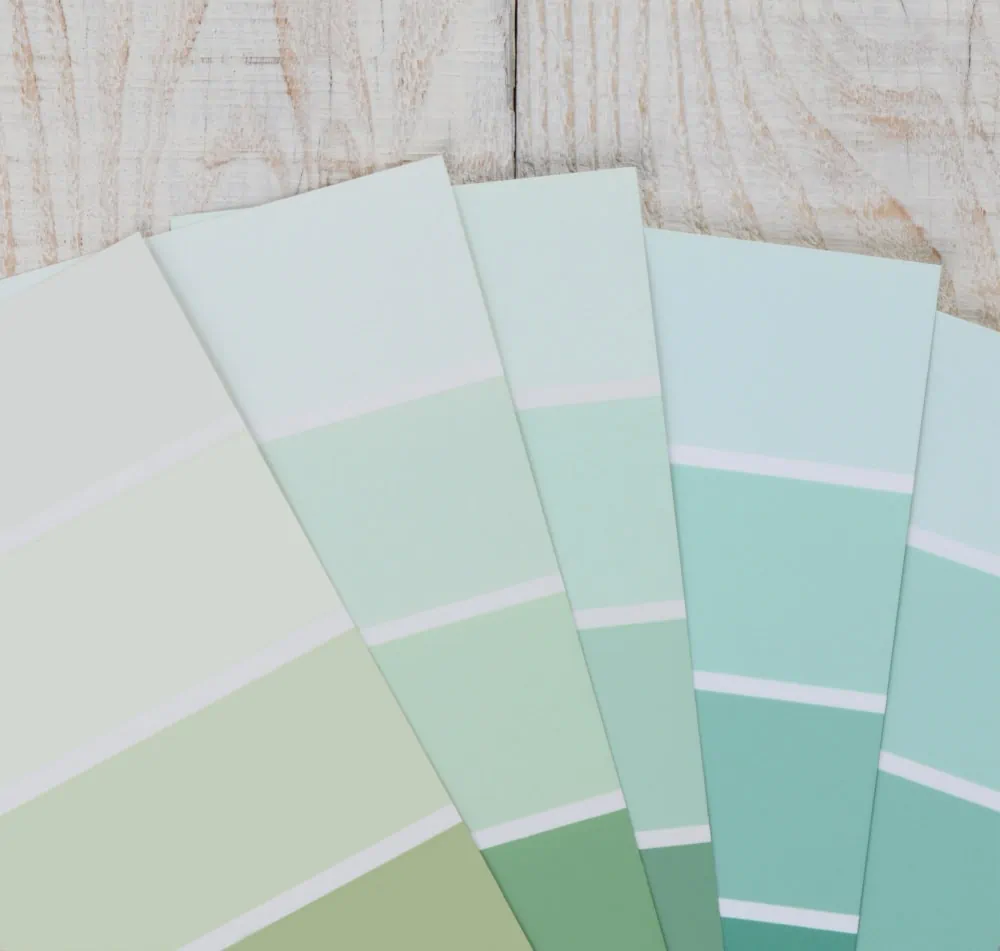
In particular, it makes it much easier to see the undertones of your paint color. What looks like a simple light blue might actually have quite a bit of green in it or gray. Looking at a deeper shade of the color can make these undertones much more obvious.
4 – Get paint samples.
Once you’ve narrowed your paint chips down to your top 2-5, the next step is to get paint samples of your top colors.
You can buy small, inexpensive paint samples at any paint store.
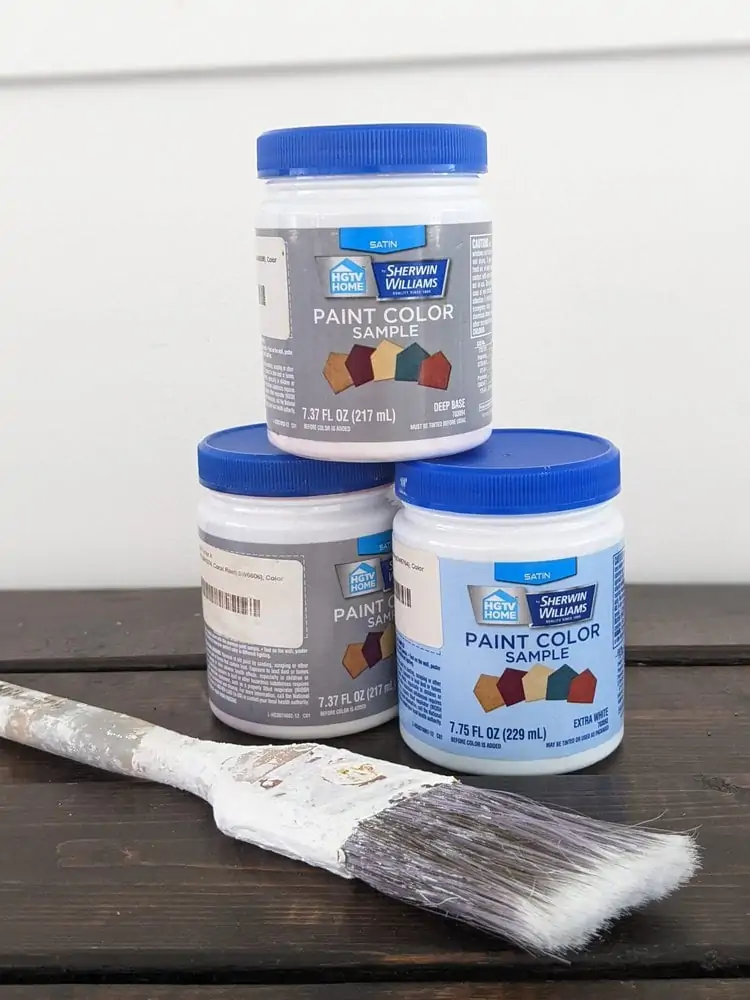
Take your paint samples home, pull out a paint brush, and paint a few swatches of paint on the wall.
It might even be a good idea to paint a swatch on a few different walls in your room and you should definitely try painting swatches next to any finishes that you don’t plan to change like wood trim or cabinets.
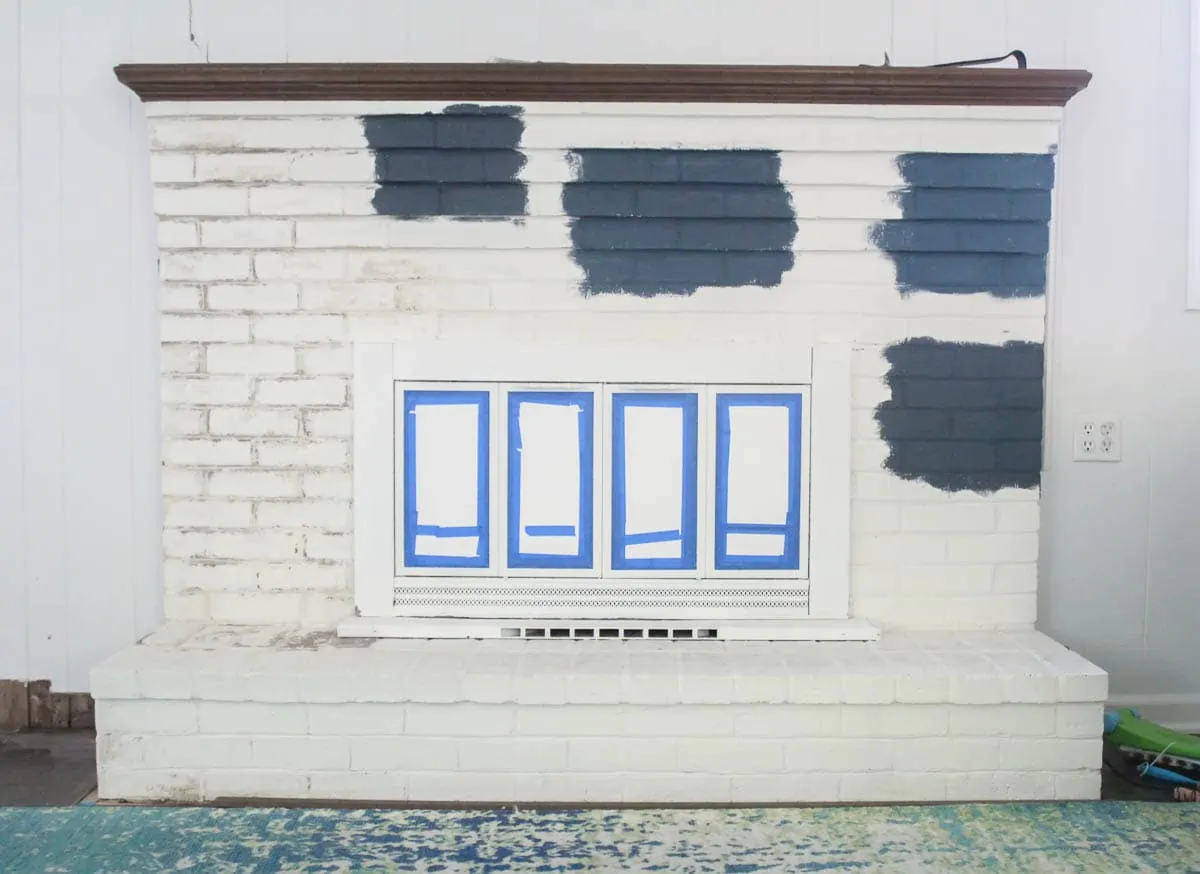
Seeing the paint colors on your actual walls can make it much more obvious which colors work best.
Tip – Try Samplize Paint Swatches.
There’s also another option for testing out swatches of paint on your walls without having to go buy paint samples and paint the walls.
I recently discovered the company Samplize and their whole purpose is basically to make choosing paint colors easier.
Samplize sells large peel-and-stick paint samples. All you need to do is order the colors you’re interested in. They will ship the samples to your home and you can stick them to the wall to help make your final decision.
The great thing about this is it saves you a trip to the store and you don’t have to paint on your walls until you’re ready to actually paint your room. (I’m sure I’m not the only one who’s had random paint swatches painted on the wall for months before I got around to painting the room!) With Samplize, once you’ve chosen your paint color, you can easily peel the paint samples off the wall and stow them away.
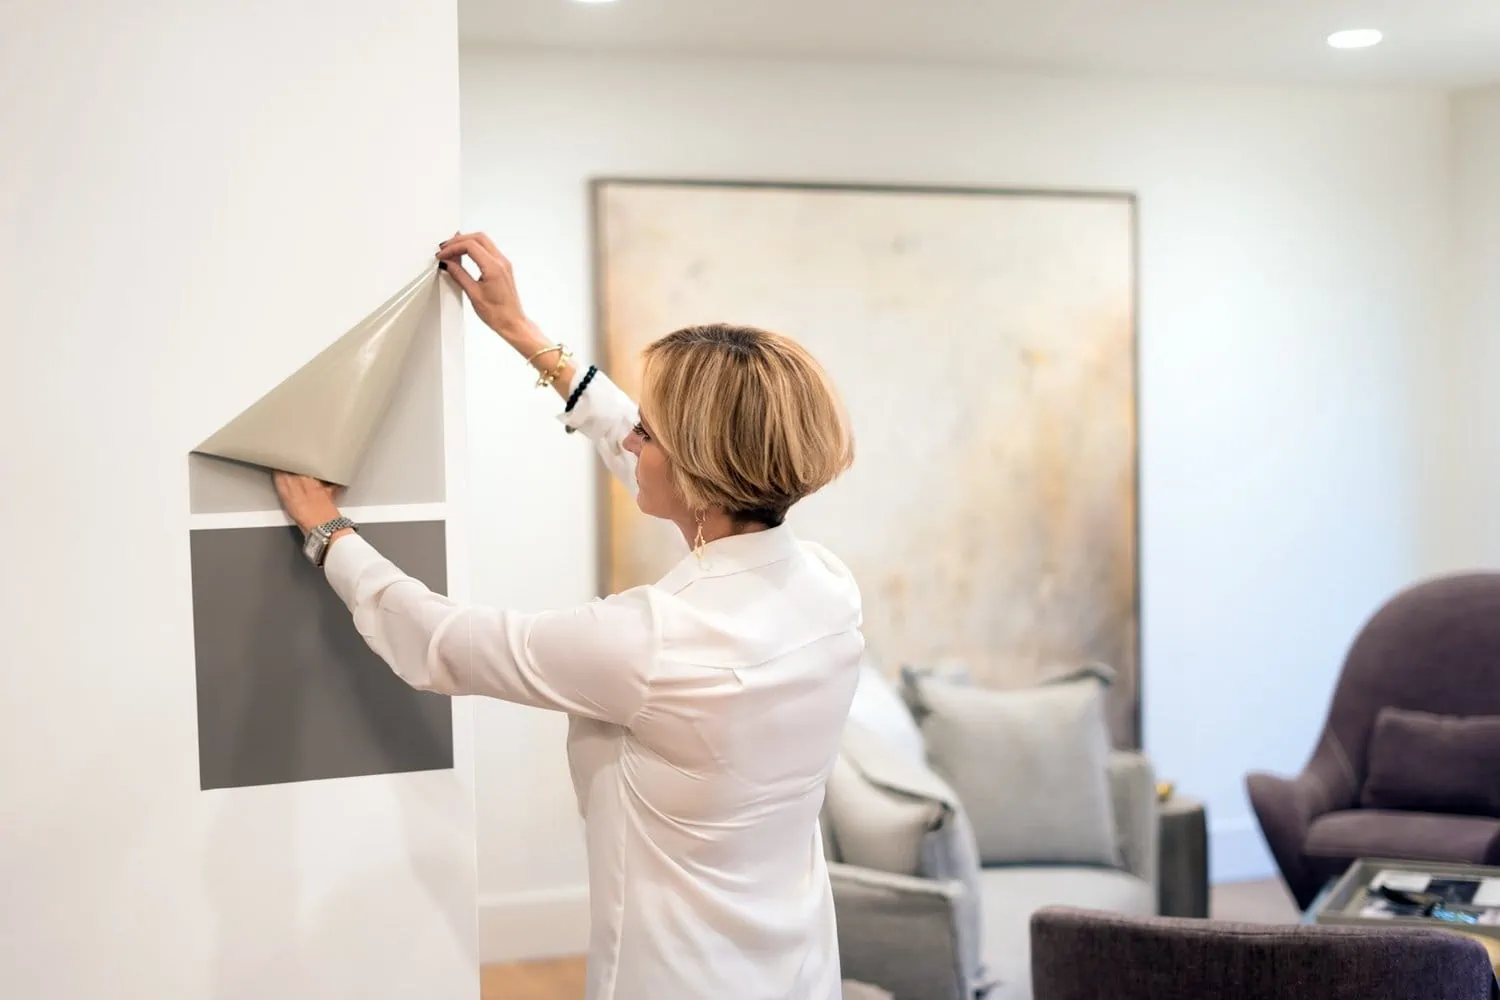
There are some situations where Samplize doesn’t work as well.
Samplize only offers paint samples for Benjamin Moore, Sherwin Williams, PPG, and Farrow and Ball, so if you are using a different brand of paint, you won’t be able to use them.
Also, Samplize really works best for choosing a paint color for walls. The peel and stick samples aren’t going to work as well if you are trying to test out colors for cabinets, a brick fireplace, or something similar.
Samplize often has deals available where you can save when ordering multiple paint swatches; you can see their latest offers and get more details at their website.
5 – Choose and buy your perfect color.
At this point after getting a close look at each of your paint samples in your actual room, it should be pretty easy to choose the winning paint color.
Tip – If you still can’t decide on a paint color
If you’ve painted (or stuck) paint samples on the wall, but are still having a hard time choosing between two great colors, odds are either color will look beautiful.
Paint colors aren’t like soul mates – there’s not only one perfect match for every space. Give yourself permission to just pick a color and move on.
On the other hand, if you’ve studied your paint samples and you honestly don’t like any of them, it’s okay to start again with a different batch of paint chips.
Sometimes once you see the paint on the wall, it suddenly becomes clear you actually wanted a dark, moody color rather than a bright neutral or visa versa. There’s no shame in trying again until you find the right color.
It’s much better to buy a few more paint samples now than realize you hate the color after you’ve already put the time and money into painting the entire room.
Choosing the right paint sheen
Once you’ve chosen the right color, you’ll also need to choose which paint sheen you want to use.
Paint comes in a variety of paint sheens including flat, eggshell, satin, semigloss, and gloss.
A paint’s sheen basically means how much light it reflects or how shiny it it.
Flat paints reflect less light and have a very matte finish while semigloss and gloss are much shinier. Eggshell and satin paints fall somewhere in the middle.
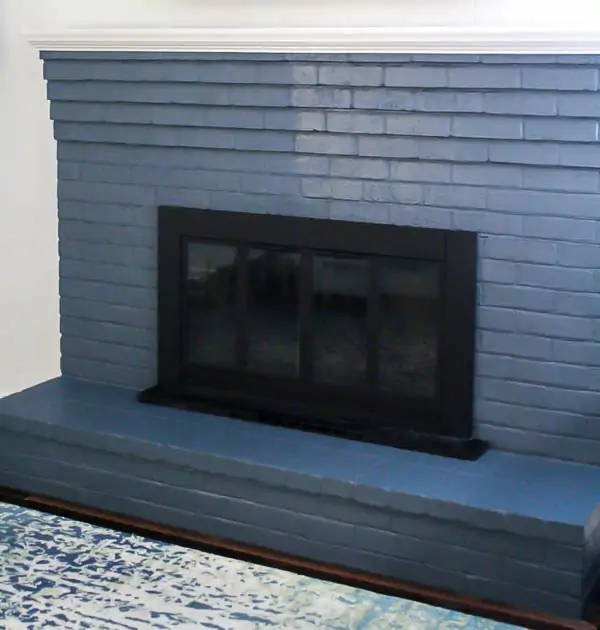
In general, the glossier the paint, the easier it is to clean. The flatter the paint, the better it hides flaws and imperfections in the surface being painted.
Overview of Paint Sheens
- Flat paint (also called matte) hides imperfections but is very difficult to clean. It is best for ceilings.
- Eggshell paint has a very subtle sheen and is best for walls in low-traffic areas like bedrooms, living rooms, dining rooms.
- Satin paint is very versatile and works well on walls in any room of the house.
- Semigloss paint has more of a shine and can be easily scrubbed clean and works well in high-traffic areas. It’s best for trim, doors, cabinets, and bathrooms.
- Gloss paint is very shiny and really highlights imperfections but can be cleaned very easily. Gloss paint is primarily used on woodwork.
Now you’re ready to pick out the perfect paint color for your next project.
It may take a bit more time, but with this process, you will always end up with a paint color you love. No more painter’s remorse!
(And in case you’re curious about how the fireplace makeover in the photos above turned out, I have a whole post about painting the fireplace with lots of before and after photos. It’s a pretty fantastic transformation!)
Other DIY home tips and tricks I think you’ll like:
I’d love for you to pin this post on Pinterest!



You are so right about choosing paint colors. Over the years I’ve learned to paint a swatch on the wall and live with it to make sure we like it. You aqua is do pretty and a great choice for the bathroom. We have a similar color in our hall bath and I still love it.
Yes, it really pays off to try a sample on the wall!
I just love that color! Great tips for tacking the frustration out of choosing a color. I am choosing a white for my dining room and think i have it narrowed down, but will be hitting the paint store for a few samples myself! Looking forward to seeing the reveal!
Thank you Maureen! Good luck choosing your own color!
You are so right, paint is such an inexpensive way to completely change the look of a space, and you can accomplish it in a few hours (typically). Great tips for getting the right color. I always come home with about two dozen swatches to start :) I cannot wait to see the board and batten. It’s going to be gorgeous!
Thanks Erin! I always start with a ton of swatches too – even if they are all just barely different. But it is crazy how a tiny difference in color on the swatch can make a huge difference on the wall!