How to paint over dark walls the easy way
I’m sharing how to paint over dark walls including whether you need to use primer, how to pick the best paint, and tricks for getting a great paint finish.
This week I tackled a project I’ve been putting off for awhile.
My three boys decided last year that they wanted to all share a room which meant our third bedroom was freed up for a new purpose. This little room used to be the nursery and I am very excited to transform it into my home office/craft space.
The first project on the list – painting over the sweet night sky mural on the wall.
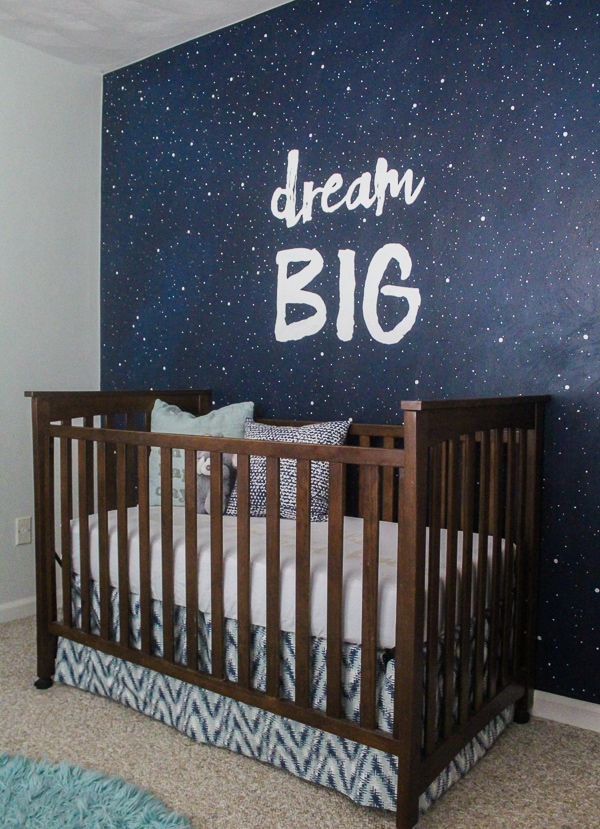
Painting over this mural was definitely a bit bittersweet. I painted this mural several years ago for my middle son, but as much as I loved it, it was time for a change.
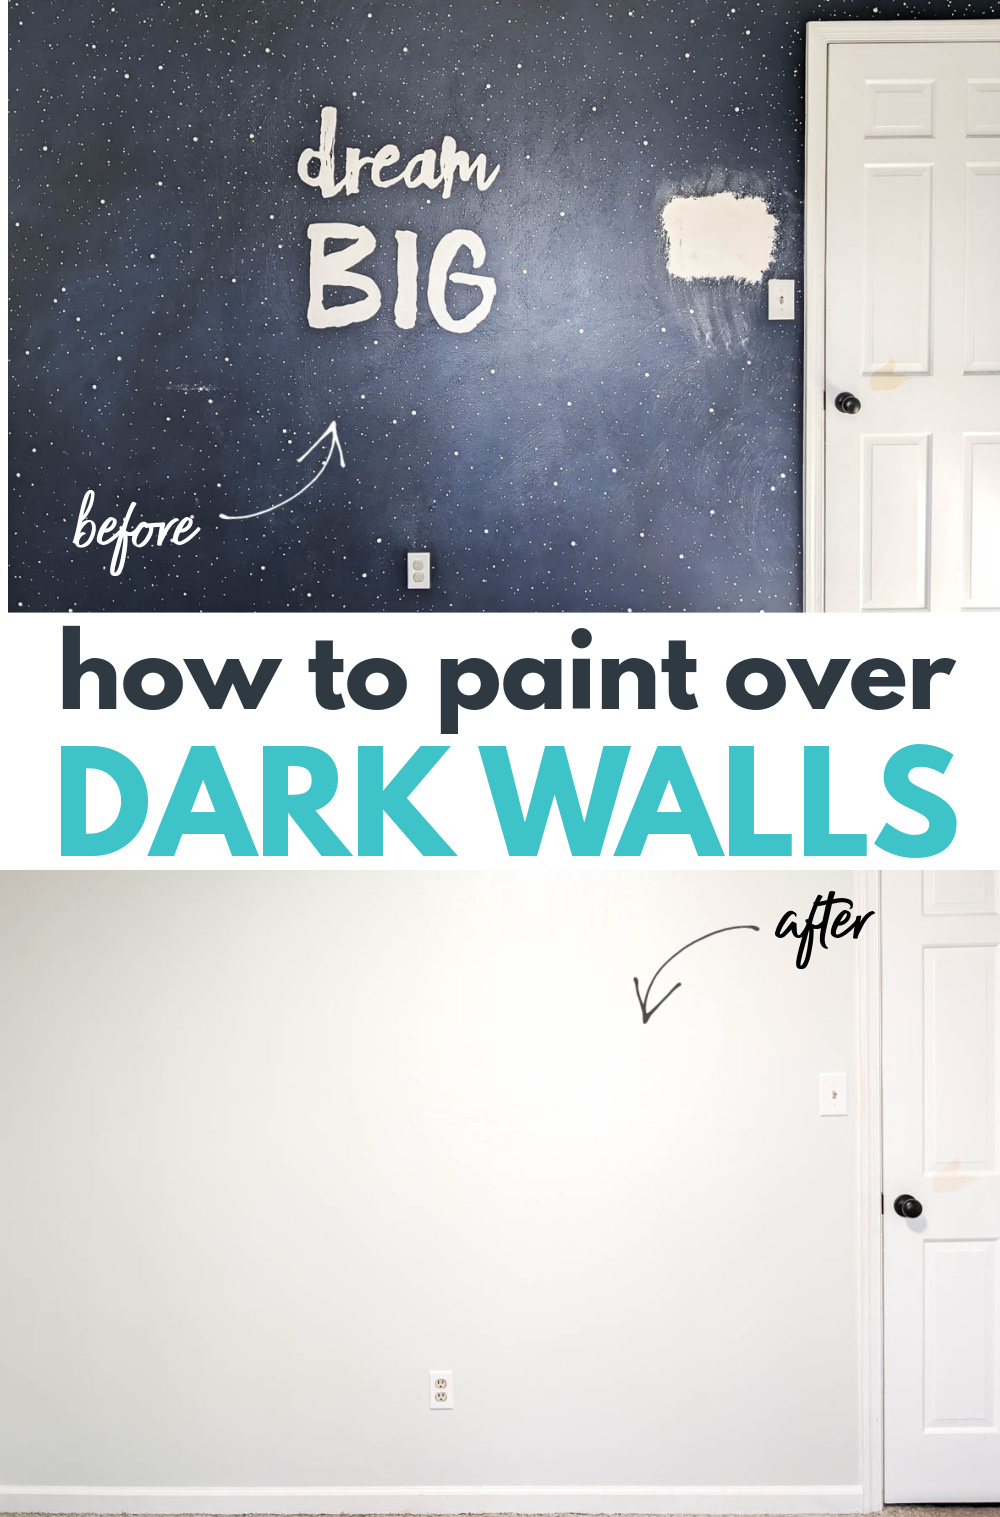
I knew I wanted to paint over this dark navy wall with light paint to match the other three walls in the room.
When you’re painting a light color over dark paint, it can be intimidating not knowing how well the paint will cover or if you will need a million coats of paint to get good coverage.
Today I’m sharing everything you need to know about painting over dark walls, and thankfully it’s much easier than you might think.
This post contains affiliate links which means if you make a purchase after clicking a link I will earn a small commission but it won’t cost you a penny more. Click here to see my full disclosure policy.
Do you need to use a separate primer when painting over dark colors?
In the past, painters always advised applying a coat or two of primer to your walls any time you were making a very drastic color change.
The idea was that the primer would greatly reduce the number of coats of paint you need to get an even paint finish.
Thankfully, paint has come a long way over the past few years.
Most paints today have primer built right in. You no longer need to roll a separate coat of primer on the walls to get great paint coverage. You can get really great coverage using just paint as long as you choose the right paint.
How to pick the right paint
When you are choosing your paint, this isn’t the time to choose the cheapest paint.
These days when you buy paint at a home improvement store, they usually have several paint formulas for you to choose from. At my local Lowes and Home Depot, they always offer three tiers of paint – good, better, or best.
I’m a pretty frugal person and I often choose the ‘good’ or ‘better’ paints to save money, but not if I am painting over a dark or very saturated paint color.
In that case, I always choose the best quality paint. High quality paints give better coverage with fewer coats of paint which is exactly what you need when you’re painting over a dark color.
For this project, I used Valspar Signature paint and it worked beautifully. I was able to paint over my dark navy and bright white mural with only two coats of paint.
After the second coat of paint, the finish was totally even – you couldn’t see the dark color peeking through or any uneven spots where all the bright white stars were.
Other paints that are great for painting over dark colors include Behr Marquee and Sherwin Williams Emerald.
These paints are a bit more expensive at $40-$80 per gallon, but it is definitely worth it since you will save both time and money by not needing to use a separate primer.
How to pick the right light paint color
The paint color you choose can also make a difference in how many coats of paint you need for good coverage. I used a very light, neutral color to paint over my dark mural with great results.
Most light paint colors should work just fine, but be careful about using a bright, pure white shade. When I saw pure white, I mean completely white without any other undertones – the type of white paint you can buy straight off the shelf without any tinting.
Pure white paints have very little pigment in them which means they often don’t cover as well as other shades. Choosing a paint color with just a tiny touch of gray or cream will give better coverage than a pure white.
If you really want to use pure white paint on your walls, it’s probably a good idea to go ahead and start with a coat of primer first.
How to paint over dark walls
Materials
- High quality paint in the color of your choice – I used Valspar Signature paint color matched to the color on the rest of my walls (which was discontinued)
- One gallon of paint will cover approximately 350-400 square feet with once coat of paint. To figure out your square footage, multiply the length of each wall by the width. If you are painting multiple walls, add each wall’s square footage together. Then double that number (because each wall will need two coats of paint.) If it is less than 400 feet you’ll likely need one gallon, 400-800 feet you’ll need two gallons, etc.
- Paint roller and roller cover – If you have smooth walls, choose a roller cover meant for smooth surfaces. If your walls are textured, choose a roller cover for semi-smooth to semi-rough surfaces.
- Paint tray
- High quality angled paint brush – A great paintbrush is key for getting clean lines along the edges of your walls. This Purdy 2.5″ angled brush is my favorite for cutting in
- A ladder – for reaching the tops of the walls
- Painter’s tape – this is optional, some people prefer to use painter’s tape around the trim and ceiling, but you can also get clean paint lines without it.
- Dropcloth – again, this is optional, but it can come in handy for protecting your floors as you paint.
Clear the room
Before you start painting, remove everything from the walls. Push any furniture away from the walls to the center of the room.
You can cover the floor with dropcloth as well if you choose. I usually skip the dropcloth because I’ve learned to be a pretty neat painter at this point. But if you are more on the messy side or you don’t have a lot of painting experience, I would definitely play it safe and protect everything in your room.
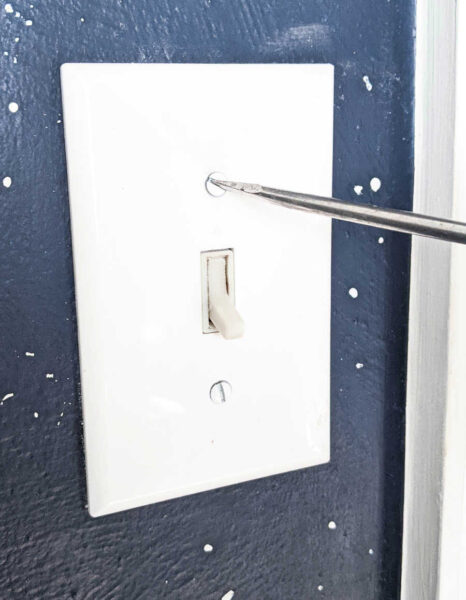
This is also a good time to remove the outlet covers and light switch plates from your wall.
Clean the walls
Before you start painting, it’s a good idea to wipe down your walls with a clean rag first to remove any dirt or dust or cobwebs. (I was shocked by how many cobwebs were hiding on my textured walls!)
If you are painting a kitchen, you can take it a step further and clean the walls with a degreaser to remove any greasy buildup from cooking.
Paint doesn’t stick well to dirt and grease so starting with a fresh, clean surface is always best.
Painter’s tape
If you want you can also apply painter’s tape to protect the trim and ceiling at this point. Painter’s tape is fantastic for getting perfectly straight paint lines if you know how to use it correctly. (And if you don’t, I have a ton of tips for getting perfect paint lines with painter’s tape.)
But with practice, you can also get clean paint lines without painter’s tape. The key is to use a good angled brush and take it slow.
Cutting in around the edges of the wall
Before you start painting, be sure to stir your paint well. This is always important, but especially when you are paining over a dark color. You want to be sure the paint is mixed well and the pigment is well distributed for the best coverage.
Use your paint brush to cut in around the edges of the room, starting with the top of the wall next to the ceiling and working your way down.
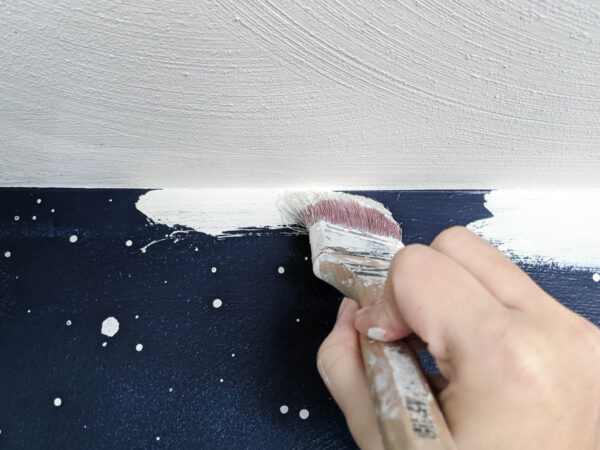
I like to use my brush to cut in around the top half of the wall and then come back and fill in that section with the roller before moving to the bottom half.
Loading your roller with paint
When you are loading up your roller with paint, make sure all sides of the roller are covered with paint and then gently roll off any excess paint onto your paint tray.
You want your paint roller to be pretty wet, but not dripping.
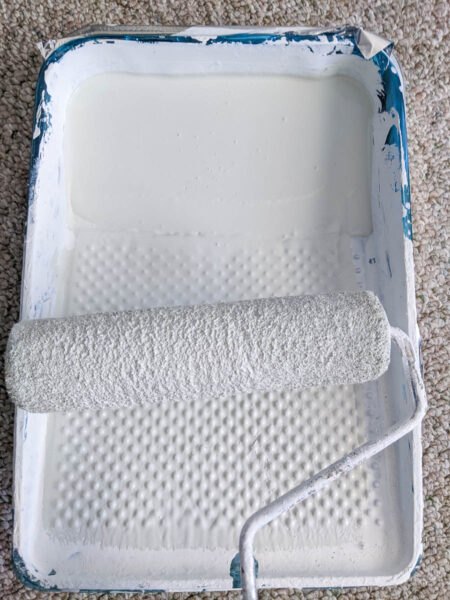
It’s important not to load up your roller with too much or too little paint.
As you are painting, if you start to feel like you need to press down hard on the roller to get the paint to transfer, it’s time to get more paint.
On the other hand, if the roller is splattering paint as you roll and leaving ridges of excess paint on the wall, you have too much paint and need to roll the excess off on the paint tray.
Painting your wall with a roller
You may have seen or heard before that when you are rolling paint onto a wall or a ceiling, you should try to move your roller in a W pattern.
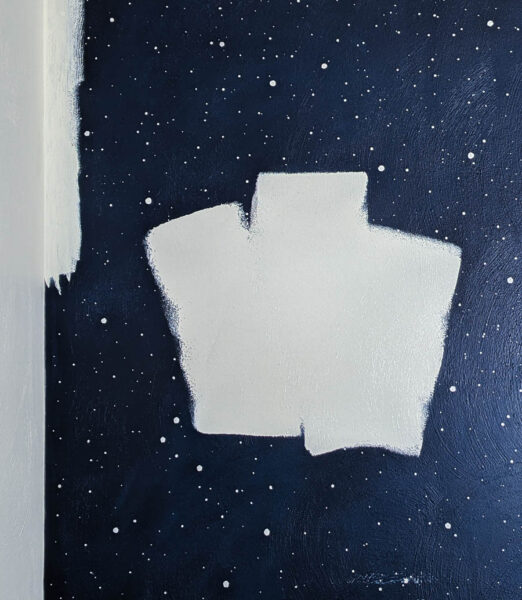
The main purpose of the W is to make sure you are varying the direction you roll the paint on and each roll of paint slightly overlaps with the last roll of paint.
When you are painting near the edge of the wall, don’t worry about painting in a W shape, just roll your roller as close to the edge as you can.
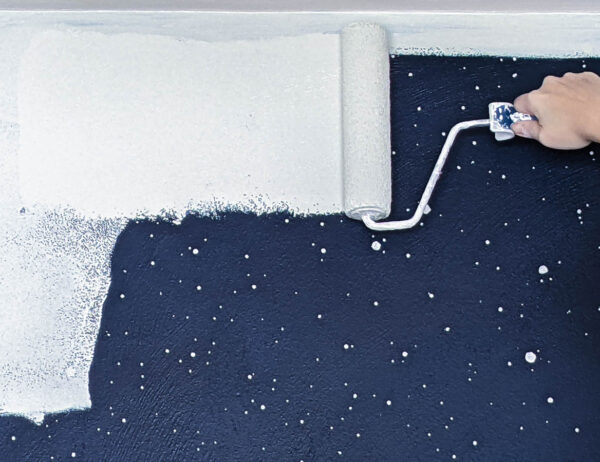
Once you have painted a section of the wall, roll over it again very lightly to smooth any ridges and make sure the paint is evenly distributed. You don’t need to load more paint onto your roller before doing this; it’s just a quick pass to smooth everything over.
Second coat of paint
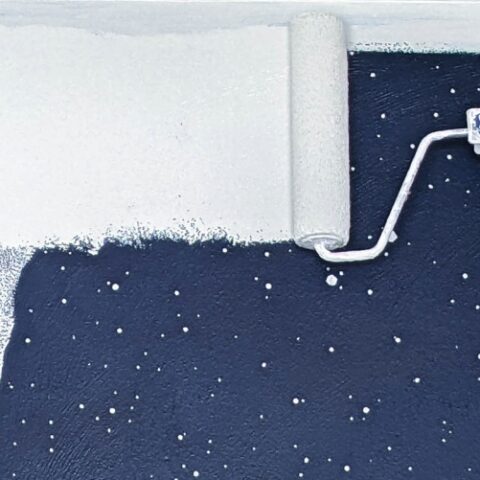
It’s always best to do a couple of thin coats of paint. Trying to get the job done faster with one very thick coat of paint will just lead to a mess and won’t give you the best paint coverage.
When you finish the first coat of paint, the wall will probably look pretty uneven.
Here is a picture of my wall after the first coat of paint – the color is uneven and you can still see the Dream Big letters and the dark paint peeking through.
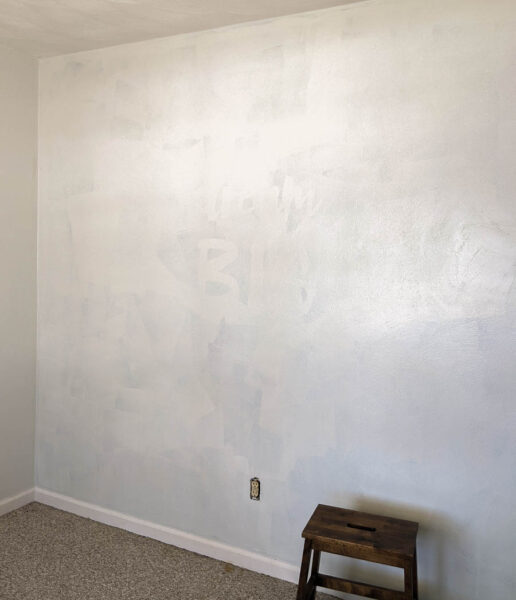
Once your first coat of paint is dry, you can paint the second coat in the same way.
Give the second coat of paint time to dry and then you can evaluate your wall to see if a third coat is needed or not.
Two coats of paint were plenty for my wall, but if you still see a bit of unevenness on your own wall, you may need one more coat. If the paint finish around the edges of the room looks pretty even, you can save time on this coat by skipping the cutting in and just using the roller.
And you’re done!
Here’s my painted wall after the second coat.
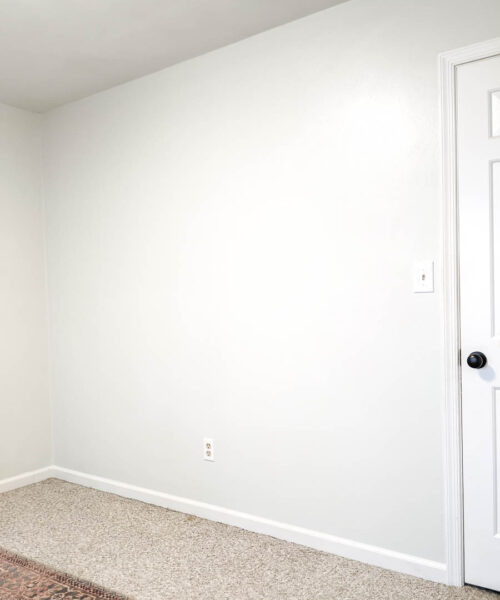
I’m very happy with how fresh and even my finished paint job turned out and now my old mural wall perfectly matches the other three walls in the room.
And I love that I didn’t have to worry about buying and using a separate primer to get great results.
Of course, my wall is a bit bland now compared to that awesome mural, but I have big plans to give it some character over the next few weeks!
More painting posts I think you’ll find helpful:
- How to Get Perfect Paint Lines with Painter’s Tape
- How to Paint a Bathroom Vanity
- How to Paint a Textured Ceiling and Get Perfect Results
I’d love for you to pin this post on Pinterest!

How to paint over dark walls the easy way
Everything you need to know about painting over dark walls with beautiful results.
Materials
- High Quality Paint
- Painter’s tape
Tools
- Paint roller and roller cover
- Paint tray
- High quality angled paint brush
- Ladder
- Dropcloth
Instructions
- Remove everything from the walls and push any furniture to the center of the room.
- Remove the outlet covers and light switch plates from your wall.
- Wipe down your walls with a clean rag first to remove any dirt or dust or cobwebs.
- Apply painter’s tape to protect the trim and ceiling.
- Stir your paint well and use your paintbrush to cut in around the edges of the room. Start with the top of the wall and work your way down.
- Load your roller with paint. Make sure all sides of the roller are covered with paint. Gently roll off any excess paint onto your paint tray.
- Start painting your walls with a paint roller and try to move your roller in a W pattern.
- Allow the first coat of paint to fully dry and then paint a second coat if needed. Thin coats of paint work better than one thick coat.
Recommended Products
As an Amazon Associate and member of other affiliate programs, I earn from qualifying purchases.
-
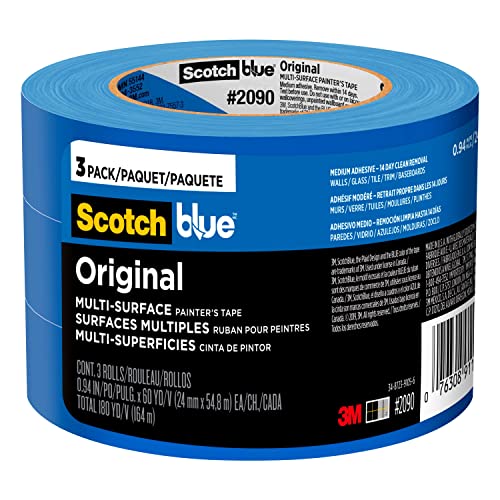
ScotchBlue Original Multi-Surface Painter’s Tape, 0.94 inch x 60 yard, 3 Rolls
-
Linzer RM 403 0900 Plastic Tray, 1 Quart
-
Purdy White Dove Roller Cover, 9 x 3/8 in., 3 count
-
Bates - Paint Roller, Roller Frame with 2 Covers, Roller Naps (9"), Roller Frame, Paint Roller Set, Roller Covers, Paint Roller Frame, 9 inch Paint Roller Cover, Roller Brush, Painting Roller Handle



OUTSTANDING logical article. Very thorough.