Making an IKEA step stool pretty
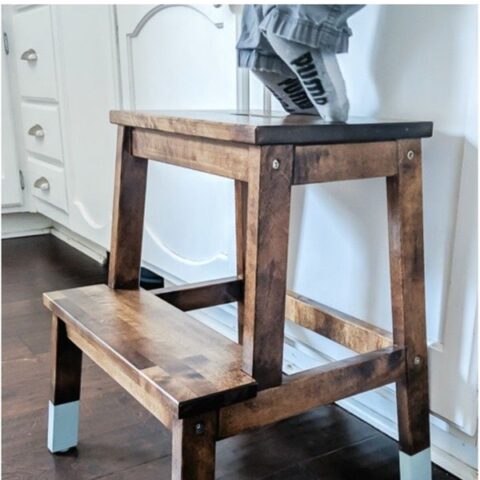
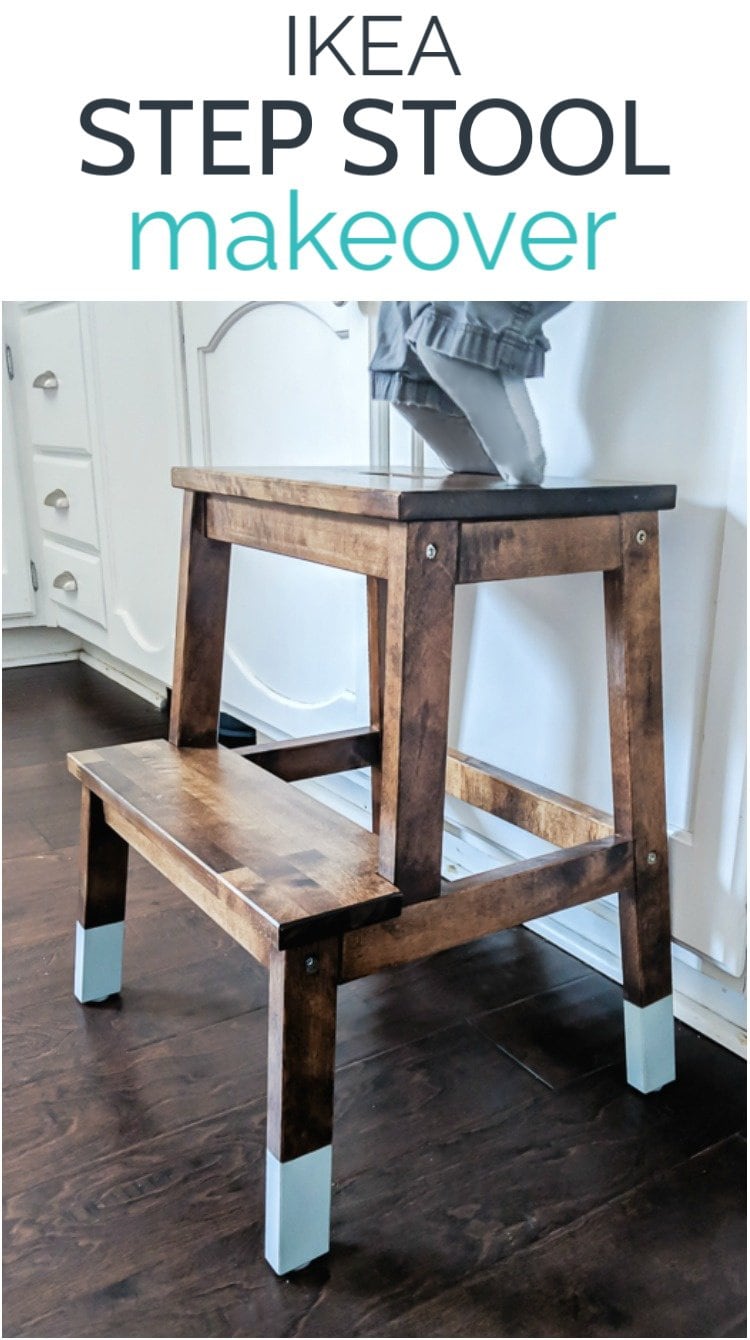
This IKEA Bekvam step stool makeover is quick, simple, and beautiful. The two-tone color dip finish gives a pop of personality while still being neutral enough to work in any space.
I’ve been wanting one of these cute step stools from IKEA for awhile, so the last time I made the 3.5 hour road trip to our closest IKEA, I finally snatched one up.
These little stools are the perfect size, they are solid wood, and they only cost $20.
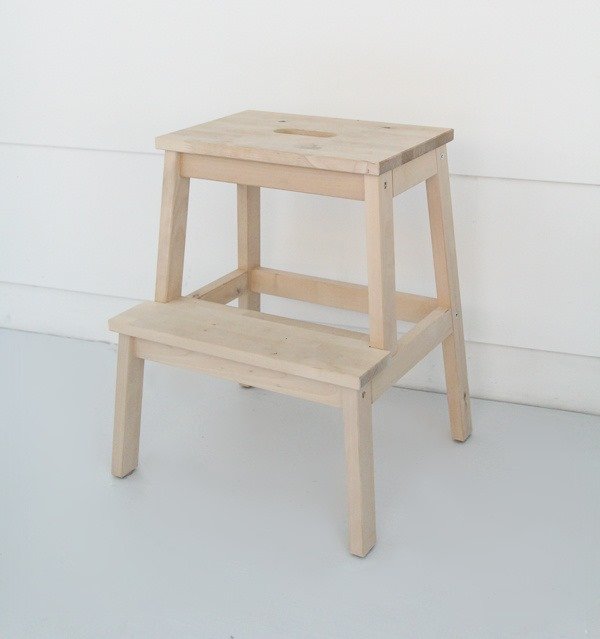
The IKEA Bekvam step stool comes in white, birch, and black. I knew from the beginning that I wanted the unfinished wood version so I could add my own personal touch and make it my own; I just wasn’t exactly sure what I wanted to do with it.
I considered all kinds of things – stenciling the steps, giving it a distressed look, painting it a bright color. But in the end, I decided to keep it simple, with just a splash of color.
I tend to want to make every single thing in my house unique and special and I’m finally learning that there truly can be too much of a good thing. If everything is special, then of course, nothing actually is special and everything competes with everything else.
This color dip finish is the perfect compromise. It gives the stool a bit of color and fun while still being neutral enough to work in most spaces.
This post contains affiliate links which means if you make a purchase after clicking a link I will earn a small commission but it won’t cost you a penny more. Click here to see my full disclosure policy.
Materials for Step Stool Makeover
- IKEA Bekvam step stool in birch
- Minwax Stain in the color ‘Provincial’
- Americana Decor Chalky paint in the color ‘Vintage’
- General Finishes High Performance Top Coat in Satin
- Paintbrush and clean rags for applying paint and stain. I really love these paintbrushes for getting a super smooth paint finish.
- Painter’s tape
Steps for IKEA Step Stool Makeover
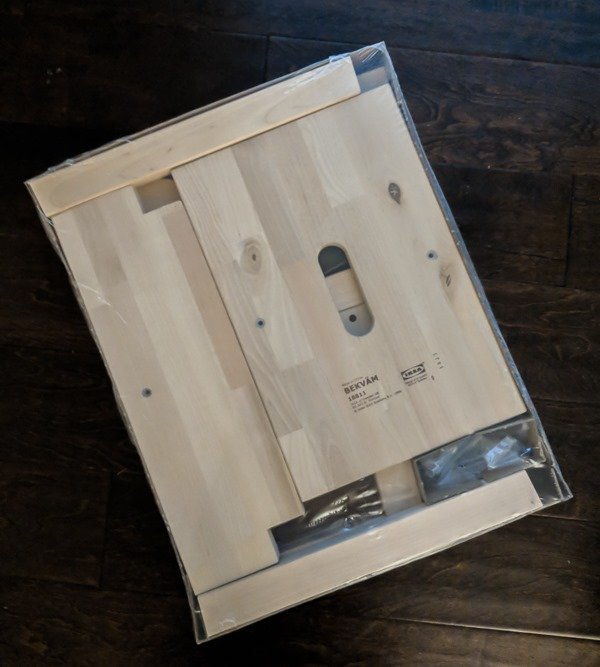
Like most things from IKEA, the IKEA Bekvam stool comes unassembled. Luckily everything you need is included and it is very easy to put together.
Once you have all of the bolts inserted and tightened, you are ready to get started.
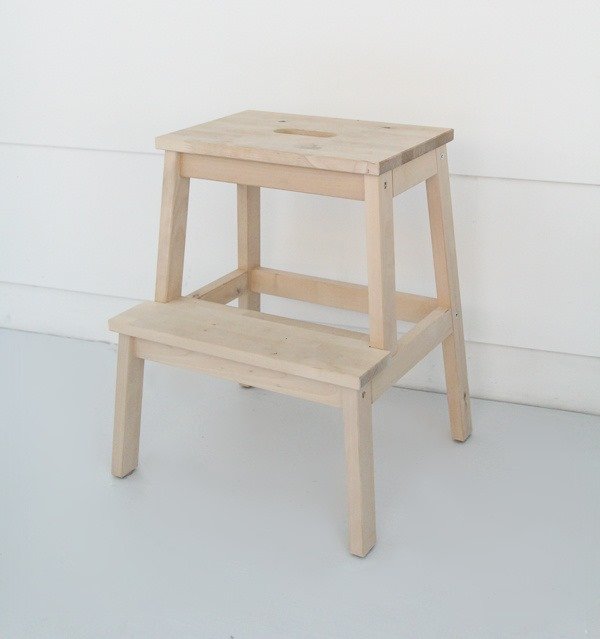
First I stained my stool using Minwax Provincial stain. It’s not a bad idea to lightly sand your stool before staining, but I was impatient and skipped straight to the stain.
If your stool is not brand new and you have been using it unfinished for awhile, you will definitely want to start by cleaning the wood and lightly sanding at least the surfaces of the two steps.
My favorite way to apply stain is to simply wipe it on with a clean ling-free rag – old t-shirts work great for this.
Since I knew I was going to be painting the bottoms of the stool legs, I didn’t bother staining all of the way down.
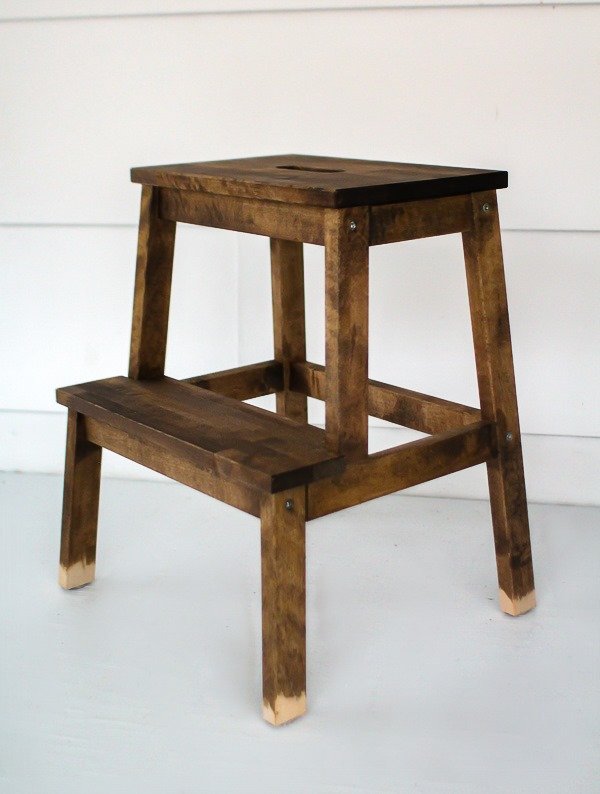
I allowed my stain to dry for a full 24 hours before moving on to the paint step.
Since I was planning to use water-based paint over oil-based stain, it was important to leave plenty of time to make sure the stain was completely dry before moving on to the next step.
I used painter’s tape to tape off the area I wanted to paint. I tried taping at a few different heights and then settled on painting the bottom 3.5 inches of the legs.
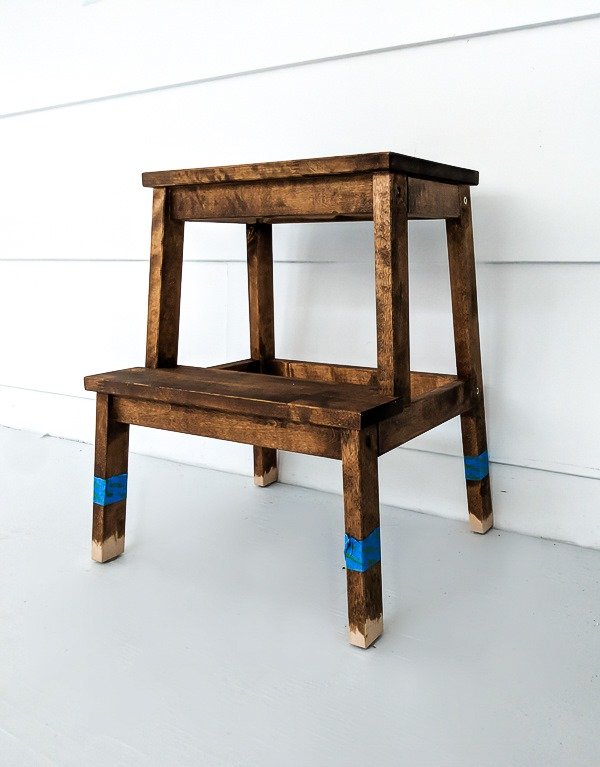
I used a brush to paint on two coats of Americana Decor Chalky Finish paint in the color Vintage. Lately this has become one of my favorite paint colors – it’s a great light blue shade with plenty of gray and green undertones.
After the second coat of paint, I carefully removed the painter’s tape. There were a few small spots where the paint had dripped under the tape a bit and messed up my nice clean lines.
In those areas, I was able to remove the paint drips by lightly scratching the paint off the stained surface with a damp paper towel.
Since this step stool was going to be getting lots of use, I definitely wanted to seal it with a good top coat to protect the finish. It can be a bit confusing trying to figure out what sealer to use for projects like this.
Typically you would use an oil-based polyurethane to seal projects stained with oil-based stains. But an oil-based polyurethane would yellow the water-based paint we used on the legs. (And since topcoats can be the most confusing part of painting furniture, I put together a whole post explaining when and why to use them along with which top coats work best.)
Thankfully, my favorite non-yellowing water-based sealer, General Finishes High Performance Top Coat, can be used over both oil-based products like the stain and water-based products like the paint.
Just make sure you allow enough time for your stain to fully dry before applying the sealer.
Apply sealer over the entire stool using long, even brushstrokes. This sealer is easy to work with and leaves a very smooth finish if applied with a good paintbrush (I like these) or a foam brush.
I applied 2-3 coats of sealer, allowing each coat to dry 2-4 hours before applying the next coat.
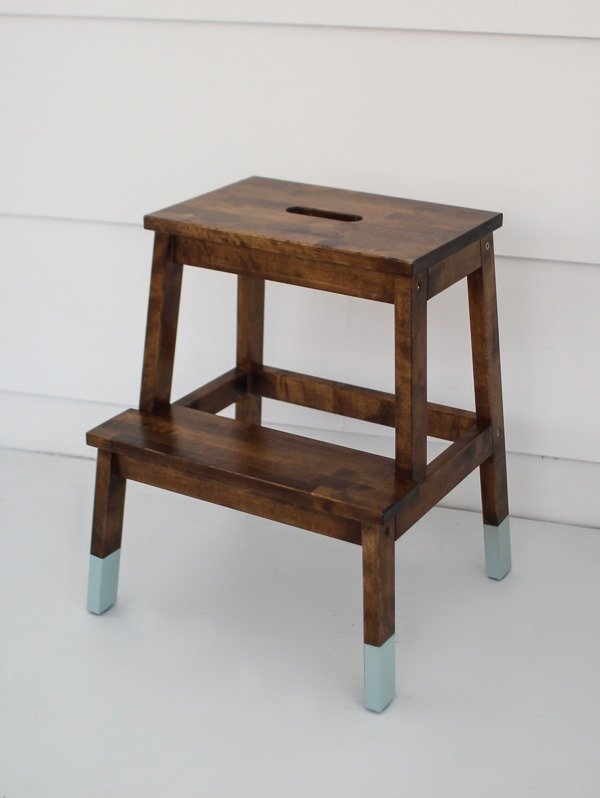
And now my cute little IKEA stool is perfect!
As much as I love painted furniture, there is just something about beautifully stained wood that is perfection. And that pop of blue on the legs adds just enough color and interest to keep it from being boring.
As a side benefit, that bit of paint also provides a bit of a buffer between our dark hardwood floors and the dark stain of the stool.
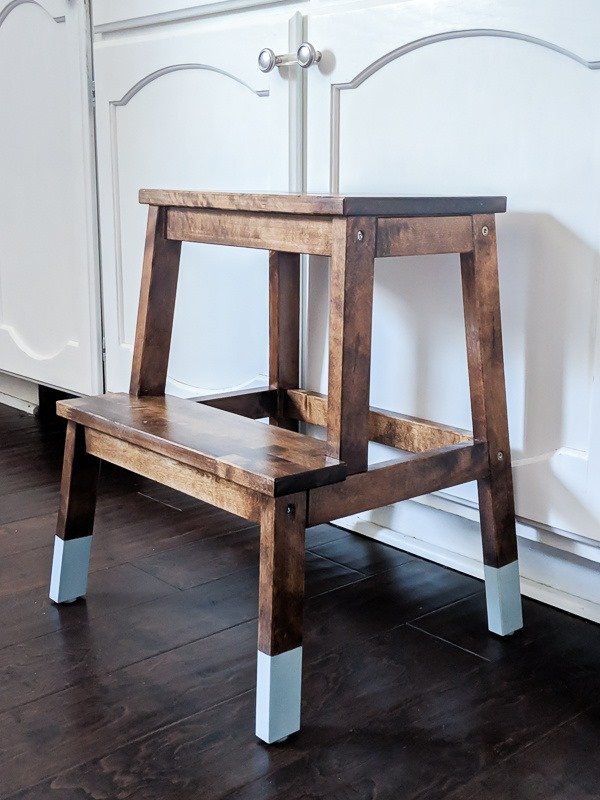
My littlest guy, Lincoln, has been dragging this thing from room to room, using it to climb up and reach all kinds of things.
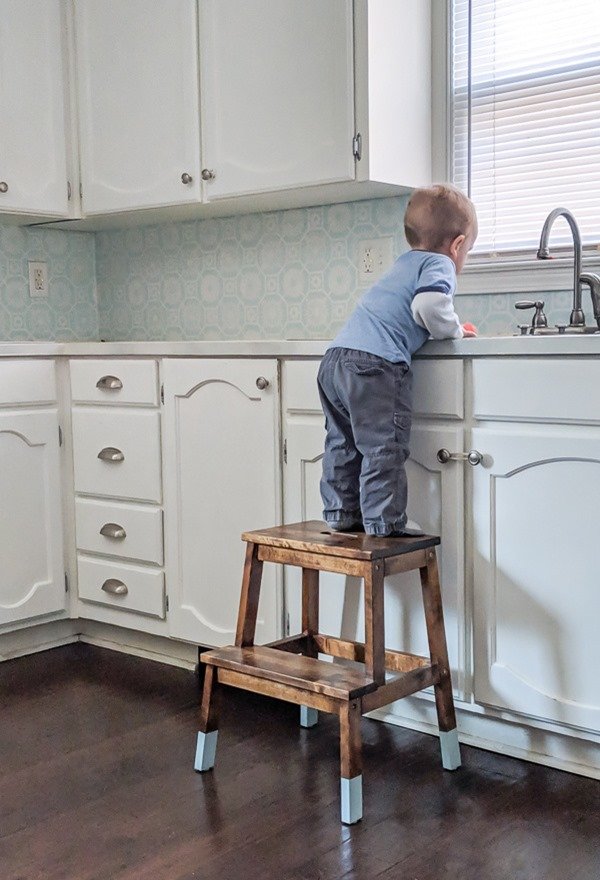
Of course half of them are things I don’t necessarily want him reaching so this is a good incentive to keep the kitchen counters cleared off! And it’s definitely come in handy for me too as I’m trying to reach things in our higher cabinets.
IKEA step stool makeover - two-toned finish
Give your IKEA Bekvam step stool a fun makeover with a two-tone color dip finish. It's a quick way to give a basic step stool a pop of color and make it unique.
Materials
- IKEA Bekvam step stool in birch (or other basic wood stool)
- Minwax Stain in the color ‘Provincial’
- Americana Decor Chalky paint in the color ‘Vintage’
- General Finishes High Performance Top Coat in Satin
- Paintbrush and clean rags for applying paint and stain
- Painter’s tape
Instructions
<ol><li>Assemble the IKEA Bekvam stool. </li><li>Lightly sand the stool, then apply the stain with a clean ling-free rag. </li><li>Allow the stain to dry for a full 24 hours. </li><li>Use painter’s tape to tape off the area you want to paint. </li><li>Paint 2-3 coats of paint. </li><li>Remove the painter’s tape. </li><li>Apply 2-3 coats of sealer, allowing the sealer to dry between coats. </li></ol>
Recommended Products
As an Amazon Associate and member of other affiliate programs, I earn from qualifying purchases.
-
ScotchBlue Original Painter's Tape 2090-18NC, 0.70 in x 60 yd (18mm x 54,8m), 1 Roll
-
Deco Art Americana Decor Flat Brushes, 2-Inch
-
General Finishes High Performance Water Based Topcoat, 1 Quart, Satin
-
Deco Art ADC-17 Americana Chalky Finish Paint, 8-Ounce, Vintage,Multicolored
-
Minwax 22110 1/2 Pint Provincial Wood Finish Interior Wood Stain
More simple DIY posts I think you’ll like:
- 8 Painting Tips: Paint with Less Mess and Less Stress
- How to Make a DIY Wooden Arrow Growth Chart
- DIY Photo Canvas that Looks Exactly Like The Real Thing
I’d love for you to share this post on Pinterest!


Love the stool makeover, but LOVE the picture of Lincoln on it at the sink!! So sweet!!!
Thank you Kathi! He is such a cutie!
IKEA Bekvam stools are one of the most fun things to hack from IKEA. I love what you did here especially the coloured tips on the bottom of the legs.
Thank you Claire! They really are fun – in fact I’d love to do another one!
Looks super good! I wanted to buy this stool at IKEA for weeks but it’s still out of stock! Now I want it more than ever! :P
Thank you! I hope they get it back in stock soon!
Oh this is Beautiful I love it. I need to this for my great grand kids they would love it.
Yes, I bet they would! My kids adore it!
This turned out amazing! I’m wondering how long do you typically let the topcoat cure (not dry) before use? I hear it can take about 3 weeks which is a bit daunting…
It may take up to three weeks to fully cure, but you should be able to use it before then as long as you handle it with care. Just don’t scratch or scrape at it and it should be fine.