How to Make a Huge Hoop Wreath out of Real Copper
Everything you need to know to make a huge DIY copper wreath including the most affordable copper to use and how to hang your wreath, plus a full video tutorial.
As I was putting the finishing touches on my home office, I had one big blank wall that I knew would be the perfect spot for a huge modern wreath.
I needed a pretty big wreath to fit this space, so I thought this would be a perfect time to make a hula hoop wreath. I’ve seen hula hoop wreaths popping up all over social media and I think they’re genius.
If you haven’t seen them, they are pretty much exactly what they sound like – a huge wreath made from a painted hula hoop with flowers or greenery attached.
But then I had an even better idea.
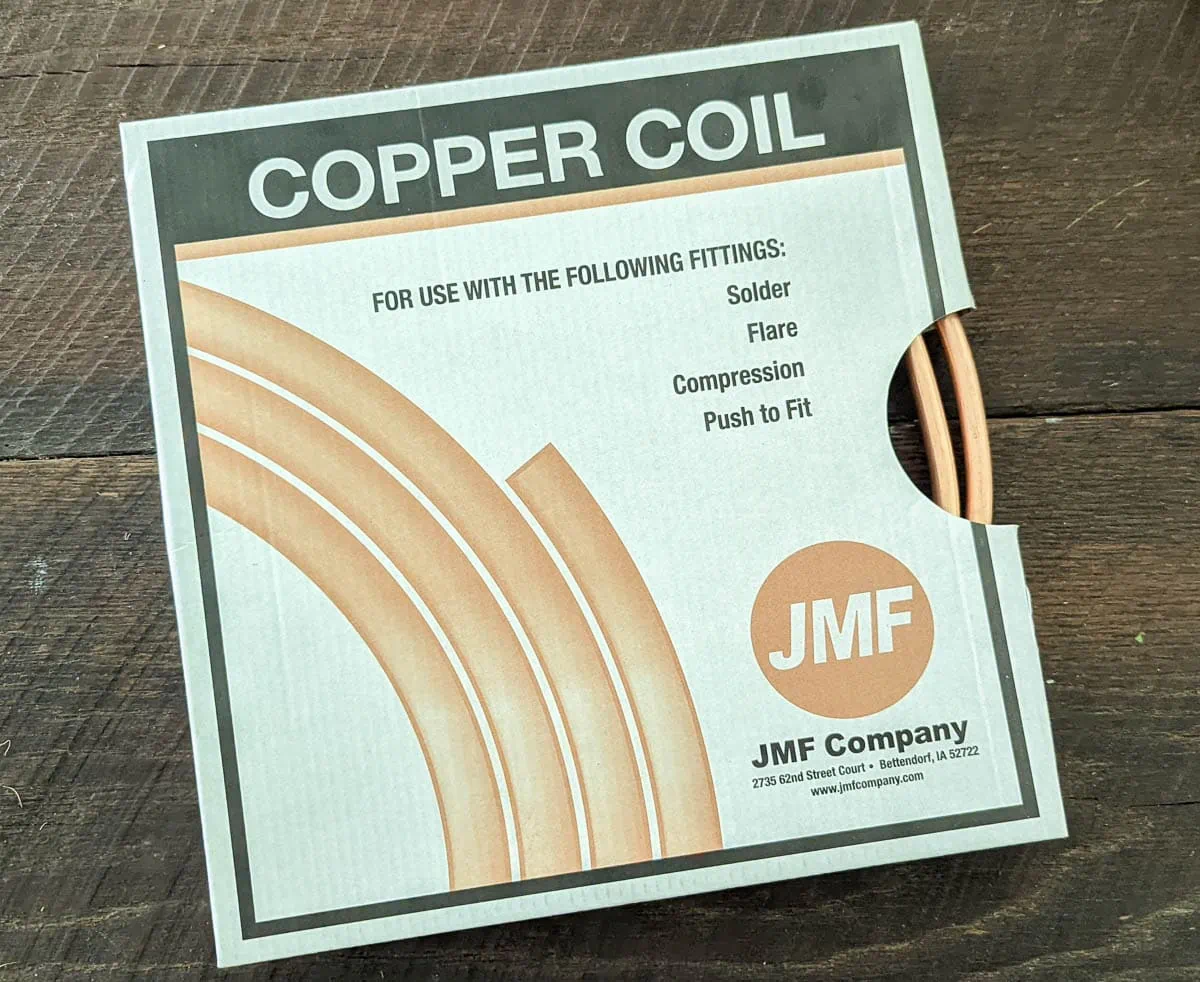
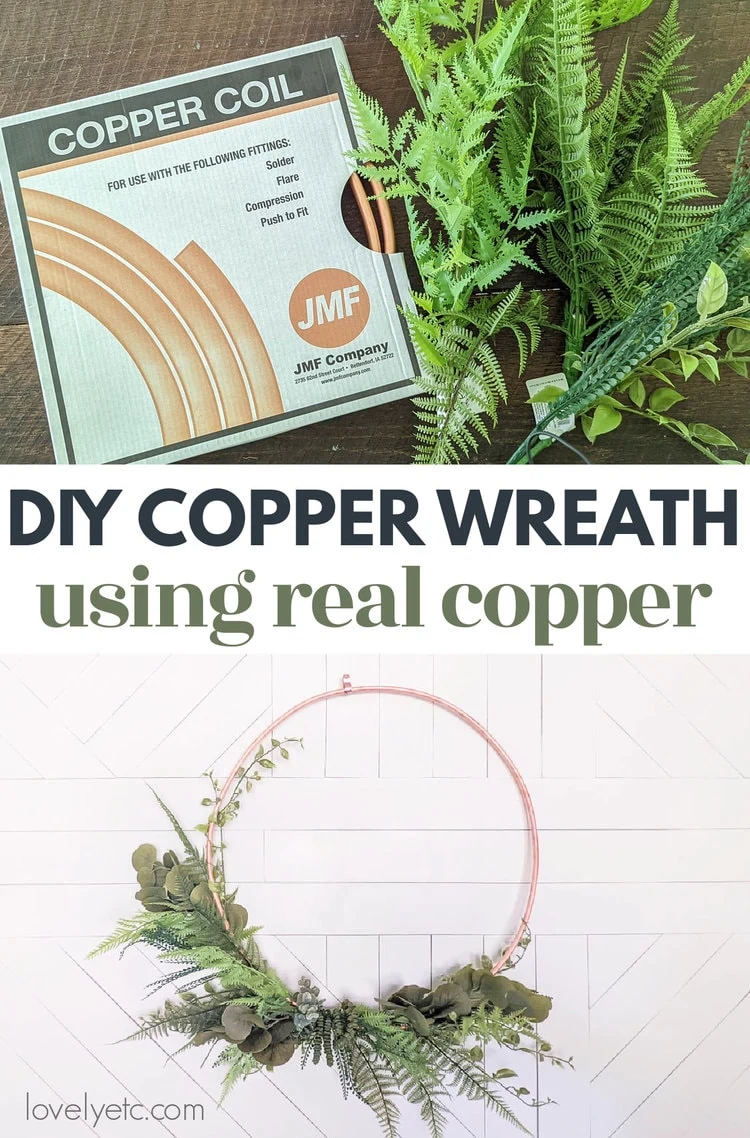
I was walking around Lowes, looking for supplies for some future projects when I came across the copper coil.
Copper coil is thin, flexible copper tubing and it isn’t nearly as expensive as I would have thought.
Instead of making a wreath from a hula hoop spray-painted to look like metal, I could make a wreath in any size I needed from actual copper for just a few dollars more.
So I grabbed some copper coil along with a few other supplies and got to work.
And it turned out amazing!
Today I’m sharing the full tutorial for making a copper wreath in any size you need including tips for hanging your wreath. And there’s also a full video tutorial at the end of this post for those who prefer video.

This post contains affiliate links which means if you make a purchase after clicking a link I will earn a small commission but it won’t cost you a penny more. Click here to see my full disclosure policy.
Materials
- Copper coil – You can find copper coil at Lowes, Home Depot, and most other home improvement stores. It’s also available on Amazon, but for a higher price. You will need either a 10′ copper coil or 5′ copper coil depending on what size wreath you want to make.
- Copper coupler – This is a small tube that helps connect two pieces of copper coil. Be sure to get a coupler that is the same diameter as your coil.
- Tubing cutter – This is a small handheld tool that makes it super easy to cut copper, brass, aluminum, and plastic tubing. These are fairly inexpensive and are handy to have on hand for home repairs, but it isn’t worth buying one just for this project if you don’t think you will ever use it again. You can also cut your tubing using a hacksaw or an oscillating tool like a Dremel Multi Max. And if you are making a standard 19″ wreath, you won’t need to cut your tubing at all.
- Hot glue gun – To help form the copper tubing into a hoop
- Faux greenery – you can add whatever type of faux greenery or flowers you want.
- Wire – for attaching your greenery to the wreath. Copper craft wire or green floral wire works best because the color blends in well, but any craft wire will work.
- Needle-nose pliers and wire cutters – for working with the wire
- 1/2″ Copper pipe strap – to make an optional wreath hanger
- Copper nails – optional, for hanging your wreath
How to Make a Copper Wreath
The key to this entire project is the copper coil or copper tubing. You can find copper coil at Lowes and Home Depot with the copper pipes.
My local stores had several different size options.
- A 5′ length of 3/8″ copper coil costs around $7. This size can make a wreath up to 19″ in diameter. If you are making a wreath to go on a standard sized front door, 19″ is the perfect size.
- A 10′ length of 3/8″ copper coil costs around $15. This size can make a wreath up to 38″ in diameter which is pretty giant as far as wreaths go.
For my own wreath, I used a ten foot piece of copper coil and made a 25″ wreath and had a bit of extra tubing left over for a future project.
Form the Wreath Shape
To form the wreath, uncoil your copper tubing and bend it into a circle in whatever size you choose.
Copper is a very soft metal and the tubing is quite easy to shape with your hands.
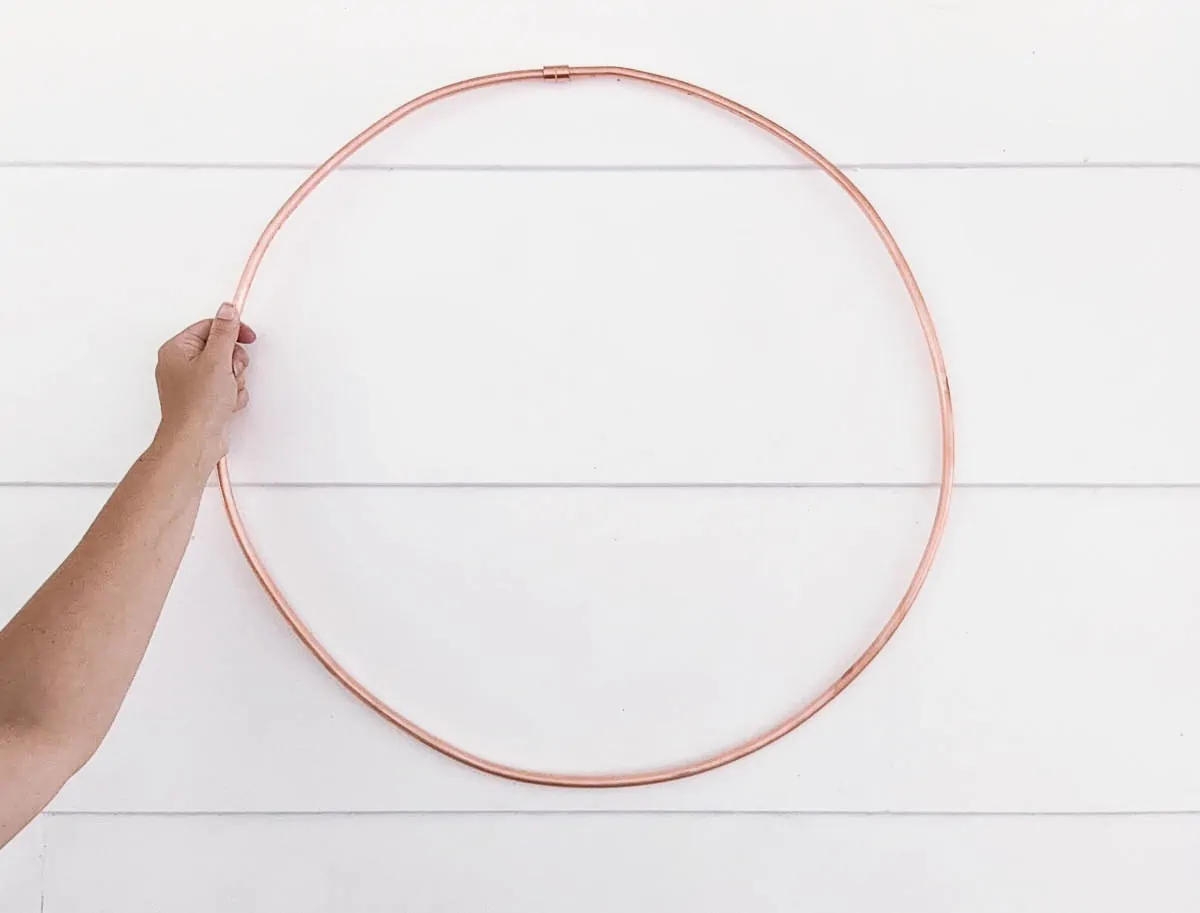
If you are using the entire length of your copper tubing, you won’t need to make any cuts. But if you do have extra tubing to cut off, don’t worry. It’s quite easy.
Cut the Copper Tubing to Size
The easiest way to cut copper tubing is to use a tubing cutter. This is a small circular tool that slips around the pipe or tubing you want to cut.
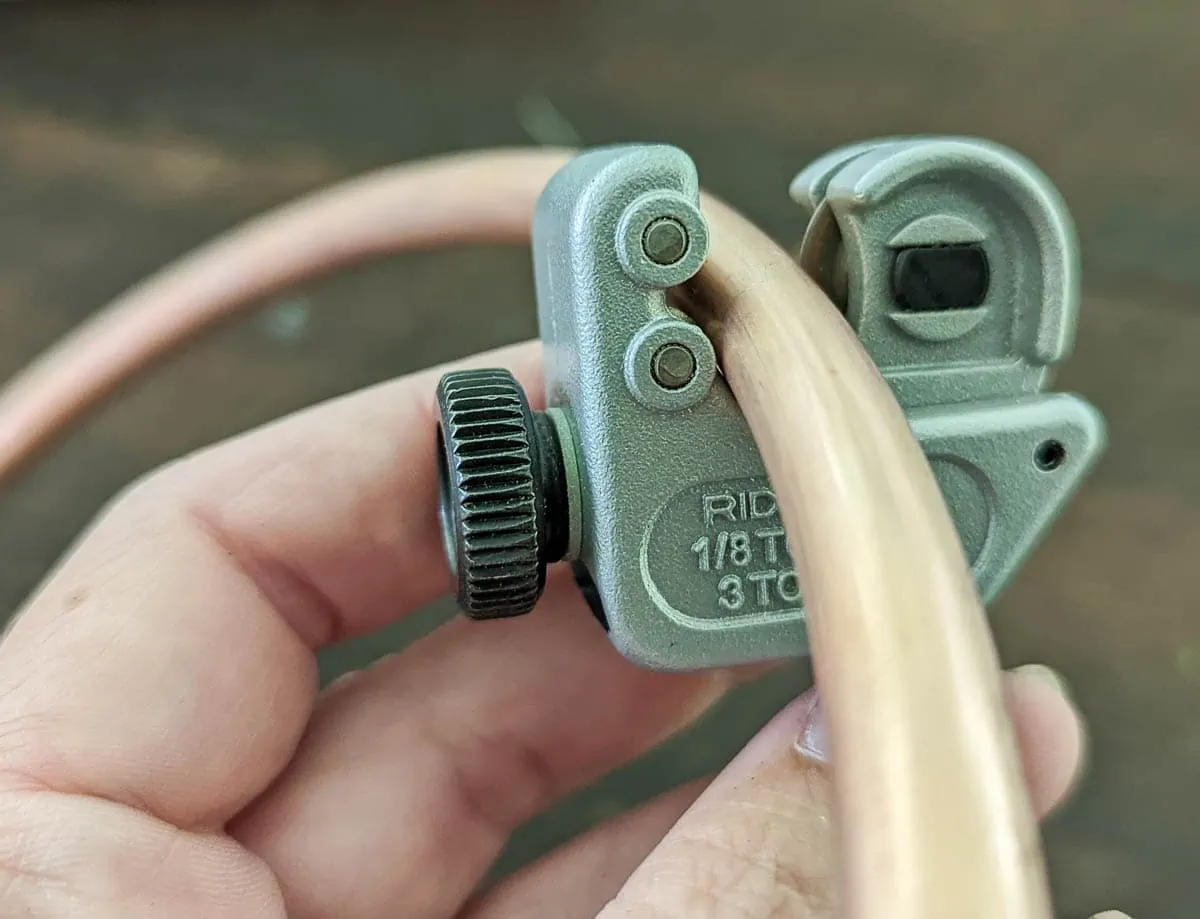
Once the cutter is in place, gently tighten the the screw knob to apply light pressure to the tubing. Then rotate the cutter around the tubing. Tighten the screw a bit more and rotate it again. Continue doing this until the cutter cuts through the tubing.
One of the great things about cutting copper with this type of cutter is it makes a very straight cut.
We already had a tubing cutter on hand for plumbing repairs, but if you don’t have a tubing cutter, there are other tools you can use to cut your tubing. An oscillating tool like a Dremel MultiMax can cut through copper or a simple hacksaw will also work.
If using an alternate tool, the edges of the tubing may be a bit rough after cutting, but you don’t need to worry about that. We will be completely covering the cut edge in the next step anyway.
Attach the two ends together
We’re using a simple copper coupler to attach the two ends of our tubing together to form a circle.
Apply a little hot glue inside both ends of the coupler and insert the two ends of the tubing.
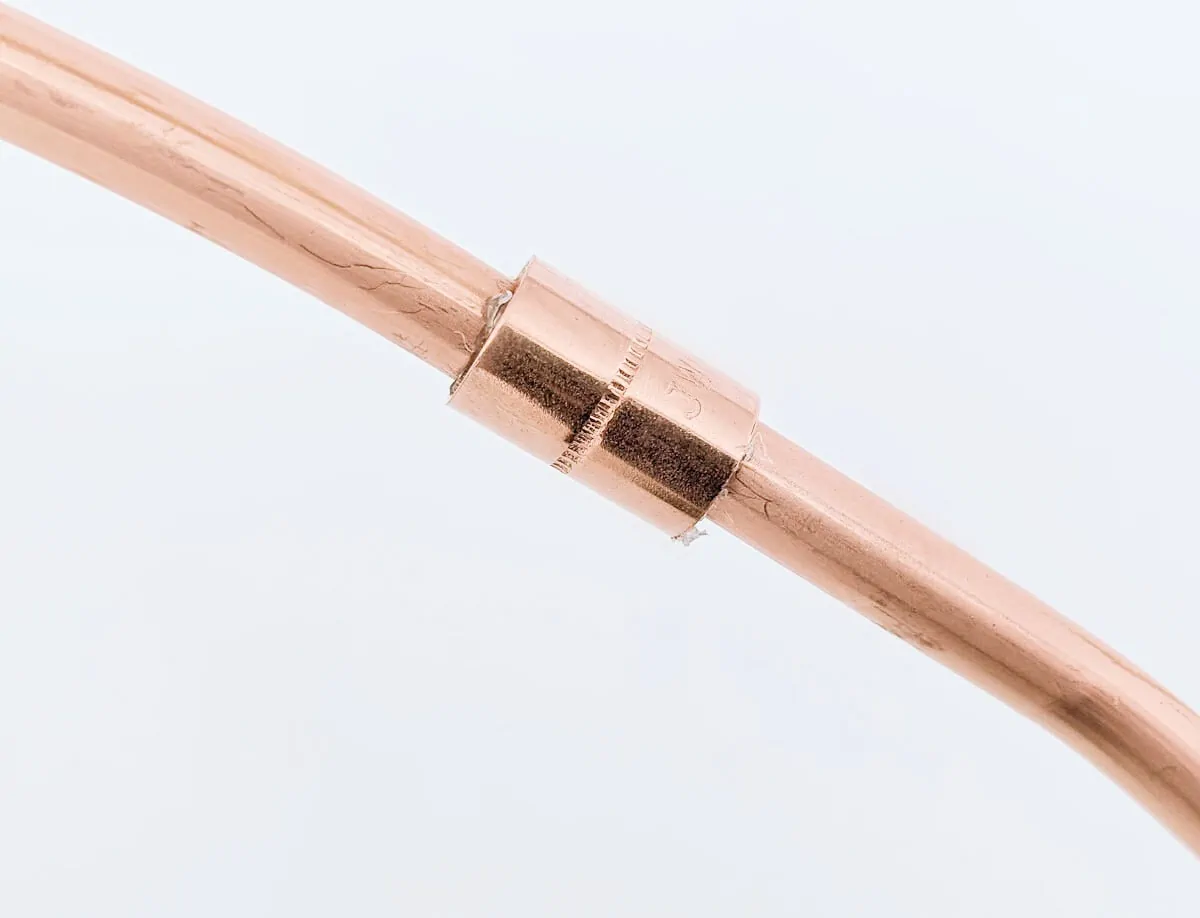
Give the hot glue a few seconds to dry and then you can hold up your circle and make any needed adjustements to the shape.
Add greenery or flowers
Now that the wreath base is formed, it’s time to add whatever faux greenery or flowers you choose.
I used a combination of faux ferns, eucalyptus leaves, and other greenery.

When making wreaths, I like to start by cutting off any extra long stems and separating big bunches of leaves into smaller sections. Then just start arranging them along your wreath form.

I experimented a bit with using a hot glue gun to attach everything to the copper but found it didn’t hold well. So instead I attached all the greenery with thin wire. Using wire pliers to tighten the wire really helps keep things firmly in place.
It’s easiest to start adding your ferns and greenery with your wreath flat on a table. But then hang it up on a wall before making final adjustments since things will probably shift a bit when you move it to a vertical position.
Hanging your wreath
When you are ready to hang your wreath, you have a few different options.
1- Slip it over a simple nail or hook.
The simplest and most basic way to hang a wreath like this is to just hang it on a simple finishing nail.
This works great if you are hanging your wreath on a wall, but if you are hanging your wreath on a door that is regularly opened and closed, a nail won’t be secure enough.
2 – Use a Copper Wreath Hanger
If you are hanging your wreath on a door, the easiest way to hang it is with a wreath hanger. Because this style of wreath is so bare, the wreath hanger is going to show quite a bit, so I would definitely recommend using a wreath hanger that looks good with your wreath.
A copper wreath hanger would work well though black could also look nice.
When hanging wreaths on our front door, I also like to secure the bottom of the wreath to the door with a small command strip so it doesn’t slam against the door whenever it’s opened.
3 – DIY Copper Hanger
If you really want to do something a bit special, this is my personal favorite method and the one I used to hang my own wreath.
I made my own copper wreath hanger using another simple supply from the hardware store – a small copper pipe strap. These straps are meant to be used to secure copper pipes to the wall.
To turn one into a wreath hanger, simply use pliers to bend the two ends together so that the holes line up.
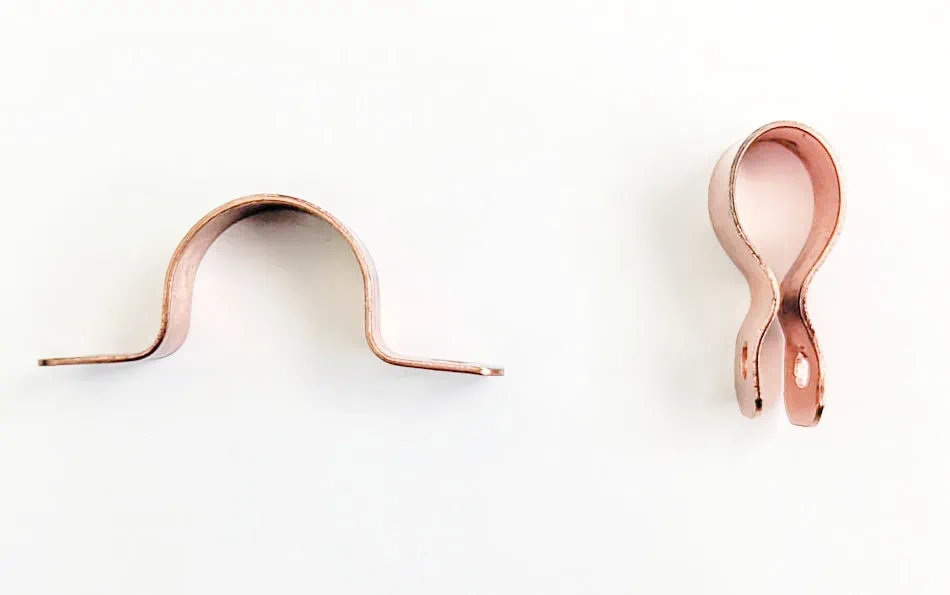
Now you can slip it over the top of your wreath and hang a nail through the two holes. A copper nail looks beautiful for this but a regular finishing nail will also work.

There’s also a surprise benefit to using this DIY wreath hanger. I love the look of an asymmetric wreath where the greenery is more to one side rather than evenly spaced along the bottom.
But hanging an asymmetric wreath can be a pain, because gravity always wants to balance the weight evenly.
My copper strap grips the wreath enough that I was able to hang it asymmetrically on the wall without any problems.
Finished Copper Wreath
Here’s my finished wreath hanging in my office.

I love how this came together. It’s the perfect thing to finish off my geometric wood wall without covering it up too much.

Will the Copper Tarnish?
Yes, the copper will start to tarnish over time. I can already see some places on my wreath where it is starting to darken from being touched.
For me that isn’t a bad thing; it’s actually part of why I love creating things with copper.
I think copper is beautiful when it is shiny and new. I think it’s beautiful when it starts to tarnish and darken. And I think it’s beautiful when it develops a patina.


And now my mind is racing with more ideas for using this and all the other copper bits at the hardware store in future projects!
Video Tutorial
I’d love for you to subscribe to my Youtube channel!
Other creative DIY wreath ideas I think you’ll love:
I’d love for you to pin this post on Pinterest!


How to Make A Huge Wreath Out of Copper
Make the prettiest DIY wreath using copper plumbing supplies. It's a budget-friendly option to make an oversized wreath.
Materials
- Copper coil
- Copper coupler
- Tubing cutter
- Hot glue gun
- Faux greenery
- Wire
- Needle-nose pliers and wire cutters
- 1/2″ Copper pipe strap
- Copper nails
Instructions
- Uncoil your copper tubing and bend it into a circle in whatever size you choose.
- Cut the copper tubing to size. The easiest way to cut copper tubing is to use a tubing cutter. Attach the two ends together with a simple copper coupler.
- Apply a little hot glue inside both ends of the coupler and insert the two ends of the tubing. Let dry.
- Add whatever faux greenery or flowers you choose.
- Just start arranging them along your wreath form. Attach all the greenery with thin wire.
- Hang and enjoy!
Recommended Products
As an Amazon Associate and member of other affiliate programs, I earn from qualifying purchases.
-
 RIDGID 32985 Model 104 Close Quarters Tubing Cutter, 3/16-inch to 15/16-inch Tube Cutter
 -
MECCANIXITY Straight Copper Coupling Fittings, 3/8 Inch ID Welding Joint for HVAC Air Conditioner, Pack of 2
-
Zeanla Floral Wire,3 Pack 117 Yards 22 Gauge Green Florist Wire Flexible Paddle Wire for Crafts,Christmas Wreaths Tree,Garland and Floral Flower Arrangements (Floral Wire Green 3 Roll)
-
Mr. Pen- Glue Gun, Hot Glue Guns, with 10 Glue Gun Sticks, Glue Gun Kit, Mini Glue Gun, Mini Hot Glue Gun, Hot Melt Glue Gun, Craft Glue Gun, Hot Glue Gun with Glue Sticks, Small Glue Gun, Gun Glue


This is such a great idea!! I love the copper, it’s perfect for the holidays!
Thank you Kristin!