How to make a gorgeous buffalo plaid farmhouse wreath
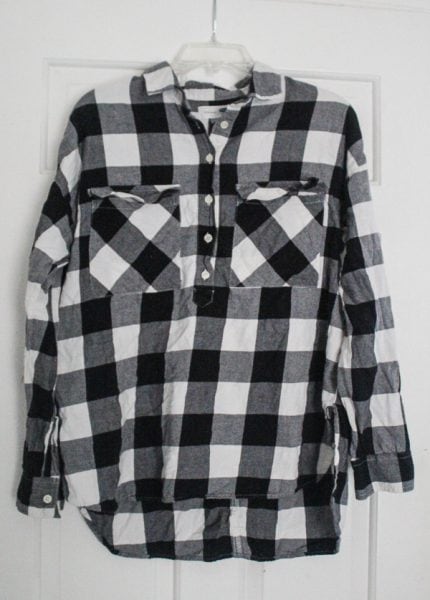
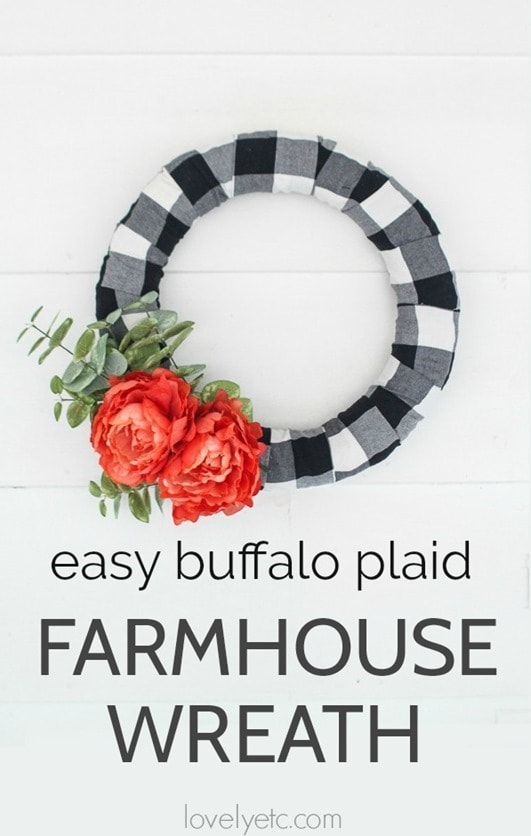
This beautiful modern farmhouse wreath started with a plaid shirt that needed a new purpose. I really wanted to love it as a shirt, but it was seriously unflattering. But I love the classic black and white buffalo plaid so I set out to figure out some way to upcycle it.
At first, I thought it would make a fabulous pillow cover, but sadly the seams were just in all the wrong places. Or maybe not sadly after all, because I absolutely love this wreath.
Of course if you don’t have a terribly unflattering plaid shirt, you can definitely still whip up this cute wreath. Just buy a small piece of buffalo plaid fabric or look for a great plaid shirt at a thrift store.
This wreath is super easy to make and requires absolutely no sewing. (No sewing is always a win in my book!) Even better, the combination of plaid and flowers makes it perfect for absolutely any season from late winter to spring to summer and fall.
This post contains affiliate links which means if you make a purchase after clicking a link I will earn a small commission but it won’t cost you a penny more. Click here to see my full disclosure policy.
Materials for Buffalo Plaid Farmhouse Wreath
- wreath form
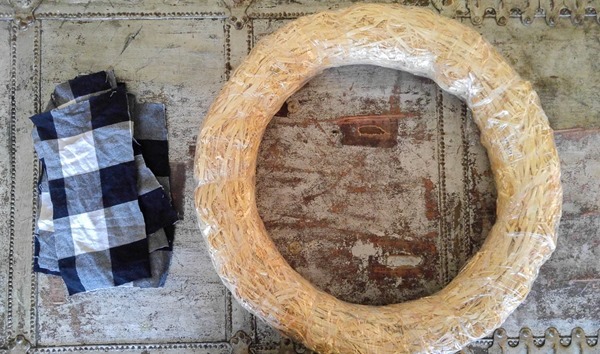
- I chose to use a straw form for my wreath simply because the foam wreaths at my local craft store weren’t quite as big. I used an 18 inch wreath form.
- plaid shirt or plaid fabric (1/3 yard is plenty)
- T pins or ball pins
- scissors
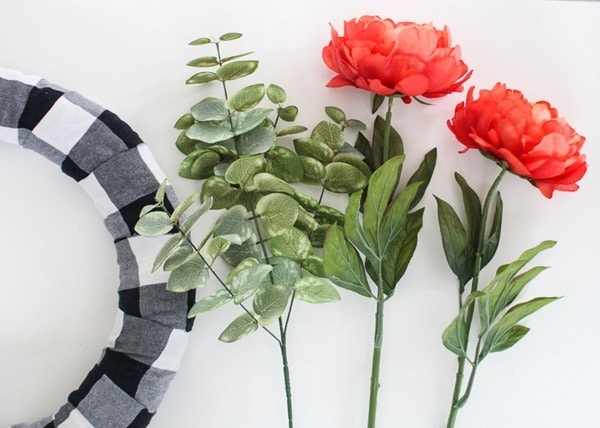
- faux flowers and eucalyptus leaves
- fishing line and duct tape or hot glue gun
How to make a buffalo plaid farmhouse wreath
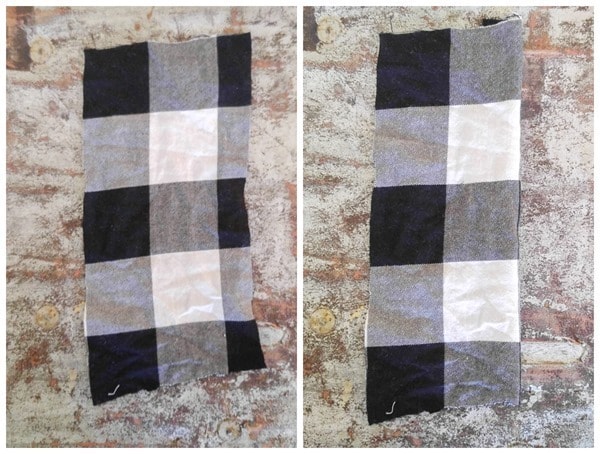
The first step is cutting your fabric into small uniform pieces that can be wrapped around the wreath form. If you are using a shirt, start by cutting off the sleeves, cuffs, collar, and cutting off all of the seams. You should be left with a pile of fabric pieces.
Cut your fabric into pieces that are 2.5 squares wide. The pieces also need to be long enough to wrap all the way around the wreath. This may be different depending on the size of your plaid pattern and the size of your wreath. For me, 5 squares long was perfect.
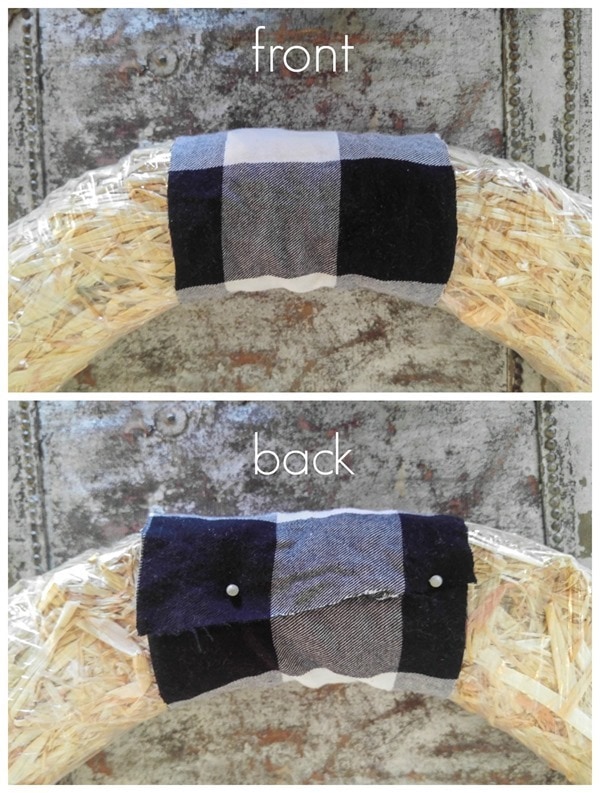
Wrap the first piece of fabric around your wreath form and use T pins or ball pins to pin it in place on the back of the wreath. (I used a combination of the two types of pins because that is what I had on hand. But I did find that regular straight pins don’t hold the fabric in place very well.)
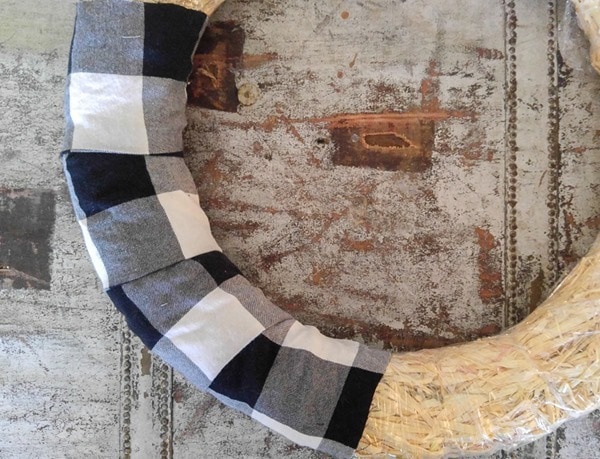
For all of the remaining pieces, you are going to fold the long row of half squares before adding them to the wreath so that only two rows of squares are showing. This folded edge becomes the ‘finished’ edge that will show.
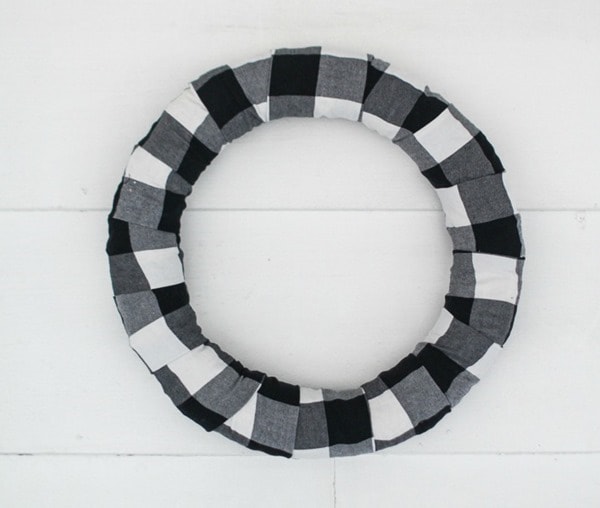
Then you simply wrap the fabric strip around the wreath form, slightly overlapping the previous piece of fabric. Make sure the folded edge is the one showing. Pin it in place on the back and repeat this step until you have covered the entire wreath.
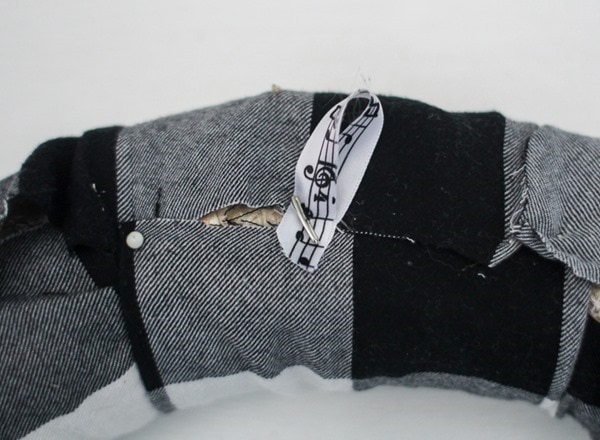
To make a hanger on the back, use another T pin to attach a small loop of ribbon to the back of the wreath.
Yes, I know the back of my wreath isn’t the neatest. If you are planning to hang your wreath on a window where the back will be seen, you can definitely try to cut and pin the fabric more precisely.
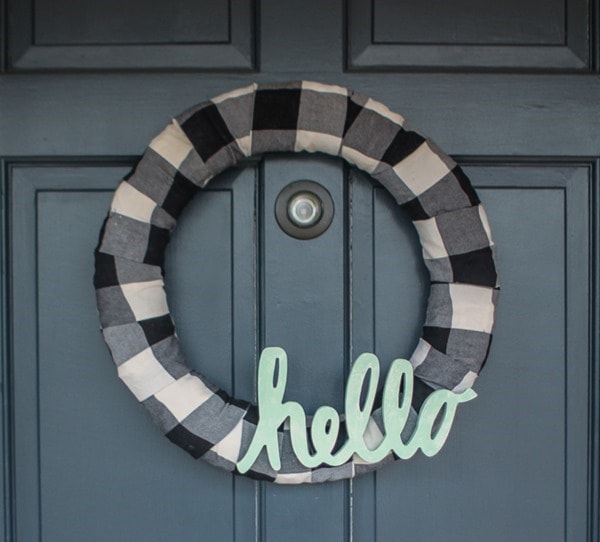
At this point, I was really liking where this wreath was going, but it definitely needed something more. First, I tried attaching a painted wood hello.
It was really cute and simple.
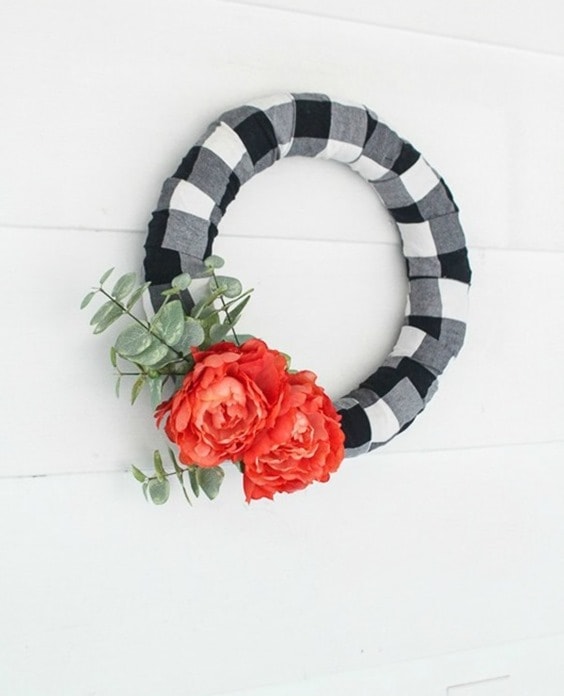
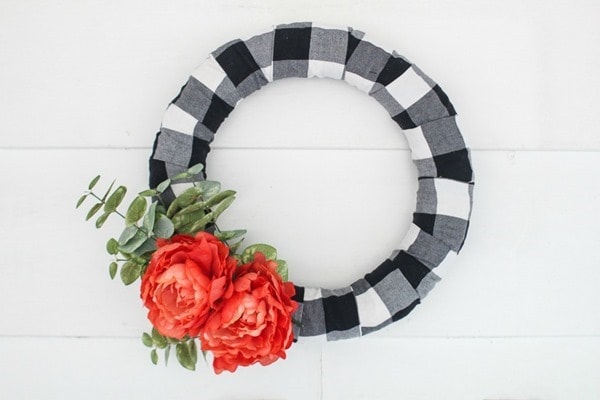
But then I decided to try adding a few flowers and that was exactly the pop I was looking for!
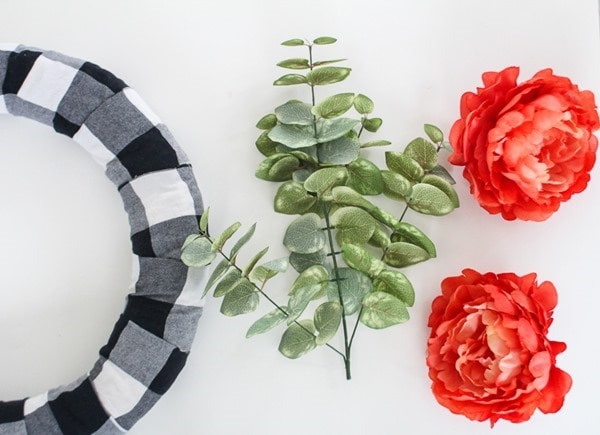
I used 2 large faux flowers and 1 stem of faux eucalyptus leaves (all from Michaels). I popped the flowers off of their stems and cut the extra stem length off the leaves.
You have 2 choices for how you want to attach these to your wreath. You can hot glue everything on for a more permanent, long-lasting wreath. Or you can attach the leaves and flowers using fishing line. I often attach things to my wreaths and other projects using fishing line because it is nearly invisible but can easily be removed in case you want to change things around in the future. Just use the fishing line to tie them on; if it is slipping out of place, you can use a little duct tape to secure it in the back of the wreath.
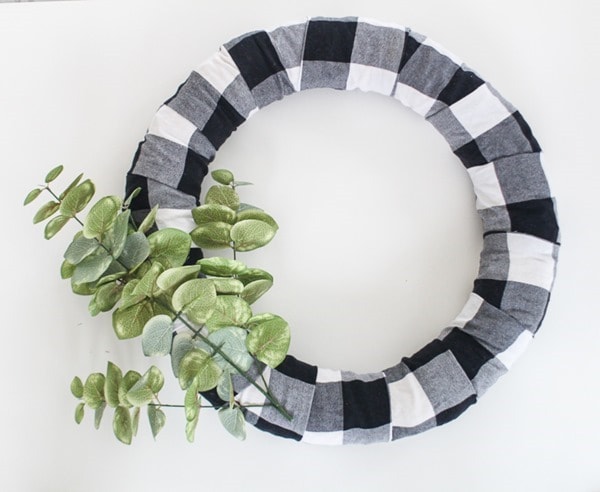
As far as the actual arrangement of the flowers, it doesn’t get much simpler. I laid the entire ‘branch’ of leaves on one side of the wreath and attached it in place. Then I added the two flowers on top of it. Easy peasy.
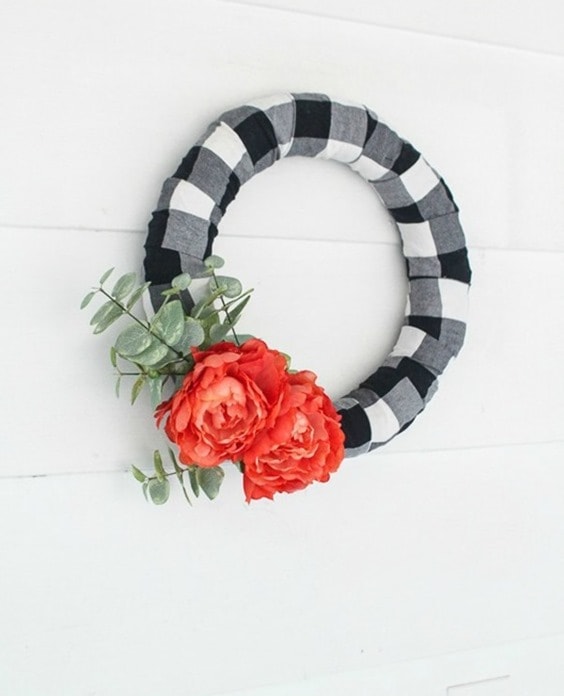
I absolutely love the pop of those bright orange flowers against the black and white checks. It especially makes my heart happy on these gray days we’ve been having lately. But if bright orange isn’t for you, the fantastic part is that almost any color looks amazing against black and white: turquoise, kelly green, cherry red, even hot pink. Or keep it neutral and just add white flowers – or even black ones!
I don’t define my style as farmhouse by any means, but if this buffalo plaid wreath on a white shiplap wall doesn’t scream farmhouse wreath, I don’t know what does.
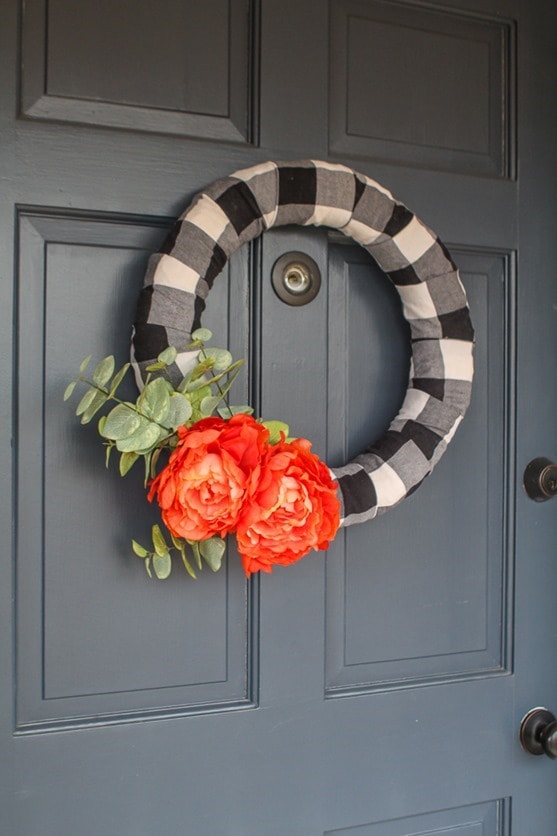
It also looks really pretty on our navy front door.
Don’t forget to pin it to remember it!
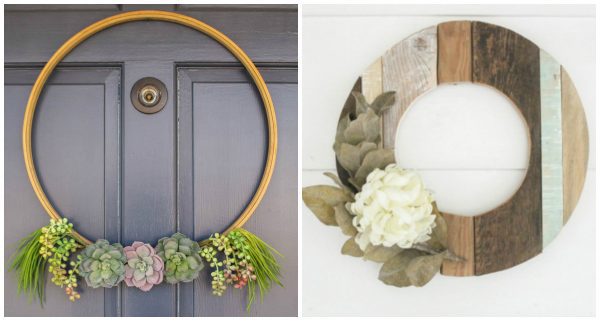
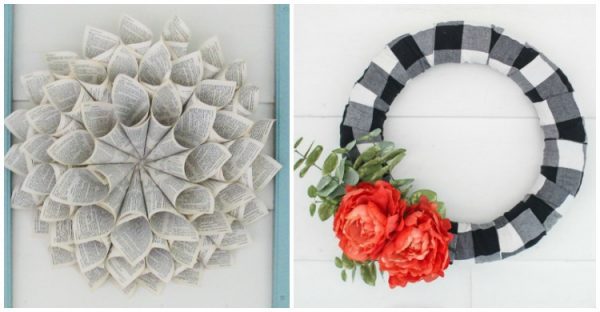
Looking for a few more wreath ideas? I’ve fallen a bit in love with creating unique wreaths. I think you’re going to love my other DIY wreath ideas as well:
Succulent Wreath * Reclaimed Wood Wreath
Salvaged Book Wreath * Buffalo Plaid Wreath
Upcycle a plaid shirt into a beautiful modern DIY farmhouse wreath. No sewing is required and you can change out the flowers with each season! As an Amazon Associate and member of other affiliate programs, I earn from qualifying purchases.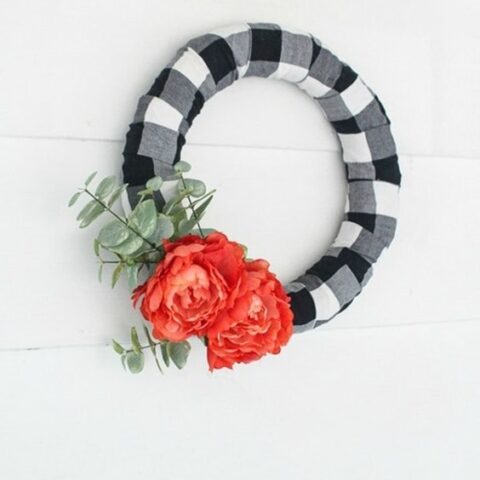
How to make a gorgeous buffalo plaid farmhouse wreath
Materials
Tools
Instructions
Recommended Products



What an adorable (and easy!) craft project. I love that you upcycled a shirt! Stopping by from before/after link up.
Thank you Laura!
This is so pretty!! I love buffalo check for fall! I featured this as part of a fall wreath diy round-up on my blog- if you’d like to check it out. Thanks so much the inspiration!
Thank you Jordan! And I love all of the wreaths in your round-up – so gorgeous!
We loved this idea and wanted to share it with our audience! Thank you for the inspiration!
https://www.craftcuts.com/community/home-decor/fall-wreaths-home/
Thanks for sharing!
Hey carrie!!!
I must say this you are so talented that you could make anything into an attractive creative art… Keep it up… Keep growing with the artistic projects!!!
Thank you!