Cozy Home Office Makeover full of Vintage Finds and Inexpensive DIYs
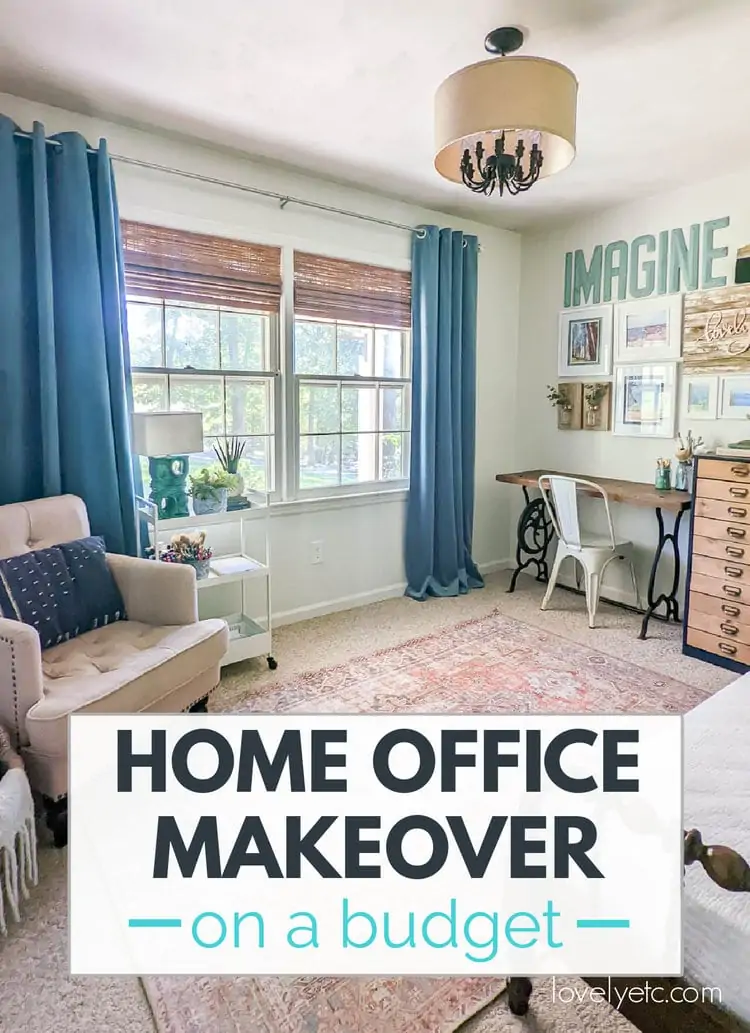
This home office makeover is full of inexpensive ideas for turning a tiny bedroom into a comfortable, inviting office.
I’m excited to have a new room makeover to share! I’ve been wanting a quiet workspace for awhile and I am thrilled to finally have a home office.
My home office space is the tiny third bedroom we used as a nursery for our boys when they were babies.
My youngest is now five and all three of my boys chose to share a room together. They love playing together and most nights they pile up in the top bunk together like little puppies.
Which means as sweet as this little nursery was, it really wasn’t serving our family anymore.
I’m a huge fan of using the rooms in your home in whatever way works best for your family. And this room was doing us no good sitting empty and unused, so I decided to turn it into my home office.
If we still live in this house in a few years, there’s a good chance this will become a bedroom again as the boys grow and that’s totally fine. Most of what I’ve done in here will work great in a bedroom as well, but in the meantime, I get to have a pretty sweet space to get work done away from the noise of the rest of the house.
This post contains affiliate links which means if you make a purchase after clicking a link I will earn a small commission but it won’t cost you a penny more. Click here to see my full disclosure policy.
Before Photos
Here’s how the room looked when it was a sweet nursery for my youngest:
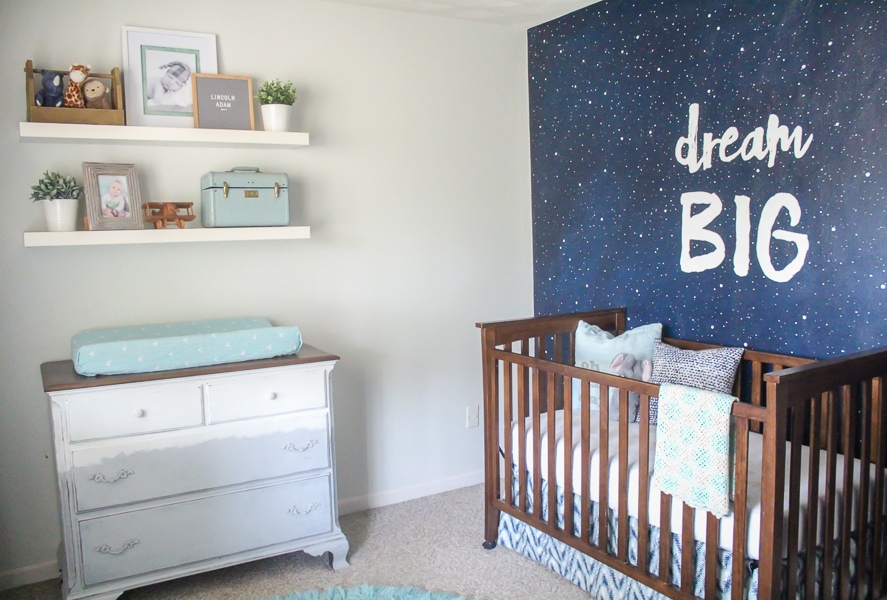
When he moved in to the bigger bedroom with his brothers, I took out the crib and dresser and baby supplies. But I didn’t dive right in to making this my office because I wanted to make sure having all three boys in one room was really going to work.
So for months, the room was a weird half-empty combination of nursery leftovers and potential office stuff. This is how it looked before I got serious about making it my office:
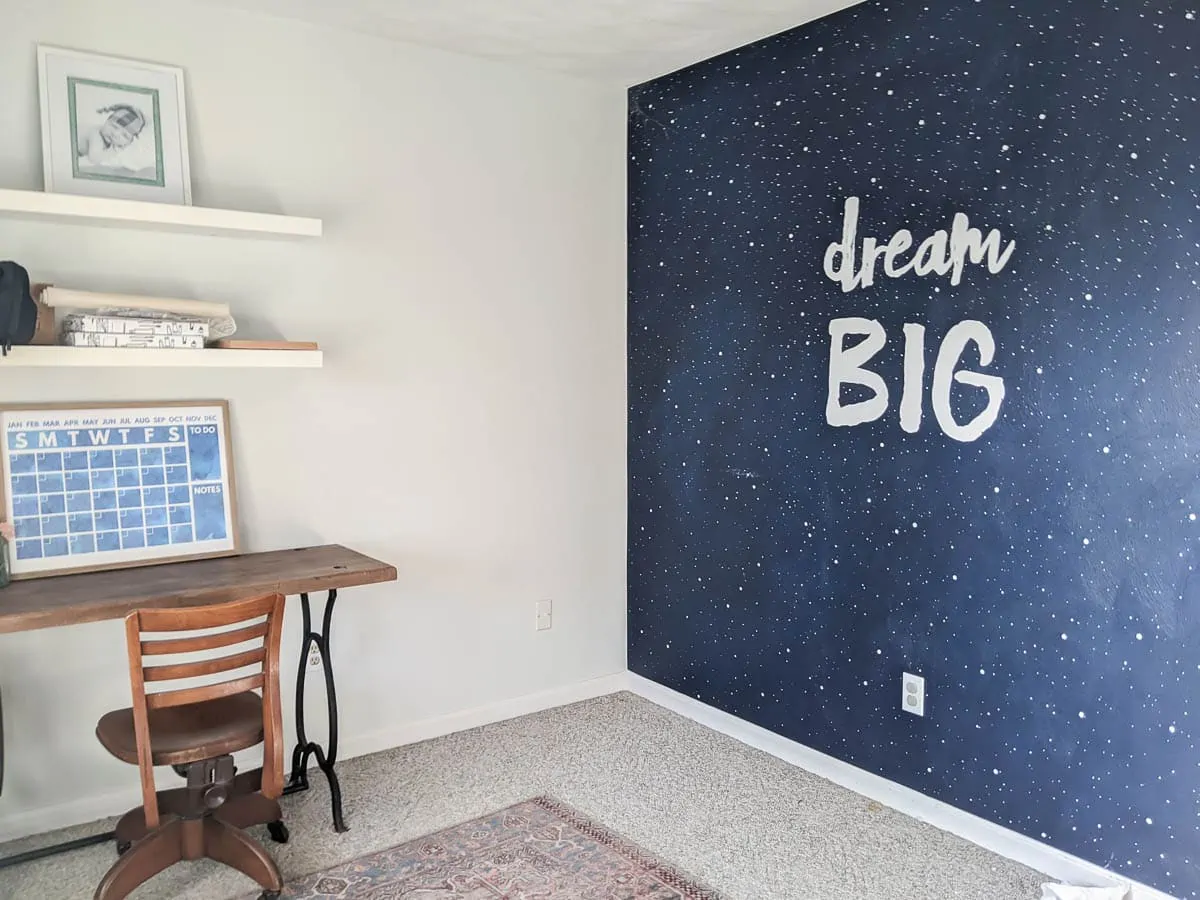
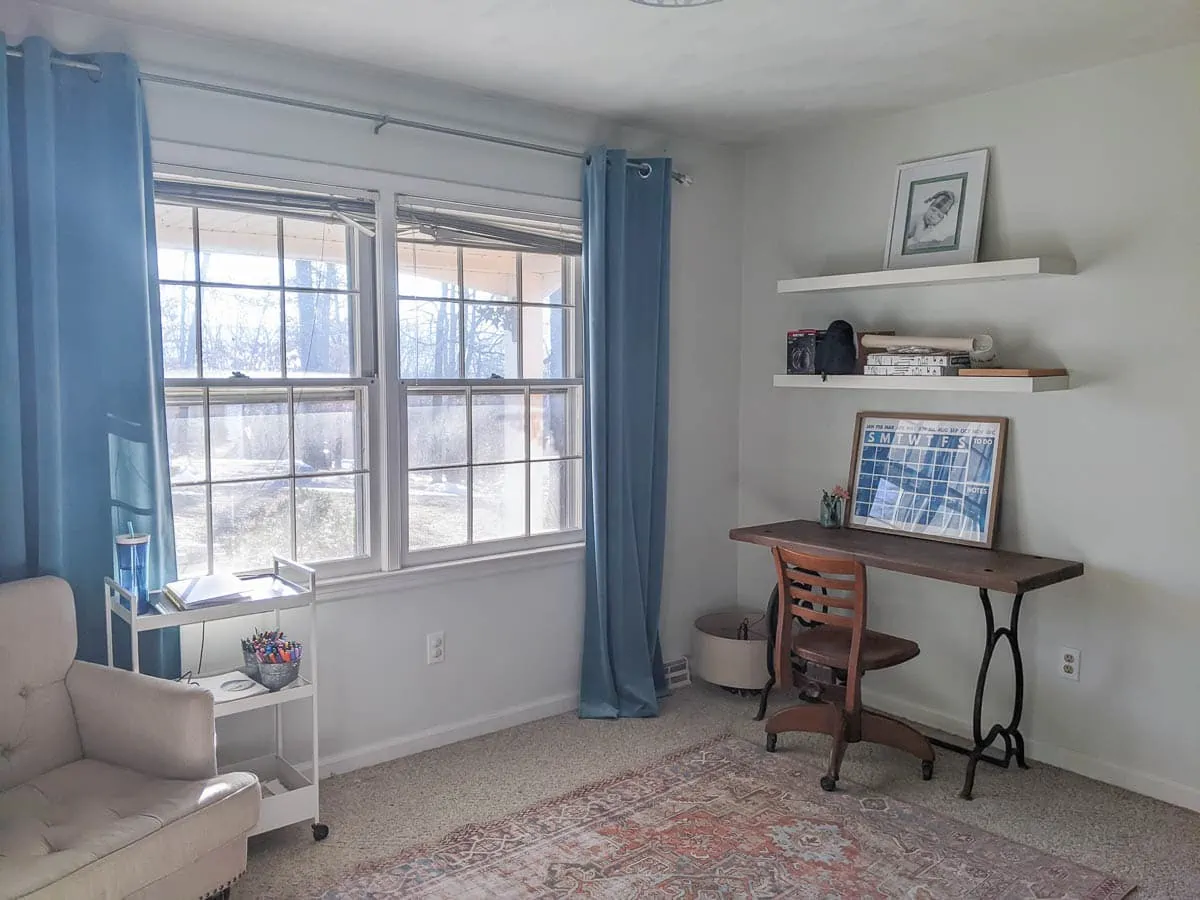
It was definitely in need of some major organization, more furniture, and a fresh new look.
The Finished Home Office
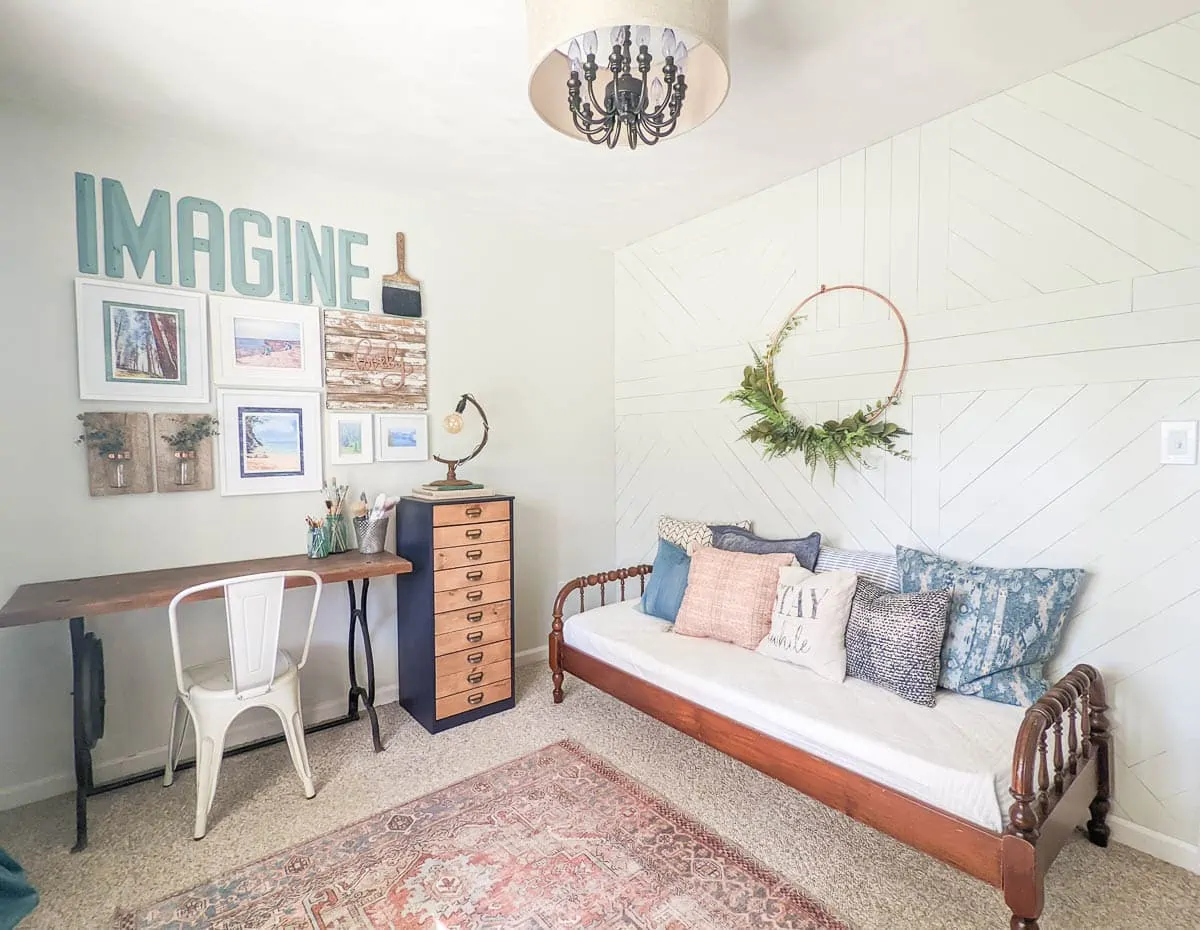
Here’s how this room looks now:
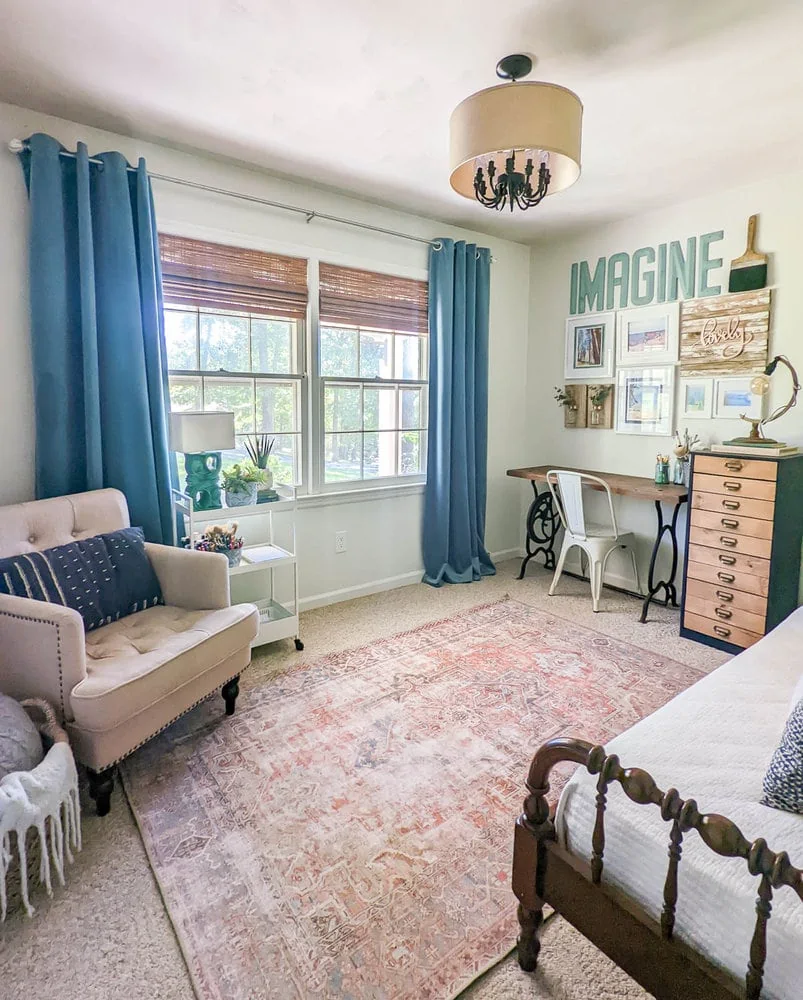
I was able to use a lot of things that were already in the room, but a new feature wall, more seating, and all of those finishing touches like lighting, art, and accessories made a huge difference.
Geometric Wood Accent Wall
As much as I loved the old starry sky mural I painted in here, I knew it had to go to really make this feel like a new space.
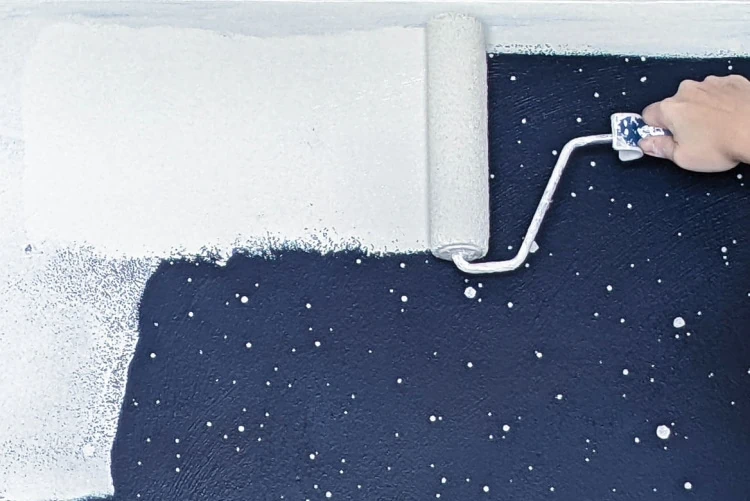
When I started painting over it, it was a little bittersweet, but I have to admit this dark, little room is much brighter now without the dark accent wall.
I replaced the nursery mural with a geometric wood wall and I love how it came together.
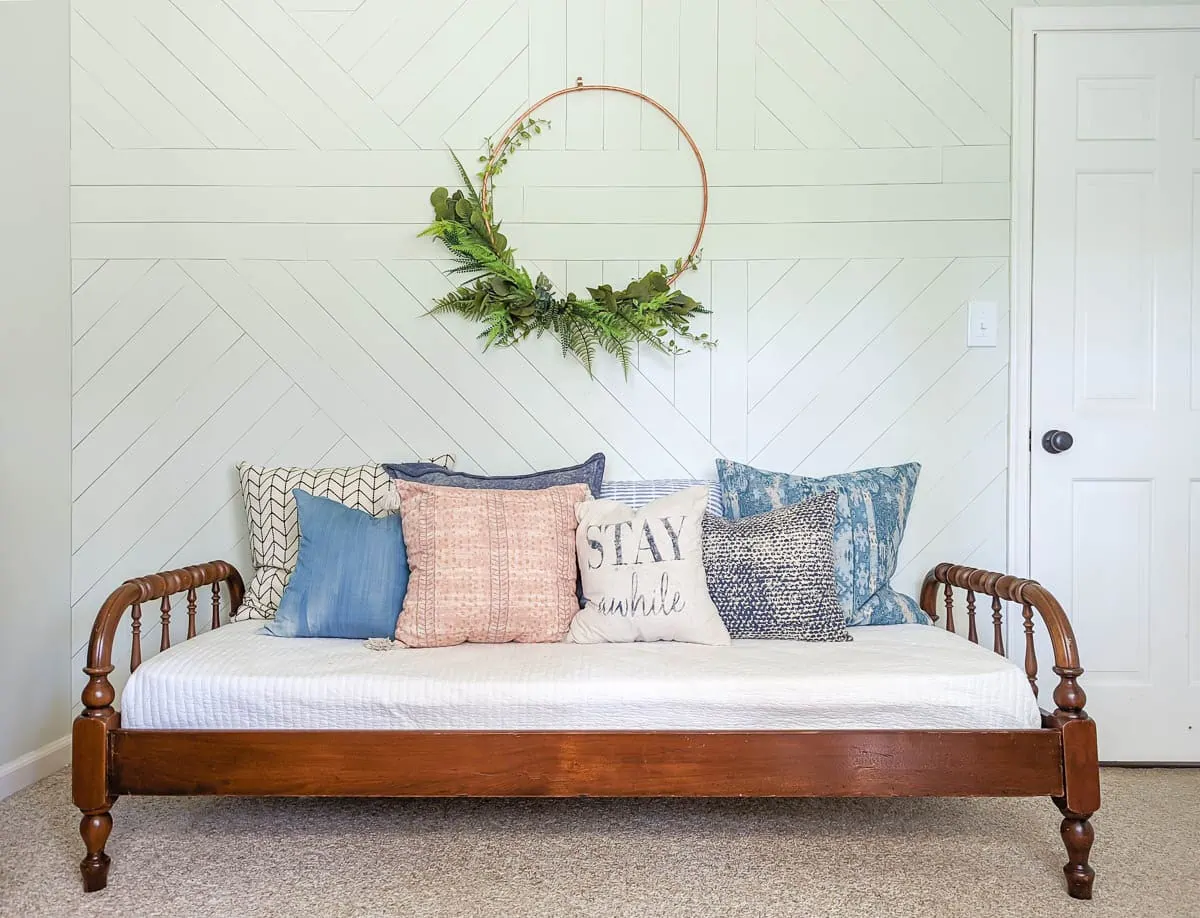
It was super inexpensive to make and it gives the room the perfect amount of texture and interest without overwhelming the small space.
Seating
I already had a small armchair tucked in the corner of the room where I like to sit and work on my laptop. But I wanted to add more places to sit for the times my husband or kids would come in and want to talk.
I bought this small antique daybed off Craigslist a couple of years ago and was just waiting for the perfect place to put it.
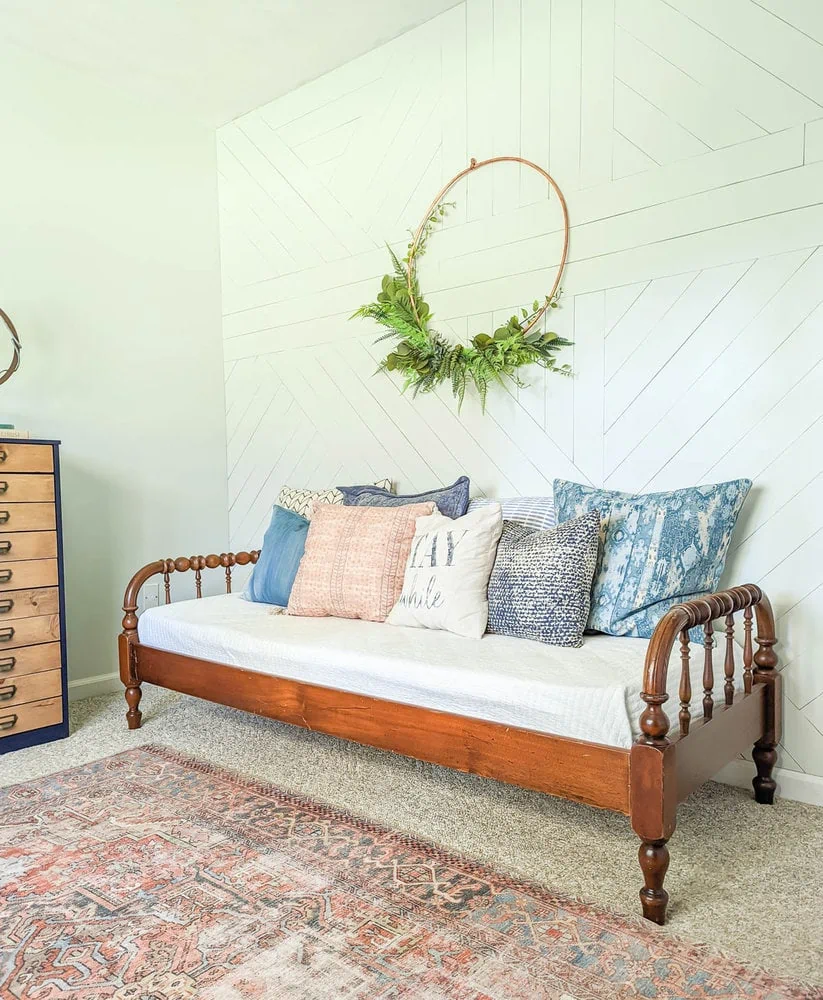
I’m not sure exactly how old it is, but the lady I bought it from used it as her bed as a child seventy-five years ago and was told it was an antique at that time. It’s one of those strange sizes from before beds were standardized – somewhere between a toddler bed and a twin bed.
Which makes it the perfect size for sofa-type seating. And it also works in a pinch for taking a quick nap, though I probably wouldn’t try to use it as a guest bed or anything like that.
I might eventually paint or refinish it, but for now I’m just enjoying the neutral wood tone it already was. (I’m learning not to be so quick to paint every single piece of wood furniture I get my hands on.)
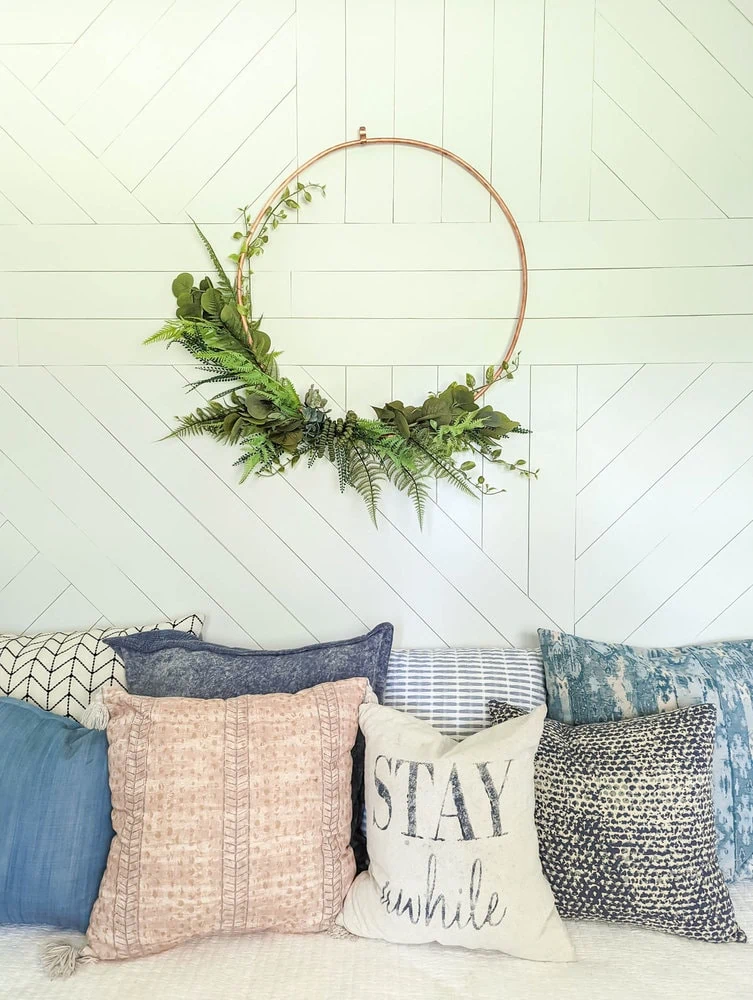
To make it comfy, I covered it with a cream colored quilt and piled on an assortment of throw pillows.
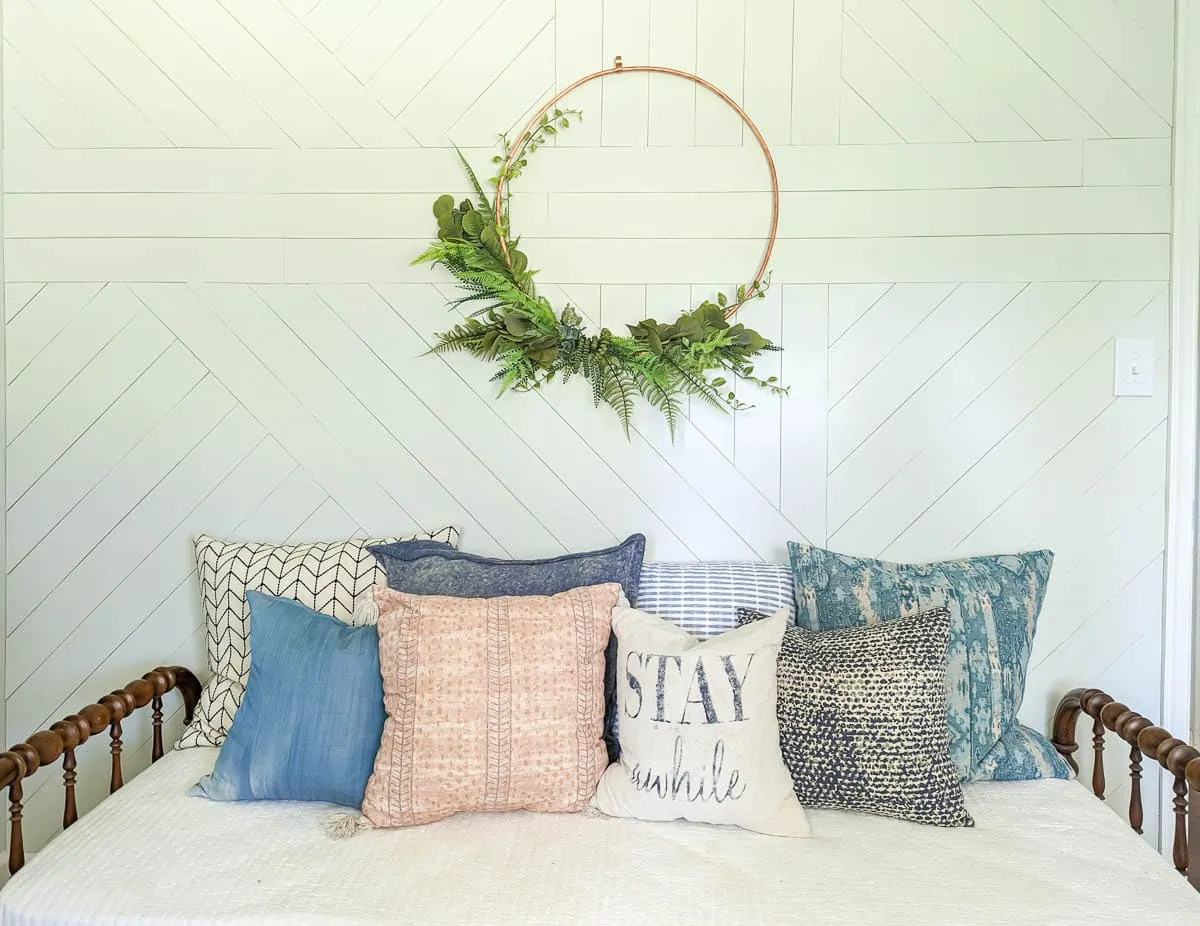
I firmly believe throw pillows don’t need to match.
When you’re trying to coordinate a big group of throw pillows like this, the most important factor is that they have a similar feel. It’s much harder to make something refined and elegant work with something bright and playful.
Other than that, it helps to have a mix of patterns, solids, and graphic pillows. And having a few colors that repeat across several pillows also helps tie everything together.
Functional Work space
Of course one of the most important things to consider when putting together a home office is how you’ll actually be working in it.
A desk is an obvious choice for a home office. And while I do have a desk in here, I know myself and I know that I prefer to work in the armchair in the corner. It’s way more comfy and has a better view of the rest of the room as well as outside the window.
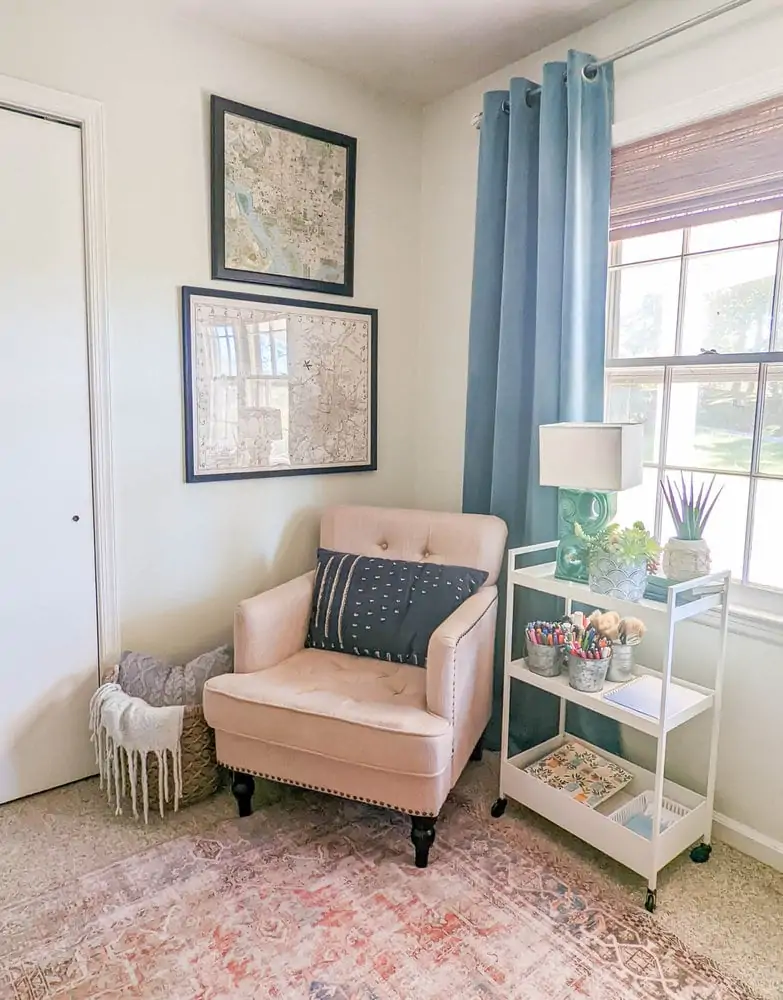
To make this more of a functional work space, I’m using a metal utility cart next to the chair to hold my planner, pens, pencils, and any paperwork I currently need. This has been working exceptionally well.
I also have the small desk that I upcycled from an old sewing machine table. This is a great spot for spreading out paperwork or working on small craft and DIY projects.
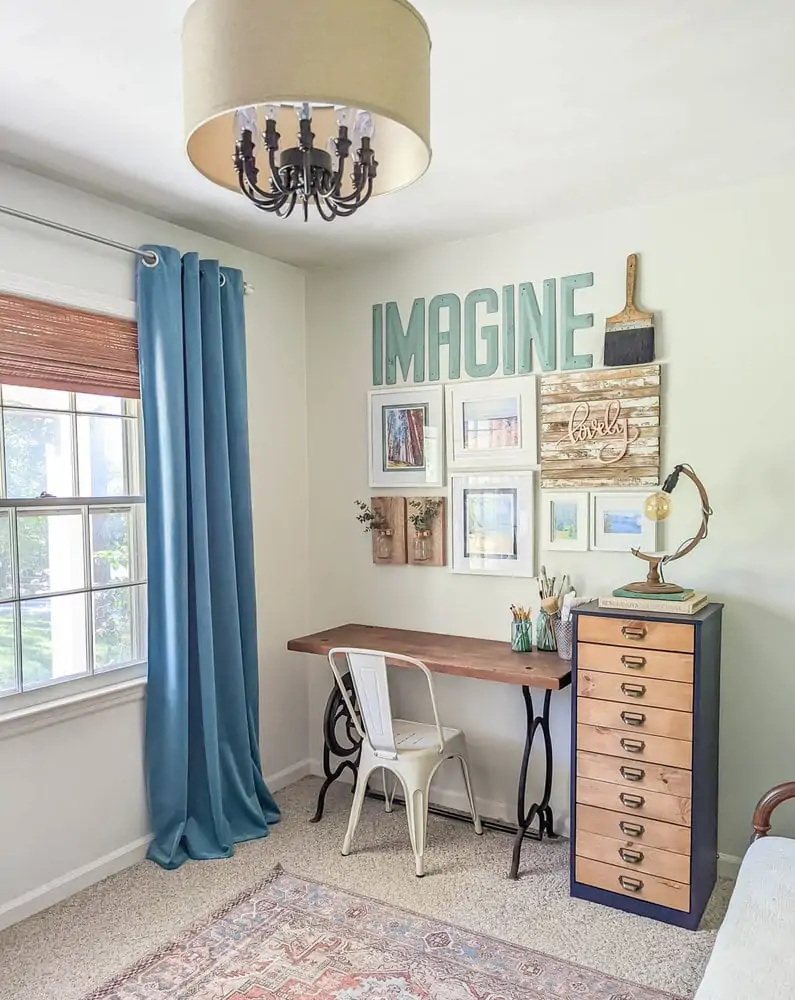
Next to the desk is a small chest of drawers with tons more storage. This little chest is one of my favorite furniture flips. It started as a cheap set of drawers with a bad paint job and now it looks like a gorgeous vintage piece.
Window Treatments
There’s only one window in this room, but it’s a big double window and it is the first things you see when you walk in.
I had already swapped out the navy and white nursery curtains for these beautiful teal velvet blackout curtains. But the miniblinds on the windows were a huge eyesore.
We have lots of cheap miniblinds in our house and while I don’t love them, replacing them hasn’t been a huge priority. Usually they aren’t super noticeable, especially when they are open. And replacing all the window treatments throughout an entire house can be incredibly costly.
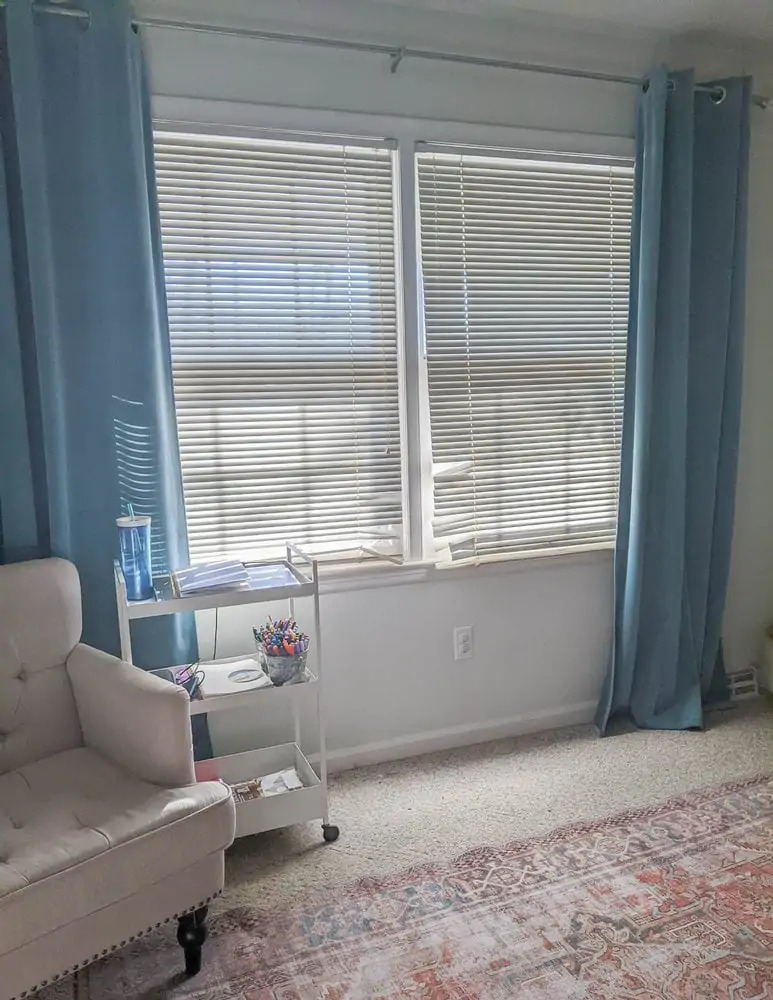
But in this room, the blinds were particularly horrible. During the years this room was a nursery, little toddlers trying to look out the window had bent the slats all along the lower section of the window. And this big double window with it’s wonky blinds was the first thing that caught your eye when you entered the room.
After far too much research and internal debate, I replaced them with these bamboo roller shades from Amazon. These shades were far cheaper than most of the other alternatives I found and you can customize the size to perfectly fit most windows.
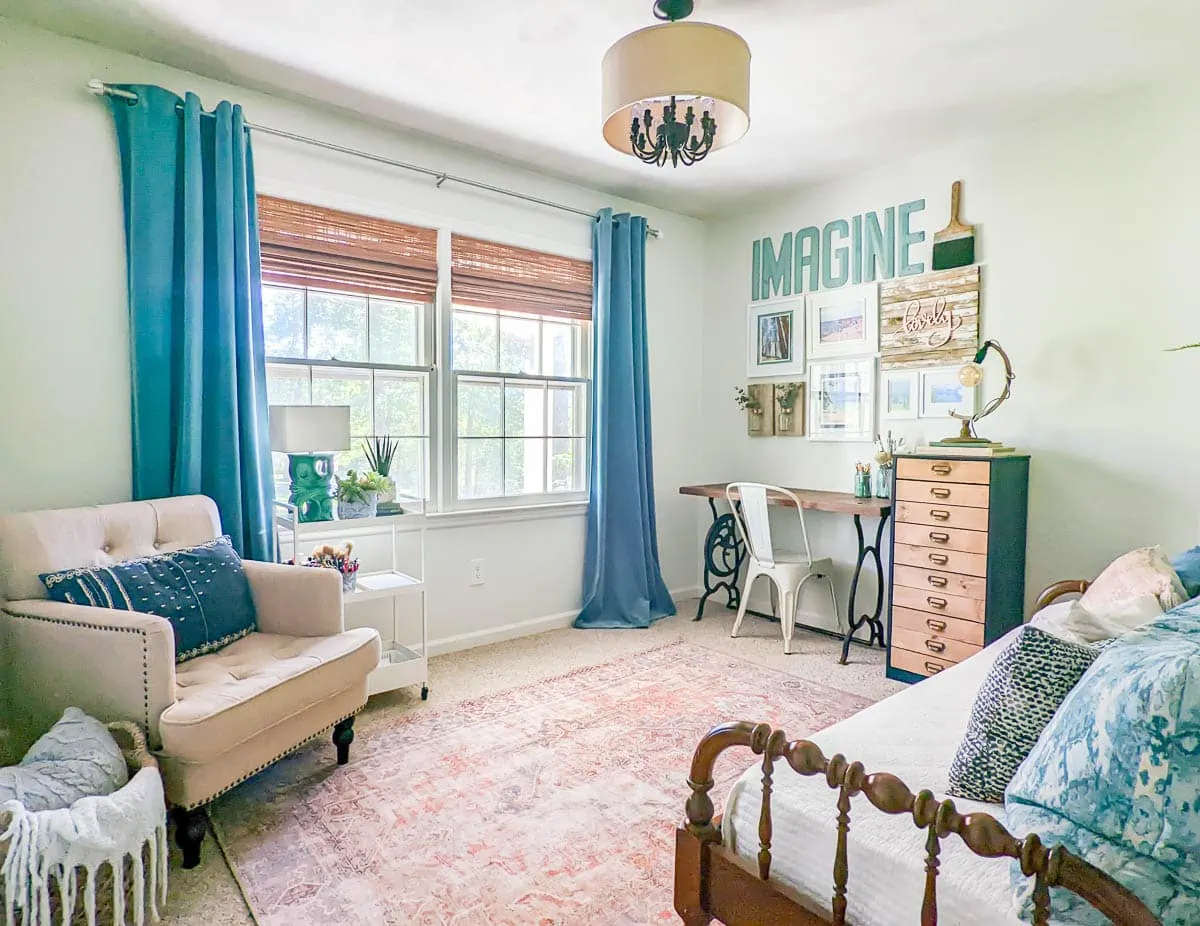
I’m super happy with how they look, but I do have to warn you they are incredibly see-through, particularly at night. I wouldn’t recommend using these in a private space like a bedroom or bathroom.
Wall Art
Hanging art on the walls was one of the things that made the biggest difference in making this feel like a pulled together space rather than a random collection of thrifted furniture.
Over the desk I hung a gallery wall framed prints and other collected items. This combination of clean white frames, colorful prints, and and rustic wood just makes me happy whenever I look at it – and that is what I think all good wall art should do.
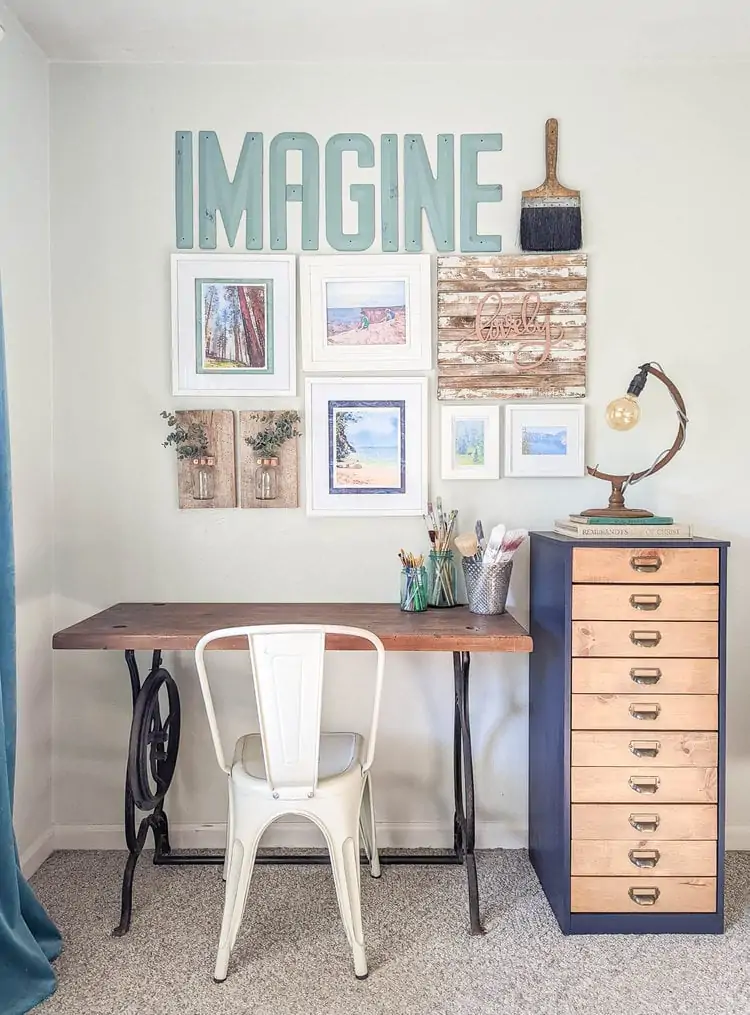
The framed prints are photos from family vacations that I gave a more dreamy, watercolor look using the app Waterlogue.
The Imagine letters are vintage marquee letters I found for super cheap at an antique store years ago. I’ve been waiting for the right spot for them and I think they are perfect here.
The original flat black color was nice but I wanted to give them a bit more presence so I did a quick coat of milk paint to brighten them up.
The huge paintbrush is a vintage Army-issue paintbrush I found at a yard sale a few years ago for a dollar. I love the patina and the reminder that function and beauty so often go hand in hand.
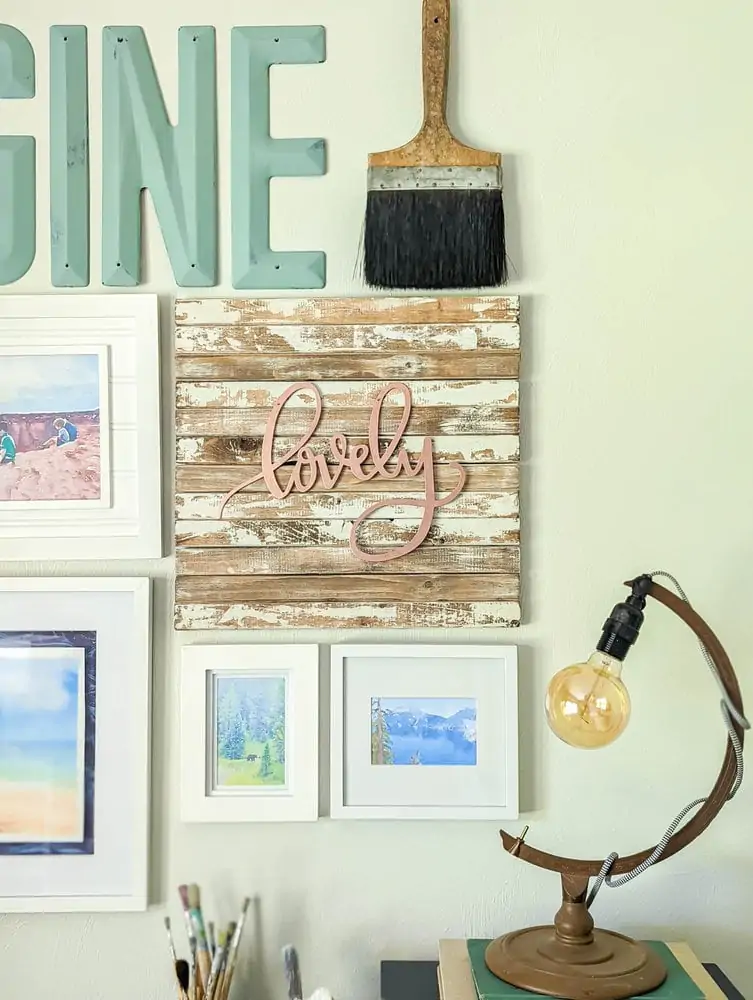
And finally, the wooden wall vases and weathered wood sign are things I made a few years back for my book Wood Plank Projects.
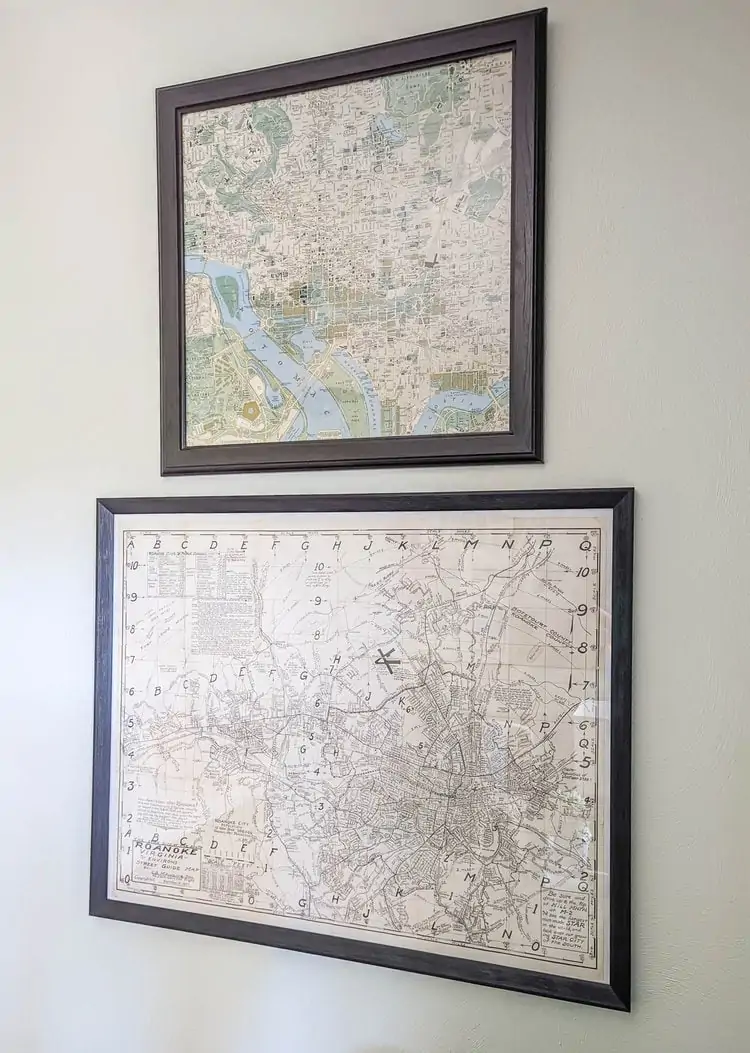
I also framed two vintage maps to go in the corner over my armchair. A few years ago, I found a big box of vintage maps at an estate sale and I’ve been waiting for the perfect time to use a few of them.
On top is a 1948 Washington DC map and below that is a 1957 map of my city, Roanoke, Va.
And finally, I felt like the wood accent wall needed something on it, but I didn’t want to hang something that was going to cover up the whole wall. So I decided a huge wreath would work perfectly.
I made this DIY copper wreath using copper tubing and other supplies from the hardware store and I absolutely love how it turned out.
Finishing Touches
I’ve had this rug for awhile and I love how it works in this space. It’s neutral enough to fade into the background but has enough color and pattern not to be boring.

The overhead light fixture is another DIY project. I upcycled a dated brass chandelier into a much more modern drum fixture and I love the warmth it brings to this space.
I also added a couple of small lamps because you can really never have too many layers of lighting. Ok, I guess theoretically you could have too many, but in general more lighting options is a good thing.
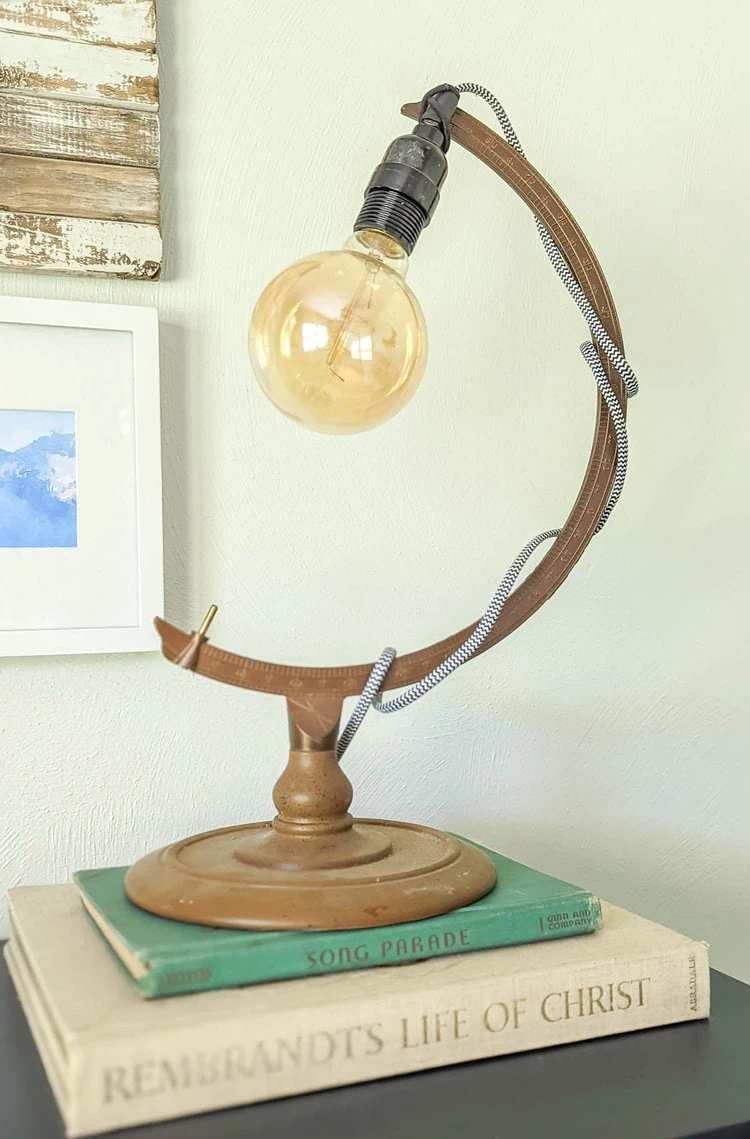
I made the lamp next to the desk from an old world globe stand and a light kit. It was ridiculously easy to do and I love how it turned out.
And the green art deco lamp was a Goodwill find that I absolutely love. All it needed was a new shade.
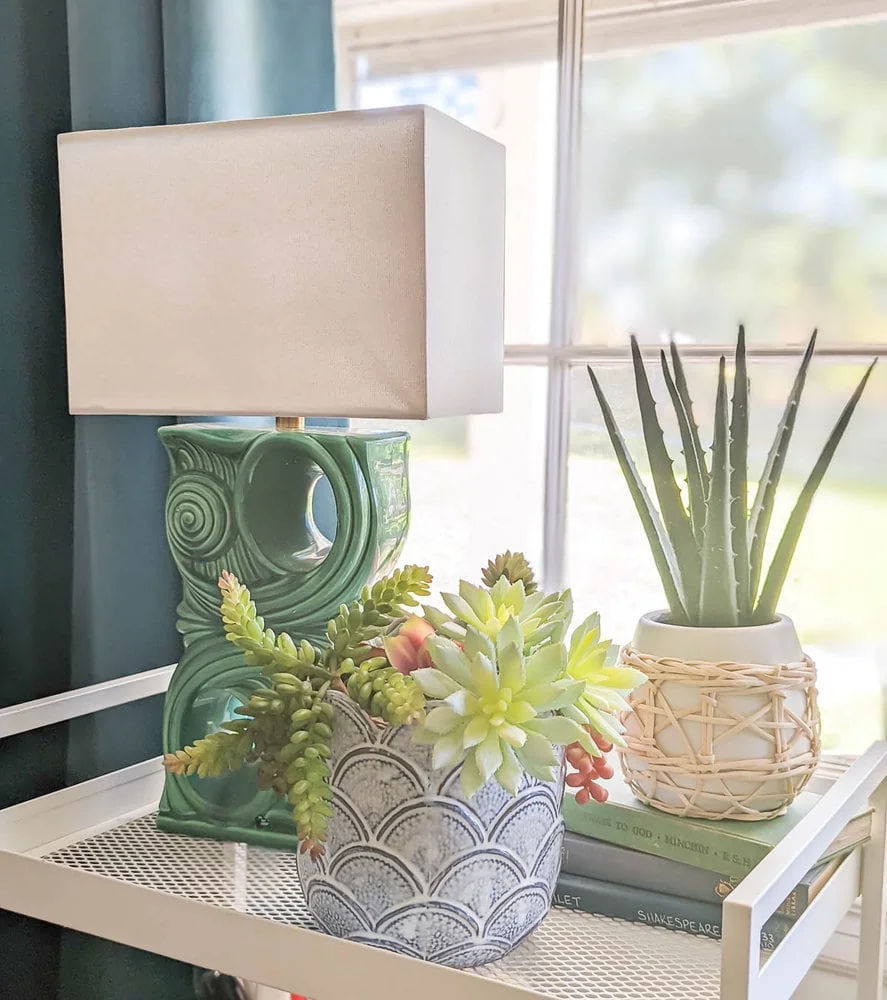
I also added a few plants next to the lamp to bring some life to the utility cart. (Ok, I admit it, they’re fake. I cannot keep houseplants alive so I buy fake plants instead of slowly torturing real ones.)
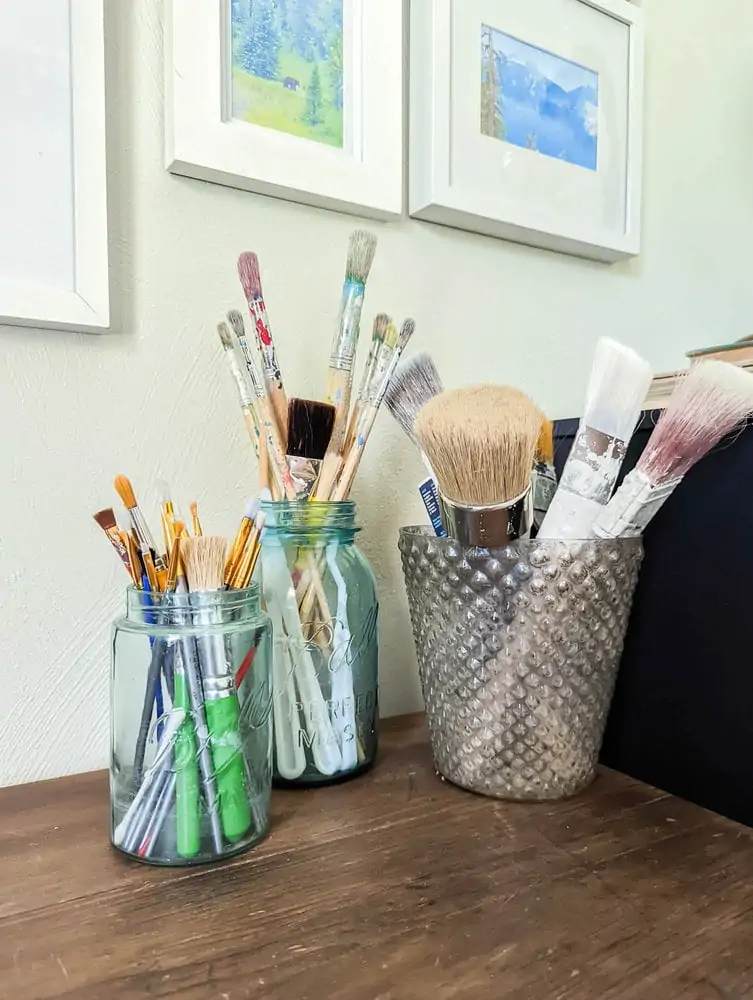
And I grabbed a few pretty jars and containers to hold my paintbrush stash – I love how it looks plus it’s just good practical storage.
Before and After Photos
Finally, here are a few before and after photos. What’s really interesting about these before and after photos is that a lot of the big things are the same in both photos – same rug, curtains, armchair, cart, and desk.
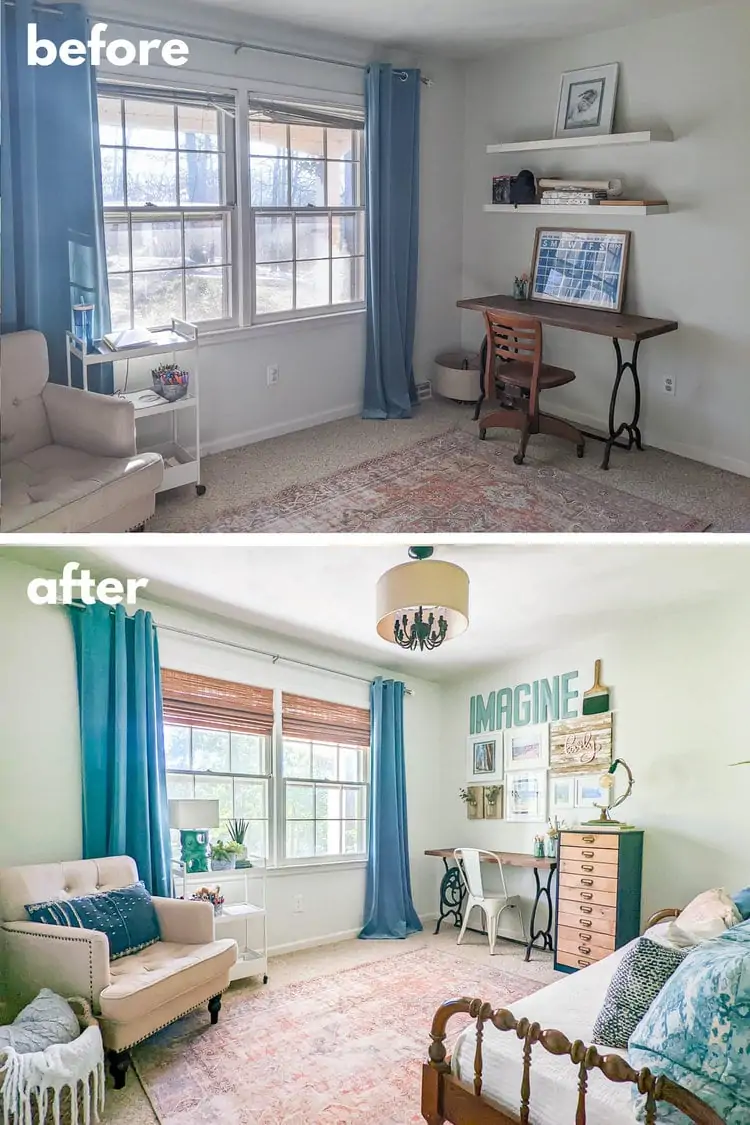
It really shows how big a difference those smaller details like art, accessories, and window treatments make.
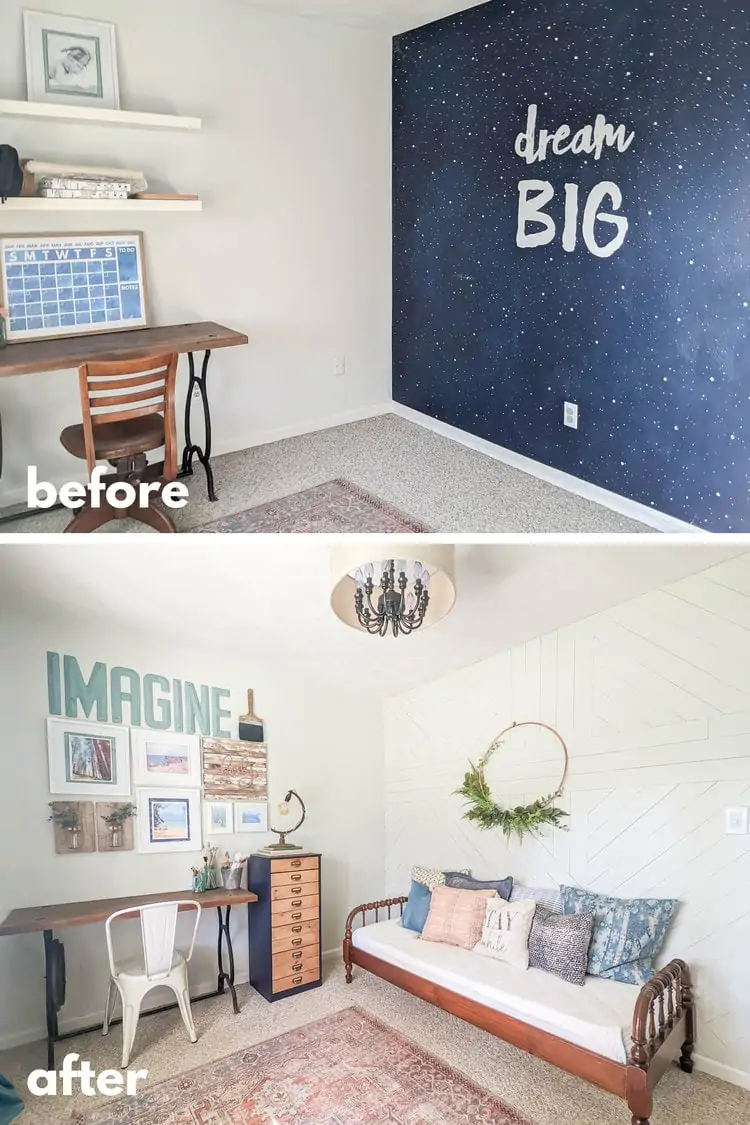
All in all, I love how this room came together. It’s lighter and brighter and filled with color, texture, unique vintage finds, and lots of my own DIY projects – basically all of my favorite things.
Sources
Links to all the things I purchased for this space. The ones that didn’t come from a yard sale or Craigslist anyway ;)
- Rug – Loloi II Loren Collection, color: Terracotta/Sky Amazon
- Teal Velvet Blackout Curtains Amazon (these are such a great deal)
- Arlo Tuscan Cordless Bamboo Roman Shades Amazon
- White Metal Indoor/Outdoor Chair Amazon (these come as a set of 4, the other three are on my screened porch)
- White Utility Cart IKEA
- Armchair (similar) Wayfair
DIY Tutorials for this room
- DIY Geometric Wood Accent Wall
- Upcycled desk from a sewing machine table
- Vintage-style storage cabinet made from a basic dresser
- Drum shade light fixture
- Upcycled globe stand lamp
- Copper wreath
Want to see more budget-friendly decorating ideas? You can check out my whole before and after home tour right here.
I’d love for you to pin this post on Pinterest!


Absolutely beautiful! This inspires me to revamp my own home office!
Thank you so much!
LOVE, LOVE, LOVE it! The color scheme is simply gorgeous! I have a similar daybed. In fact, it is nearly identical. Now, I am inspired to do something with my craft room … I love every detail!!!
Thank you so much!
Thanks for sharing all your fabulous ideas Carrie! I love how your home office turned out. There is so much inspiration in this small space. I love your accent wall. It turned out amazing. And the bamboo shades at the window add warm and tie in to nicely with the antique daybed. Love it all!
Thank you so much Michelle!
Your new office looks great! What a nice place to get away and create, or maybe, daydream!
Thank you so much!