How to Create Beautiful Map Wallpaper Using Vintage Maps
I’m sharing how to turn ordinary maps into gorgeous wallpaper including where to find great maps and how to adhere them to the wall.
I’ve been wanting to create a wall of maps for years and this map wall turned out even better than I imagined!
I’m a bit obsessed with maps – especially old maps. In the age of GPS and turn-by-turn directions (which I massively appreciate), I love thinking about how these maps are what enabled people to travel and have adventures and explore new places.
Plus, I love using maps in decor because visually, I think they’re just really beautiful.
Thankfully, we had plenty of blank walls in our new house and I knew the perfect place for a big wall of maps – my 11 year old son’s room.
His room has honestly been really sad since we moved in months ago. The walls were ready for a fresh coat of paint, his bed is a mattress on the floor, and the rest of the room is basically a blank canvas.
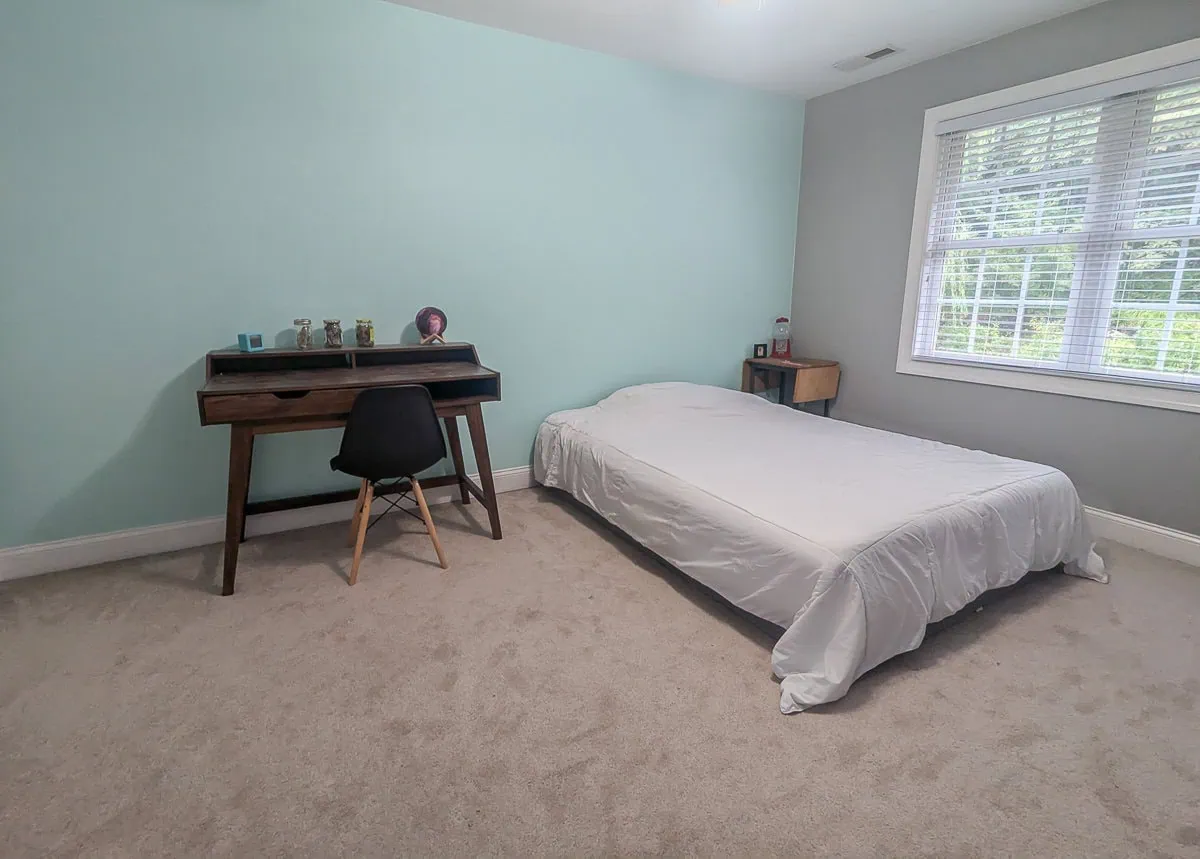
I decided it was definitely time to do something about all of this and this map accent wall is the first step. Luckily, he loves maps just as much as I do.
In this post, I’m sharing everything you need to create a gorgeous map wall, including
- how to find great maps to use
- how to flatten out all the wrinkles so they look good on the wall
- how to attach your maps so that they’re not ruined forever
- and how to figure out a layout that actually looks good
And I also created a Youtube video of this project. If you’d rather watch the video version, you’ll find it at the bottom of the post.
This post contains affiliate links which means if you make a purchase after clicking a link I will earn a small commission but it won’t cost you a penny more. Click here to see my full disclosure policy.
Want more map project ideas? This map mirror and this old typewriter stand I updated with maps are two of my favorites.
What type of Maps to use
You can really use pretty much any type of map to make a map wall – road maps, map posters, pages from an atlas.
Most of the maps I’m using on my wall are vintage roadmaps. They are not fancy by any means and were never intended to be displayed, but they still look amazing. The majority are AAA maps or gas station maps or pullouts from National Geographic magazine. The earliest one is a map of Washington DC from 1948 and the rest are from the 1950s, 60s, and 70s.
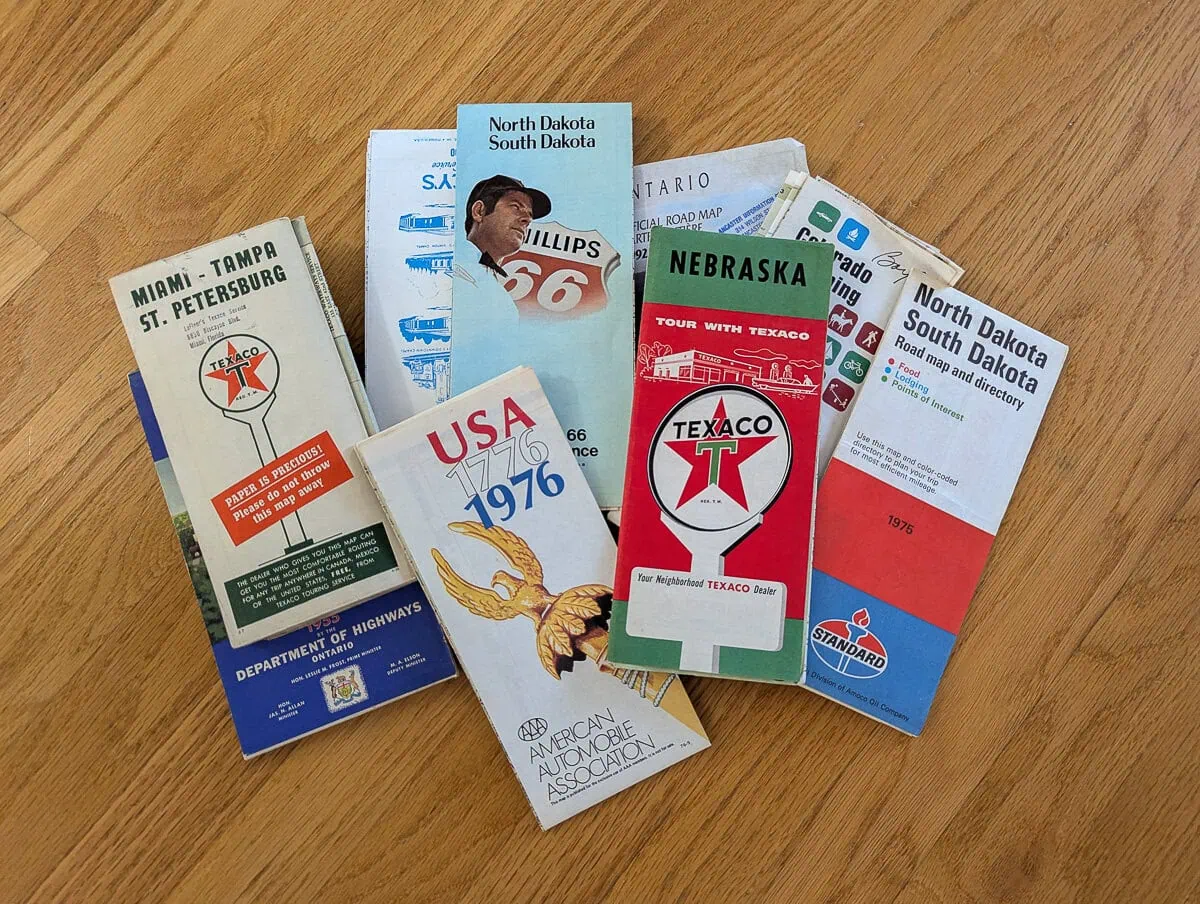
I love these old maps. They have a great look to them and it’s honestly a lot of fun just looking at them and thinking about how things have either stayed the same or changed over the years.
As you are choosing maps for your wall, think about what colors you want to use, whether there are specific places you want to include, and whether you want to use all one type of map (for example city street maps) or have a balance of different styles.
Where to Find Great Maps
If you’re going to wallpaper an entire wall with maps, you’re going to need a lot of maps. There are a few different places you can find them.
Estate sales, antique stores, and yard sales
I personally love to shop secondhand and maps are one of those things that I’m always on the lookout for.
I found most of the maps I used on this map wall at one estate sale. There was a big box in the basement full of a whole bunch of old roadmaps, and the entire box, which probably had 50 maps in it, was only 10 bucks! That was an especially lucky find, but I have also found maps at other antique stores and estate sales. Of course, sometimes they’re cheap and sometimes they’re not.
Etsy
You can also find plenty of vintage maps on Etsy. There are a huge variety of road maps, wall maps, and even custom maps available. The cheapest way to get maps on Etsy is to look for either a bundle of maps (like this) or a listing for a group of random road maps (this one looks good). You may not get to choose your specific maps, but you will get a good deal.
An atlas
Atlases can be another good source for maps. Look for an atlas with large pages and check to make sure you like the colors and style of the maps inside. I often see old atlases at estate sales and thrift stores. There are lots of old atlases available on Etsy as well and new atlases will also work.
Amazon
Of course, you can also use new maps. You can buy map posters which are not folded up, so you don’t have to worry about the whole wrinkle situation. There are lots of really beautiful map posters available with maps of famous cities, maps of countries, national parks, all kinds of places. It’s going to be more expensive, but if you do it that way, you can also choose maps of places that are special to you or that us especially love.
I especially love the maps from Cavallini & Co. paper company. They make maps with a very artistic, vintage vibe. There are a whole bunch of different maps to choose from. A few of my favorites are this map of Manhattan, this map of San Francisco, and this one of the British Isles.
For maps of specific cities, I like the National Geographic Destination City maps.
How to get wrinkles out of your maps
Since the majority of my maps were inexpensive folded up roadmaps, some of them had a lot of wrinkles. I did a couple of different things to combat the wrinkles.
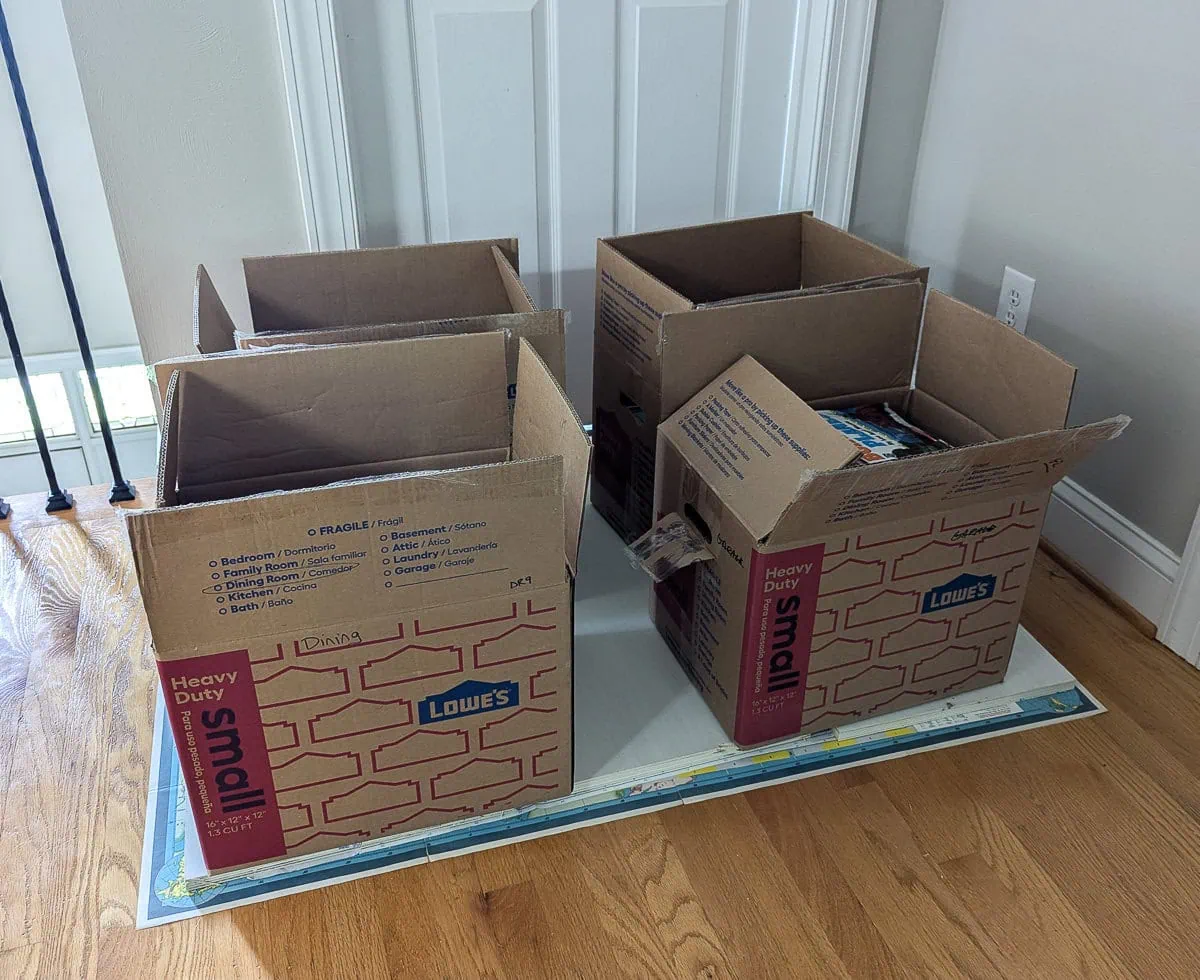
First, I did the old flatten it out with heavy object trick. I unfolded my maps, laid them out flat in a stack on our hardwood floor, and stacked some heavy boxes of books on top of them. I left them there for about 24 hours. This did really help flatten out the maps quite a bit, but may of them still had lots of small wrinkles and creases.
So I moved on to phase two – ironing the maps with a clothes iron. As I was doing online research looking for solutions, I saw that professional framers sometimes iron maps to flatten out the wrinkles, so I decided to give it a try.
Of course, you need to be very careful if you try this. I didn’t have any issues ironing my maps, but every map is different. This won’t necessarily work on all types of maps. You need to be careful and just use your best judgment. Anything that seems plasticky or super thin, I wouldn’t iron.
You will need a protective layer to go between your map and the iron. I used parchment paper for this – the kind you use to bake cookies.
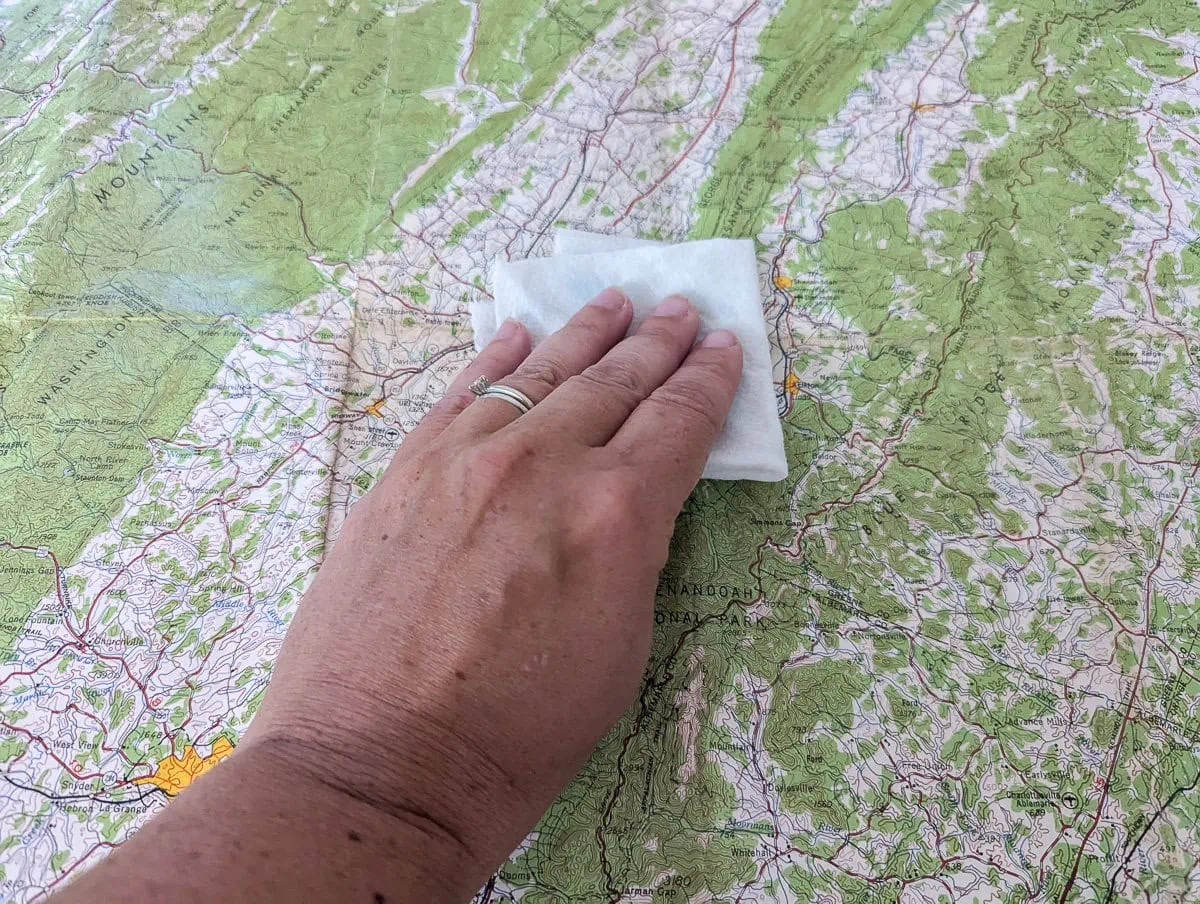
Start by wiping a slightly damp paper towel along the wrinkles in your map. Then place your parchment paper over the map and iron slowly over it with your iron set on low.
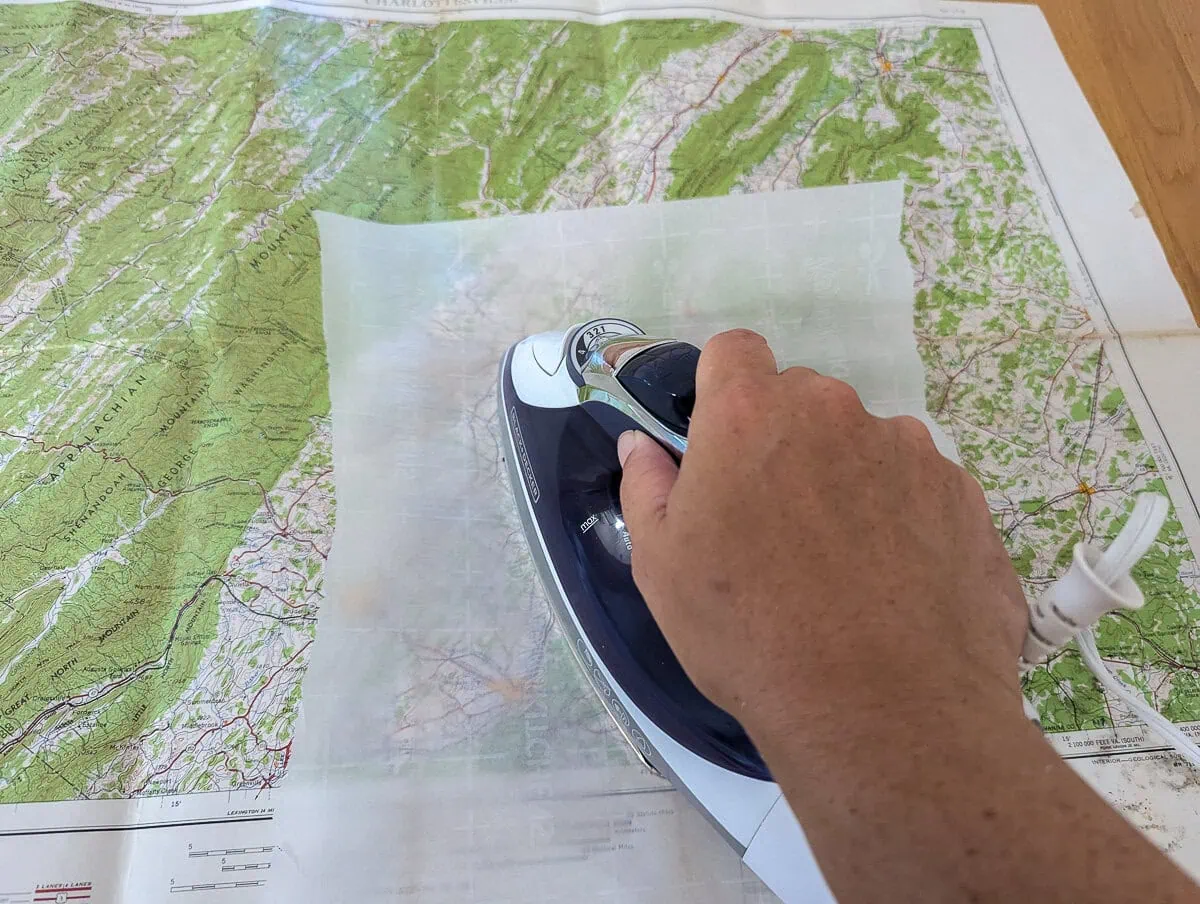
Ironing really helped smooth out the remaining wrinkles, but even so some of my maps still have visible wrinkles.
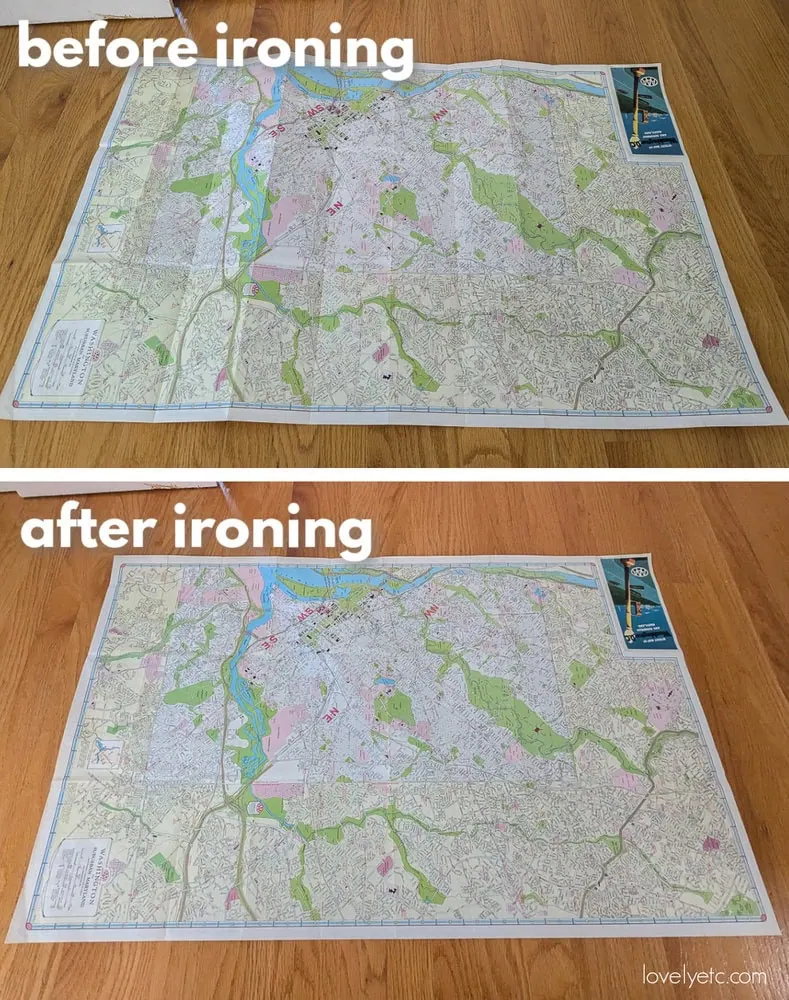
You can definitely still see the creases on some maps, especially when the light hits the wall, but I’m okay with that. The maps are all flat enough that they adhere to the wall well and the wrinkles aren’t super distracting so I’m happy.
Figuring out the layout
When you’re planning your layout of how you want your maps to go on the wall, there are no hard and fast rules. But I personally do recommend figuring out how you want to lay things out before you start just attaching things to the wall because there are some things to keep in mind to help everything look balanced and beautiful.
You don’t want all of your most colorful maps together or all the maps of a certain color in one spot. You don’t want all of the big huge maps or all of your most detailed maps clumped together.
For my own wall, I tried to make sure that there were maps of all different colors and sizes and types spread throughout the wall. That helps the whole wall look balanced and keeps your eye moving over the entire wall.
There are a few different ways to figure out your layout. I am a very perfectionistic, detail-oriented type of person, so I measured my whole wall. I had enough space in another room to tape out the measurements of the wall on the floor and lay out my maps there.
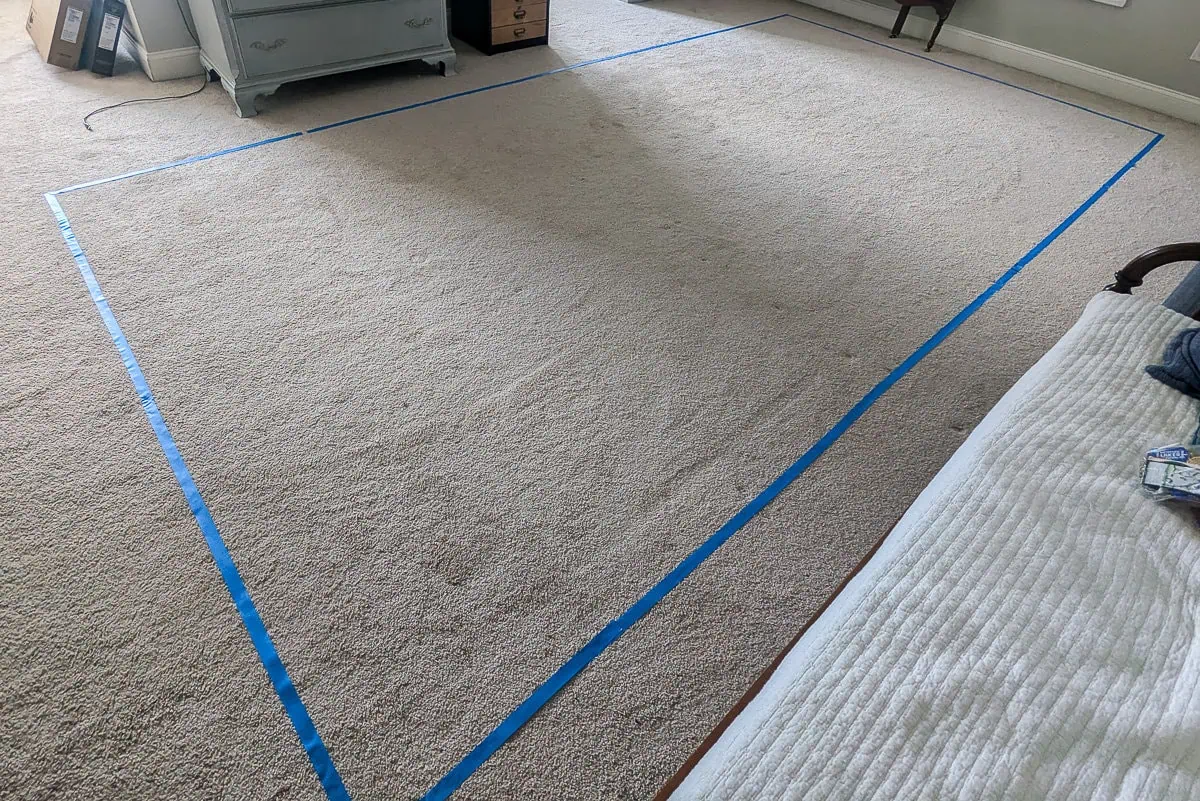
If you don’t have that extra space, you can also do the same thing in the room where your map wall will be. Just must all the furniture to the other side of the room or even to another room and lay out your maps on the floor directly in front of the wall. This will also give you the right dimensions but you will have to move things around a bit so you can access the wall to attach them.
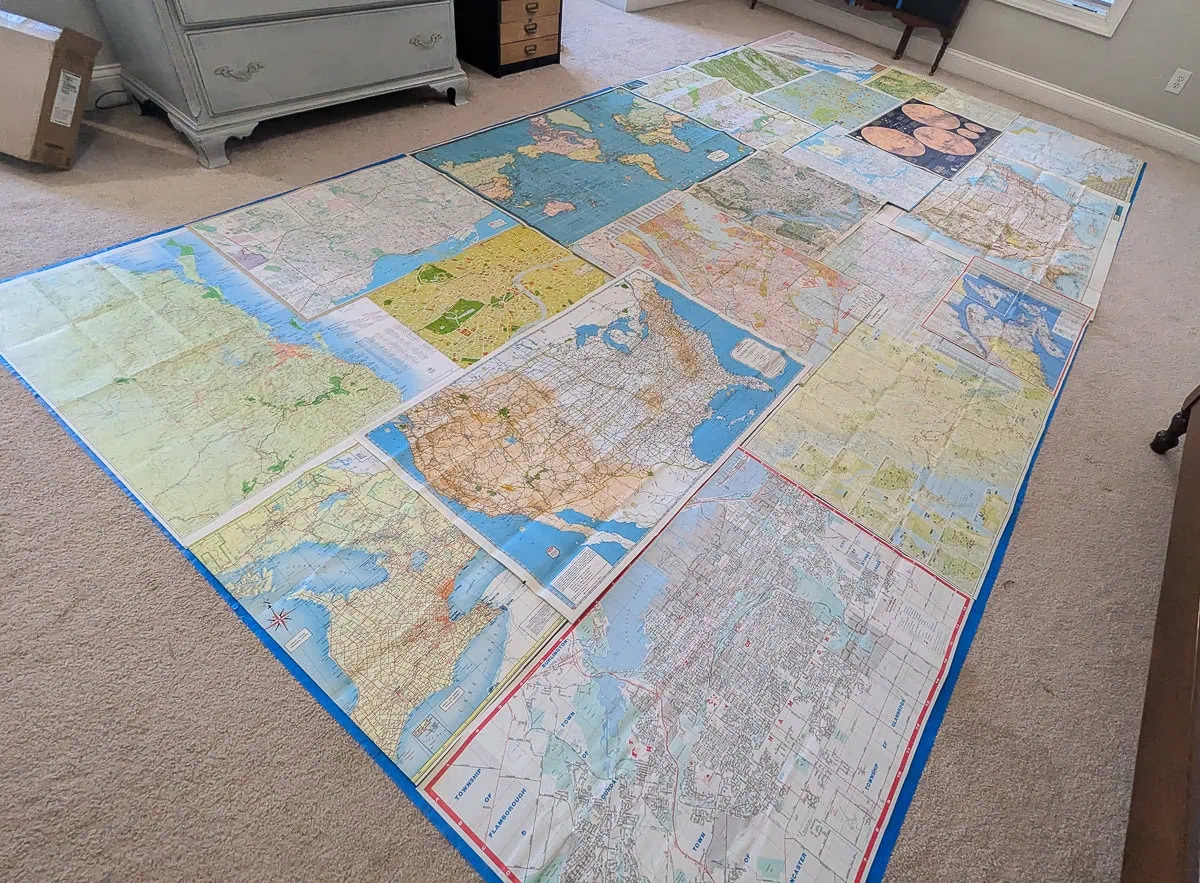
As you’re figuring out your layout, just remember that you can layer your maps. That makes it much easier to fit your maps perfectly without having to cut pieces off. It also makes it easier to tweak things as you place them on the wall.
How to attach the maps to the wall
There are several different ways you can attach your maps to the wall, and they all have different pros and cons.
Mod Podge
Years ago, I used to sell painted furniture and decor at an antique store, and I created a wallpaper in my booth using old book pages and Mod Podge. The big advantage was the Mod Podge sealed all the papers to the wall very securely; there was zero chance of something catching the edges of the paper and ripping it.
The downside is the papers were then permanently affixed the wall and could never be removed or reused.
In that case, I wasn’t planning to reuse the papers anyway, but I didn’t want to do anything so permanent with my maps.
Thumbtacks
Another option is to attach the maps to the wall with a few thumbtacks at each corner, the same way you might tack up posters. This makes it easy to remove the maps in the future if you want a change, but it also doesn’t necessarily secure the edges as well as I would like. And since many of the maps were layered over other maps, you might end up with several holes in each map.
Mounting Putty
After considering the options, I decided to use Gorilla Glue mounting putty to attach my maps to the wall. This is a simple poster putty – you pinch off a bit, put it on the back of your map, and then attach it to the wall.
I’m sure there are plenty of other brands of poster putty that are quite similar, but I don’t have personal experience with them. I’ve always had great luck with the Gorilla Glue brand. I’ve used it for multiple projects including hanging up paper snowflakes and kids artwork and it always removes cleanly without damaging either the walls or the paper items.
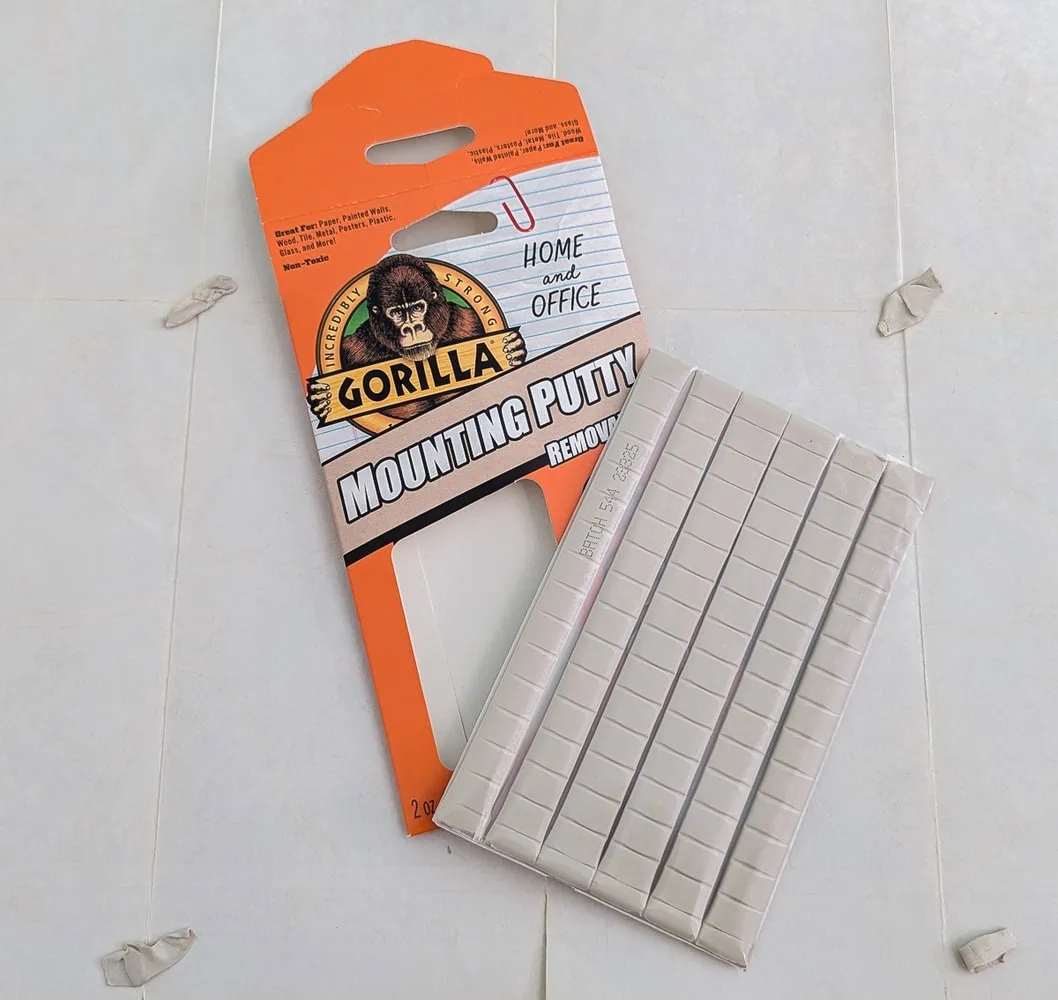
I used quite a few little squares for each map because I wanted to be sure they were really secure. I used anywhere from 8 -20 pinched off bits per map depending on how big it was. I put putty in all the corners and around each edge as well as a few in the middle of each map.
Because many of my maps are layered over other maps, I wanted to be sure that there were multiple areas where the putty was adhered directly to the wall and not just to other maps.
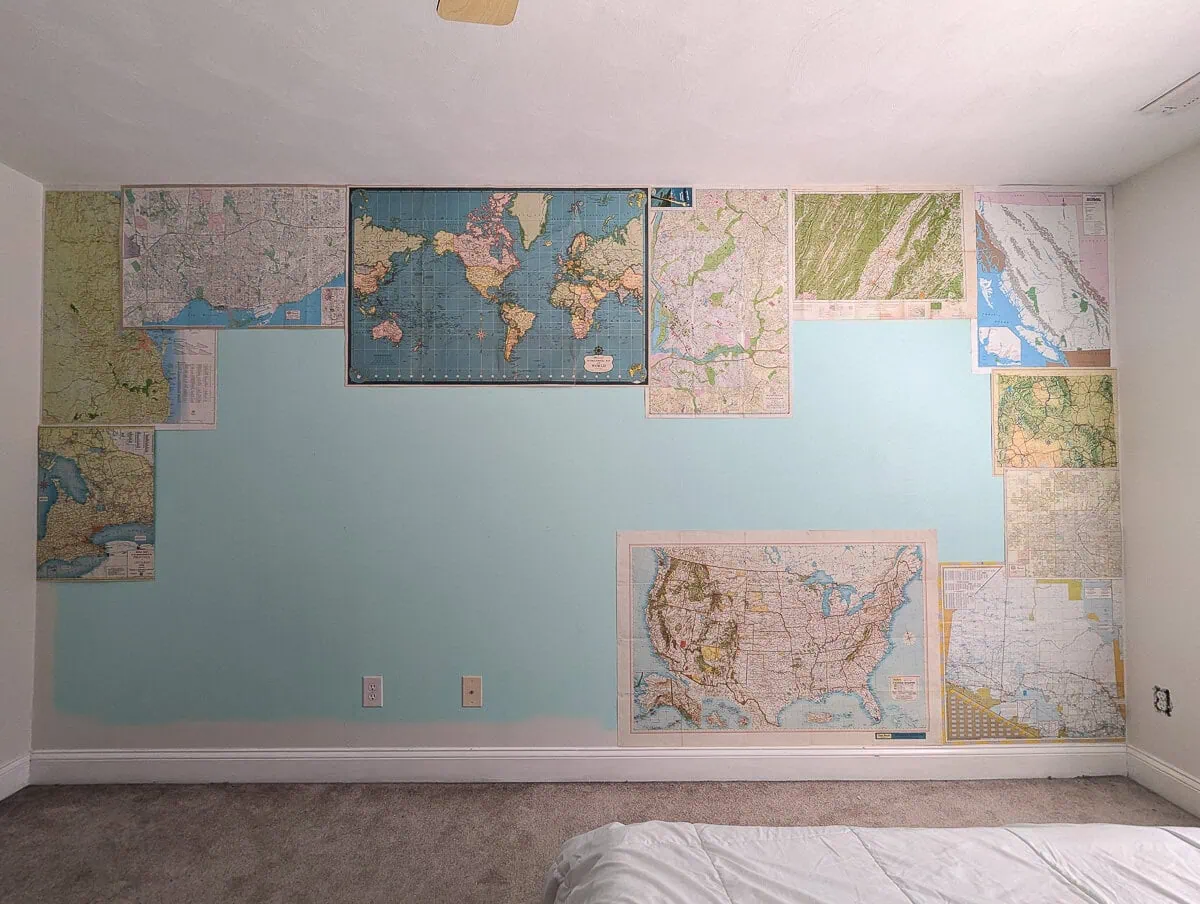
As you start attaching your maps to the wall, it works best to start from the outside and work your way in. That way you can make sure your maps stretch cleanly to each edge. When you get to the center maps, you can easily fix any spacing issues by layering them over other maps a bit more or a bit less.
Working around outlets and light switches
If you have any outlets, light switches, or other permanent fixtures on your wall, you’ll need to factor that into your map layout.
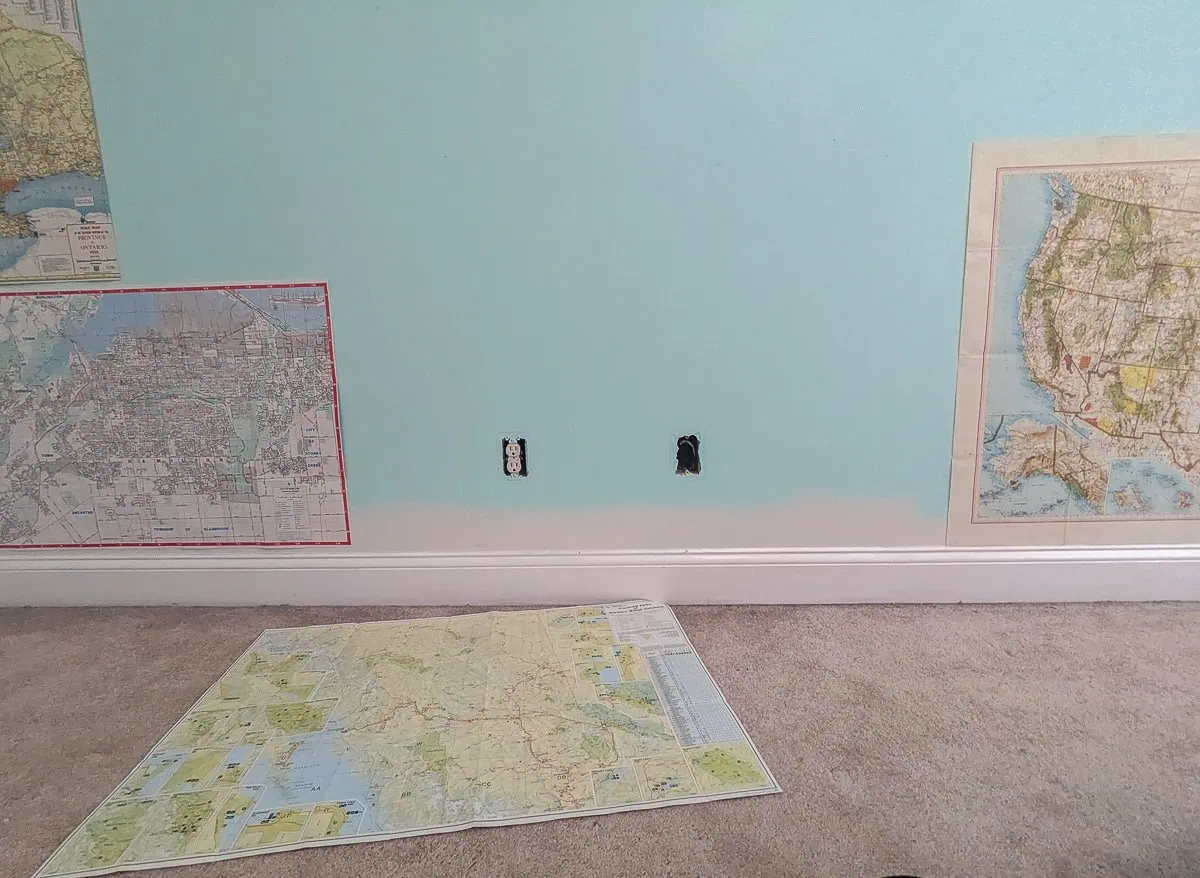
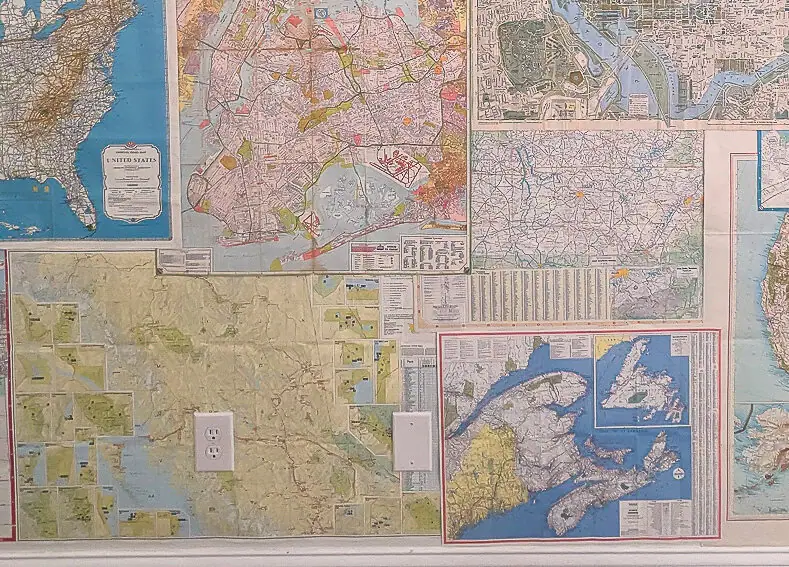
I had two outlets on my wall, so I decided to use a map in that section that I didn’t care quite as much about. I used an Xacto knife to cut out holes for the outlets, making sure each hole was smaller than the outlet cover.
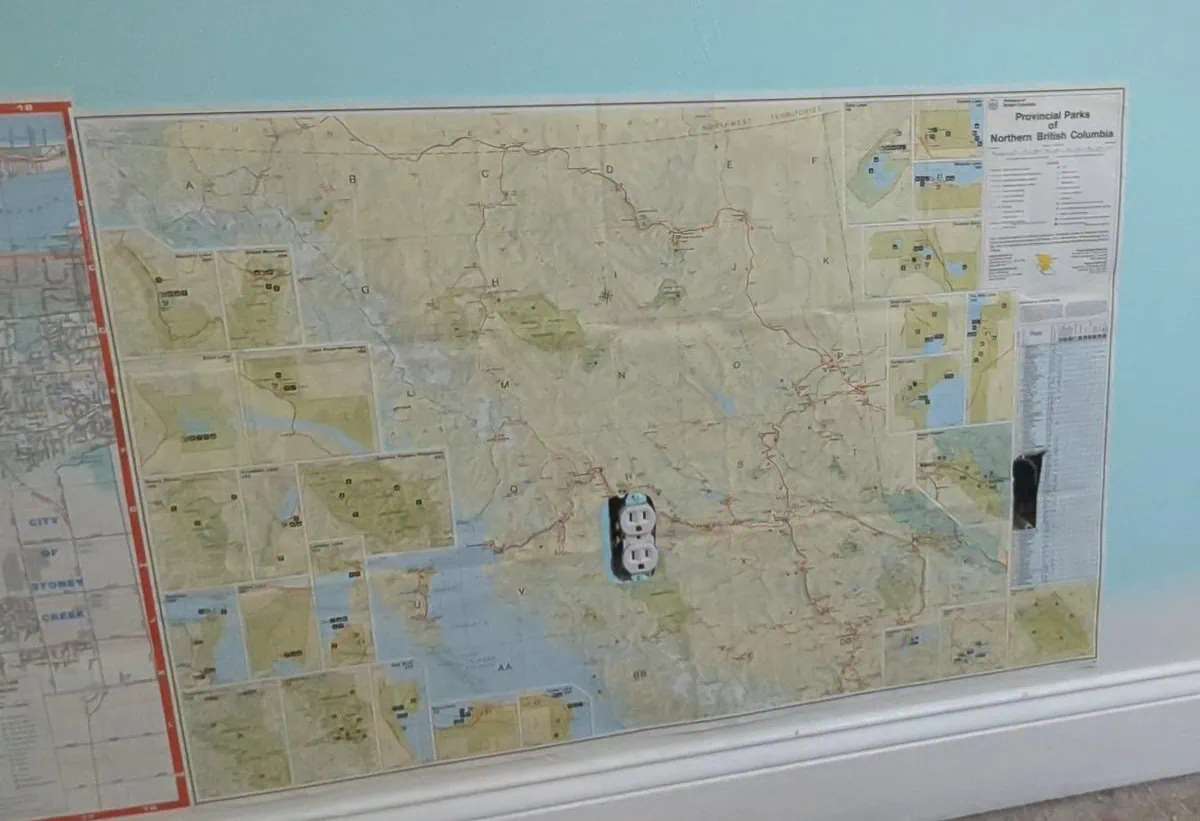
Once the outlet covers are back in place, it’s a nice, clean look.
You could also cover the outlet cover with the map as well to make it blend in better, but that would be a lot more complicated.
The Finished Map Wall
And here’s the finished wall!
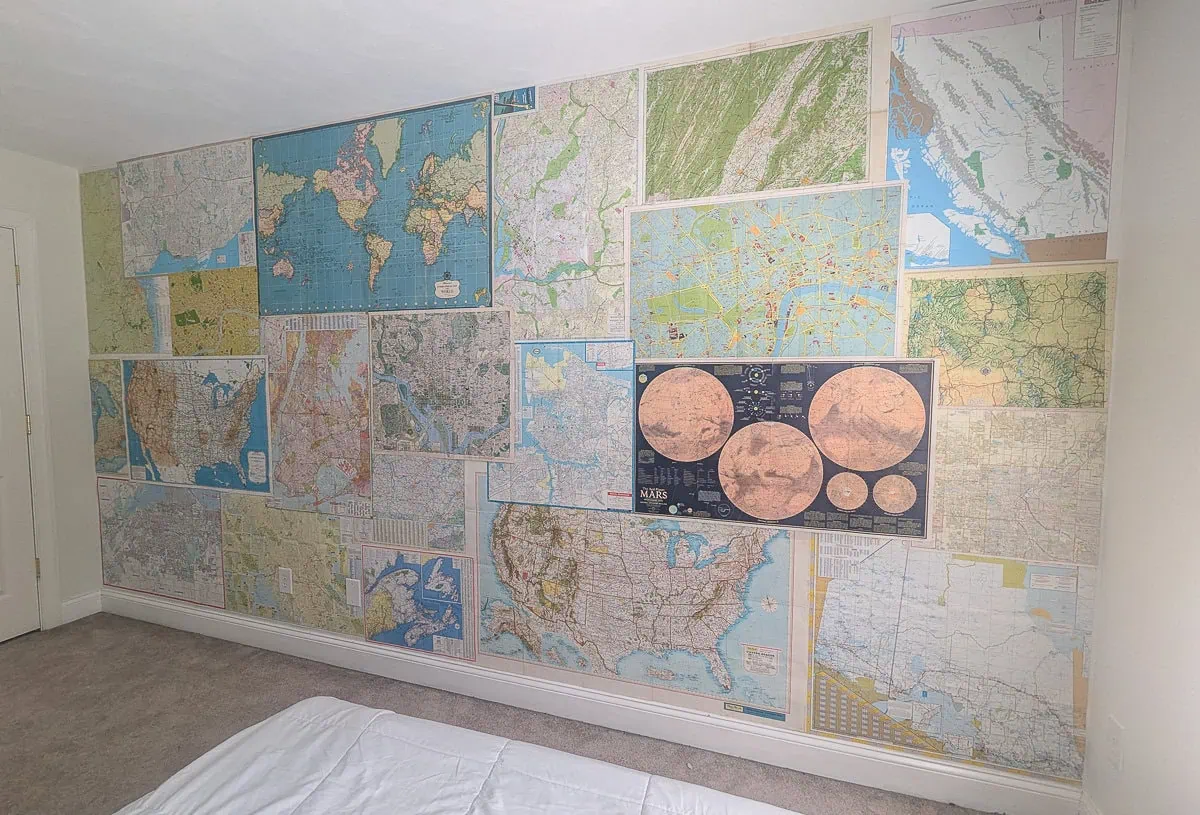
I really love how this wall turned out. I love the color. I love just standing and studying the maps like a dork. And thankfully, my son also really loves it.
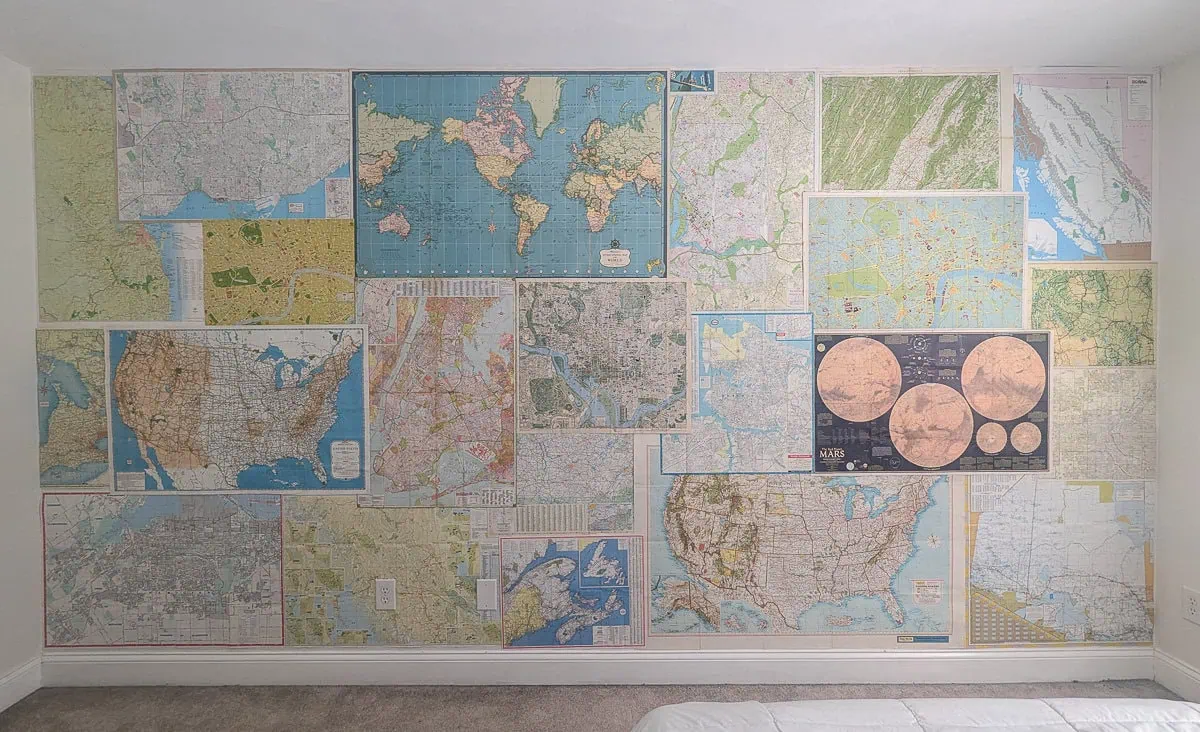
Now I am excited to get to work finishing the rest of this room. I’m planning to build him a bed frame so that his poor mattress isn’t on the floor anymore, hang art, and do some other fun projects. Soon this room won’t just look like we threw a bunch of stuff in here and forgot about it anymore.
Video
Want to see this makeover in action? Just hit play below to watch my Youtube video showing the whole process.
Want to see more bold accent wall ideas? Check these posts out next. (It seems I really have a thing for accent walls!)
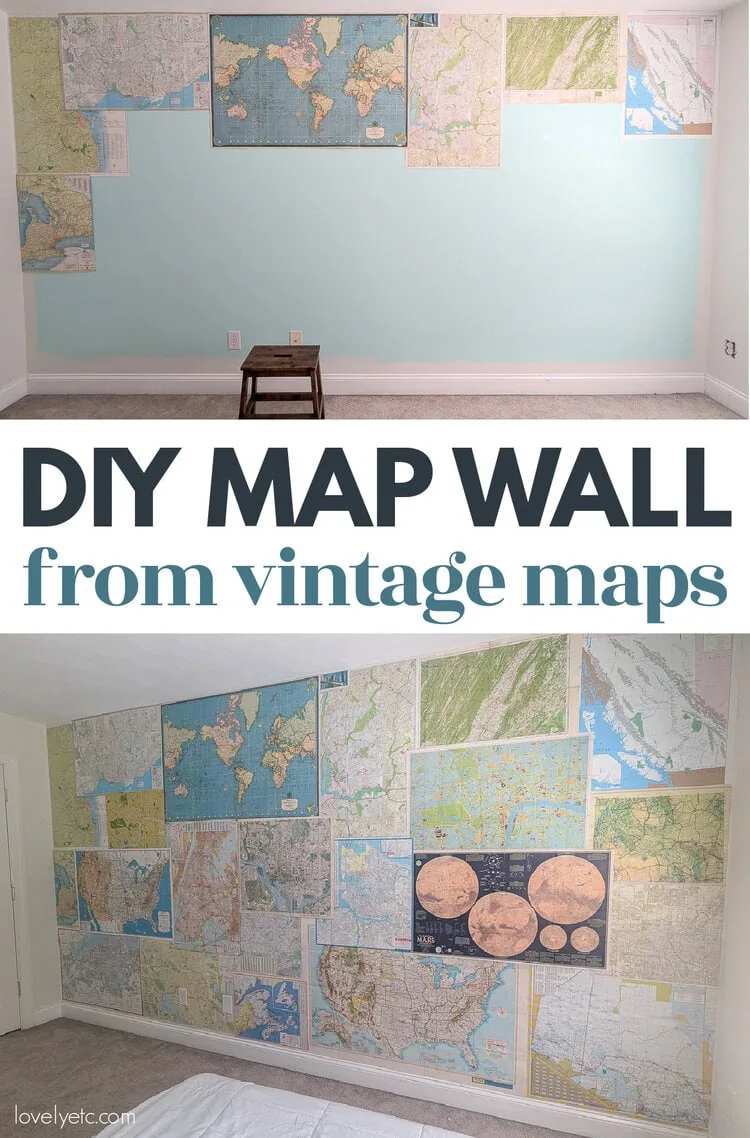
I’d love for you to pin this post on Pinterest!


Love this! :)
Thank you!
Your map wall looks great! I’m sure your son just loves it. The hubs and I did something similar with a bunch of old road maps we’d collected over the years. We sectioned off an office for him in what used to be our shop area (which is now our “pool hall”) and decided to cover the ceiling with those old maps. I ironed them flat then I used equal parts white glue and water to paste them to the ceiling. Eight years later and they’re still securely stuck to the ceiling. We have maps leftover and have asked friends and family for any old roadmaps or atlas’s they no longer need as we’re planning to do the same thing to the ceiling in the pool hall. Wish me luck…it’s about 7 times the ceiling of the office, lol!
That sounds amazing – I love the idea of hanging them on the ceiling!
I did this years ago with National Geographic maps for my 12 year old son’s room. I was lucky enough to have a large laminator available and then just pinned them with map pins to one whole wall. I think we still have them rolled up somewhere. lol Great minds think alike. Still a great idea and my son loved it, too! You always do such amazing things in your homes. Love your style!
That sounds fantastic – old National Geographics really were just a treasure trove.