How To Make A DIY Map Mirror
I am lucky enough to have friends and family who support my obsession with rescuing old worn-out furniture and decor. I love getting a phone call from someone who has some old junk for me to makeover.
My step-grandmother-in-law (say that five times fast) recently gave me this mirror to transform. It had a sweet little shape but many years ago it had been painted the color of a number two pencil – not the best look.
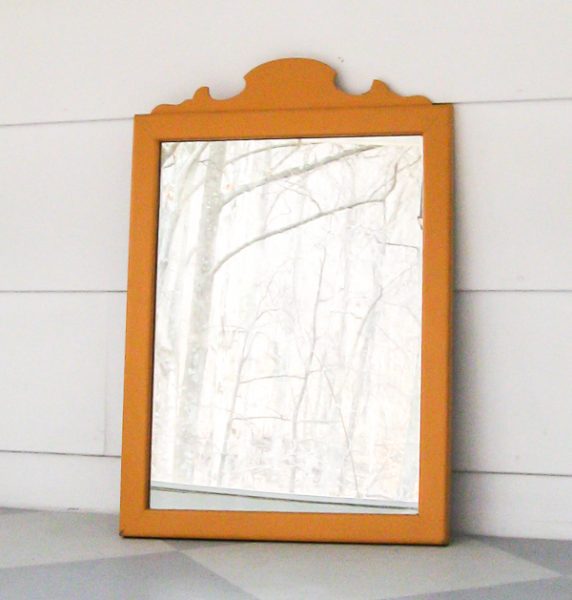
I knew right away this mirror was calling out for more than a fresh coat of paint. It needed something graphic to help keep the curves from looking too country. I knew that maps were the perfect solution.
I adore map projects. One of my very first posts highlighted some amazing map inspiration and one of my favorite projects is my map typewriter stand.
This post contains affiliate links – if you make a purchase using these links, I will receive a small disclosure at no additional cost to you. See my full disclosure here.
Materials needed for map mirror
old mirror or frame with a mostly flat surface
old paintbrush
scissors
How to make a decoupaged map mirror
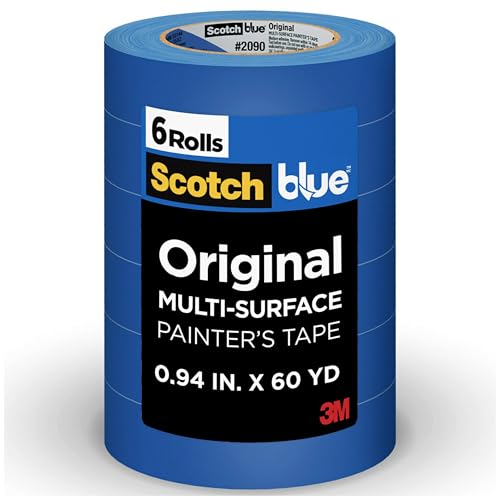
I started by using painter’s tape to tape off the mirror and spray painting the frame white in case the paint showed through anywhere. Then I broke out the Mod podge and a 1989 atlas from the Goodwill.
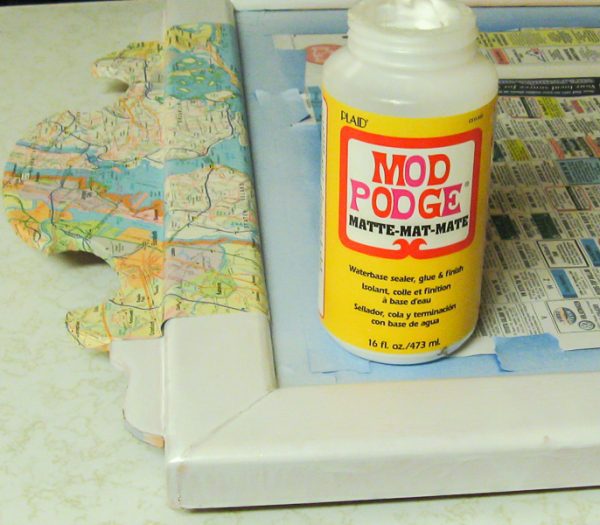
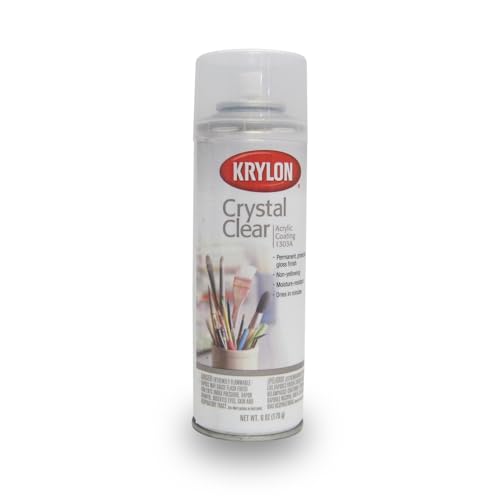
The last time I tried to mod podge a map, it turned into a wrinkly mess. I did not want that happening again, so I followed some tips from Mod Podge Rocks and sprayed both sides of my maps with acrylic sealer first. It worked like a charm!
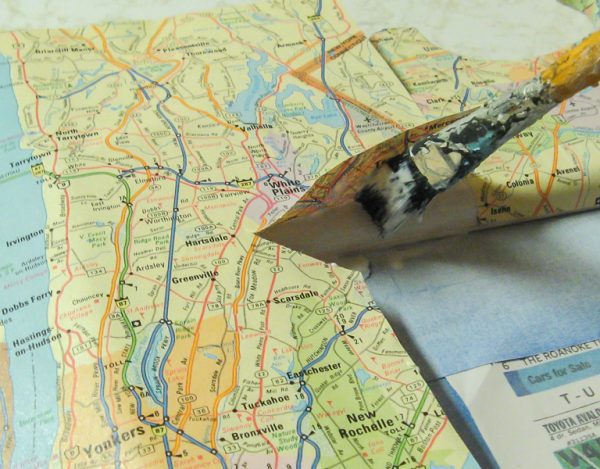
Once the sealer had dried, I mod podged the map to the frame. Using Mod Podge is incredibly simple. Just use an old paintbrush to spread an even layer of Mod Podge on your frame and then smooth your map into place. Cut off any excess map and allow the Mod Podge to dry fully. Once it is dry, brush another layer of Mod Podge on top of the map. This helps seal everything and protect the map. I did a total of four coats of mod podge on top to make sure it was well protected.
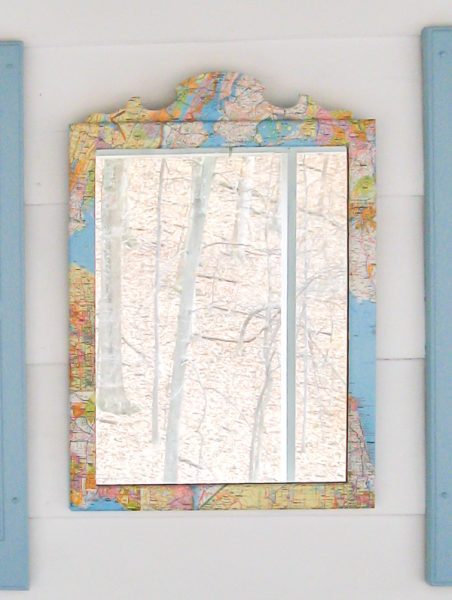
I love how it turned out! Beautiful, graphic, and wrinkle-free.
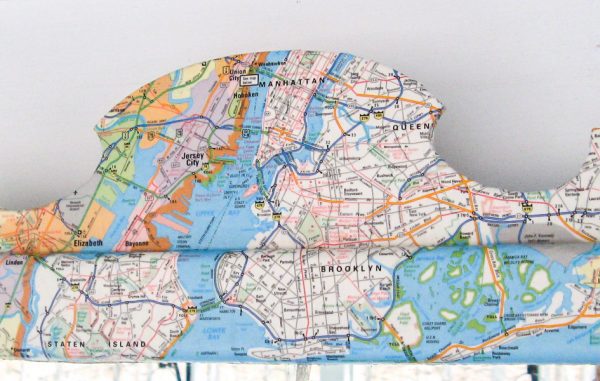
I chose to use the maps of major U.S. cities for this project.

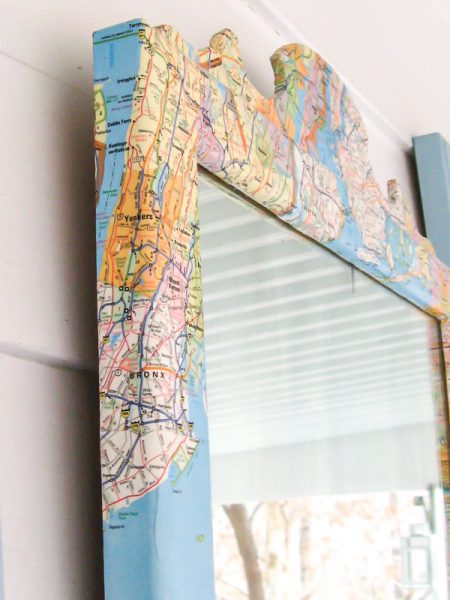
I love how the maps wrap around the chunky sides of the mirror.
Of course, this would be a great using a map of your own city or state. And the same technique could be used to wrap picture frames. It would be really sweet to cover some frames in maps of your favorite vacation spots and fill them with vacation photos. Hmm…I may just have to try that one myself. Personalized, meaningful home décor is always my favorite.
So, do you love maps as much as me? If so, you’re going to love this old typewriter stand I also upcycled using maps. It turned out amazing!
Update an old painted thrifted mirror with old maps for a fun and original piece for your home. As an Amazon Associate and member of other affiliate programs, I earn from qualifying purchases.
How To Make A DIY Map Mirror
Materials
Tools
Instructions
Recommended Products

![National Geographic Road Atlas 2021: Adventure Edition [United States, Canada, Mexico]](https://m.media-amazon.com/images/I/51g+DvKGgYL._SL500_.jpg)

It’s unique and VERY cute!
oh my i love the map mirror! so clever im gonna have to keep my eyes open for an atlas. and thanks for the tip about the using the sealer first, i always have wrinkles! love your blog!
how COOL is that?!!? i love it, carrie!
how COOL is that?!!? i love it, carrie!
Yep – I love maps too! Very cute, Carrie!
Blessings,
Angie @ Knick of Time
Oh maps are fun! This turned out lovely!
So original and cute. This would be great in a child’s room. Never would have thought to use a map. I hope you don’t mind; I’ve pinned it with a link.
It look really beautiful !!!
You have a wonderful blog!
Many lovely greetings,
Nell
Love the map mirror…what a great idea (for frames too)!
OK, I’m adding this to my to-do list! I’ve done a dresser with maps. This mirror could go with it!
http://bluestarantiques.blogspot.com/2012/01/got-er-done.html
cyndi
If you have lived in a lot of different states, or towns, would be cute to put photos of your former homes with a matching map of the location….
This is really cool. I have a bunch of maps I was wondering what I could do with them and now I know. Thanks.
I am so in love with this, what a great idea!!
xoxo
that’s awesome! i love anything with maps, and this is so different!
Hi Carrie!
We just stumbled across your blog and wanted to tell you how much we love it!
Our interiors company is all about up-cycling and re-purposing so we have been trawling through your posts finding it really inspiring :)
Can’t wait to see more!
From the gals at es design, NZ
Ooh sorry Carrie, just thought I’d pop a link up to our blog if you wanted to see what we do too!
http://www.esdesignwellington.blogspot.com
lovely! check out my blog too :)
evedeko.blogspot.com
Love your upcycled map project! I love it so much I’m going to figure out what I can Mod Podge a map to, it’s caught my fancy in a big way. Love your mirror with the flanking blue shutters. Great job!
That is a cool idea! I love maps as well – great upcycle! Come and visit sometime!
Stacey of Embracing Change
Love this re-do! Especially because Brooklyn (where I was born) and Staten Island (where I grew up) was prominently featured in your photos!!
so cute
and would be
a great idea for a boy’s room
i am a new follower
via Linky Follower
and would love for you
to return the favor!
alison
Hey! I clicked on your blog from the Linky Followers Blog Hop and am now following. I’d love for you to stop by and follow back (if you’d like)
-Sarah
http://www.adventuresofourfamily.com
Cute, cute, cute.I am a new linky follower. I would love it if you followed me back. http://michelleslittlepeiceofheaven. Thanks.
What a unique mirror.
I came over from the Linky Follower party HOP to follow you and hope you will come follow me as well.
Cheri from Its So Very Cheri
(if you are already following me–sorry for the confusion–I am having a hard time keeping track of all the new followers and trying to follow everyone who entered my Linky Follower Party Hop.)
Stunning. And such a transformation.
My husband would love this because he loves maps! And is that the real reflection? Beautiful! I’d love for you to consider linking this up to my “Drab to Fab” party going on right now at my blog. We celebrate turning the ordinary into extraordinary using a little creativity. You embodied that theme in this post, so come on over and share!
http://www.amynjesse.com/2012/02/drab-to-fab-link-up-5-features.html
Have a great weekend!
Amy
Okay, I swear I was following you on GFC before but somehow I wasn’t. So, I’m GFC and Linky now. I love what you are doing here and want to see more! You have some terrific projects.
Have a great weekend!
Wow, what a unique idea! I will have to share it with my readers in my DIY Friday column. Thanks for the inspiration :-)
Carrie this looks incredible! Thank you for sharing this at simply creations link party!
this looks great! perfect to add maps to your decor
Very unique. This would be great in my boys room.
love love love this! so cool! i love the creativity of a map around A mirror..fun!
I am your newest link follower..pls follow back if you can.
OMG it looks great, i am going to have to try this, i would love it if you could spare the time and link up to my new party going on today at http://twiggstudios.blogspot.com/2012/02/sunday-show-off-linky-party.html.
thankyou so much xxx
I love maps too, thanks for the hint on spraying with acrylic! following you via Linky Followers too!
Debbie
Oh what a great map project! So much more interesting now! Thanks for joining the party!
Oh what a great map project! So much more interesting now! Thanks for joining the party!
fantastic! i love that you used a colorful “new” map on this mirror. so bright and cheery!
visiting from your feature on modvintagelife!
Love it! Thank you for the inspiration! :) I immediately tried it on a photo frame and I’m very happy with the result.
I love map projects and this is so cool! Love how it turned out!
Thank you so much Linda!