How to Paint Outdoor Furniture Like a Pro
Painting furniture is one thing but learning how to paint outdoor furniture is a whole different ballgame.
You want your paint job to look good but it also has to be able to stand up to harsh weather, rain, and crazy temperature fluctuations. (Well, if you live anywhere like where I live anyway!)
That makes it extra important that you use the right materials and prep appropriately.
And I figured this little child-sized table and chairs bistro set were the perfect pieces to use to demonstrate.
They’ve got metal, they’ve got wood, and they were in absolutely horrendous condition – perfect for showing all about how to paint outdoor furniture. (If your furniture is wicker, I’ve also got a whole post about how to paint wicker furniture.)
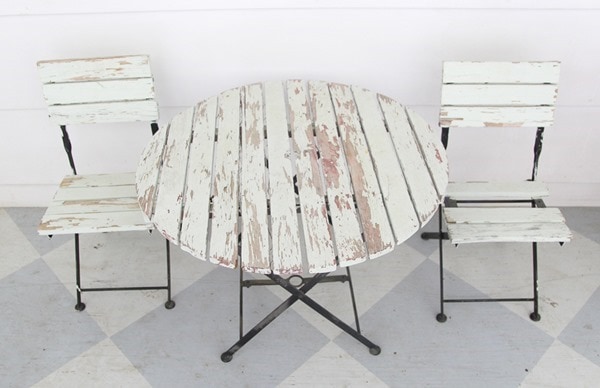
I’ve had this cute little set for a long time. I’m pretty sure I first shared them back in 2014, pretty soon after I found them at a yard sale for three bucks.
Clearly I didn’t exactly get right on fixing them up. Please tell me I’m not the only one with more ‘projects’ planned than I can ever possibly complete!
Even though this is a pint-sized set, I used the exact same techniques and materials I use for any outdoor furniture.
I mean, if there is ever a piece of furniture that needs to be extra durable, it is definitely any furniture meant for children.
I love my sweet boys, but they can definitely act like wild animals!
And my fellow Furniture Flippers are also joining me today sharing their latest furniture flips as well.
These ladies really know their stuff so be sure to check them out at the bottom of this post.
Now onto the flip!
This post contains affiliate links which means if you make a purchase after clicking a link I will earn a small commission but it won’t cost you a penny more. Click here to see my full disclosure policy
Products Used in This Outdoor Furniture Flip
- Spray Primer: Bullseye 123 Primer
- Spray Paint: Krylon ColorMaxx Gloss Blue Ocean Breeze
- Oil Primer: Zinsser Cover Stain Oil-Based Primer
- Exterior Latex paint: Olympic Exterior Ultra White Paint Satin
- Paint Scraper
- Orbital Sander
How to Paint Outdoor Furniture
First step, assess your furniture. If you are working with a piece like mine that is a metal/wood combination, it may be easier to take the pieces apart before getting started.
Otherwise, you’re going to end up needing to use LOTS of painter’s tape because you typically need different types of paint to paint metal and wood.
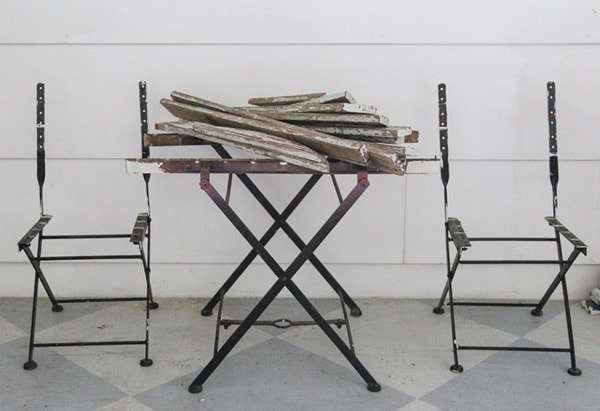
My own pieces were in really bad shape. I removed the wood slats from the table and chairs.
Upon closer inspection, the wood on the chairs was splitting and rotting, so I decided to replace those with new wood.
The table wood was still okay, just covered in lots of peeling paint. I did make one major mistake at this point.
I just unscrewed all of the wood from the table and put it in a pile.
I should have numbered the backs of each piece because each piece would only fit in one specific spot.
It was much harder than I expected to figure out where each piece went at the end.
How to paint metal outdoor furniture
Ok, let’s start with the metal. The first rule of painting anything is always clean it first.
Paint will not stick to dirt and rust no matter how good your paint job is.
You can wipe down your metal furniture with an old rag and some warm water and dish soap.
If there is rust, use steel wool or a wire brush to remove it.
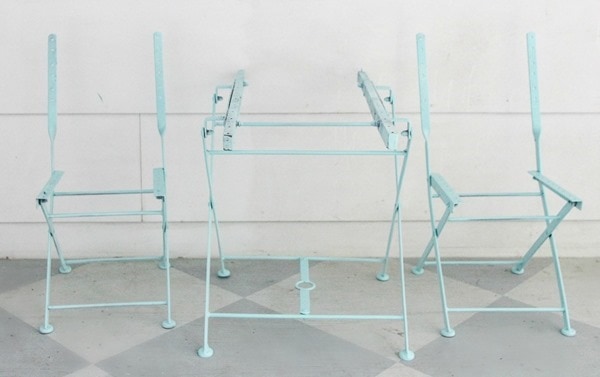
I would never recommend spray paint for painting wood furniture, but it perfect for metal.
Start with spray primer. Be sure to follow the directions on the can and use a couple of thin coats.
Follow this with spray paint. Most spray paint is fine to use for interior or exterior projects, but you may want to double check before you start.
I used Krylon ColorMaxx Gloss Blue Ocean Breeze. Again, make sure to spray thin, even coats.
You may need to do several coats of paint but that is okay. What you don’t want is drips that you have to go back and fix.
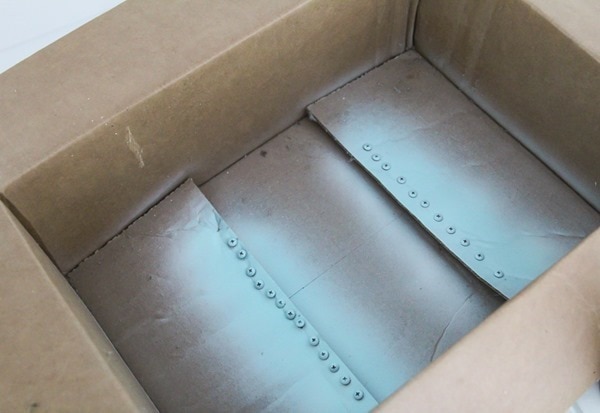
I also used the same spray paint to paint the heads of the screws that attach the wood to the metal frame.
The screws on the backs of the chairs are plainly visible so they needed to be painted to match.
I have a great trick for painting screws with no mess. Poke a bunch of holes in the flaps at the bottom of the box and push the screws into them so only the heads show.
Then spray paint them in the box. The sides of the box will contain any overspray and keep paint off of everything nearby.
And the screwheads will get a perfectly even coat of paint without any paint gumming up the threaded end. Perfection!
How to paint wood outdoor furniture
For the chairs, I bought new wood and used the old pieces as a pattern to cut it to the right size.
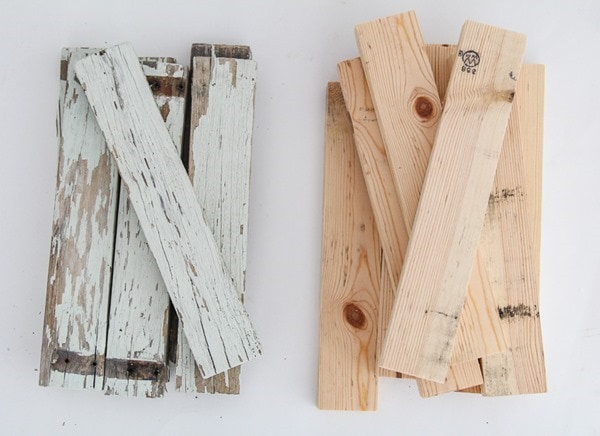
But for the table I was working with what I had, so I started getting all of that old, flaking paint off.
This isn’t the most fun job but it is pretty satisfying. First, use a metal paint scraper to scrape off all of the loose paint.
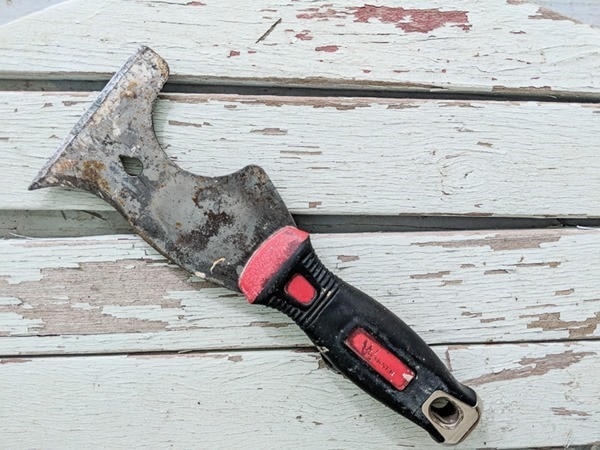
Then use a power sander to sand everything smooth. You are going to want to start with a low grit (rough) sandpaper and then use a medium grit and finally a high grit (smoother) sandpaper.
I used 100, 150, and 220. In the end, there may still be paint on the wood but it will be smooth to the touch.
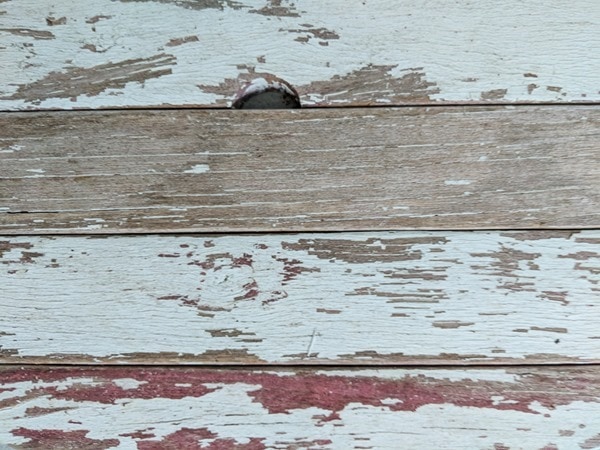
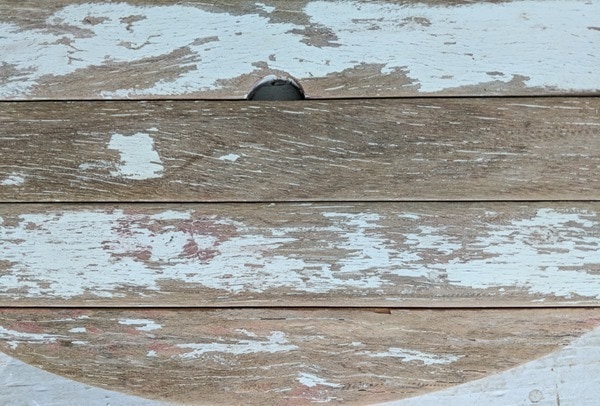
*Of course, any time you are sanding unknown paint, especially on older furniture, remember there is a good chance there may be lead in the paint. Be sure to wear a mask and take other appropriate safety precautions.*
Once your wood is smooth, clean any dust and dirt off and then it is time for primer.
I prefer to always use oil-based primer when repainting anything that was previously painted unless I am absolutely sure of the type of paint that was used. (Zinsser Cover Stain is my go-to).
Oil-based primer will stick to basically anything including bare wood, oil paints, and latex paints.
And it can be topped with either oil paint or latex paint, which makes it a perfect primer for most jobs.
Once the primer is fully dry, you can paint. I used latex exterior paint in satin.
Be sure to use satin or semigloss paint; matte paints are terrible about showing dirt and not cleaning well.
Definitely not what you want for anything that stays outdoors. It is absolutely essential that you use exterior paint on outdoor furniture.
I know some DIYers swear by chalk paint for outdoor projects.
Personally, I love chalk paint for furniture, but like any paint, it has its limitations.
I prefer to use exterior latex paint on outdoor furniture. It adheres well, holds up well against different types of weather, and best of all, it doesn’t require a separate top coat.
Exterior paint is meant to be the final layer. I mean, think about it, you don’t clear coat your house exterior after painting it.
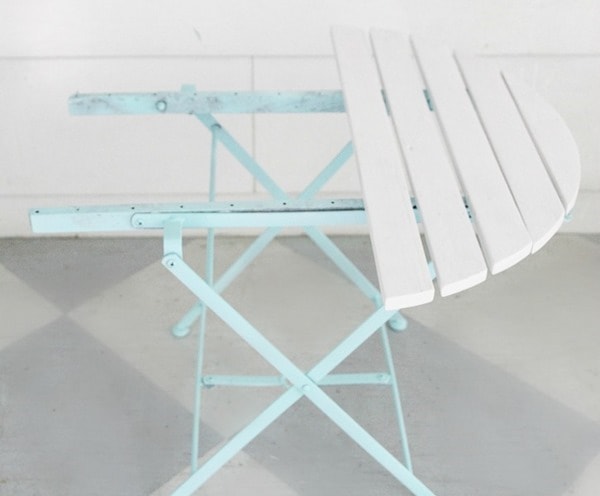
The final step is screwing everything back together.
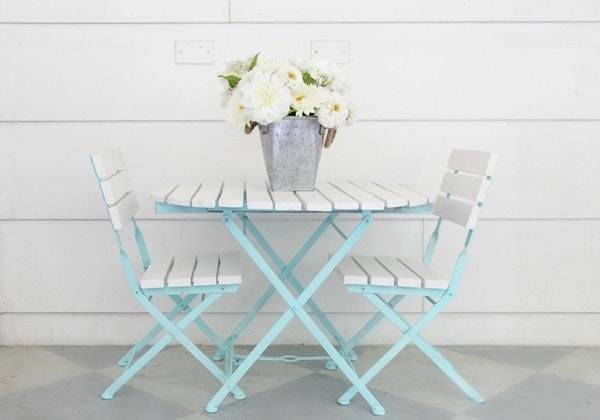
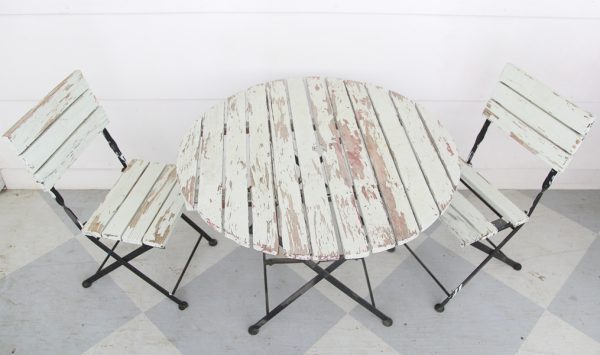
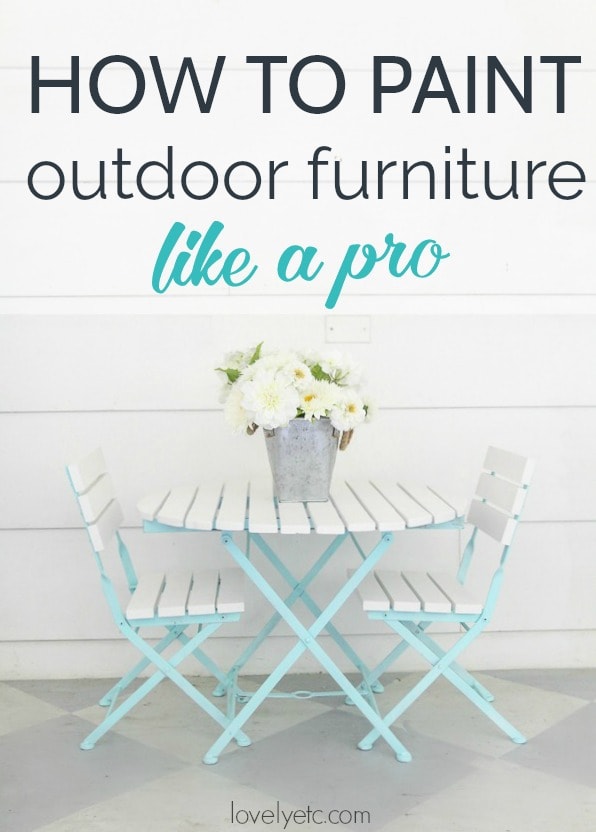
Here are the before and after shots. (Always my favorite part!)
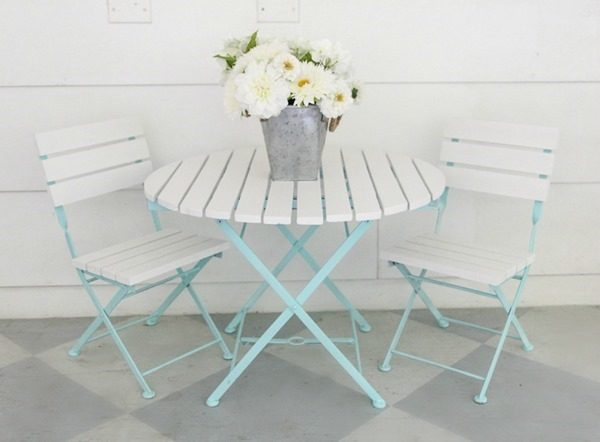
Now these guys are all ready for new life on our porch.
And as soon as I finished snapping these pictures and told my boys the table and chairs were finished, they were all over them.

I’d say they’re definitely a hit!
Ready to see everyone else’s furniture makeovers? These before pictures have me drooling!
Just click the links below the pictures to see the afters.
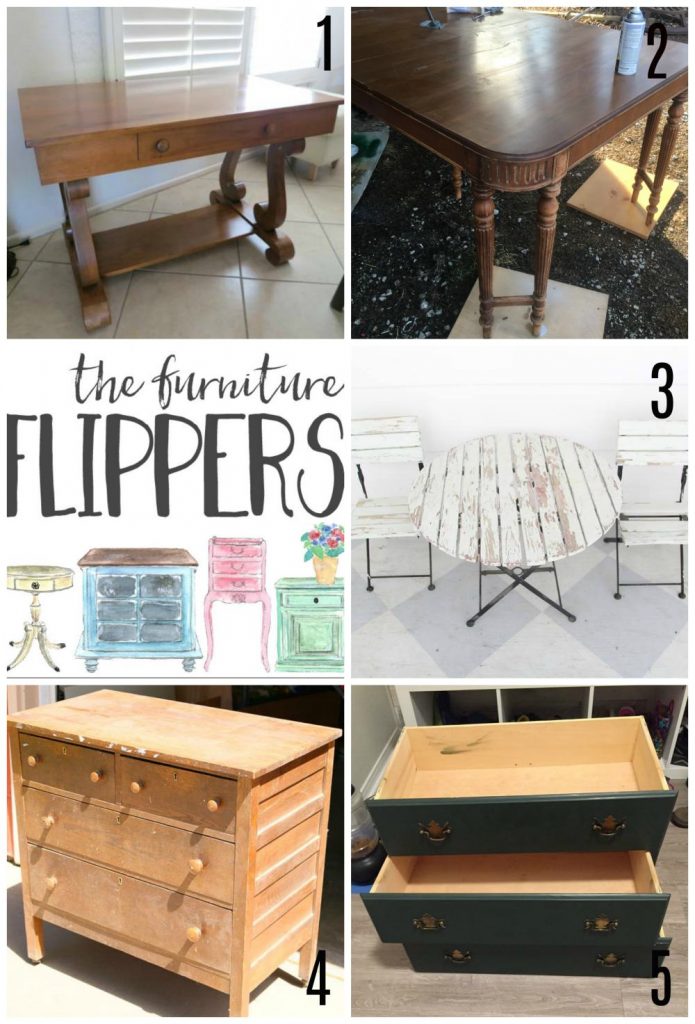
- Wet Distress Painted Furniture Technique by Thirty Eighth Street
- How to Make a Dining Table into Desks by Refresh Living
- How to Paint Outdoor Furniture by Lovely Etc.
- Antique Dresser Makeover by A Fresh Squeezed Life
- French Farmhouse Dresser Makeover with an Image Transfer by Repurpose and Upcycle
Google Web Story: Painting Outdoor Furniture Tips
How to Paint Outdoor Furniture Like a Pro
Learn how to paint your outdoor furniture quickly and easily with these simple steps.
Materials
- Spray Primer: Bullseye 123 Primer
- Spray Paint: Krylon ColorMaxx Gloss Blue Ocean Breeze
- Oil Primer: Zinsser Cover Stain Oil-Based Primer
- Exterior Latex paint: Olympic Exterior Ultra White Paint Satin
Tools
- Paint Scraper
- Palm Sander
Instructions
- If needed, remove wood furniture pieces from the metal frames.
- Clean the furniture well with an all-purpose cleaner or warm water and dish soap.
- To paint metal outdoor furniture: spray a couple of thin coats of primer on the metal furniture.
- Once the primer is dry, spray several thin coats of spray paint until well covered. Be sure to follow the directions on the spray paint you are using.
- Use the same spray paint to paint the heads of any screws that will be visible on your furniture.
- To paint wooden outdoor furniture: If needed, cut new wood to size to replace any rotten boards.
- Sand the wood smooth with a palm sander. Clean off any dust.
- Paint with primer.
- Once the primer is dry, paint with exterior paint.
- Put all of the furniture pieces back together once the paint has fully dried.
Recommended Products
As an Amazon Associate and member of other affiliate programs, I earn from qualifying purchases.


Look at how amazing this set looks now!! I love the turquoise with the white – it seriously looks like a new piece!
Thank you Jenny!
Thanks again for your tips. You do a great job and all is beautiful.
Thank you so much Lynn.
Super cute! No you are not the only one who takes a bit of time getting to projects as my garage, attic, basement, workshop, front porch, living room…. is filled with the proof!
Thanks Lorin – mine too! That is the downside of seeing the potential in everything – it is so hard to ever let anything go!
I’m a fan of Zinsser Cover Stain Primer too! Your patio furniture turned out darling! Love the blue color- what a great choice!
Thank you Carrie!
What a great article! I have an outdoor setting that I’ve had for about 20 years, it’s gorgeous, and has so much ‘patina’. In reality, it’s falling apart and not ideal to use.
Once I decide on a colour scheme, I am going to refer back to this article to paint the set. It’s the old red, green, white stripe, so I may even get those colours matched and do it as it was ‘back in the day’.
I definitely hear you. Authentic patina looks great but it isn’t always the best for actually using. Good luck with your furniture!
Beautiful! I really wasn’t expecting you to take it all apart but that sure made the difference it looks brand new!
Thank you Susan! I wasn’t really expecting to take it all apart either but when I really got to it, I could tell it was necessary.
What a great makeover and great tips too! I agree with you in that I won’t ever use chalk paint for outdoor furniture. It just doesn’t hold up. Looks great now!
Thank you Lindsey!
Wow! You did some fairy godmother magic on your hopeless little bistro set…it’s absolutely enchanting! The ice cream colors look so fresh and fun, such a fun addition to your porch!
Thank you! I love how fresh and clean it looks now too!
I love your choice of blue and white. Thank you for sharing.
Thank you!
Thank you for this! I’ve been searching everywhere whether or not I should poly my outdoor pieces and it’s so hard to find! Makes sense that exterior paint doesn’t need it. Thank you!
I’m glad it helped!
Thanks CARRIE for informative share! This guide is really helpful for people who want to DIY recover their outdoor furniture. by the way, your kids seem to really like the table.