Painting wicker furniture is an easy, inexpensive way to update your worn, dingy furniture. Learn how to paint wicker furniture so it lasts for years including tricks for dealing with old, peeling paint.
The wicker furniture on our screened porch was in serious need of an update this spring. We have a wicker sofa and two wicker rocking chairs that were looking pretty worn.
I briefly considered replacing them, but after seeing the price of new patio furniture, I decided a fresh coat of paint would probably do the trick instead!
This isn’t the first time I’ve painted this mismatched wicker set. Originally the couch and one of the rockers were hunter green – nice but not my style at all.
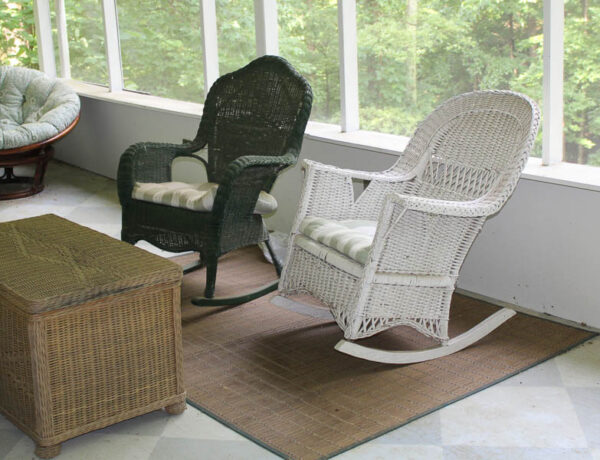
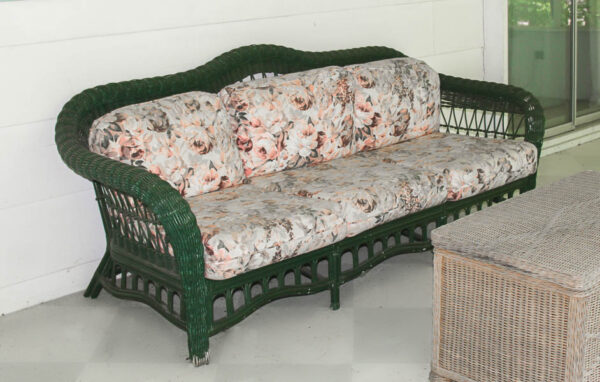
I gave all three pieces a fresh coat of white paint several years back and they looked great.
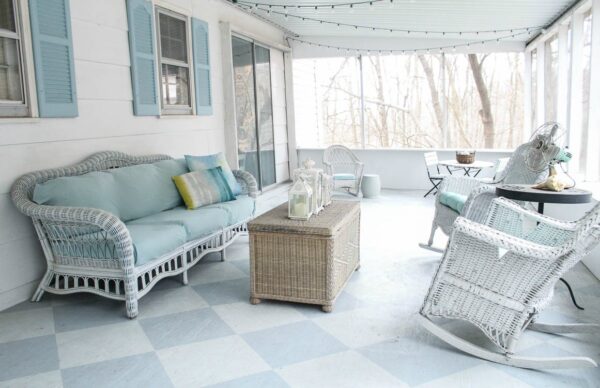
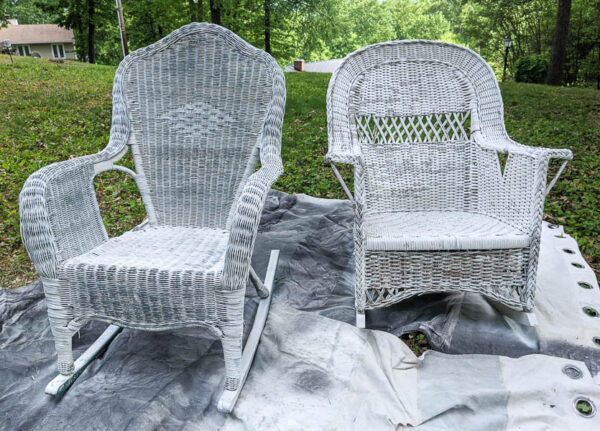
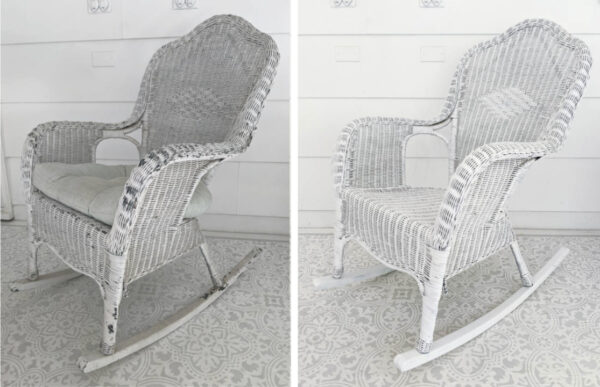
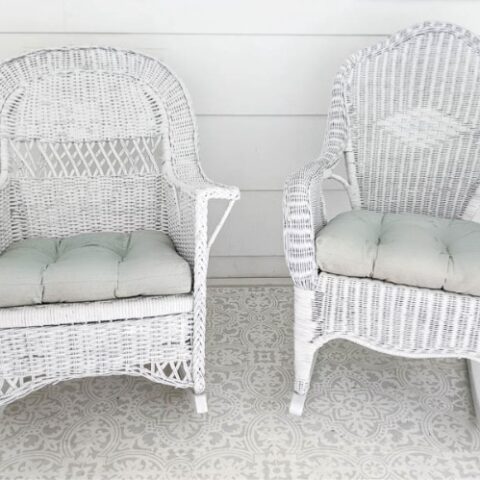
The photo above was taken around five years after I originally painted this set and as you can see the paint was still holding up nicely. But now, a full decade after painting, the white paint was peeling and chipping pretty noticeably.
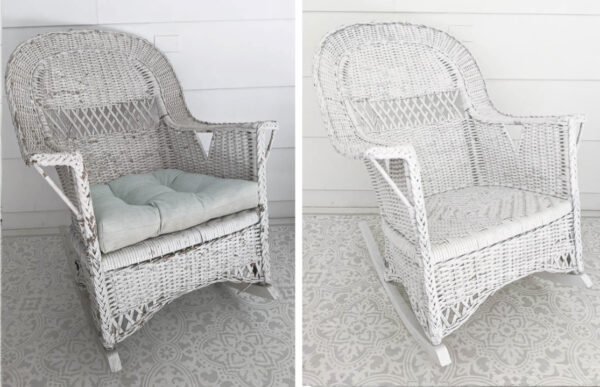
Here is how my wicker furniture looked before I began:
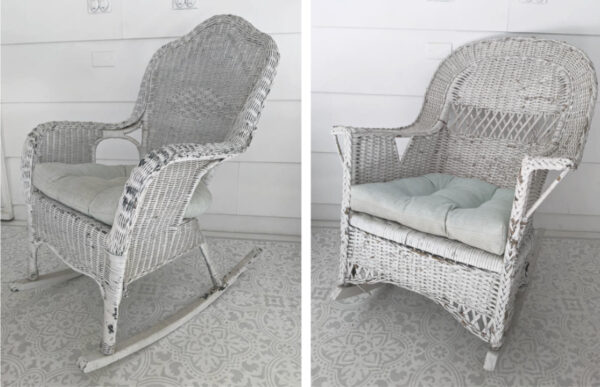
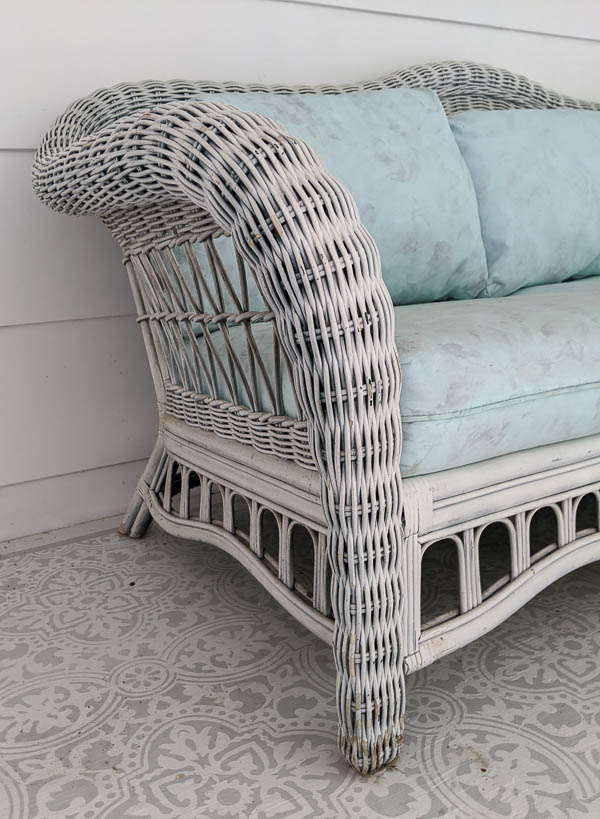
Definitely a bit worse for wear, but ten years is a pretty long time for paint to last, especially on outdoor furniture. So I decided to use a very similar painting process this time around since it worked so well last time!
Today I’m sharing a step-by-step tutorial for painting wicker furniture along with tips for prepping different types of wicker for paint and a full video tutorial as well.
(I also painted the cushions to my wicker couch. If you have ugly outdoor cushions, I highly recommend checking out that post for the full tutorial for painting cushions along with the truth about how they look and feel after painting.
This post contains affiliate links which means if you make a purchase after clicking a link I will earn a small commission but it won’t cost you a penny more. Click here to see my full disclosure policy.
Materials
- Wicker furniture
- Cleaner, Paper towels, Old toothbrush – this is my favorite cleaner for cleaning furniture before painting.
- Spray paint ( I prefer satin finish paint for wicker)
- Dropcloth
Optional tools for removing old paint/repairing wicker
- Paint scraper – for removing loose, peeling paint
- Stripping brush (or other stiff nylon brush) – for removing loose paint
- Sturdy scissors (for cutting off loose strands)
- Wood glue
How to paint wicker furniture
1. Remove any old, peeling paint
If you are painting wicker furniture that has been painted before, start by doing a quick inspection of your furniture. Do you see any loose, peeling paint or is everything still in great shape?
Any loose paint needs to be removed. If you try to paint over peeling paint, the new paint is going to peel right off along with the old paint.
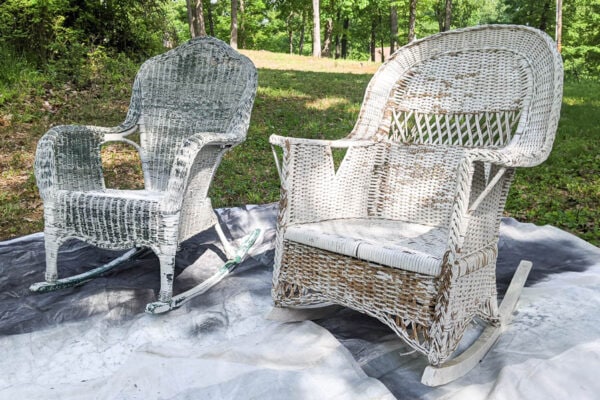
Both of my rocking chairs had loose, peeling paint. One is pretty old and had been painting many times over the years so it had thick layers of paint chunking off. The other has only been painted once or twice so the paint chips were much smaller, but they still had to go.
After trying a few methods, I found the most effective way to remove the loose paint was to start by scraping off any big flakes of paint with a metal paint scraper. The I went back over the same area scrubbing with a stiff brush to remove any smaller flakes of paint.
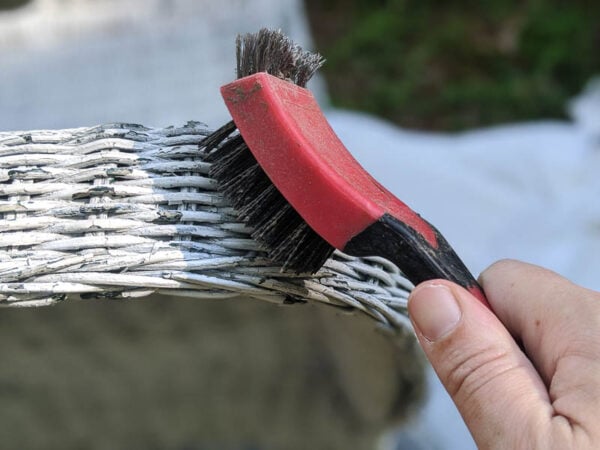
Removing the old paint is a very messy job, so be sure to lay down a dropcloth before starting. Wearing protective eyewear is also a good idea.
2. Clean your furniture
Once you’ve dealt with all of the loose, peeling paint, give your furniture a good cleaning. Paint will not stick to dust, dirt, and other debris so a good cleaning before painting is always important.
If you are cleaning wicker furniture that is used outdoors, you may want to start by simply hosing off the pollen and dust. You can also quickly vacuum off any dust.
I found that my own furniture was still pretty dirty even after hosing off the first layer of dirt. Unfortunately getting all of those little grooves and crevices clean can take a bit of time.
After trying a few methods, I had the most success spraying my furniture with a spray cleaner. I used this pre-paint furniture cleaner but a spray bottle filled with Dawn dish soap and warm water also works well. I sprayed one section at a time and then used paper towels to wipe it down.
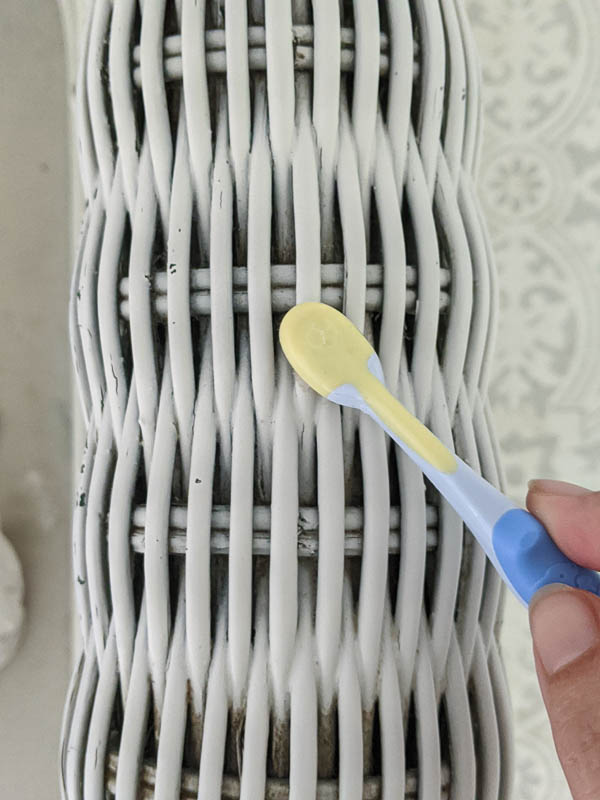
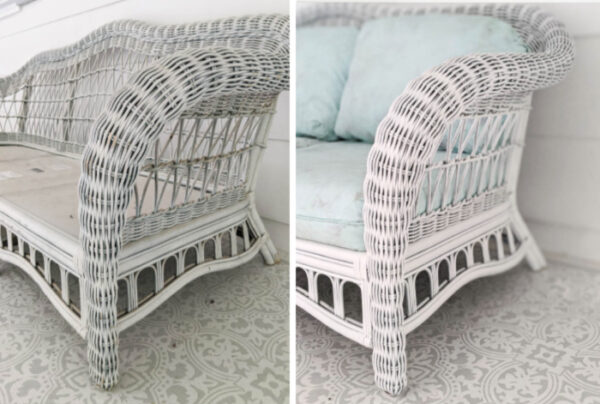
That method worked great on my two rocking chairs, but the curved arms of my couch still had tons of little dust pockets I couldn’t reach. For those areas, I found that a quick scrub with an old toothbrush dipped in warm water got the dust out quickly.
3. Repair the wicker if needed
Once it is clean, check over your furniture for any loose, broken bits. You can cut off any loose ends with sturdy scissors to tidy everything up. And you can repair most broken pieces using wood glue.
Now you are ready to paint. (Don’t worry, the actual painting goes super quickly compared to the prep.)
4. Painting wicker
You are definitely going to want to spray paint your wicker furniture. There’s really just no other practical way to get paint into all of the tiny little crevices and divots.
You can either use cans of spray paint or you can use a paint sprayer.
The advantage of using a paint sprayer is that allows you to choose pretty much any paint color you want. Of course the downside is you have to own a paint sprayer.
I have this paint sprayer and love it because it is really easy to use and doesn’t require an air compressor.
But for this project, I chose to use regular old spray paint. I didn’t need fancy colors because I knew I wanted to use classic white and there’s a lot less set up and clean up when using cans of spray paint.
The other advantage to using spray paint vs. a paint sprayer is spray paint is an oil-based paint that adheres really well to most surfaces including wicker. This means you can skip using a separate primer which can be a major time-saver.
You can use any high quality spray paint. As far as the paint sheen, I prefer a satin finish paint for wicker because it gives a beautiful, soft sheen.
Remember to protect the area under your furniture with a dropcloth of some kind.
Spray Paint Tips
There are a few things to keep in mind when using spray paint to get a beautiful paint finish.
- When using spray paint, the goal is to get good paint coverage without drips. Shake the can of paint thoroughly before beginning to paint and every few minutes while you are using it.
- Be sure to hold the spray can at least six inches away from the object you are spraying and spray several very light coats of paint, letting it dry for a few minutes between each coat. Drips happen when you spray a very heavy coat of paint or hold the spray paint too close to your furniture.
- Make sure to follow the directions on your specific can of spray paint as far as how much time to wait between coats of paint and drying time.
You will need to do at least two light coats of paint to get even coverage. If you are painting your furniture white or making a drastic color change, you will probably need 3-5 light coats of paint.
I did three coats of paint on each of my furniture pieces.
The Secret to Even Coverage
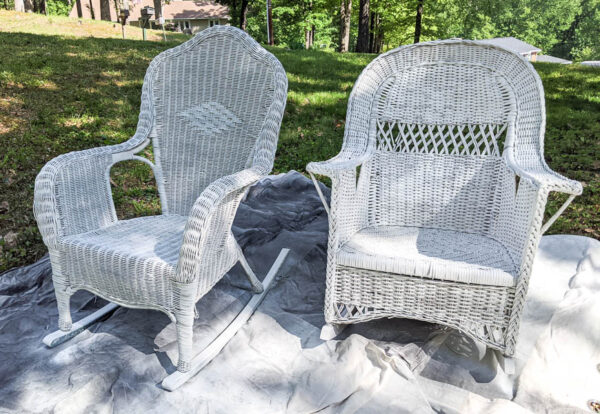
To get an even paint finish on wicker, you need to spray your paint from a few different angles. Simply painting your furniture straight on won’t allow the paint to reach all of the surfaces that need to be painted.
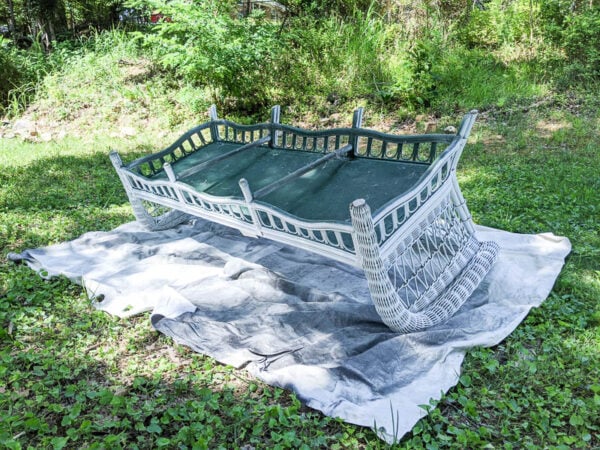
Allow your furniture to dry to the touch. This usually takes a couple of hours. Then flip it over upside down and paint the sides again from this angle.
You don’t have to worry about painting the entire bottom or areas that will never be seen, but painting wicker from this angle will allow paint to better coat all the way around the wicker pieces that make up the front, back, and sides.
Freshly Painted Wicker Furniture
And here’s how my furniture looks now.
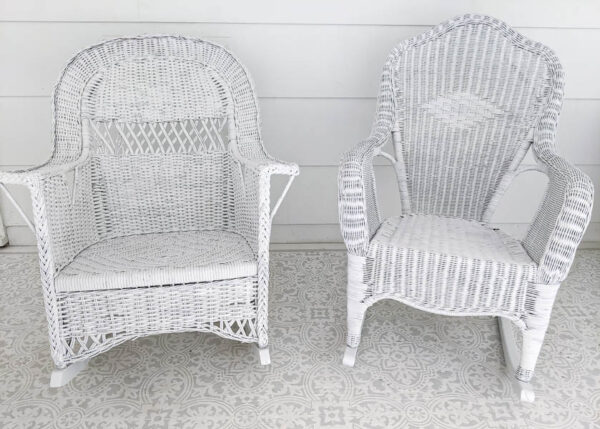
Even though I painted everything the same color as before, the fresh paint job makes such a big difference. Instead of looking dingy and worn, my porch furniture looks bright and inviting again – like something I would actually want to sit on!
Here are a few before and after photos. Even though the changes aren’t as easy to see in photos as they are in person, I think you can still see what a difference the fresh paint made.
Time and Cost for this project
Wicker furniture can be deceiving because it takes a lot of paint to properly cover all of the sides of each woven strand.
It took five cans of spray paint to paint the two rocking chairs. (It probably would have taken even more if there was a more drastic color change involved.)
And it took another four and a half cans of spray paint to paint the couch. You might could get away with using less paint, but I don’t know that you will get a really even paint finish with less.
At $4 per can of paint, that comes to $10 per chair and $18 for the couch.
Timewise, it only took about an hour to clean and paint the couch because it didn’t really have any loose paint. Even though they are much smaller, each chair also took about an hour to clean and paint since they had so much peeling paint that had to be removed first.
Video Tutorial
I’d love for you to subscribe to my Youtube channel!
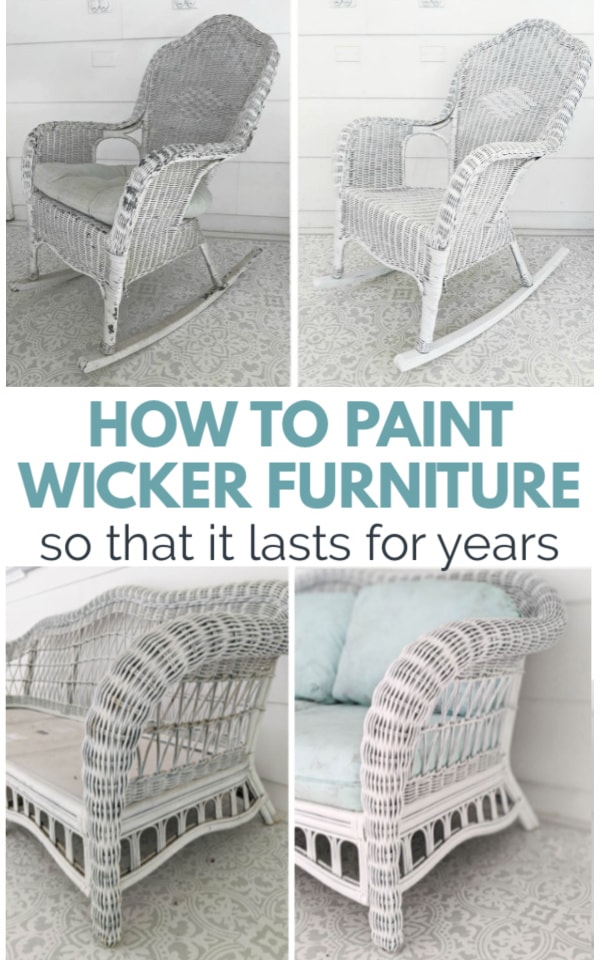
Don’t forget to share this project on Pinterest!
Here are a few other posts I think you’ll love:
- Painted Outdoor Cushions: The Good, The Bad, The Ugly
- How to Paint Outdoor Furniture like a Pro
- How to Paint the Most Beautiful Porch Floor Ever
How to Paint Wicker Furniture that Will Last for Years
Everything you need to know to paint wicker furniture so it lasts for years, including tricks for dealing with old, peeling paint.
Materials
- Wicker furniture
- Cleaner
- Paper towels
- Old toothbrush
- Spray paint
- Dropcloth
Tools
- Paint scraper
- Stripping brush
- Sturdy scissors
Instructions
- Lay down a dropcloth before starting and wear protective eyewear.
- Remove any loose paint by scraping off any big flakes of paint with a metal paint scraper.
- Use a stiff brush to remove any smaller flakes of paint.
- Give your furniture a good cleaning.
- Use an old toothbrush dipped in warm water to get dust out of small nooks.
- Repair any broken wicker pieces if needed. Cut off loose ends with sturdy scissors.
- Shake your spray paint well before beginning to paint and throughout the painting process. Hold your spray paint at least six inches from your furniture and spray a light coat of paint onto your furniture.
- You will need between 2-5 thin coats of paint depending on the color.
- Once dry, turn the furniture upside down to paint the underside of the wicker.
- Allow the furniture to completely dry before moving.
Recommended Products
As an Amazon Associate and member of other affiliate programs, I earn from qualifying purchases.

Google Web Story: How to Paint Wicker Furniture


Betty says
Great job! I’m staining my wicker shelves. Two of them were outside so they were very dry and needed little sanding. I actually used steel wool. It made it easier to get into the little crevices. I decided on dark walnut. The first shelf was a kind of learning process. I also did it the lazy way. It was pretty tedious and time consuming but I learned a lot. So, hopefully the second shelf will go a lot quicker. Thanks, you made it sound so simple.
Carrie says
Steel wool is a great idea for getting in the little crevices of wicker. Your shelves sound great and I bet they will be beautiful when finished!
Kat Doyle says
Thanks for the info. I have a really OLD wicker chair, table and foot stool set from my mother in law that needs a new coat of paint. It took quite a while to get the old exterior house paint off of the items and I also used the paint scraper to help get the thick cracking multi layered paint off (4 different colors over the years!). I was going to just repaint with exterior house paint knowing that would be waterproof. But after watching your video I’m going with spray paint. I am going to use marine varnish/spar urethane clear spray as the final coat to help with weatherproofing. I’ve also painted fabric chair cushions before, but I saw your review on rustoleum outdoor fabric spray so I’m going to give that a try for the old floral cusion.
Carrie says
That sounds like a great plan – it’s going to be like having all new furniture but with the charm of antiques. Good luck!