How to Make a Beautiful DIY Christmas Tree Collar for Cheap
Everything you need to know to make two different gorgeous DIY Christmas tree collars for super cheap.
I love a good Christmas tree collar – it’s the perfect way to finish off a beautiful Christmas tree. I’ve been thinking about making a DIY Christmas tree collar for a few years and since this year I’m putting up a second Christmas tree for the first time, it seemed like the perfect time!
As I was perusing the Christmas tree collar options online, I saw a lot options that all looked basically the same. And then I came across a really beautiful and completely unique tree collar from Balsam Hill. It’s made from antiqued mirrors with a gold frame and is beautiful. The downside – it’s $400. Yes, you read that right – $400!!!

Definitely out of my price range, but I decided it was the perfect inspiration for my own DIY Christmas tree collar. But my version costs more like $10 depending on what kind of craft supplies you already have on hand.
My DIY tree collar turned out amazing and checked all the boxes I was looking for:
- It was super inexpensive to make using cardstock, cardboard, and a few basic craft supplies
- It looks really beautiful under the Christmas tree – which is really the whole point of the project!
- It is super easy to set up around the Christmas tree.
- It folds up really tiny to store away for next season.
- It’s super customizable – if you don’t love the mirror finish, you can make this in any style or color you want just by changing up the cardstock you use.
I will note that while this project is super cheap and easy, it isn’t that fast. While it isn’t complicated, there are a lot of small steps so it does take a few hours to make one tree collar. I definitely recommend tackling this project while watching a favorite TV show or Christmas movie to keep it from getting draggy.
In this post I’m sharing a detailed step-by-step tutorial and measurements for making an easy DIY Christmas tree collar in two different finishes and I also have a video tutorial at the end of this post.
This post contains affiliate links which means if you make a purchase after clicking a link I will earn a small commission but it won’t cost you a penny more. Click here to see my full disclosure policy.
Two Different Looks
I made two different versions of this Christmas tree collar. They are both constructed the same way but have slightly different looks.
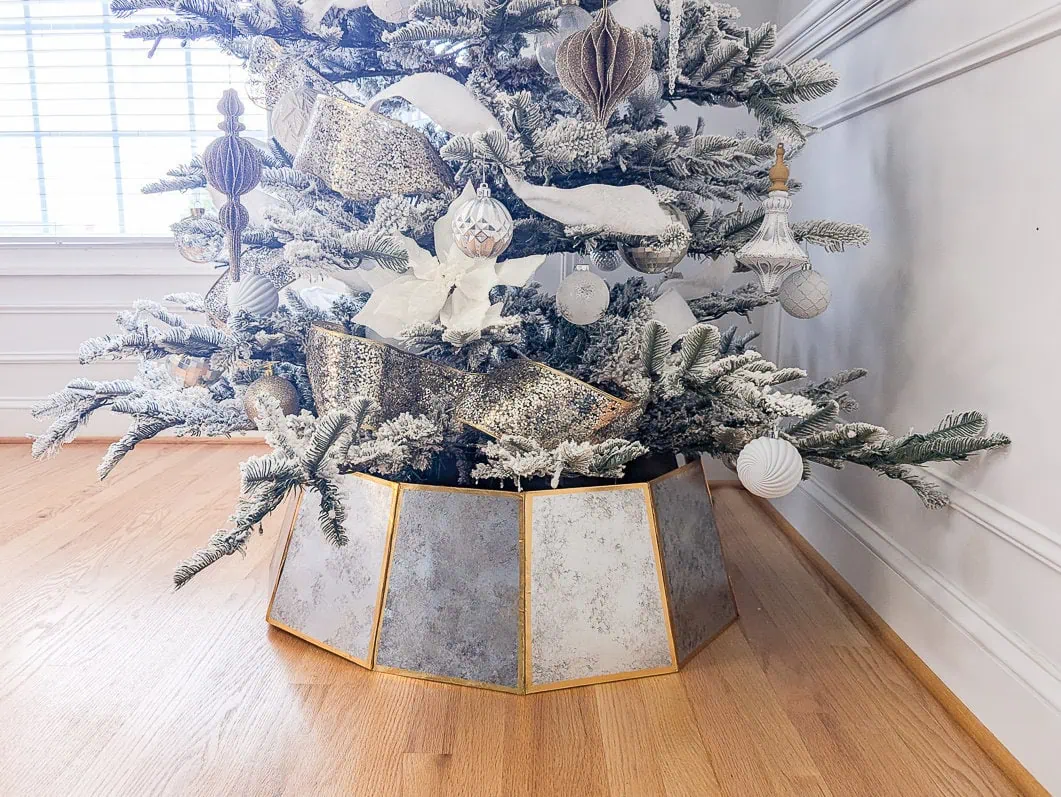
The first version was directly inspired by the beautiful Christmas tree collar I found at Balsam Hill. It has an antique mirror finish with a gold frame.
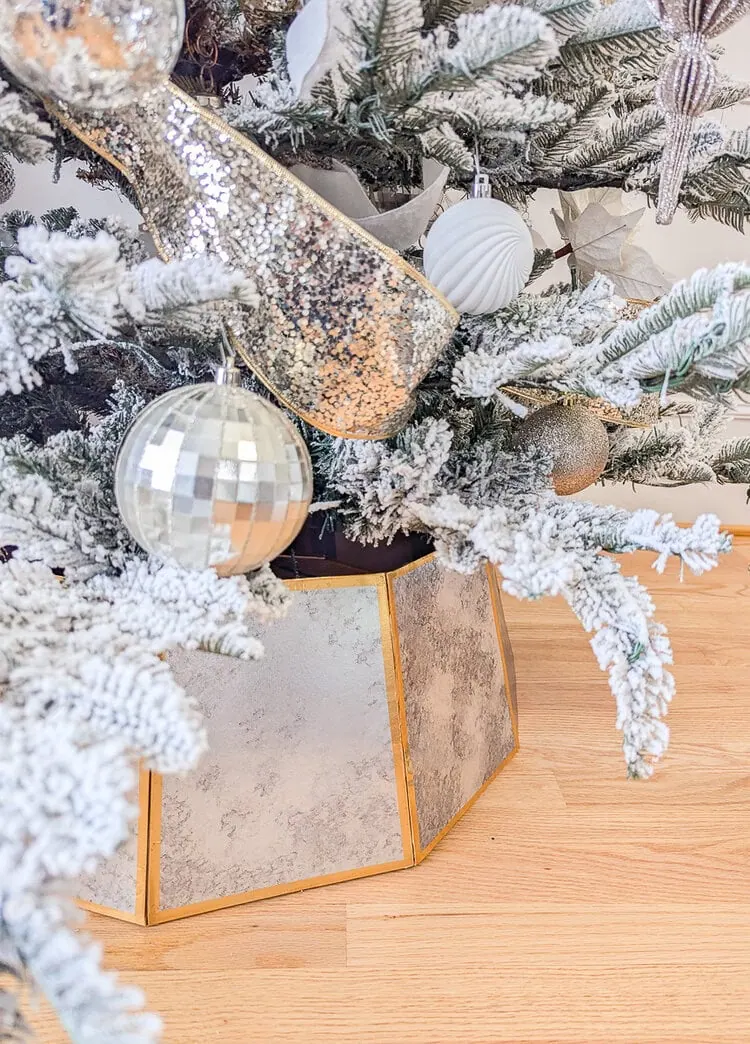
(I would not call my version a knock-off of the original. Obviously, the Balsam Hill tree collar is made from real mirror and brass, while my version is made from cardstock and cardboard. They really aren’t even comparable. But for $10, I would say my tree collar looks pretty darn great!)
The second version has an antique gold finish that perfectly matches the DIY Christmas tree star I shared last week.
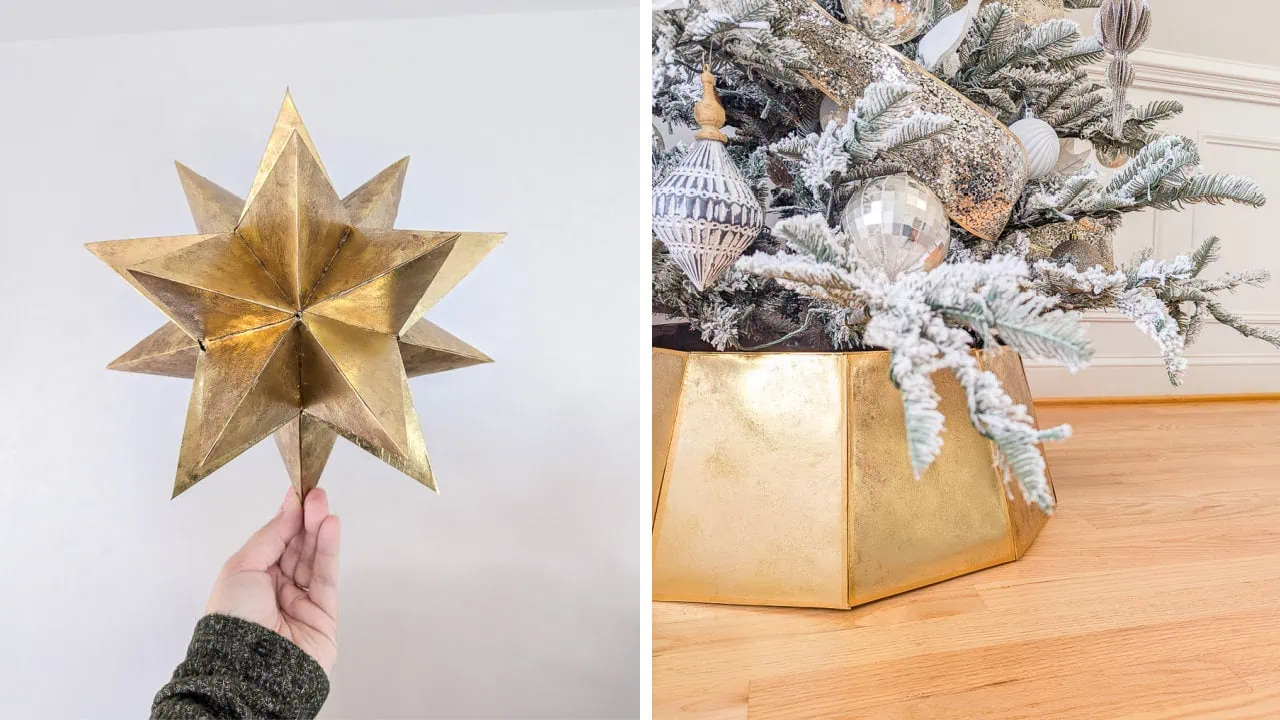
If you are also making my DIY Christmas star, you can make both using just one pack of cardstock!
Materials
- Cardstock – I used silver foil cardstock for an antique mirror look and gold foil cardstock for an antique gold look.
- Thick cardboard – The cardboard from old boxes works great and is free.
- Glue – Any glue that will attach paper to cardboard will work. I used a simple glue stick. Craft glue or school glue will also work.
- Gold washi tape – Tape that is 1/2″ – 3/4″ wide works best. For a large tree collar, you will need 400 inches (33 feet) of tape – different brands hold different amounts, but two rolls is enough for most types of washi tape.
- Craft paint – to give an aged finish
- For the antique mirror finish – black, silver, and champagne gold craft paint.
- For the antique gold finish – champagne gold and brushed bronze craft paint.
- Sea sponge or chip brush – for applying the paint
- Duct tape – for attaching all of the pieces together.
- Paper cutter or scissors – for cutting the pieces.
Dimensions
You can easily adjust this Christmas tree collar to perfectly fit your Christmas tree. This Christmas tree collar is made up of a group of connected trapezoid pieces. You can make your collar bigger or smaller based on the number of pieces you use.
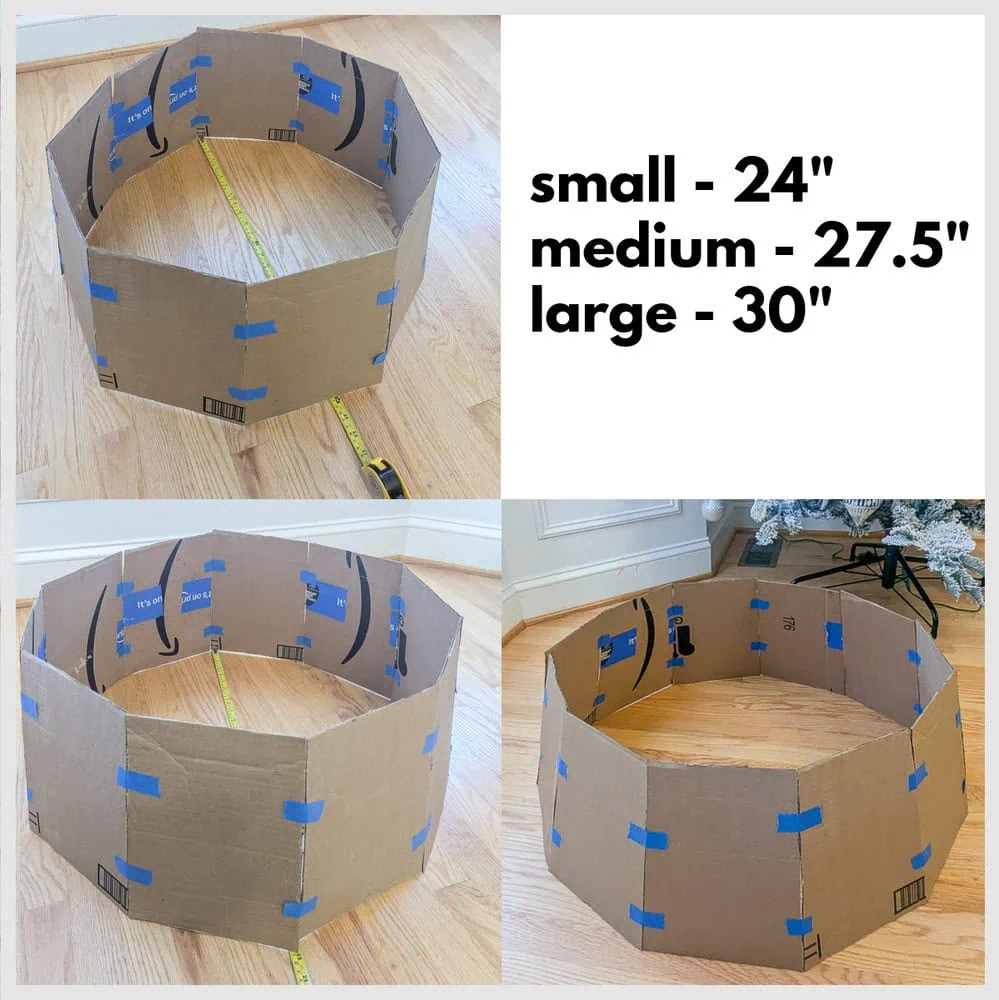
I tested three different sizes and they all work well:
- Small: 24″ across at the bottom, needs 9 trapezoid pieces
- Medium: 27.5″ across at the bottom, needs 10 trapezoid pieces
- Large: 30″ across at the bottom, needs 11 trapezoid pieces
My tree has a pretty large stand so I made a large tree collar.
How to Make a Christmas Tree Collar
Cut your cardstock
The first step is to cut your cardstock into the correct shape.
First draw a line one inch from the top of the page. The measure in 3/4 inches along this line from each side. Use a straight edge to draw a line from this mark to each of the bottom corners. Then cut along the three lines you drew.
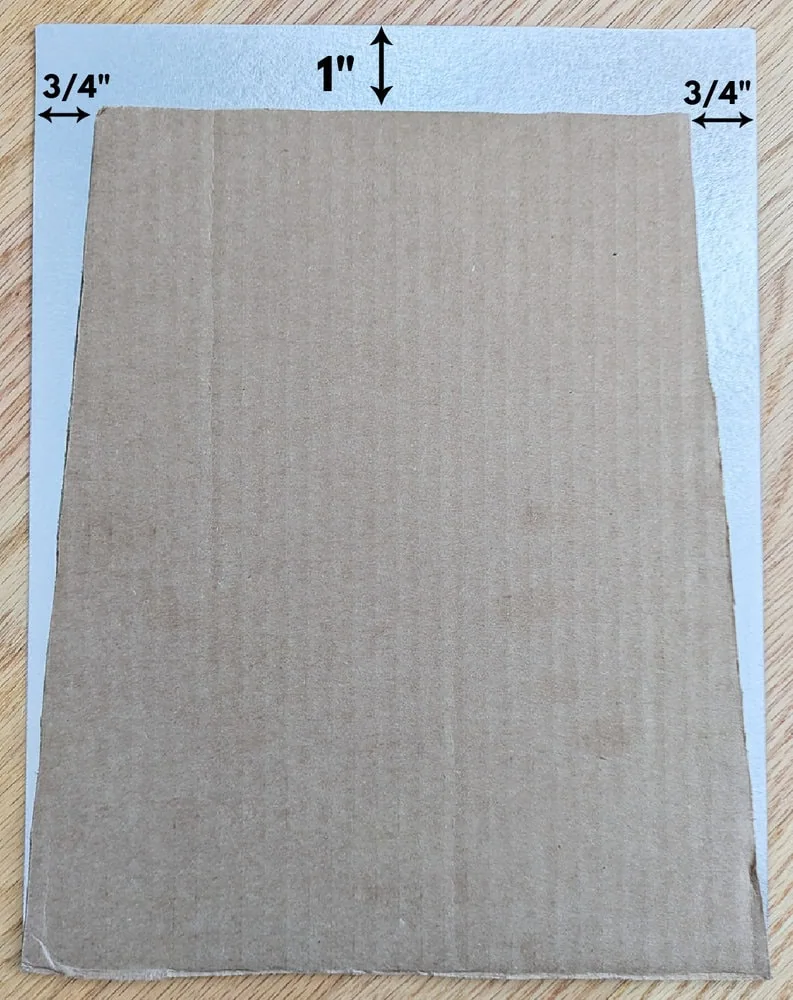
You can cut out each of your cardstock pieces with scissors, but if you have a paper cutter, it makes this much quicker.
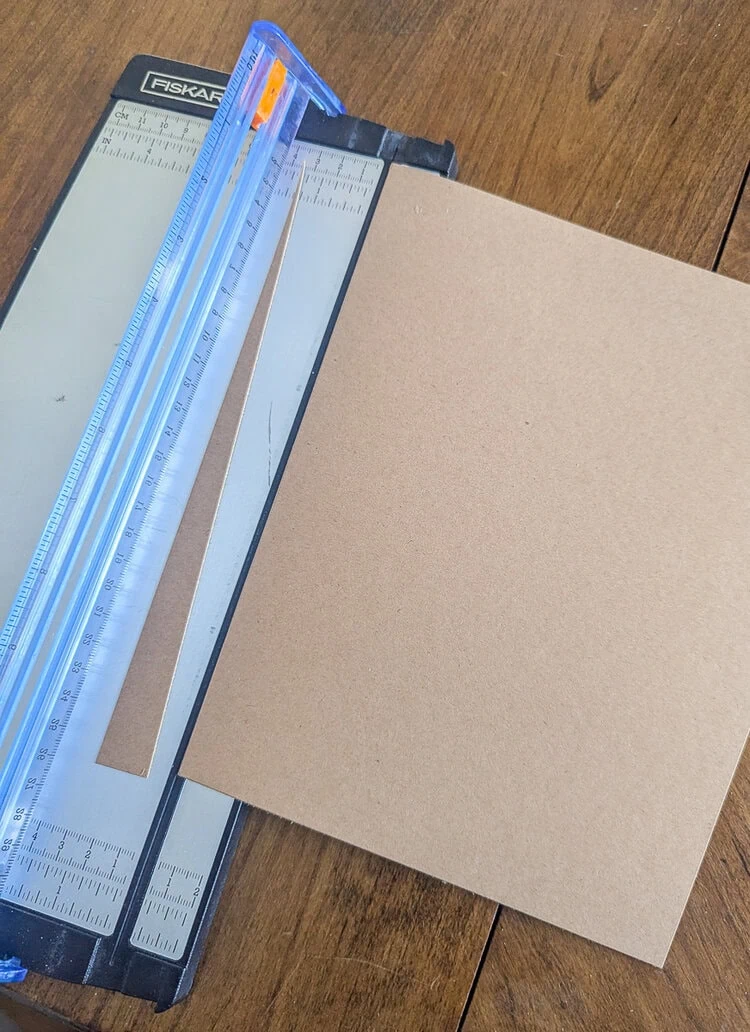
Once you’ve cut out this first piece, you can use it as a pattern for cutting each of the other pieces.
Paint your cardstock
If you like your cardstock as it is, you certainly don’t have to paint it, but I used paint to age both of my tree collars.
For an antique mirror finish
To create an antique mirror finish, start with silver foil cardstock. The key to getting a great, realistic looking finish is using a natural sea sponge to apply the paint. I tried all kinds of other brushes and methods and this is the only one that really gave the right look.
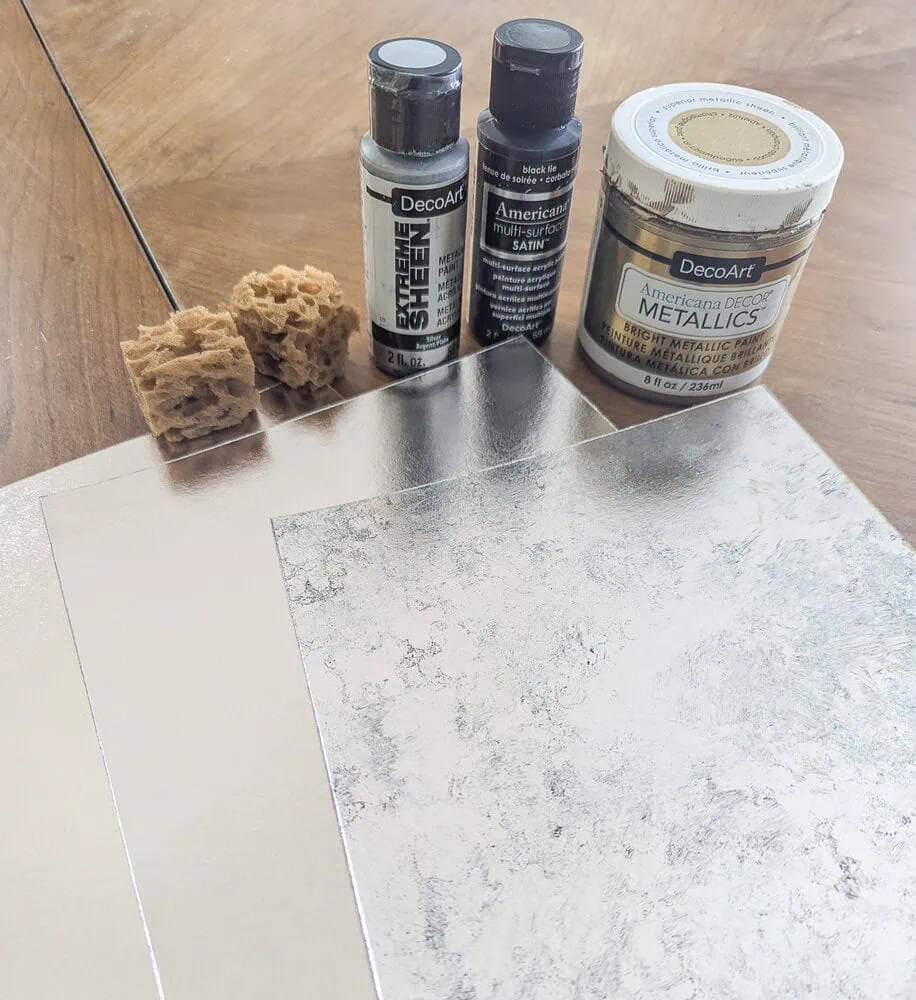
It’s easiest to pour a small amount of each paint onto a paint palette or a paper plate. You’ll need black paint, silver paint, and if you have it, champagne gold paint.
Tap your sponge lightly into the black paint and then blot it on your paper plate or a paper towel. Gently dab the sponge randomly over your cardstock. Then use a clean sponge to do the same thing with the silver paint. Don’t wait for the paint to dry between paint colors – immediately add the next color so the colors can blend.
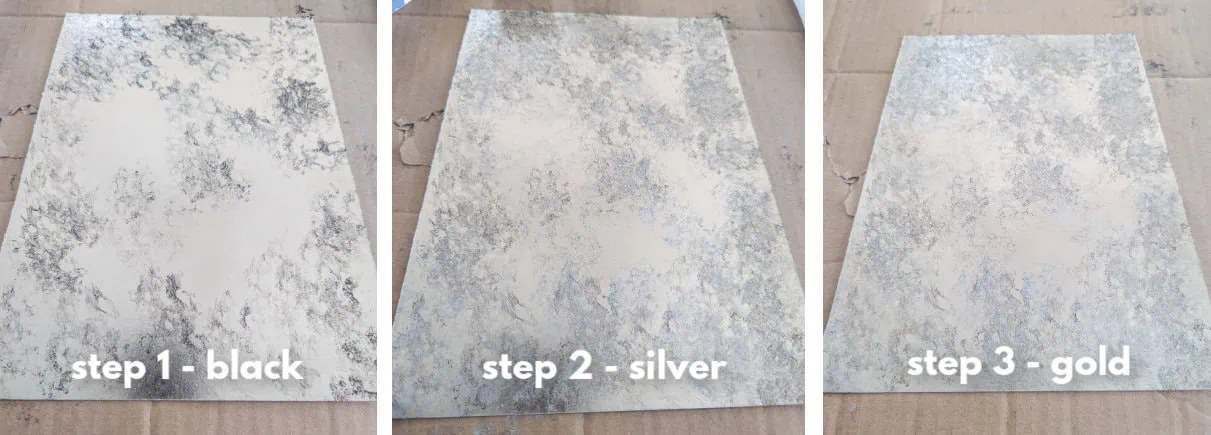
Finally, add just a few spots of champagne gold paint. I think this adds a really nice touch, but you can skip this step without affecting things too much.
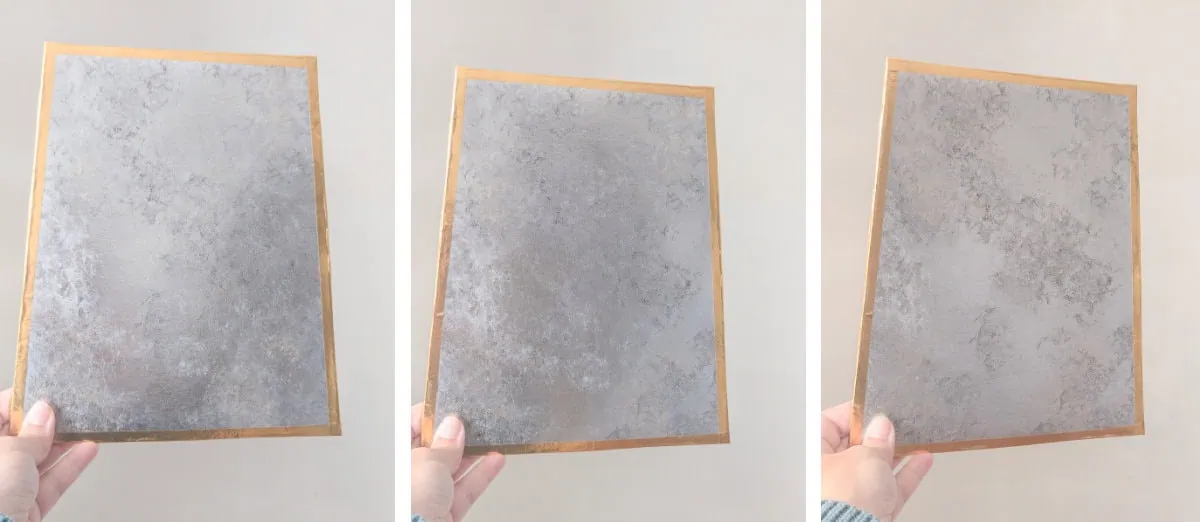
This finish looks different based on how the light hits it, just like a real mirror would.
For an antique gold finish
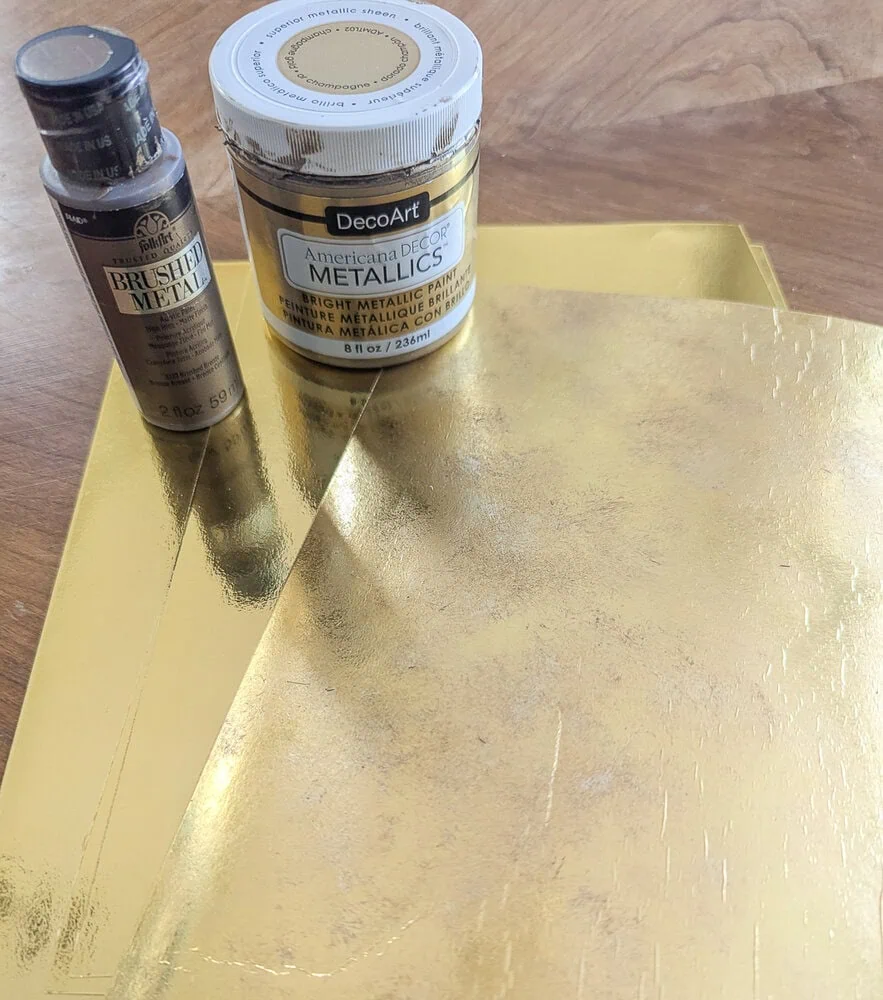
This is the same finish I used on my DIY Christmas tree star and it’s a bit simpler. Start with gold foil cardstock. Use a chip brush or a similar coarse paint brush to dab champagne gold paint all over the cardstock. Immediately follow this with some spots of brushed bronze paint.
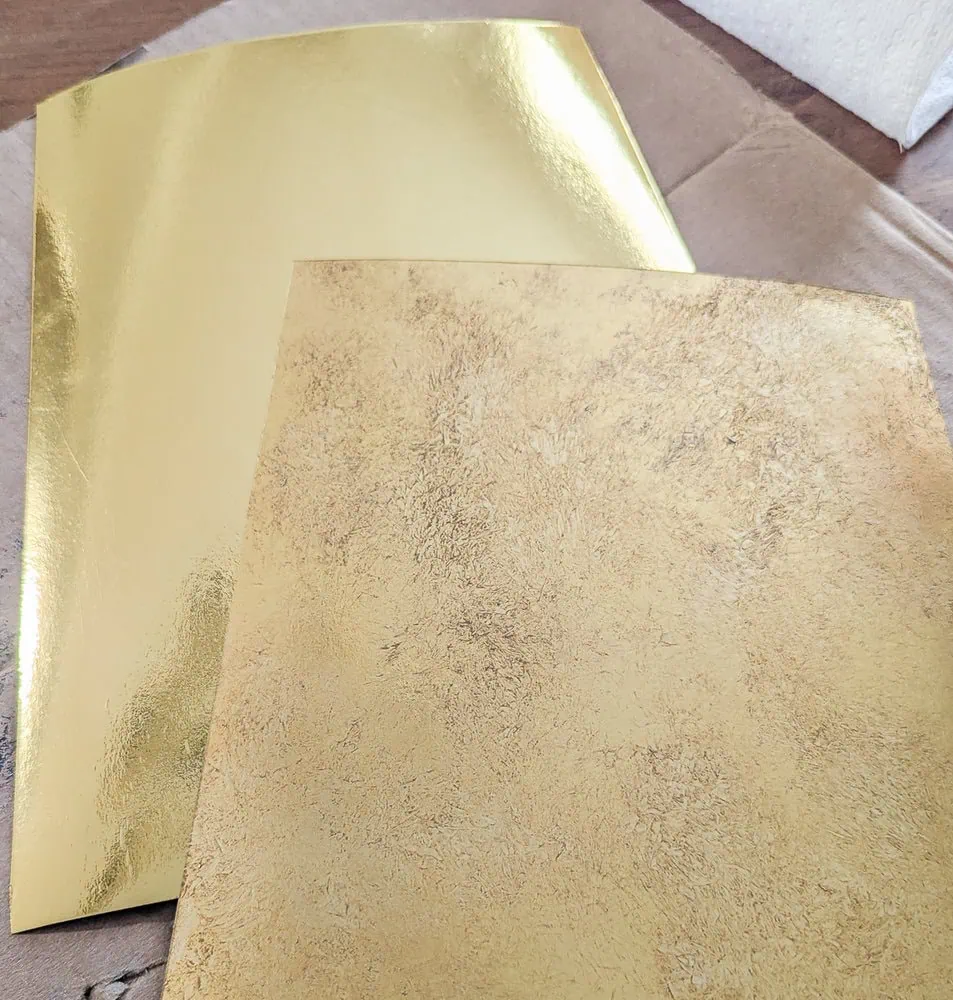
Cut the cardboard
While your painted finish is drying, you can get your cardboard ready.
You’ll need a piece of cardboard to go behind each piece of cardstock. I just grabbed a few boxes from our recycling pile to use for this. If you don’t have any cardboard to use, you could also use foam board from the dollar store.
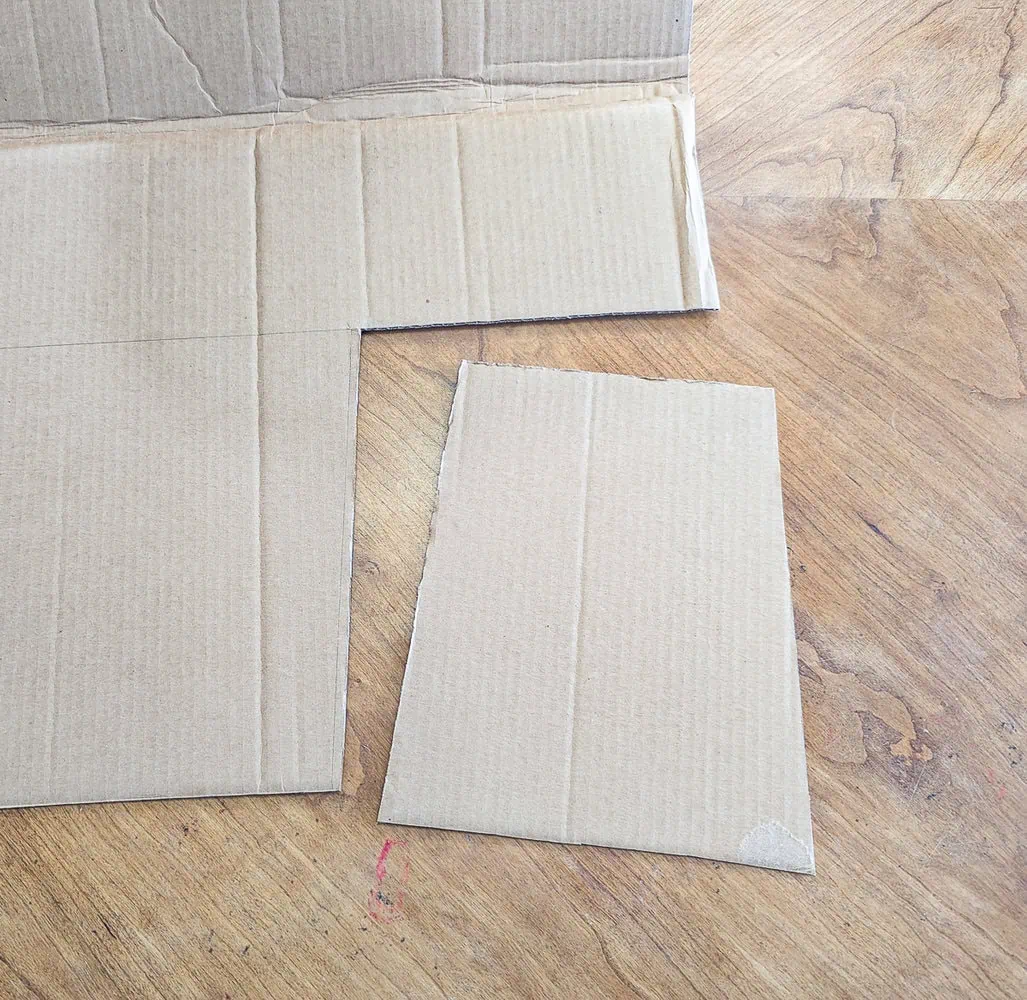
Break your boxes down and then trace your cardstock pattern onto the cardboard and cut out your pieces. You’ll need the same number of cardboard pieces as cardstock pieces – either 9, 10, or 11 depending on what size collar you are making.
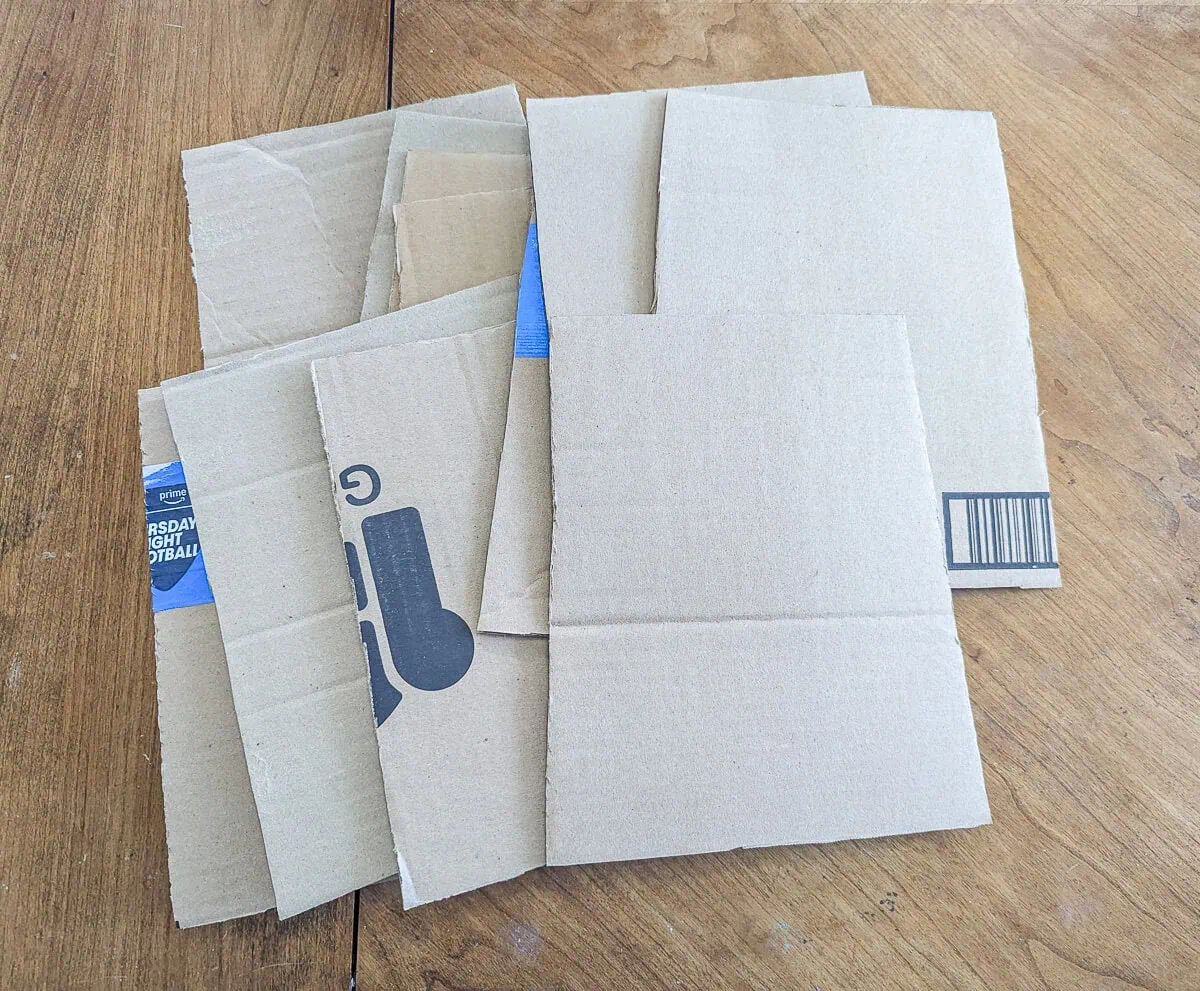
Attach your cardstock to the cardboard
Glue each piece of cardstock to a piece of cardboard for stability. I used a glue stick for this, but any glue that works on paper will work.
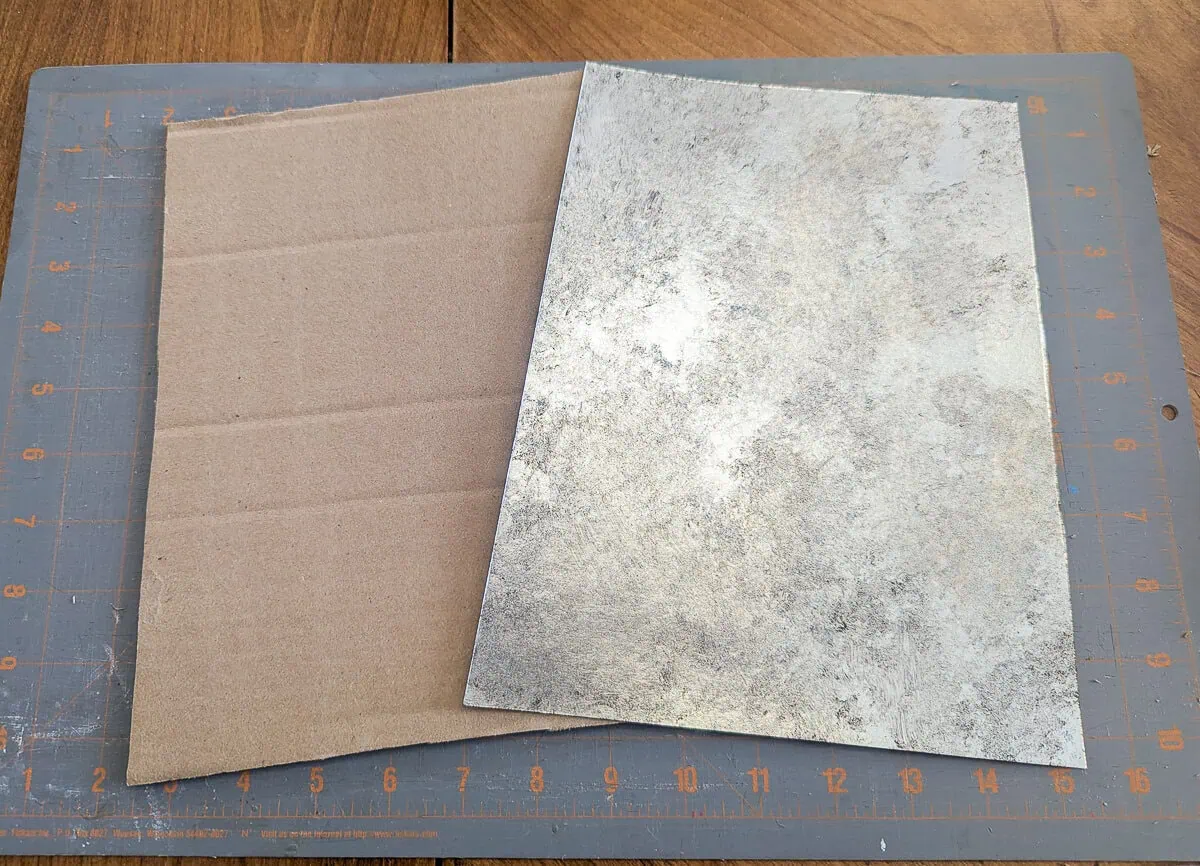
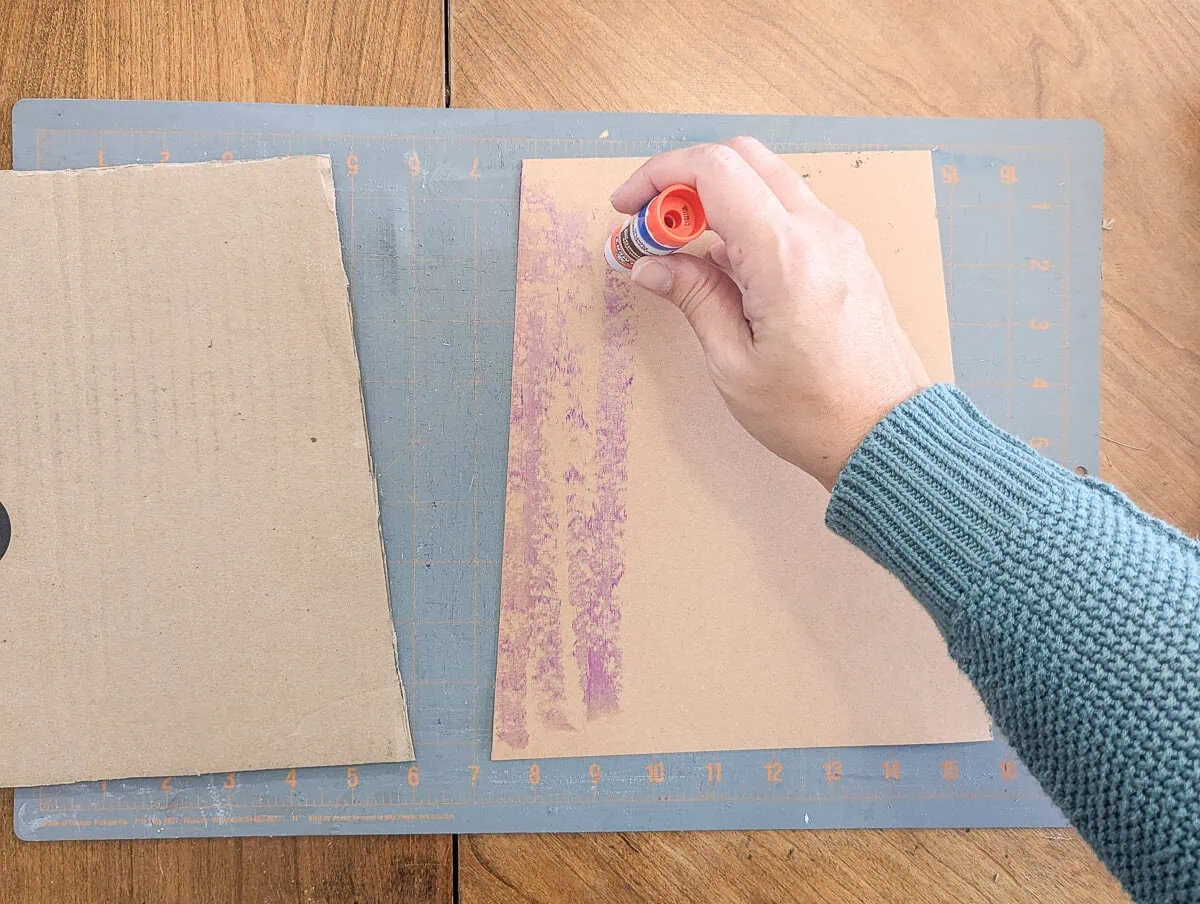
As you glue your pieces together, you may find some spots where the cardboard shows a bit around the edges of the cardstock. You can carefully trim these stray edges of cardboard off. You want the edges to be straight and clean, but they don’t have to be perfect because we’ll be covering them in the next step.
Finish the edges with washi tape
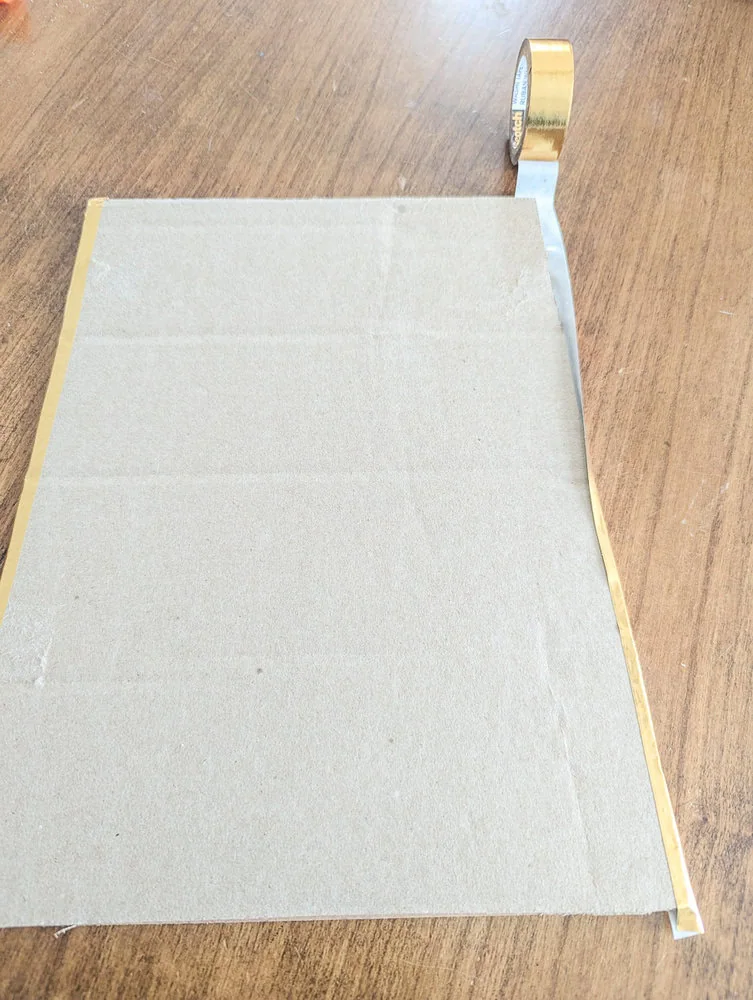
You could leave your pieces just like this, but I wanted to give the edges a cleaner look and make sure all of the cardboard was covered. I used 5/8″ gold washi tape to cover all four edges of each piece.
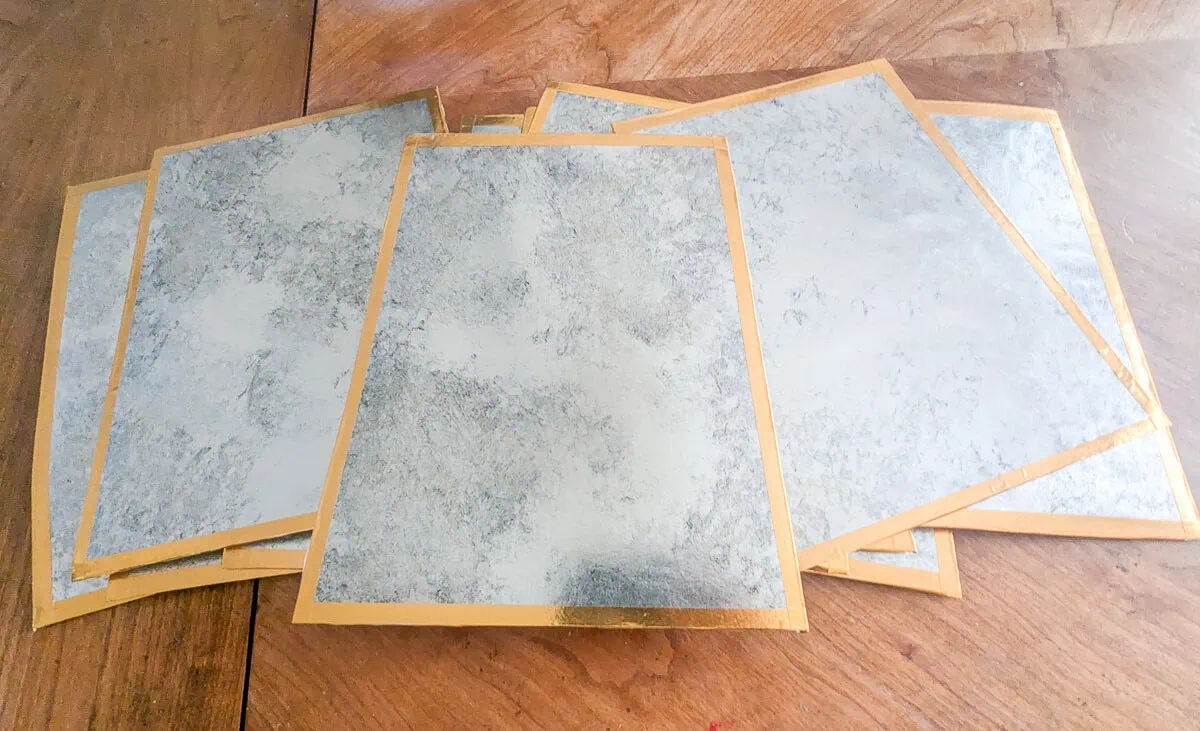
I used gold tape on my ‘mirror’ tree collar pieces, but for a more monochromatic look, you could use silver tape instead.
Connect the pieces with duct tape
Finally, tape the backs of each of your pieces together using duct tape. It works best to hold one piece at a slight angle as you tape them to mimic the final shape.
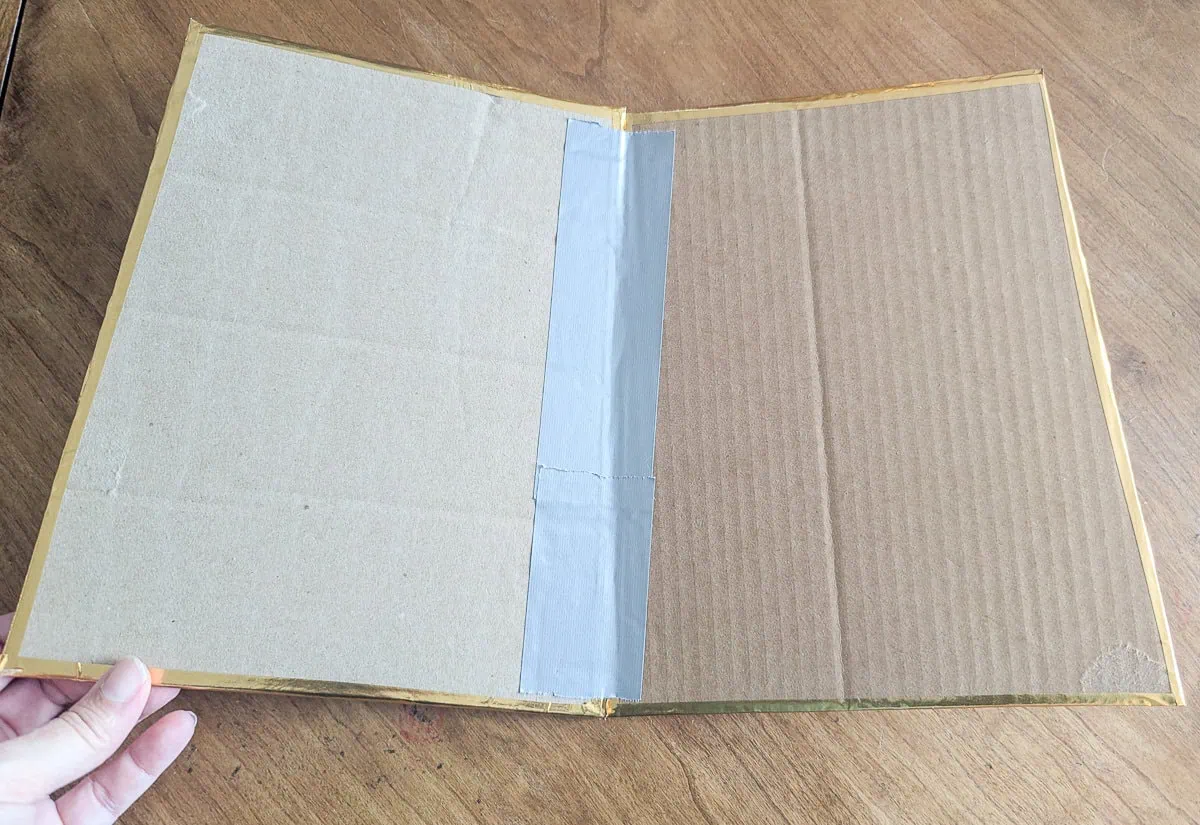
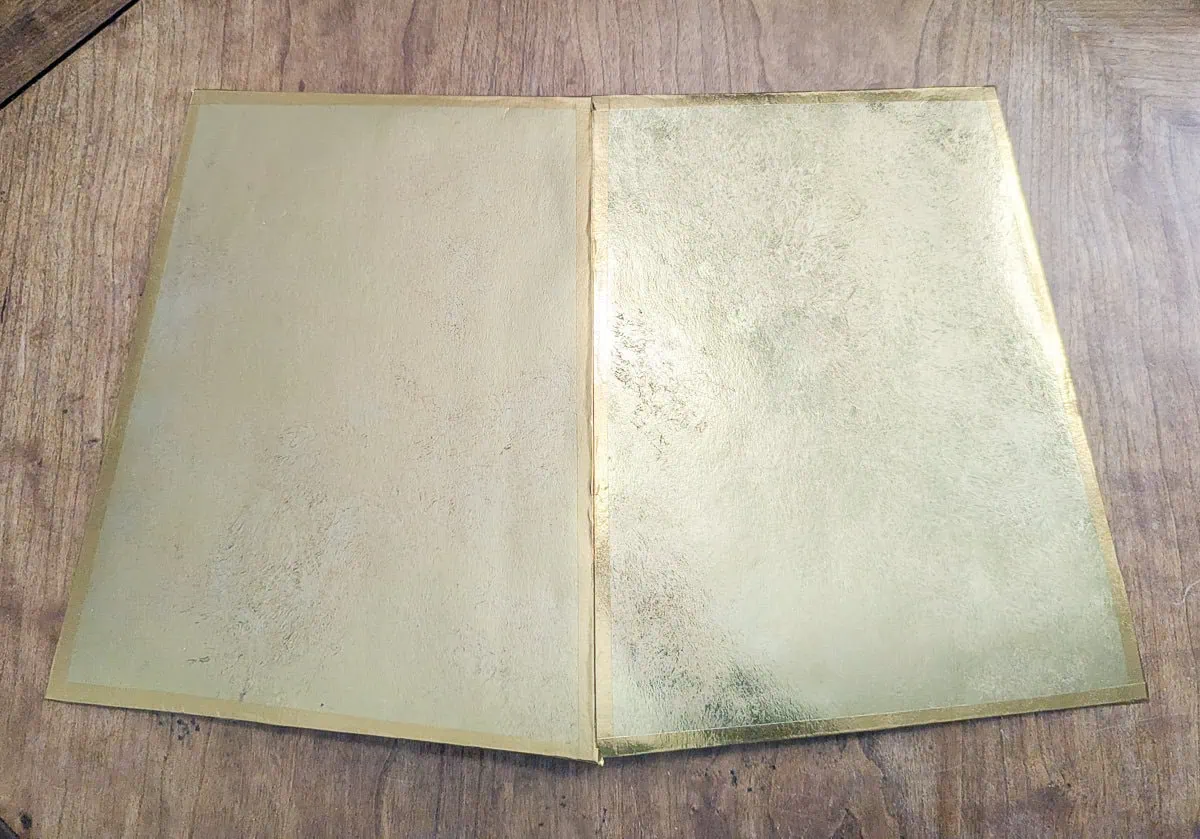
Tape all of the pieces into one long line, but leave the two ends free rather than attaching them to form a circle. That way you can easily maneuver it into place around your Christmas tree and also easily fold it up to store it away after Christmas.
Look how small it folds up!

Finished Christmas Tree Collar
I’m pretty thrilled with how both of these Christmas tree collars turned out.
Here’s the mirrored version.

And here’s the gold version.
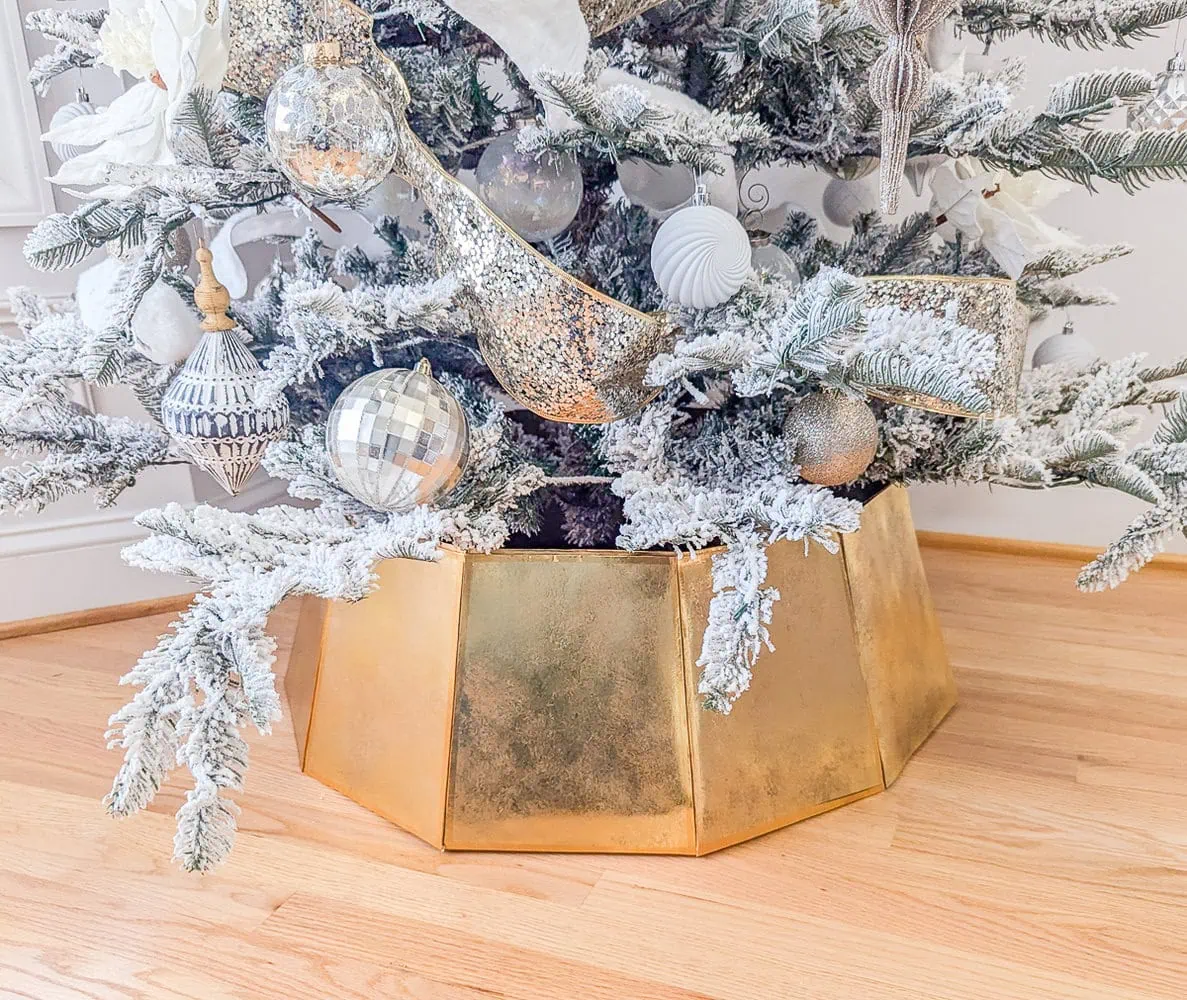

I love them both, but I have to say I think I like the gold one just a little better. It really balances out the gold star.
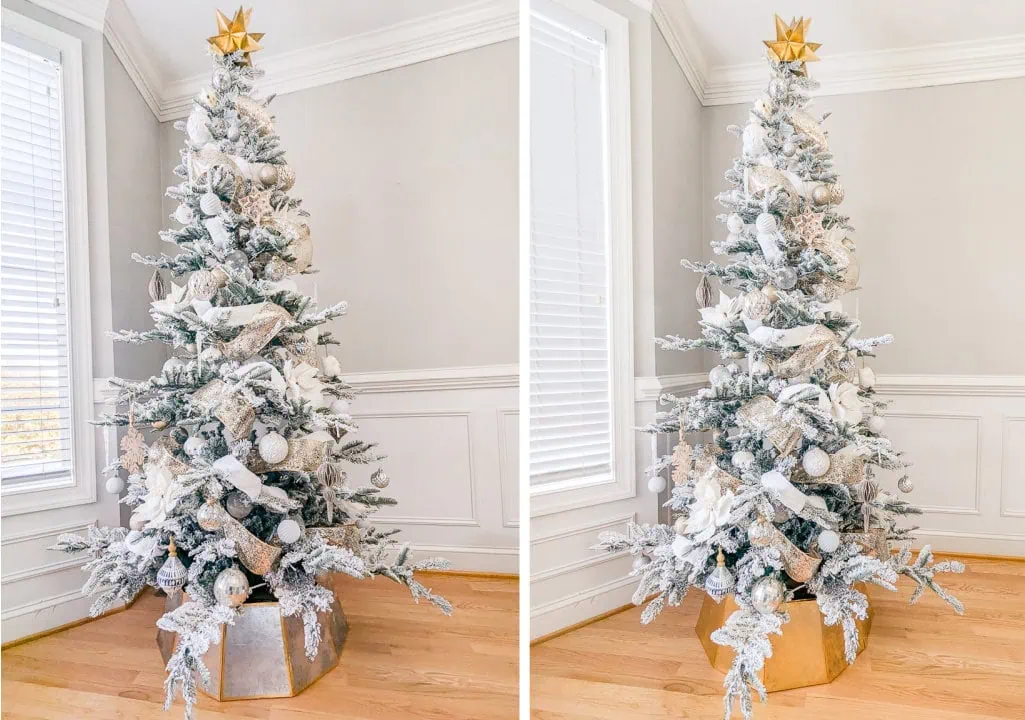
You can see more details about the rest of this Christmas tree here.
Video
Want to see this project in action. Just hit play below to watch the Youtube video tutorial.
I’d love for you to subscribe to my Youtube channel!
Want more DIY Christmas ideas? You can see all my Christmas posts here or you can check out these posts next:
I’d love for you to pin this post on Pinterest!



This is such a creative DIY. I love how you created the mirror look. Well done!
Thank you Michelle!
What is the size of the cardboard pieces for the small 9 trapezoid collar?
You can use the same size trapezoids for all of the sizes. I tried it out in all of the sizes and it worked well. If you want to make a smaller collar for a mini tree, you could make them smaller but I haven’t tested that.