How to Make This Easy Home Sweet Home Sign

Even better, it’s super easy to make. You don’t have to cut any wood or do any hand-lettering. All of the hard parts are already taken care of with a pre-cut table top and a super cute stencil. It’s so simple in fact, this would make a great project for a craft night with friends!
I experimented with a new type of paint finish when making this sign, and I absolutely adore the way it turned out. Chippy and aged and perfect. And it’s one of those fail-proof paint finishes that you really can’t screw up.
I’ve got full step-by-step instructions below on making this home sweet home sign as well as my newest paint finish.
This post contains affiliate links which means if you make a purchase after clicking a link I will earn a small commission but it won’t cost you a penny more. Click here to see my full disclosure policy
Materials for DIY Home Sweet Home Sign
- 18” round tabletop
- Aqua paint, white paint, dark gray paint (any type of paint will work – craft paint, leftover house paint, chalk paint, whatever)
- Small palette knife
- sandpaper
- dark walnut stain
- mineral spirits
- clean rags to apply stain
- Home Sweet Home Stencil
- sponge brush or small makeup sponge for applying paint to stencil
- repositionable spray adhesive
- drill
- 2 small eye hooks
- piece of thick twine or rope
How to Make a Round Home Sweet Home Sign
Ok, so it probably looks like there are a lot of materials up there, but most of them are basic DIY materials you likely already have on hand.
You are going to start with a pre-cut round tabletop. You can buy these at your local home improvement store in the aisle with the basic wood planks. I don’t know if this is true everywhere, but I found these at my local Home Depot for around $6.50 while they were more than $10 at Lowes. Usually I don’t see such a huge price difference but this time it was definitely worth making a trip to Home Depot!

The chippy paint finish
Like I said I experimented with a new paint technique for this sign and I love how it turned out. If you just want to paint your sign white and move on, that will work too – just skip to the next section of the instructions.
What makes this paint finish different is you use a small plastic palette knife to apply the paint rather than a paintbrush. (Similar to these here.) I don’t have a great picture of this in action because I was too busy painting to take a photo, but it is pretty simple. Just dip your palette knife in a small amount of paint and wipe it onto the wood. Then drag the knife across the paint to spread it around. Repeat this until most of the wood is covered, leaving some bare spots. I did this with my aqua paint first.

After letting that dry for a few minutes, I repeated the same process with a coat of white latex paint. Once the paint was dry, I lightly sanded the whole thing with 150 grit sandpaper, concentrating especially on the edges.

After wiping away the dust from sanding, I used a clean rag to apply dark walnut stain all over the sign.
Then I immediately wiped the entire thing with a fresh rag dipped in mineral spirits. This removes the stain from the painted areas but leaves it on any bare wood. It creates a great chippy, aged finish.

Making the Home Sweet Home Sign
Adding the words to this sign is super simple. I used this Home Sweet Home stencil from Amazon. Place the stencil where you want it and use temporary spray adhesive to hold it in place. Stencil the letters with dark gray paint. (If you want my best stencil hacks for getting perfectly clean stencil letters every time, I’ve got them all right here.)

After removing the stencil, I decided to fill in the small stencil marks in the letters. They looked fine as is, but I wanted my sign to look hand-lettered and those little gaps were a dead giveaway I used a stencil. I just used a toothpick dipped in paint to fill in the tiny spaces – it works perfectly.

Finally I added the twine to hang the sign on the door. I drilled two small holes on each side of the sign and then screwed in the two eye hooks.

Then simply tie on a piece of twine or rope for hanging.

I think it is absolutely perfect as a wreath alternative on the front door. (My husband says there’s no such thing as a wreath alternative, but I stand by it!)

It also looks super cute hanging on a wall or as part of a gallery wall. And of course you could change up the wording to fit all kinds of seasons but I love that this home sweet home sign works any time of year.

Now head over to these other posts that I think you will also love:
How to Stencil on Wood with Beautiful Results Every Time

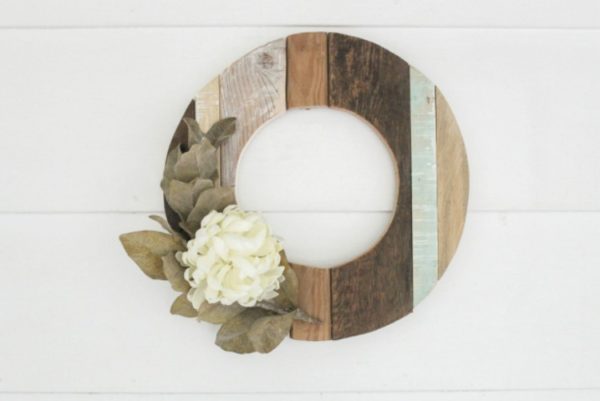
How to Make a Rustic Wreath from Reclaimed Wood


So does the paint need to be latex paint for you to use mineral spirits after you have rubbed the stain over the entire piece of wood? I love this look and want to recreate it on different signs I am making. Thank you for posting this I love it!!
Thank you! Latex paint works best – I usually use leftover paint or paint samples from Lowes. Acrylic craft paint also works well, but chalk paint isn’t great for this technique.