How to make a ten minute farmhouse centerpiece
Several years ago, I found a really cool galvanized metal seed trough at a country yard sale. I held onto it for awhile but then ended up selling it at my own yard sale in a burst of decluttering spirit back in 2012. Now I don’t usually hold onto things tightly – generally I have no problem letting things go to a new home if I haven’t found a purpose for them. But for some reason, I have regretted selling that seed trough ever since. I still think about it every now and then – and of course now I have tons of ideas of how to use it.
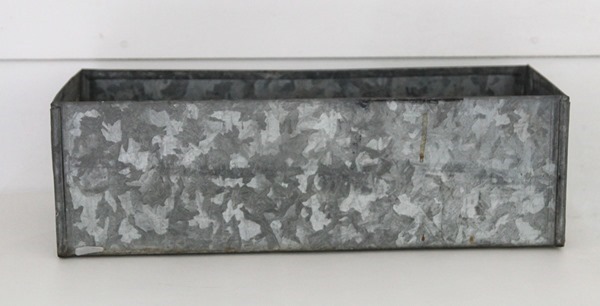
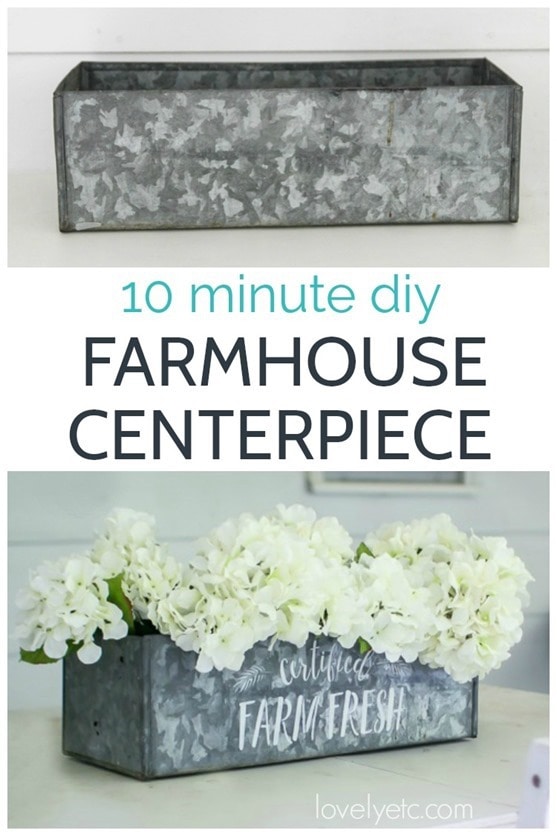
So when I was picking through a relative’s garage looking for treasures a few months ago, I snapped up a pair of these galvanized metal boxes right away. They aren’t exactly like my seed box that got away, but there were definite similarities and I knew I could do something fun with them for sure.
Honestly, I’m not even 100% sure what these are. I think they may be metal liners for window boxes, based on the shape and screw holes. But then again, they could be something else entirely. What I know for sure is they are basic boxes made of galvanized metal. If you don’t happen to have one of these lying around, don’t worry. Galvanized metal is still super hot right now so you can find all kinds of galvanized containers at just about any craft or decor store, including Walmart. I’ll link up a few good options below as well.
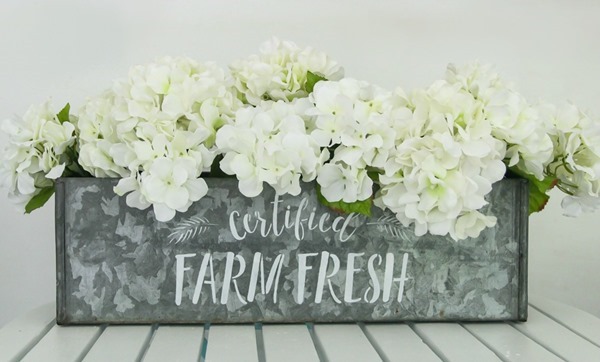
After tossing around a few different ideas, I decided to keep it simple and turn one into a farmhouse table centerpiece.
This post contains affiliate links which means if you make a purchase after clicking a link I will earn a small commission but it won’t cost you a penny more. Click here to see my full disclosure policy
Materials to make Farmhouse Centerpiece
- galvanized container Here are a few picks from Amazon that look great for this project:
- Certified Farm Fresh Stencil
- white craft paint
- repositionable spray adhesive
- makeup wedge sponge (for applying paint)
- white hydrangeas or other flowers
How To Make a Stenciled Farmhouse Centerpiece
This is one of those projects that is so simple I almost feel silly writing up a tutorial! Especially because I’ve already shared all of my stencil tricks right here.
If you are using an old container like mine, the first step is to give it a good cleaning with your favorite cleaner. I typically use Dawn dish soap and warm water to clean anything I am planning to paint. I know it will clean away any grease and not leave a residue. Plus it’s cheap and I always have it on hand. If you are using a new container, you may be able to skip the cleaning, but then again, it can’t hurt.
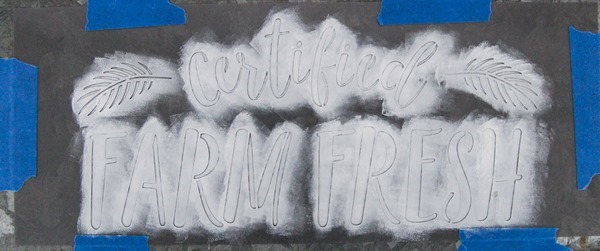
Spray the back of your stencil with repositionable adhesive spray and center it exactly where you want it on your container. I used this ‘Certified Farm Fresh’ stencil and I think it is perfect for this project.
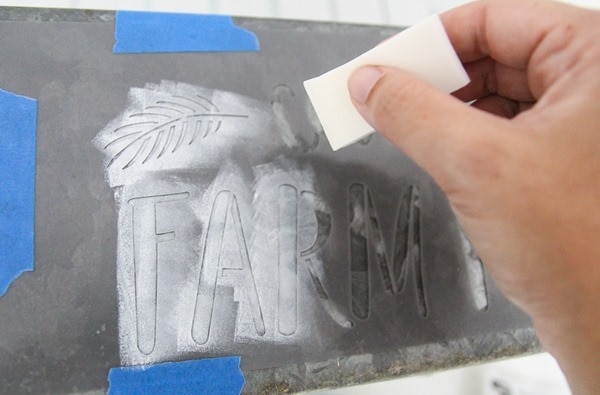
Use a makeup sponge (or sponge brush if you prefer) to lightly dab paint onto your stencil. (If you don’t feel very confident in your stenciling skills, definitely check out this post for more tips.)
Let the paint dry for a couple of minutes and then add a second coat.
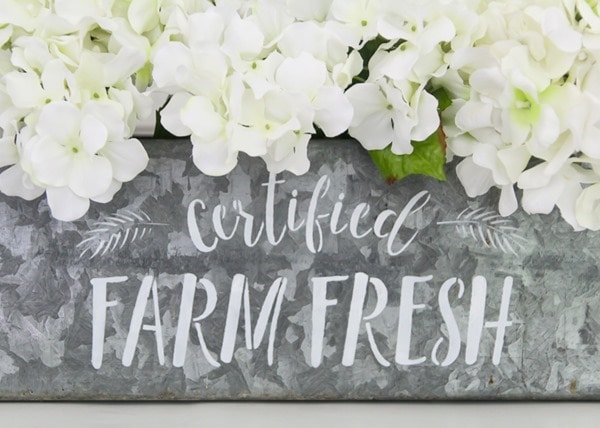
Remove your stencil and add flowers.
I used faux flowers in my centerpiece so all I had to do was stick them in the box and fluff them a bit. I know some people hate fake flowers, but I’m all for them as long as they are high quality ones. I love that faux flowers last forever and are pretty affordable if you use sales and coupons. And best of all, they are zero maintenance. I have three little boys to keep alive over here and have no energy left to mess with plants and flowers!
If you prefer real flowers though, it is definitely doable. If your container isn’t water-tight, I think the easiest thing would be to put a row of mason jars filled with flowers in the box. Or you could add a plastic liner and fill that with flowers.
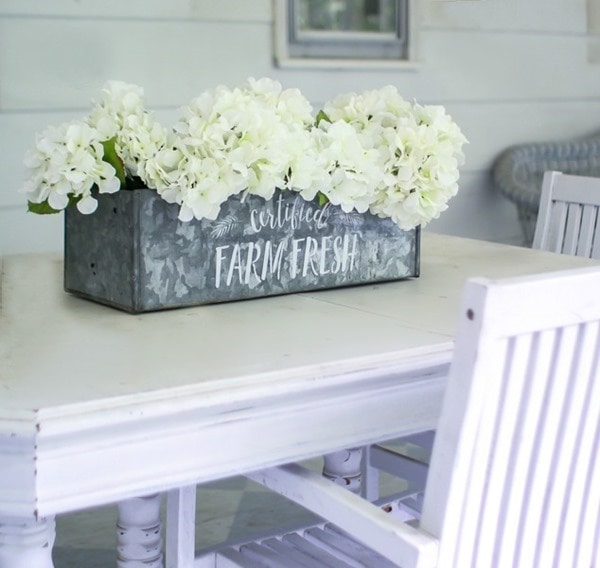
The perfect farmhouse centerpiece. I absolutely love how simple this is.
Don’t forget to pin me to Pinterest!
Here are a few more simple DIYs that I know you will love:
- From Target Dollar Spot to Farmhouse Perfection with one simple paint trick
- How to Make This Easy Home Sweet Home Sign
- How to Make an Easy Wood Banner


It’s been awhile since you linked up at Knick of Time. I’d love for you to come back! The party is every Tuesday at 18:00 (6pm central time.)
Your galvanized centerpiece is lovely. I love anything galvanized, and when I can’t find what I want in galvanize I find myself using the faux galvanize paint technique.
Thanks Linda! I’m loving galvanized metal too. It’s such a great neutral metal!
They turned out so pretty! Like i said in the facebook comment i have about three in my garage just laying around! I may do something like this!
Thanks Maria! I love when I already have what I need for a project in my stash!
Hi can you tell me how to reuse your stencil? Or how to clean the adhesive from the back so that you can reuse it? Thank you!
Hi Angel, I’m sorry I missed this question. For me the easiest way I have found to clean the adhesive off of the stencil is simply to use a little dishwashing soap and a dish scrubber and gently scrub it off.