How to make an easy wood banner
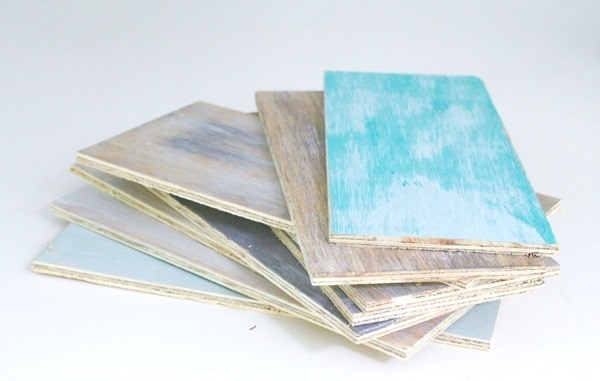
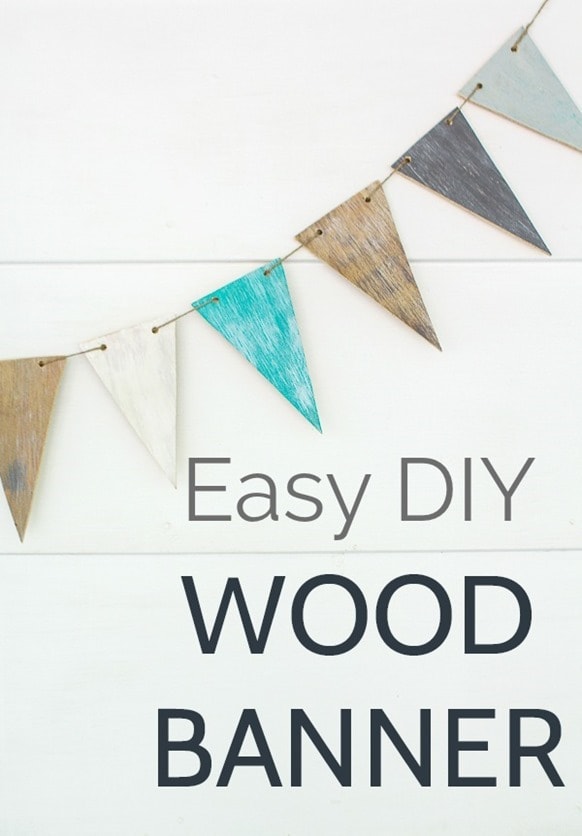
I made my banner using a little pile of scrap wood I had left over from my painted wood wall. I had been holding onto it just waiting for the perfect scrap wood project and this was definitely it. If you don’t happen to have a convenient little stack of painted wood scraps, no problem, this is still really easy and inexpensive to make.
This post contains affiliate links which means if you make a purchase after clicking a link I will earn a small commission but it won’t cost you a penny more. Click here to see my full disclosure policy
Materials for DIY Wood Banner
scrap wood or a small 1/4” sheet of plywood
sandpaper
paint
How to Make a Wood Banner
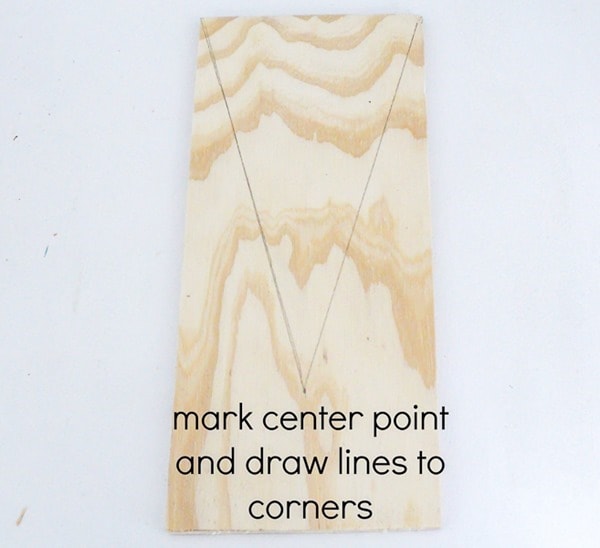
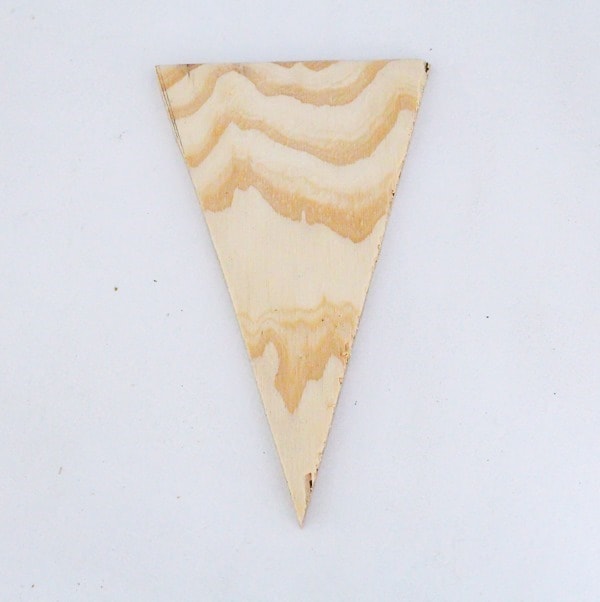
Making this banner is very simple. If you don’t use a lot of power tools, cutting the wood into triangles might seem intimidating, but it really is easy. The first step is to draw your triangle shape. I made my banner pieces four inches wide by eight inches long and that size worked great, but you can make them any size you want.
To draw a nice symmetric triangle, draw the short edge and mark the bottom point of the triangle. Make sure the bottom point is centered halfway between the two top corners and then use a straight edge to connect the three corners of the triangle. Once your first triangle is cut, you can use it as a pattern to trace onto the rest of your wood pieces.
And, seriously, do not be intimidated by the jigsaw. They are really simple to use and only cost around $30 and can be used for so many different projects.
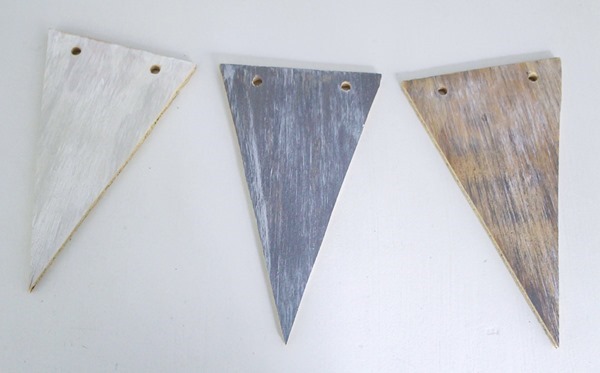
Once you have your wooden triangles cut, use a drill to drill two holes into the top of each triangle. Again, once you do the first one, you can use it as a pattern to mark where the holes on all of the other pieces should go.
Lightly sand the edges of your wooden pieces to remove any rough edges.
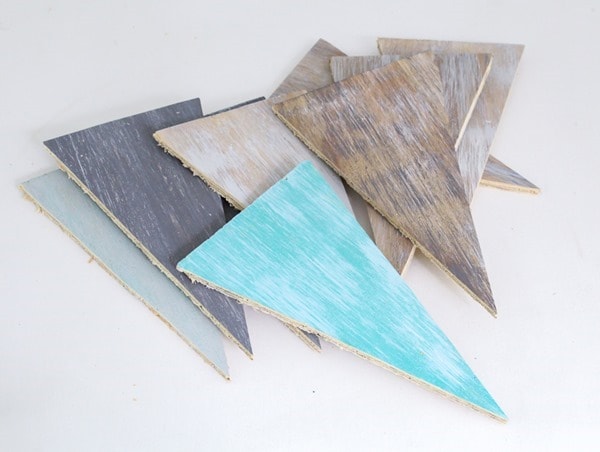
This is a good time to paint your triangles if they weren’t already painted like mine. There are a million different colors and styles you could choose to paint your wood banner. If you want to paint yours similar to mine, I have more info on the paint colors and exact process I used right here in my painted wood wall post. (There’s even a video.)
The last step is to string your wood pieces on twine.
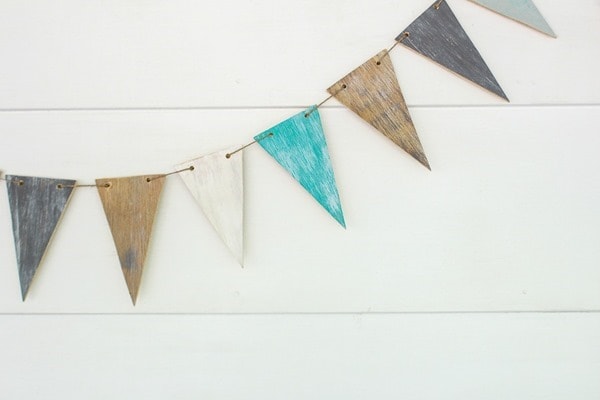
I originally chose to use twine for my banner because I liked the rustic look, but it turns out there is an added bonus to using twine. When you string the plywood onto the rough twine the two materials grip each other and stay in place. I didn’t have to tie anything to keep the pieces in place and it’s easy to adjust the spacing between the triangles.
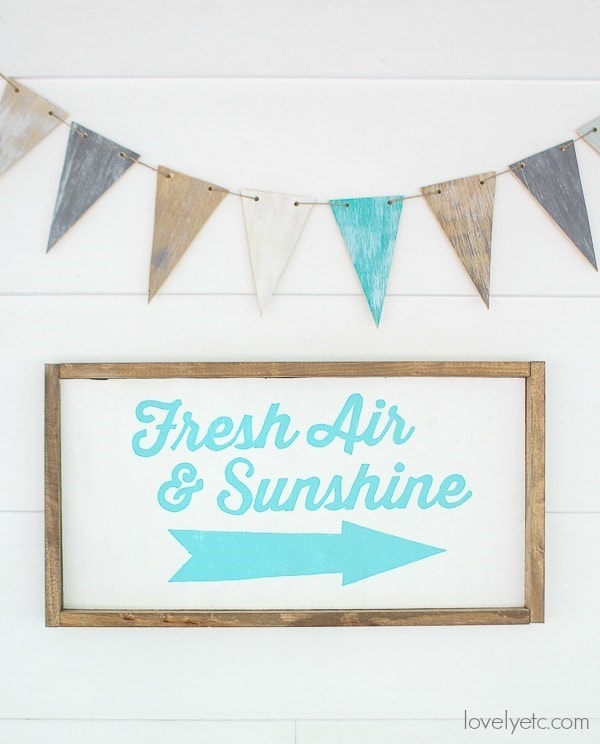
I love how this wooden pennant banner adds great texture and a touch of farmhouse style to any space. It would look gorgeous on a mantel, as part of a gallery wall, or as decor at a wedding.
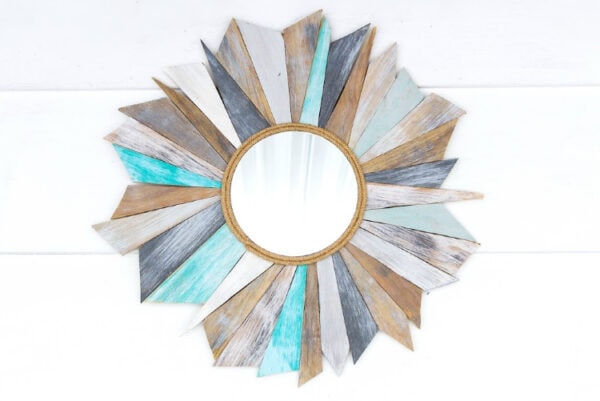
Looking for more beautiful and easy scrap wood projects? This DIY sunburst mirror is another of my favorites.
Pin me for later!
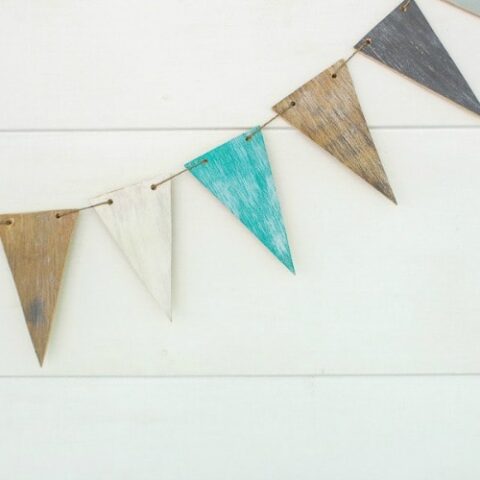
How to make an easy wood banner
Make your own DIY wood banner using leftover scrap wood. It's a quick and easy project and can be used in so many ways.
Materials
- scrap wood or a small 1/4” sheet of plywood
- sandpaper
- paint
- twine
Tools
- Jigsaw
- Drill
Instructions
- Draw a triangle shape with the bottom point centered halfway between the two top corners.
- Use a straight edge to connect the three corners.
- Use the first triangle as a pattern to trace onto the rest of your wood pieces. Cut out each triangle with a jigsaw.
- Once they are all cut, use a drill to drill two holes into the top of each triangle.
- Lightly sand the edges.
- Paint your triangles.
- String your wood pieces on twine.
Recommended Products
As an Amazon Associate and member of other affiliate programs, I earn from qualifying purchases.
-
Shintop 328 Feet Natural Jute Twine Best Industrial Packing Materials Heavy Duty Natural Jute Twine for Arts and Crafts and Gardening Applications (328 Feet Twine).
-
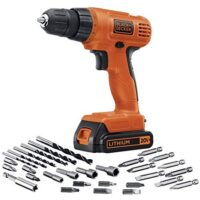
BLACK+DECKER 20V MAX Cordless Drill / Driver with 30-Piece Accessories (LD120VA)
-
Toolman Electric Jig Saw 3.6A For Heavy Duty carpentry, sawing and cutting jobs LT5502




This is just so cute! I love the upcycling factor and the colors are great.
Thank you Kathy!
Love these! I’m always looking for ideas for outside and these would be perfect. I may have to make me some to go in our vintage garden. Pinning!
Thanks Linda!