Updating old furniture using maps
I absolutely love a good map project, especially map decoupaged furniture. This little typewriter stand was the perfect chance for me to try it out for myself.
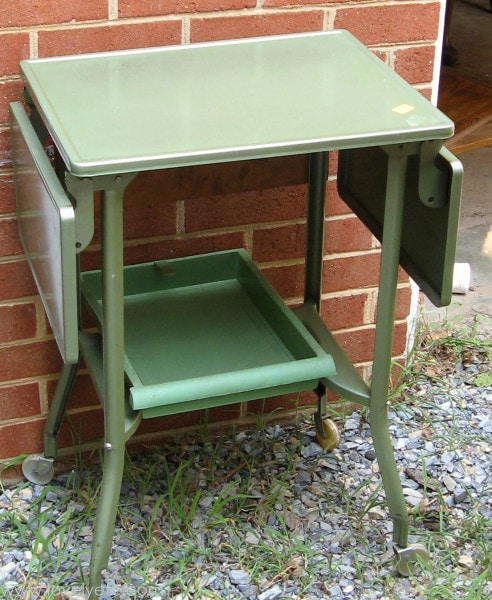
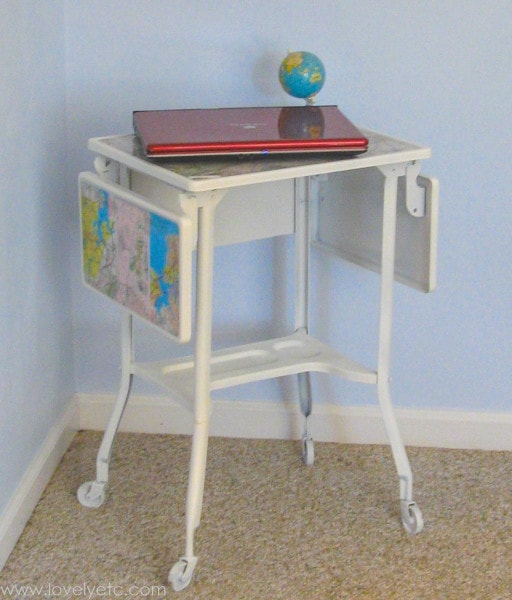
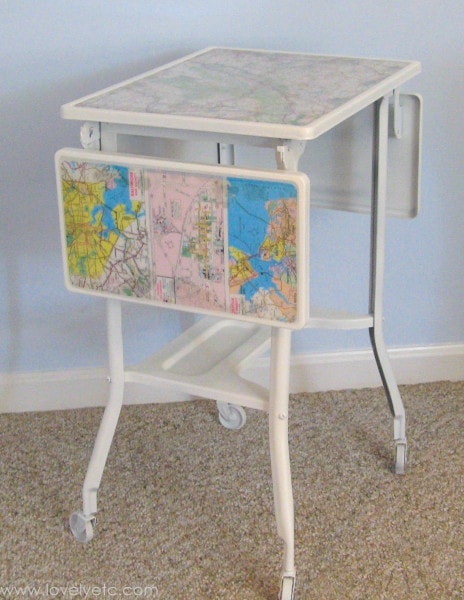
I started off by updating the whole thing using spray primer followed by white spray paint. Then I picked a few maps from my thrifted map collection. I wanted the maps to fit inside each of the three sections on top. I carefully cut out my map pieces and mod-podged them to the tray.
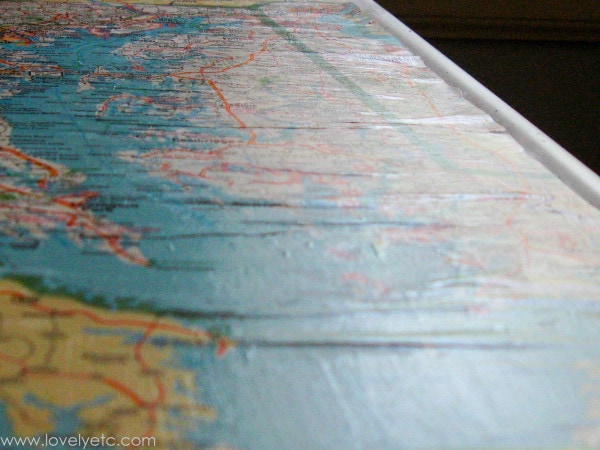
At this point it looked pretty awesome from a distance but up close it was a bit of a wrinkled mess. Plus, I knew I wanted the top to be a bit more durable than simply mod-podged paper. I decided resin would be the perfect solution.
I had never used resin before, but after doing some research I picked up some Envirotex pour-on resin. And it worked perfectly – my table now has a durable, glossy finish and not a wrinkle in sight.
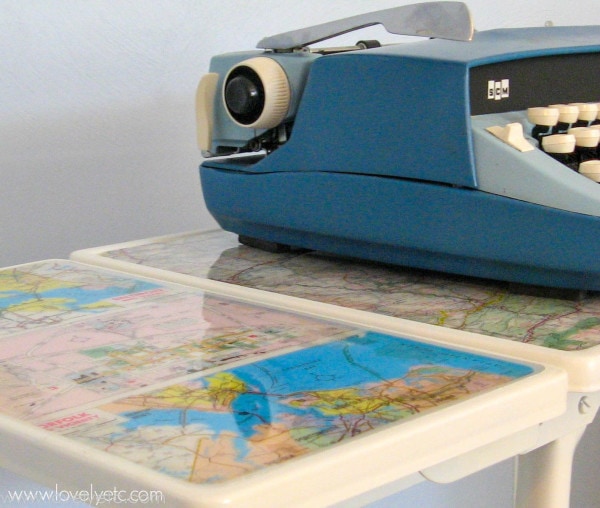
I’ve heard resin can be very finicky so I followed the directions for mixing the two parts to a T.
A few tips for using this resin:
- If you are using resin on top of paper, be sure to seal the paper surface first with a few layers of mod-podge or a similar sealer. Pay special attention to making sure the edges are completely sealed to the surface. If there are any bubbles or cracks, the resin will leak under the paper and cause discoloration.
- When you pour the resin onto your project, tiny bubbles will appear everywhere. The directions say to use a propane torch to easily remove the bubbles. I don’t have a propane torch and I wasn’t about to buy one. It does say that you can exhale gently to get the same results. I read a tip online to blow slowly through a straw which is what I did and it worked perfectly. DO NOT use a blowdryer. That will not help. It is not the heat that removes the bubbles, it is the carbon dioxide.
- If you do use the blow-through-a-straw method, be careful that no tiny drips of spit make it onto the resin. (Just being real here). Water droplets will cause bubbles that cannot be blown out. (This happened to me and I used a foam brush to gently remove the contaminated resin while it was still wet).
- Make sure to mix enough resin for your project. You don’t want to run out. But also, pour very slowly so that you don’t pour on too much. I overpoured one of the sections and it was a huge pain dealing with the overflow.
- It really isn’t that hard to do a project like this. The resin is self-leveling so basically you just mix it and pour it on and it takes care of the rest.
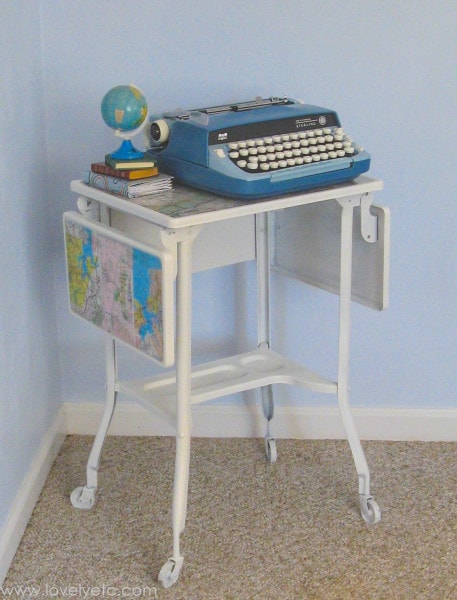
I am so happy with how this project turned out and this typewriter table happens to also make the perfect laptop table.
If you love map projects as much as me, be sure to hop over and check out my map mirror too.


i have decided i need to try this! : ) love!
Oh my word. I think I’m in love with you. This is fabulous! Definitely a new follower!
Thank you Carrie for allowing me to use your photo in my globes and maps post today. Your typewriter table is so gosh-darned cute, you’ve done a fantastic job!
Newest follower, your typewriter table caught my eye. I also have one, so many around, amazing! Yours came out fab! Not sure how I will do the top on mine Thanks for sharing the resin post. Stop by and visit, hope to have you follow!
Wow! Beautiful! :)
Love it so much! Great laptop table. Love that map look ;)
It is a good idea to turn this typewriter table into a laptop table. You made a right decision in keeping it. The map on it make it more compelling.
I love your table–I know it was done a while ago, but it’s great. I picked up a similar table for $2.50 and I was looking around for inspiration and came across your post. I love it, and the directions are so clear. Thanks, and I’m your newest follower!