How to Make Wood Storage Cubes in any Size
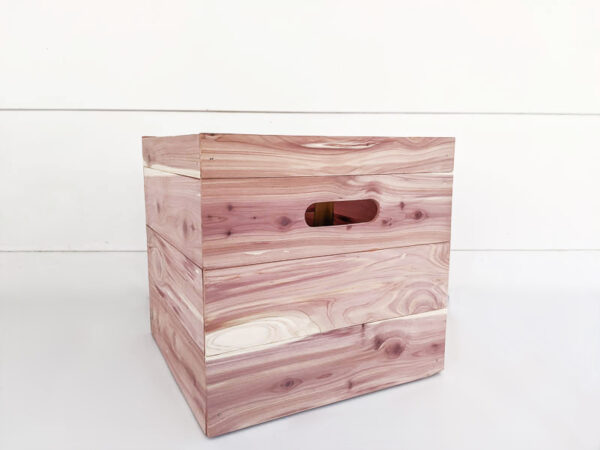
These DIY wood storage cubes made from beautiful cedar planks can be made in any custom size you need to fit your own closets, shelves, or furniture.
A big thanks to CedarSafe for sponsoring this post. This project and all opinions are my own. This post also contains affiliate links. If you make a purchase using those links, I may receive a small percentage at no additional cost to you. See my full disclosure here.
When I first built the closet shelves in my sons’ room, I made custom fabric storage cubes for the cubbies.
They were beautiful but unfortunately, they just weren’t sturdy enough to stand up to two preschool boys.
So I removed them to use elsewhere and have just been tossing their clothes into these cubbies for the past year or so.
It still worked just fine but it definitely did not look great.
I’ve been thinking about making new wooden storage bins for a while.
I haven’t been able to find anything in stores that was the size and look I was going for so I decided to make them myself.
And when CedarSafe offered to send me some of their gorgeous cedar planks, I knew they would be perfect.
Cedar is perfect for DIY projects like this one. It naturally repels many of my least favorite bugs like moths, cockroaches, and silverfish.
It has a beautiful grain and doesn’t need to be finished with any type of stain or varnish. And it smells amazing.
Seriously, my husband cannot stop talking about how good this wood smells. (And anything to help my boys’ room smell great is a major plus!)
Materials for DIY Wood Storage Cubes
Wood Cut List
(For each storage cube, measuring 13.5 wide, 13.5″ high, and 13.5″ deep. There are instructions below on how to easily adjust these instructions to make any size cubes.)
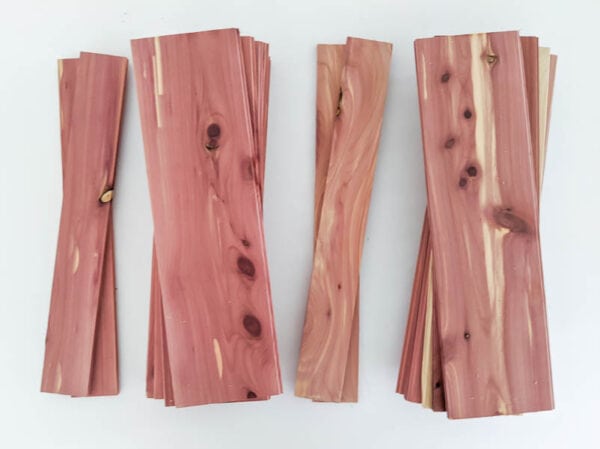
- 8 CedarSafe cedar planks, 13.5″ long
- 8 CedarSafe cedar planks, 13″ long
- Four 1″x 2″ boards, 12.5″ long (these are for support only and won’t be seen)
- 1/4″ plywood, 13″ x 13″ (for the bottom of the box)
Other Materials
- 220 grit sandpaper
- wood glue
- 3/4″ brad nails
- pencil
Tools
- Miter SawTable Saw (optional)
- 1 1/4″ Hole Saw and Drill
- Straight edge
- Jigsaw
- Hammer
How to make Custom DIY Wood Storage Cubes
These cedar boxes can easily be made in any size to perfectly fit any size shelves or cubbies.
My cubes are 13.5″x 13.5″, but it is really simple to make these wood cubes any specific size you need.
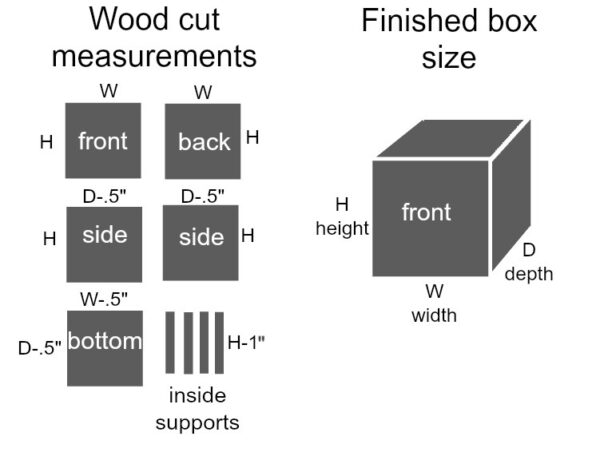
The main thing to remember is that you need to cut the planks for the two side panels of your boxes 1/2 inch shorter than the front and back.
The bottom panel will also be 1/2 smaller in both length and width than the overall box size because it will tuck into the bottom of the box.
I made a quick graphic for another post I wrote on building DIY wood boxes and it works well here as well.
This diagram should make it easy to figure out your measurements for any custom size box.
Just substitute the sizes you want for the height, width, and depth.
For my 13.5″ cubes, I cut the cedar planks for the sides 13 inches long and the cedar planks for the front and back 13.5 inches long.
The inner supports are 12.5″ high and the bottom is 13″ x 13″.
Cut the cedar planks to size
Once you’ve decided what size boxes to make, you can start cutting your cedar planks to the correct lengths.
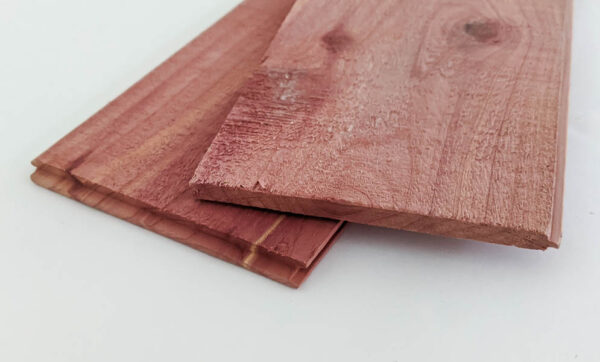
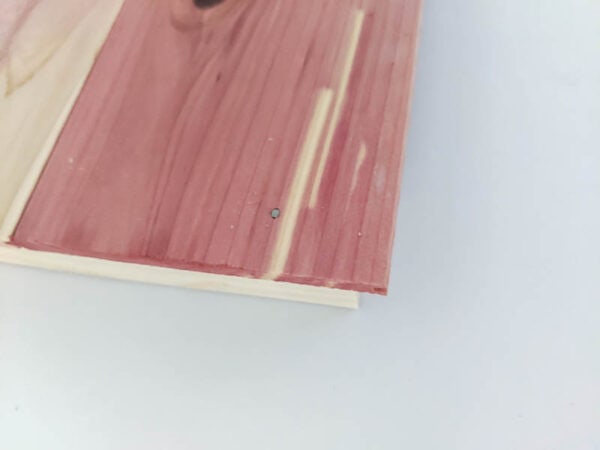
These are tongue and groove planks so they join together perfectly.
Since they are often used for plank walls, they also have overlaps at the edges along the ends of each plank.
Before cutting your plank to length, remember to cut off these overhangs to make a straight edge.
Since you need to cut quite a few plank pieces to the same lengths, it is much faster if you cut multiple planks at once.
I used my miter saw for quickly making these cuts, but if you don’t have a miter saw, most other power saws would also work well.
You may also need to rip the top row of planks to the correct height. I considered making my boxes slightly shorter so I could avoid needing to make more cuts.
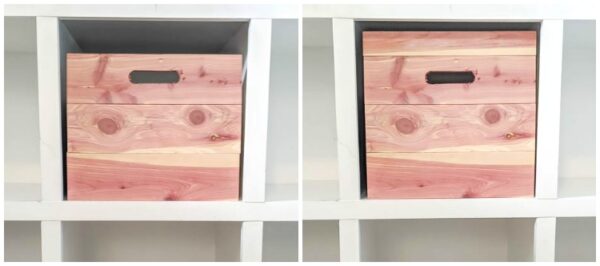
But when I held up some boards to compare the two heights, I strongly preferred the custom look of adding an additional row of ripped planks.
It is a bit more work but looks so much nicer.
I used a table saw to rip my planks down to size and it was really quite easy.
If you don’t have a table saw, a regular circular saw would also work fine.
To make my 13.5″ boxes, I cut the top row of each side 2 1/4″ high.
Once you have your board pieces all cut, use sandpaper to sand any rough edges smooth.
Cut the handles
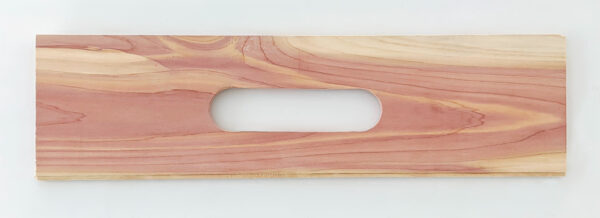
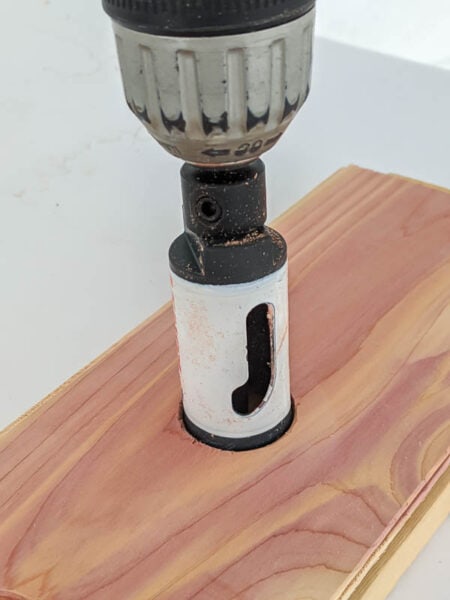
Cutting the handles looks complicated, but it really isn’t. You just need to cut two circular holes using a hole saw and then connect them.
A hole saw is a small circular saw that attaches to a drill.
Even though they are pretty easy, you can always skip the cut out handles if you’d prefer.
These boxes would also look great with nice drawer pulls attached as handles.
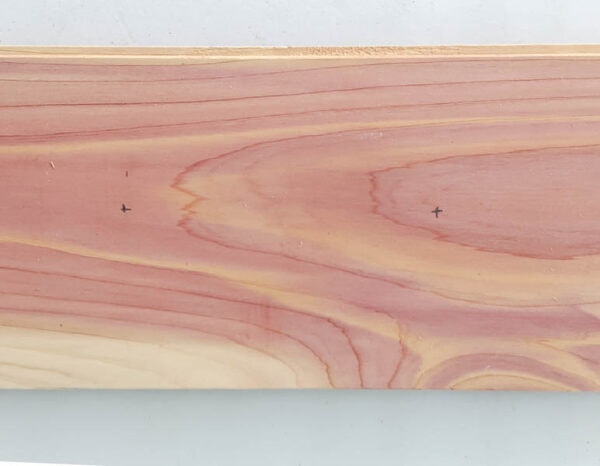
Before cutting the holes, mark where the center of each circle will be. I used a 1 1/4″ hole saw to cut my handles.
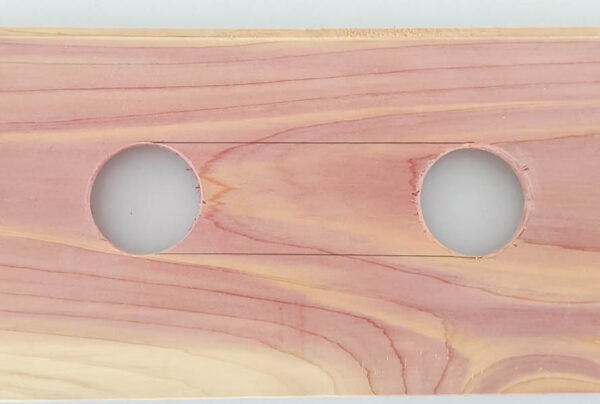
I marked the center of each hole 1.5 inches from the center of the plank to make handles that are approximately 4″ long.
Be sure the marks are also centered top to bottom on the plank.
Place the center of the hole saw at each point you marked and cut out the holes.
It helps to back the cedar planks with a piece of scrap wood before cutting the holes.
This will keep the back of the plank from blowing out and help ensure a neater cut.
Use a straight edge to make straight lines between the two circles you cut and cut them out with a jigsaw.
Use 220 grit sandpaper to sand the edges of the handhold smooth.
Glue the cedar planks together
Once the handles are cut, you can form the sides of the box.
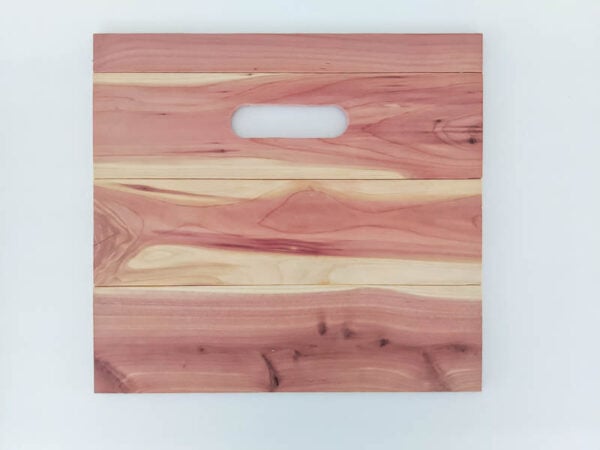
Simply lay out the planks for each side including the front and back and glue them together with wood glue. (Just run a small bead of glue along the groove of one board and then insert the tongue of the next board into the groove.)
Make sure that the pieces with the handholds are in the correct spot. Wipe away any excess glue and allow the glue to dry thoroughly.
Cut the box supports
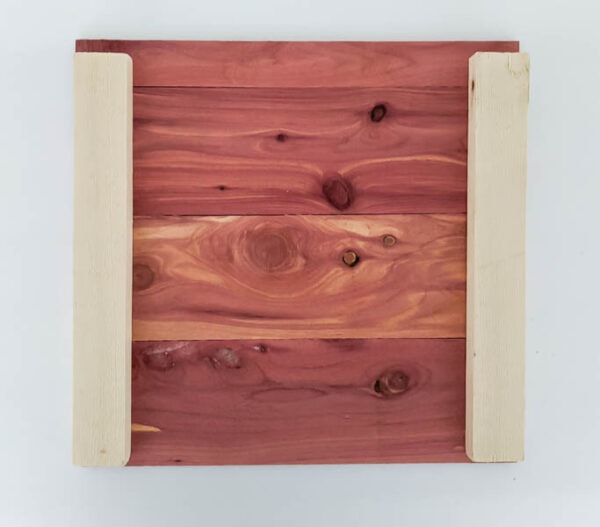
The boxes need interior support to make them sturdy. I used inexpensive 1″x 2″ boards as supports.
Cut these an inch shorter than the height of your box. You will need four supports for each box you are building.
Use sandpaper to sand off any rough edges.
Assemble the boxes
Lay one of the 13″ box sides facedown on your workspace.
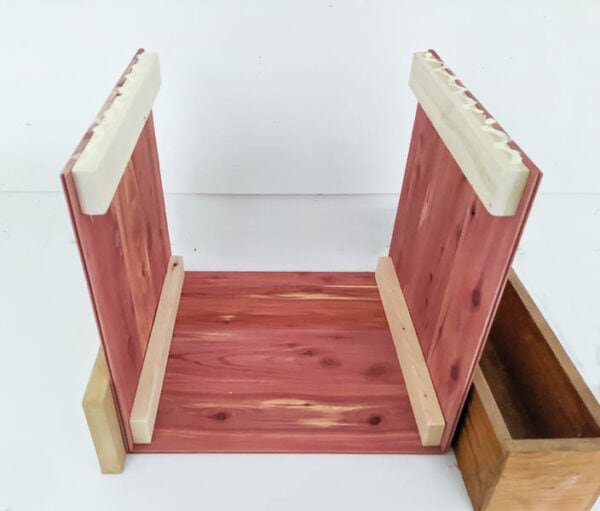
Glue two of the 1″ x 2″ supports against the outer edge of each side, leaving 1/4″ space at the bottom of the planks. (This space is where the box bottom will go).
Once the glue has had some time to dry, turn the planks over and use small brad nails to securely attach the planks to the supports.
One nail in each corner should be enough. The wood glue alone might be enough to keep these storage cubes securely attached, but I wanted to make sure they are extra sturdy.
Especially since they are going to be used daily.
These nails are visible on the outside of the box, but they are so small, they really aren’t very noticeable.
Place the back of your box facedown on your work surface. Using wood glue on the 1″x2″ supports, attach the two sides of the box to the back.
Be sure to line up the edges carefully. You may want to use some scrap wood to help hold the sides in place until the glue dries.
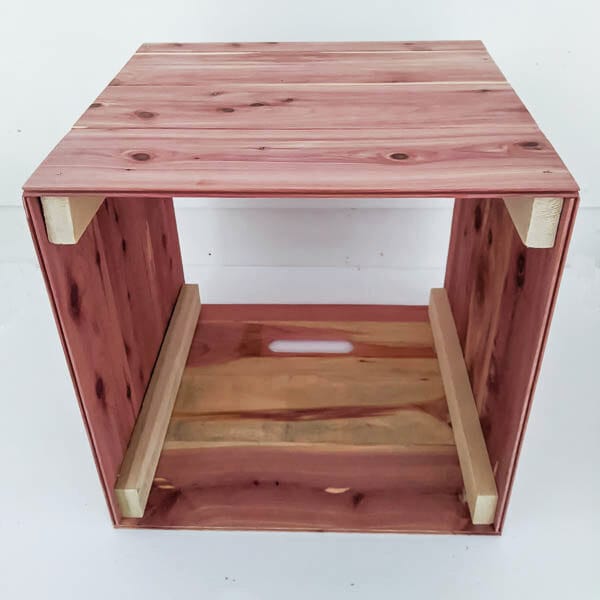
Add wood glue to the wood supports showing and place the front of the box on top of them, being sure all of the edges are lined up.
Allow the glue to dry and then use a small nail in each corner to secure the box front and back to the sides.
Cut the bottom of your box out of 1/4″ plywood. Use wood glue and brad nails to attach it to the wooden supports inside the box.
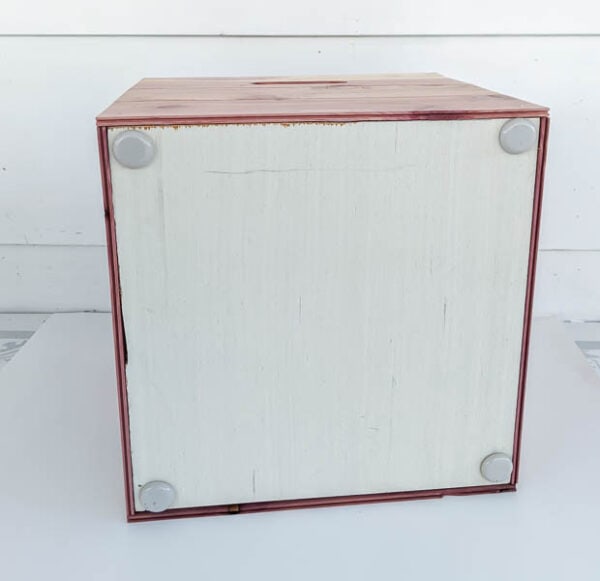
I added furniture sliders to the bottom of each box to make them easier for my kids to slide them in and out.
And since the cedar doesn’t need any type of finish or sealer, that’s it! Not having to stain and seal these saves so much time.
Storage cubes for tight spaces
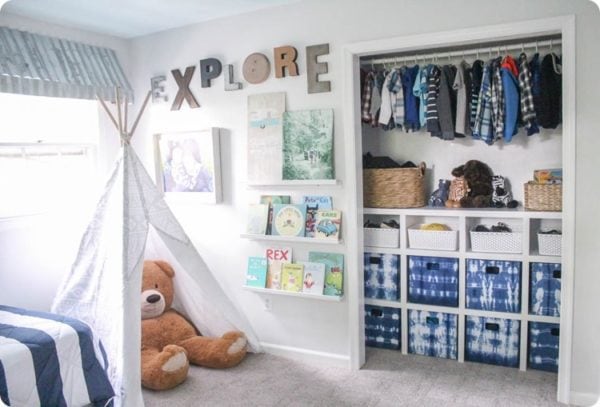
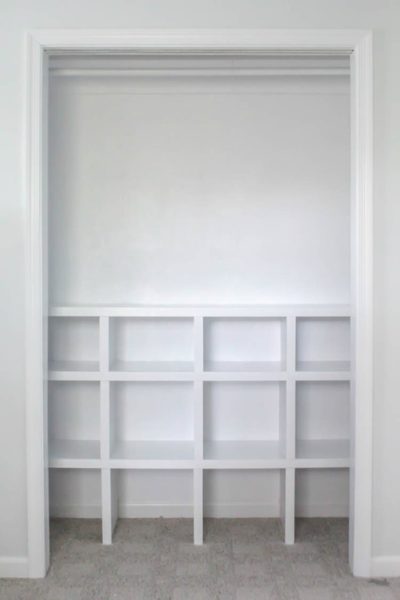
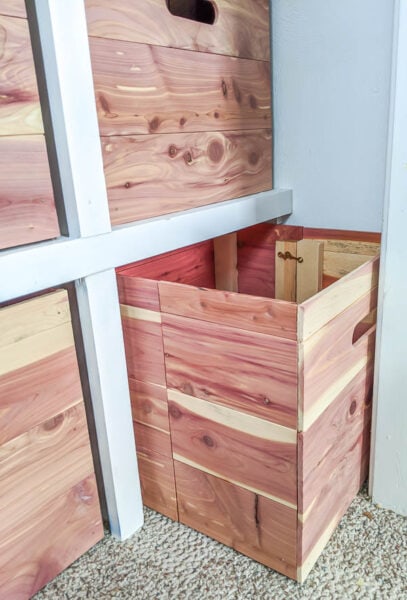
If you look at the shelves in my sons’ closet, you can see that there isn’t room to slide these large boxes into the outer cubbies because of the doorframe.
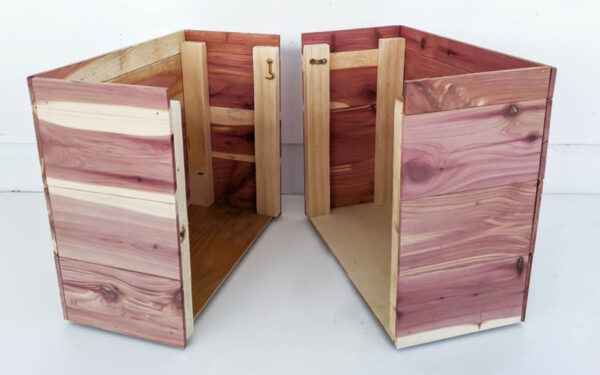
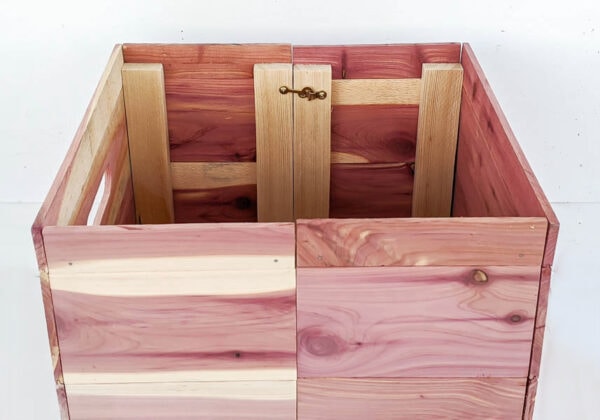
But with a simple adjustment, I was able to make them work. For the cubes for the outer cubbies, I built each box in two halves.
I built the fronts and backs the exact same way as the other boxes, but made each side in two halves with extra supports for the cut edges.
I also cut the box bottoms in half. That way I can move the back half of the box into place and then slide the front half in front of it.
I attached simple hook and staple latches at the top of each side to connect the two halves.
This way they are easy to move into place and I can unlatch them to remove them in the future.
Thankfully, it works great.
Finished DIY Wood Storage Cubes
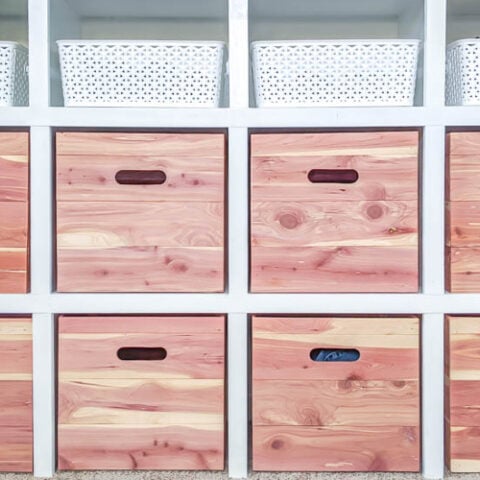
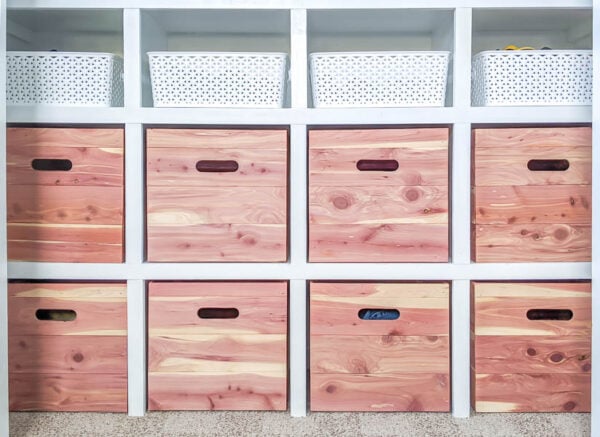
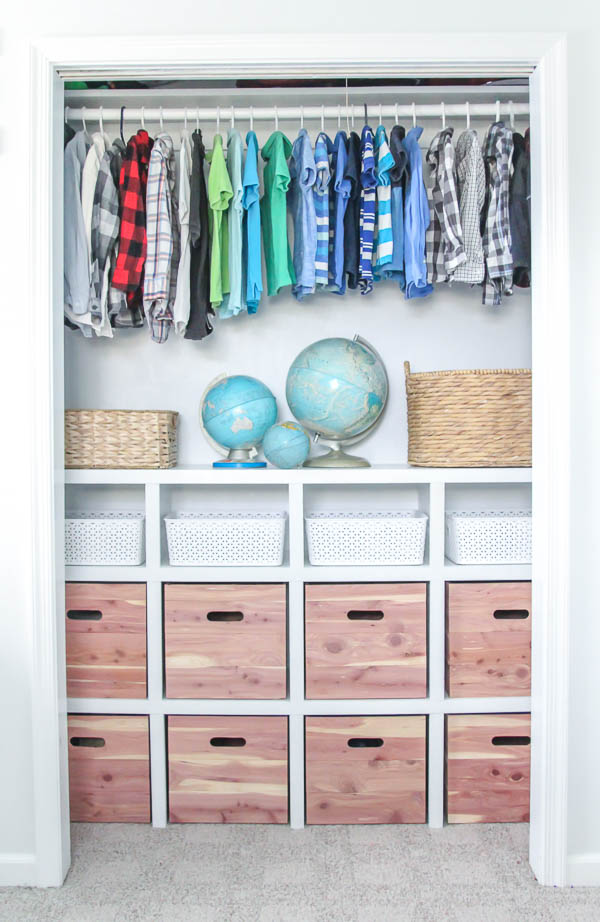
These storage cubes look perfect in the boys’ closet. Just look at that beautiful wood grain.
I love how the natural cedar is neutral enough to work with any decor without being boring.
And that wood grain is just beautiful against the clean lines of the closet shelves.
Definitely better than anything I could have bought from a store.
Other posts I think you might like:
How to Build Cheap and Easy DIY Closet Shelves
21 Cheap and Easy DIY Storage Boxes
How to Make a Wooden Box in Any Size
How to Make Fabric Storage Cubes
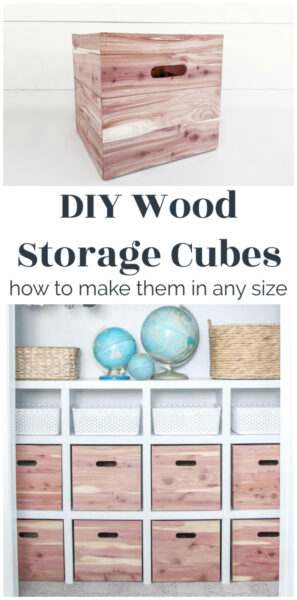
I would love for you to pin this post on Pinterest!
Here are printable instructions for this project for your convenience.
Happy building!

DIY Wood Storage Cubes
These DIY wood storage cubes are made from beautiful natural cedar planks and add a gorgeous custom look to your home. These instructions are for creating 13.5" cubes, but it is easy to make these in any size you need to fit your own closets, shelves, or furniture.
Materials
- 8 Cedar Planks 13.5" long
- 8 Cedar Planks 13" long
- Four 1"x 2" boards, 12.5" long
- 1/4" plywood, 13" x 13"
- 220 grit sandpaper
- wood glue
- 3/4" brad nails
- pencil
Tools
- miter saw
- table saw (optional)
- 1 1/4" hole saw
- drill
- straight edge
- jigsaw
- hammer
Instructions
- Cut the overlap off the ends of your wood planks. Then cut them to length using a miter saw. For each 13.5" box, you will need eight 13.5" planks and eight 13" planks.
- To make your cube 13.5" high, use a table saw to rip two of the 13" boards and two of the 13.5" boards to 2 1/4" high.
- Sand any rough edges.
- To cut the handles, you will cut two holes with a hole saw and then connect them. First mark the center of each hole 1.5 inches from the center of the plank. Be sure these marks are centered between the top and bottom of the plank as well.
- Place a piece of scrap wood behind the wood plank. Place the center of the hole saw at each point you marked and cut out the holes.
- Use a straight edge to mark two straight lines between the two holes and then cut them out with a jigsaw.
- Sand any rough edges.
- Lay out the planks for the front, back, and sides of the box and glue them together with wood glue. Make sure to place the plank with the cut out handle in the correct spot.
- While the glue dries, cut the 1" x 2" supports to 12.5 inches high. Sand the rough edges.
- Lay one of the 13" box sides face down on your work surface. Glue two of the 1" x 2" supports against the outer edge of each side, leaving 1/4" space at the bottom of the planks. (This space is where the box bottom will go).
- Once the glue has had some time to dry, turn the planks over and use small brad nails to securely attach the planks to the supports. One nail in each corner should be enough.
- Place the back of your box facedown on your work surface. Using wood glue on the 1″x2″ supports, attach the two sides of the box to the back. Be sure to line up the edges carefully. You may want to use some scrap wood to help hold the sides in place until the glue dries.
- Add wood glue to the wood supports showing and place the front of the box on top of them, being sure all of the edges are lined up.
- Allow the glue to dry and then use a small nail in each corner to secure the box front and back to the sides.
- Cut a 13" x 13" square out of 1/4" plywood for the bottom of your box. Use wood glue and brad nails to attach it to the wooden supports inside the box.
Notes
There are additional instructions in the blog post for adjusting these measurements to create different sized wood cubes.
Recommended Products
As an Amazon Associate and member of other affiliate programs, I earn from qualifying purchases.



Wow! Carrie, those looks so nice. Thanks for the great instructions, it looks so doable.
Thank you! They really are doable!
These are fantastic. I want to get to work right away! LOL. I was wondering if your boys ever pull the boxes out too far and they fall. Have you considered something to catch or stop the box from pulling all the way out?
Surprisingly they don’t pull them out too far. The lower row is sitting on the floor and they do leave those out in the floor sometimes, but the upper row hasn’t been a problem. I think you could probably make a stopper if this is a problem. Something hanging down from the shelf above would work – if it is attached behind the front of the box, you would still be able to pull the box out to see inside without the entire box coming out.