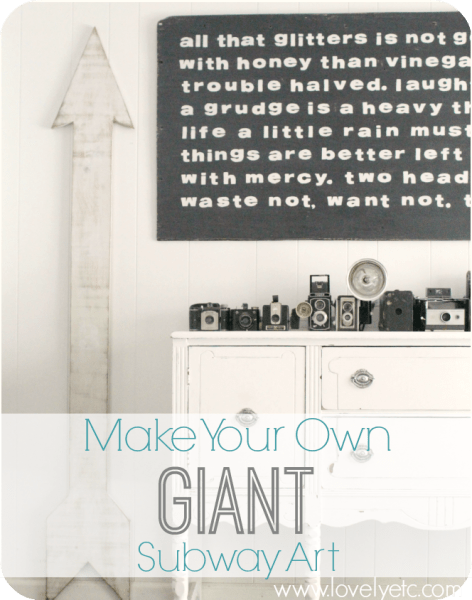
I’ve gotten quite a few questions recently about the GIANT subway art in our family room. I realized that I never explained how I made it even though it has shown up in lots of pictures around here.
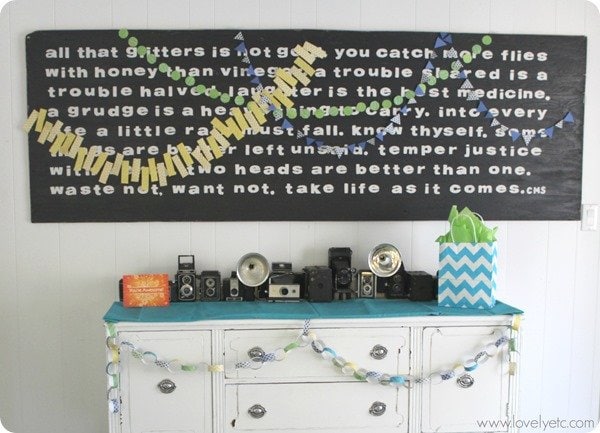
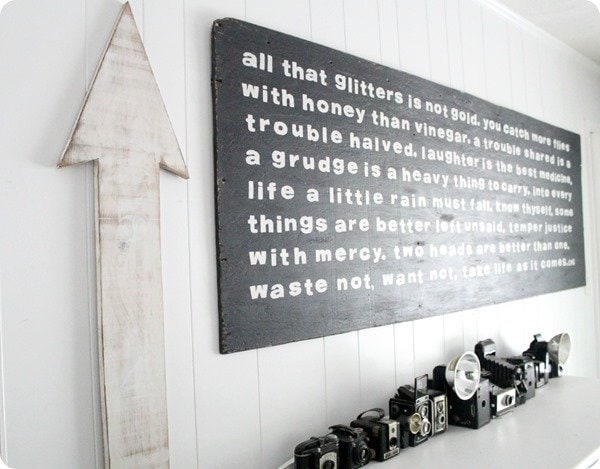
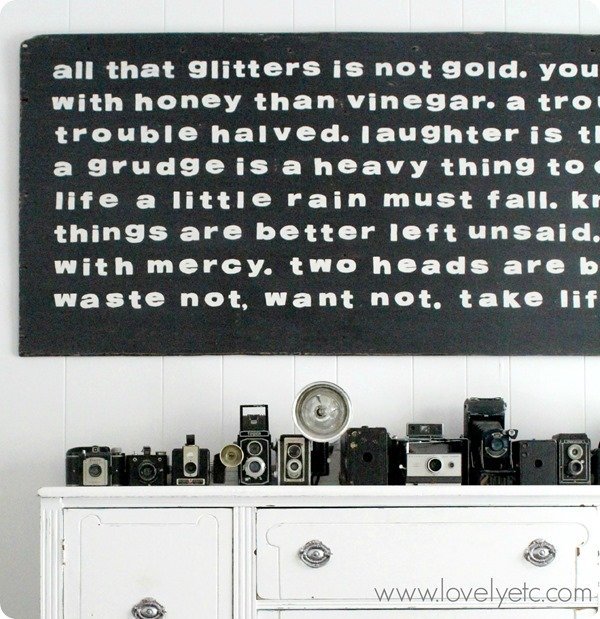
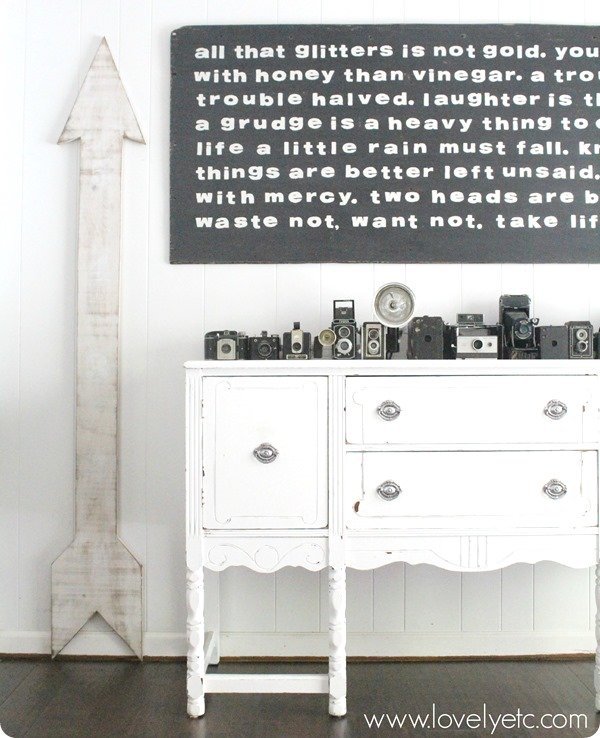
I like to call this my wise old sayings sign. The words are a collection of old sayings that really resonate with me. It says:
“All that glitters is not gold. You catch more flies with honey than vinegar. A trouble shared is a trouble halved. Laughter is the best medicine. A grudge is a heavy thing to carry. Into every life a little rain must fall. Know thyself. Some things are better left unsaid. Temper justice with mercy. Two heads are better than one. Waste not, want not. Take life as it comes.”
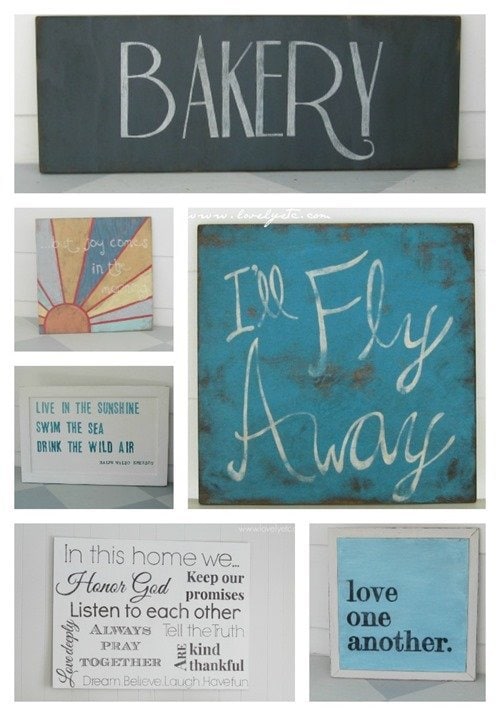
This was actually the very first painted sign I ever made. (Go big or go home right?) I made it five years ago and have made many a sign since then and learned a LOT in the process. (You can see all of my painted signs and tutorials right here.)
Let’s just say if I was to remake this sign today, I could easily do it in half the time.
I’m going to share with you how I made it originally, but more importantly I’m going to share with you a much easier and quicker way to recreate it.
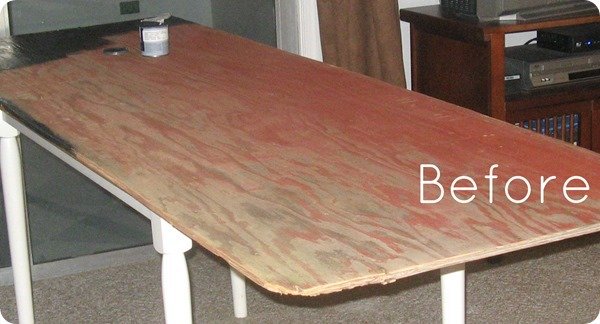
My original wise old sayings sign was painted on a piece of wood that I pulled off of an old dog pen that was in our yard when we bought our house. The board is about 8 feet long and 3 feet high. Because it had been outside for quite awhile, the wood had a great aged finish to it already – plus nail holes all around that really added character.
For everyone who doesn’t happen to have a dog pen in your yard (basically everyone!), you can use a piece of plywood from your local home improvement store. The largest size is usually 4’ by 8’. Your sign can be any size, but I happen to think a really huge sign is a great focal point. You can have them cut the plywood to any size you would like at the store – just make sure to measure your wall first to make sure it will fit!
Next up is painting the background – even though my board was awesomely weathered, it started out as a faded red. Not my color of choice. I painted my sign with several coats of Lincoln Cottage Black by Valspar.
Which brings us to the words which were by far the most intimidating and time consuming part for sure.
Originally, I used a set of chipboard letters to paint my words. I used a pencil to trace around each letter and then with a small paintbrush and some cream paint, I painstakingly filed in each letter.
Three. coats. each.
Yep, my back was aching for days.
To save you from similar torture, I propose a slightly different method. If I were to do this all over again, I would simply fill my letters in using a paint marker, rather than a paintbrush. Coloring in the lines is so much easier than trying to control a paintbrush. Not to mention, one coat will usually do the trick with maybe a few touch-ups. And yes, they do make white paint markers. Just be sure to go with the oil paint markers, rather than water-based. That way you can be sure it will stick.
Once you have colored in all of your letters, just sand them lightly. The sanding transforms them so they no longer look like they were colored with markers. (Check this sign out for more details on this).
And as far as tracing the chipboard letters, that actually worked just fine. But you could also use alphabet stencils to get your letter shapes. Or if you happen to own a Silhouette, this would be the perfect project for it.
One of my favorite things about this sign is the fact that the words reach all the way from one side to the other. To do this, I tried to plan ahead a bit. If it looked like I was going to have extra space, I spaced my words out a little more. If it looked like it was going to be tight, I moved them a little closer together. On the very last line, I had several wasted inches so I ended up adding my initials.
If you are super observant, you may have noticed I just replaced this humongous sign with my DIY family silhouette. It was time for a change, but you can bet this sign will be finding a new home in our house very soon.
Anyone up for making a gigantic sign of your own? If you were going to make one of your own, what would it say?
Want to check out the rest of my painted signs and lots of sign painting tips? You can find them all right here.

Malinda Clay says
Thanks so very much for this post. I love this sign and I am planning on attempting one myself.
Malinda in Mississippi
Carrie says
Thanks Malinda! Good luck and I would love to see how yours turns out!
Robin says
I think you must be a mind reader! When I first saw the photo with this sign it was for the arrow growth chart (also darling), but since my kids are in their mid-thirties, not something I really needed to know how to do…but this sign! Ohmygoodness!!! I simply LOVE it! Thanks so much for sharing your how-to’s and tips. I’m going to have to try and make one for my home…as soon as I decide on what tiddies I want to paint. Don’t you just love old-time advice? Thanks again – I’m in love with this posting!
Carrie says
Thank you so much Robin! You are so sweet. And yes, I definitely love old time advice. Most of it is right on the money but its said in such a funny little way.
Krista @ the happy housie says
What a fabulous huge sign that is…I can’t believe you hand painted all that lettering Carrie. You are a DIY star! It was awesome meeting you at Haven – hope you are enjoying your vacay!
Carrie says
Thanks Krista. It was wonderful meeting you too! In this case I don’t know if I am a DIY star or just incredibly stubborn!
stephanie says
Thank you so much for this tutorial!!
Carrie says
No problem Stephanie! Hope it helps!
Carrie This Home says
I love this sign Carrie! Isn’t it funny how we learn so much about what not to do with projects? I love your idea of using paint markers–that’s brilliant and I’ll have to remember that! I’m glad I stopped by from the Makers. Nice to “meet” you!
Carrie says
Thanks Carrie! You are so right – I think with each project I learn as much about what not to do as I do about how to actually do the project!
Nicole B. says
I love this subway art!! I’ve also painstakingly filled in many letters with a paint brush.. I feel your pain! Paint markers really are the way to go!
Carrie says
Thanks Nicole! Filling in those tiny letters with a paintbrush must be like a rite of passage for DIYers!
Erlene says
I love the idea of a super large statement subway art. I have a large area above our tv that needs something and this might be just the right thing. Thanks for sharing this.
Carrie says
Thanks Erlene! I love anything GIANT – might as well go big!
Deb says
This really turned out awesome! the patience to paint all those words : )
Good idea with the paint marker though
Deb
@Seeking Lavender Lane
Carrie says
Thanks deb! This was one of my very first day projects. I have definitely learned a lot since then but I still love this one!
Megan says
I want to make one of these right now! I love the size. It’s so great to have a huge piece like that to anchor a wall. I recently moved and still have quite a few blank walls. I love all the sayings too running together on one piece too. So clever!
Carrie says
Thanks Megan – I am a huge fan of giant art pieces too. Have lots of fun decorating the new place!
stephanie says
Hi!
One more quick question if you don’t mind. Do you know what size chipboard letters you used? Thank you again! so excited to get started!
Carrie says
The letters I used are about two inches high – good luck! I would love to see pics when you finish!
D'Lyn Massey says
What size were the letters roughly?
Carrie says
D’Lyn, the letters are around three inches tall.
Adrienne says
I’ve had a huge piece of plywood I’ve been saving for something awesome and this is perfect!
Two questions:
1. What finish is the background paint?
2. How did you hang this up?
Thanks!
Carrie says
Adrienne, Awesome! I love when I find the perfect project for something I’ve been saving up. The background paint I used was a paint sample from Lowes of the Valspar Lincoln Cottage Black – I think they always come in satin finish and one sample was enough. A flat finish paint would also work well.
To hang it, I just screwed two screws in the back and strung a thick picture hanging wire between the two screws. Then I screwed two screws in the wall using anchors and hung the wire across them. Similar to how you might hang a large mirror. I hope that makes sense – let me know if you have any other questions.