Painting vintage lockers
This is a long sordid tale, but don’t worry, it has a happy ending.
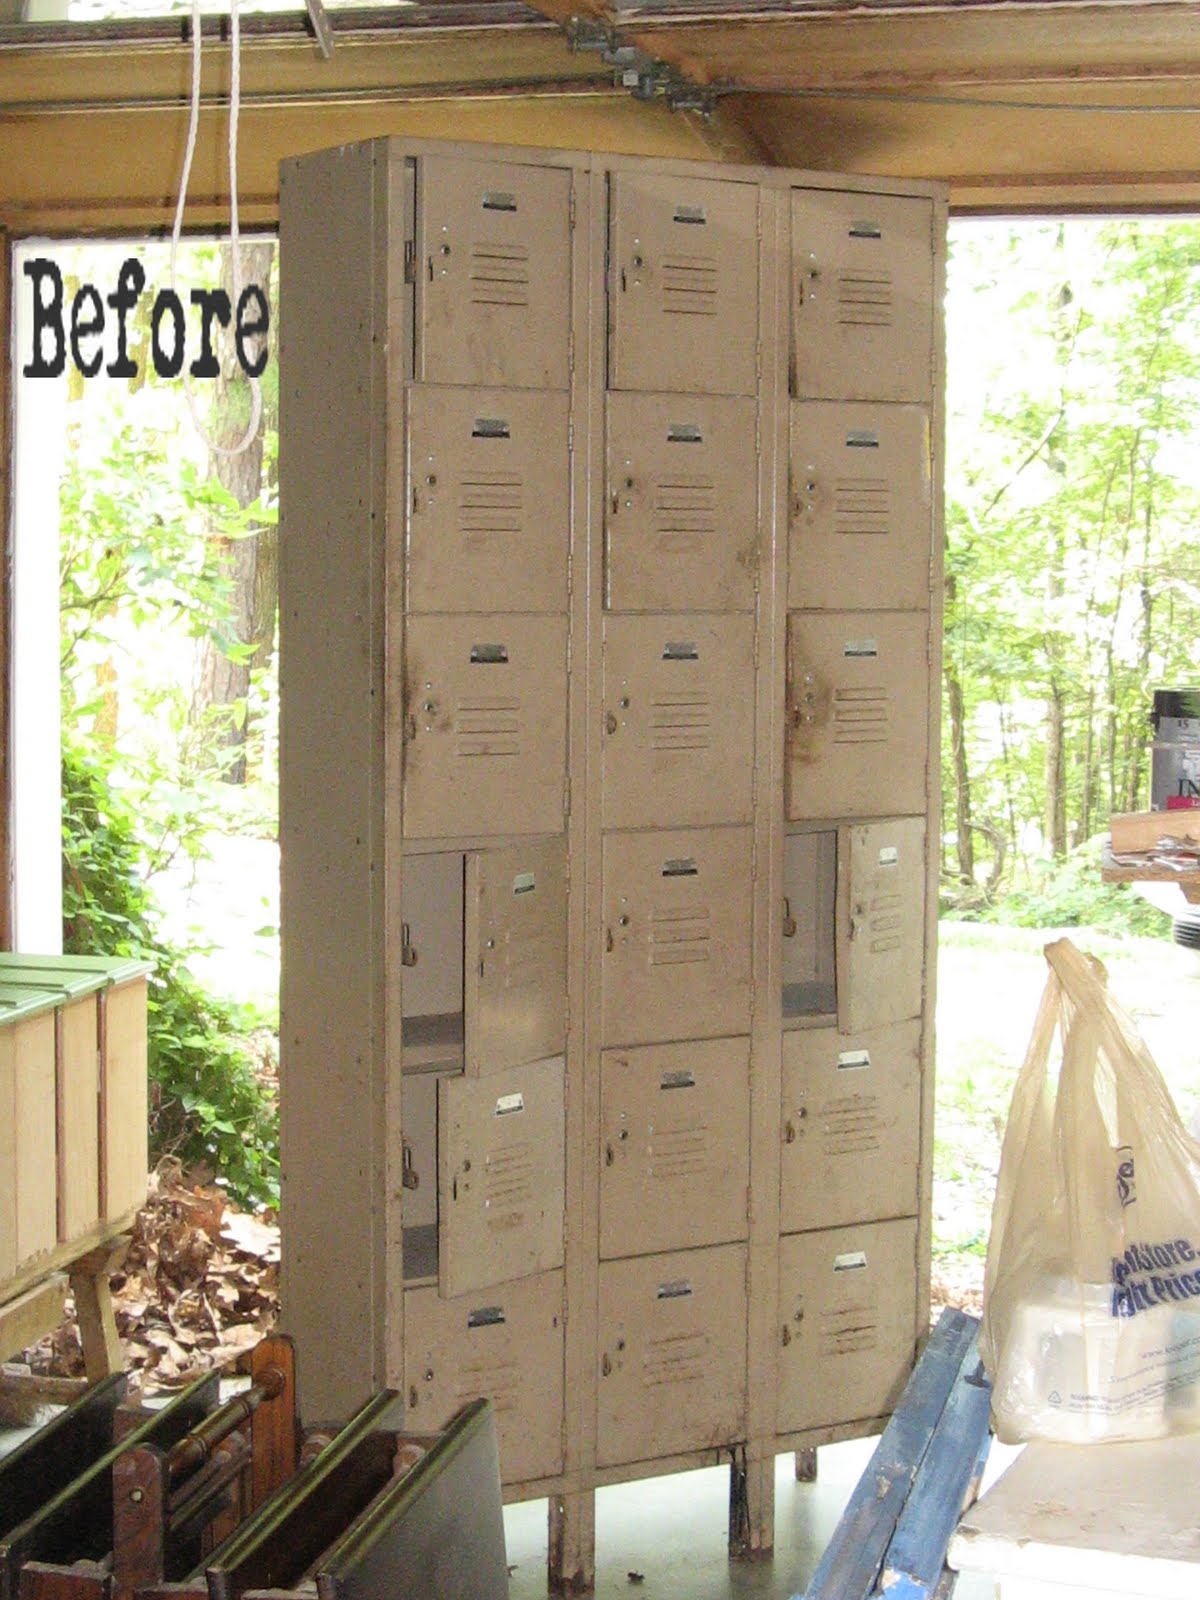
Last summer, I was up early one Saturday yard-saling. ( I don’t know if yard-saling is actually a word, but I have decided that it definitely should be). At one sale, I noticed a set of old lockers laying in the grass near the sidewalk. Now, truthfully I wasn’t entirely sure if they were part of the sale or had been set out for the garbage but either way I knew I wanted them. I paid 10 dollars for them and at the time I was pretty sure I overpaid. They were painted a nasty beige color and were covered in rust, dirt, and spiderwebs but I knew they were going to be great. My yard-saling partner, Lindsay and I managed to shove the heavy steel beast into my SUV, even though it really didn’t fit. I should have realized that was a sign of things to come.
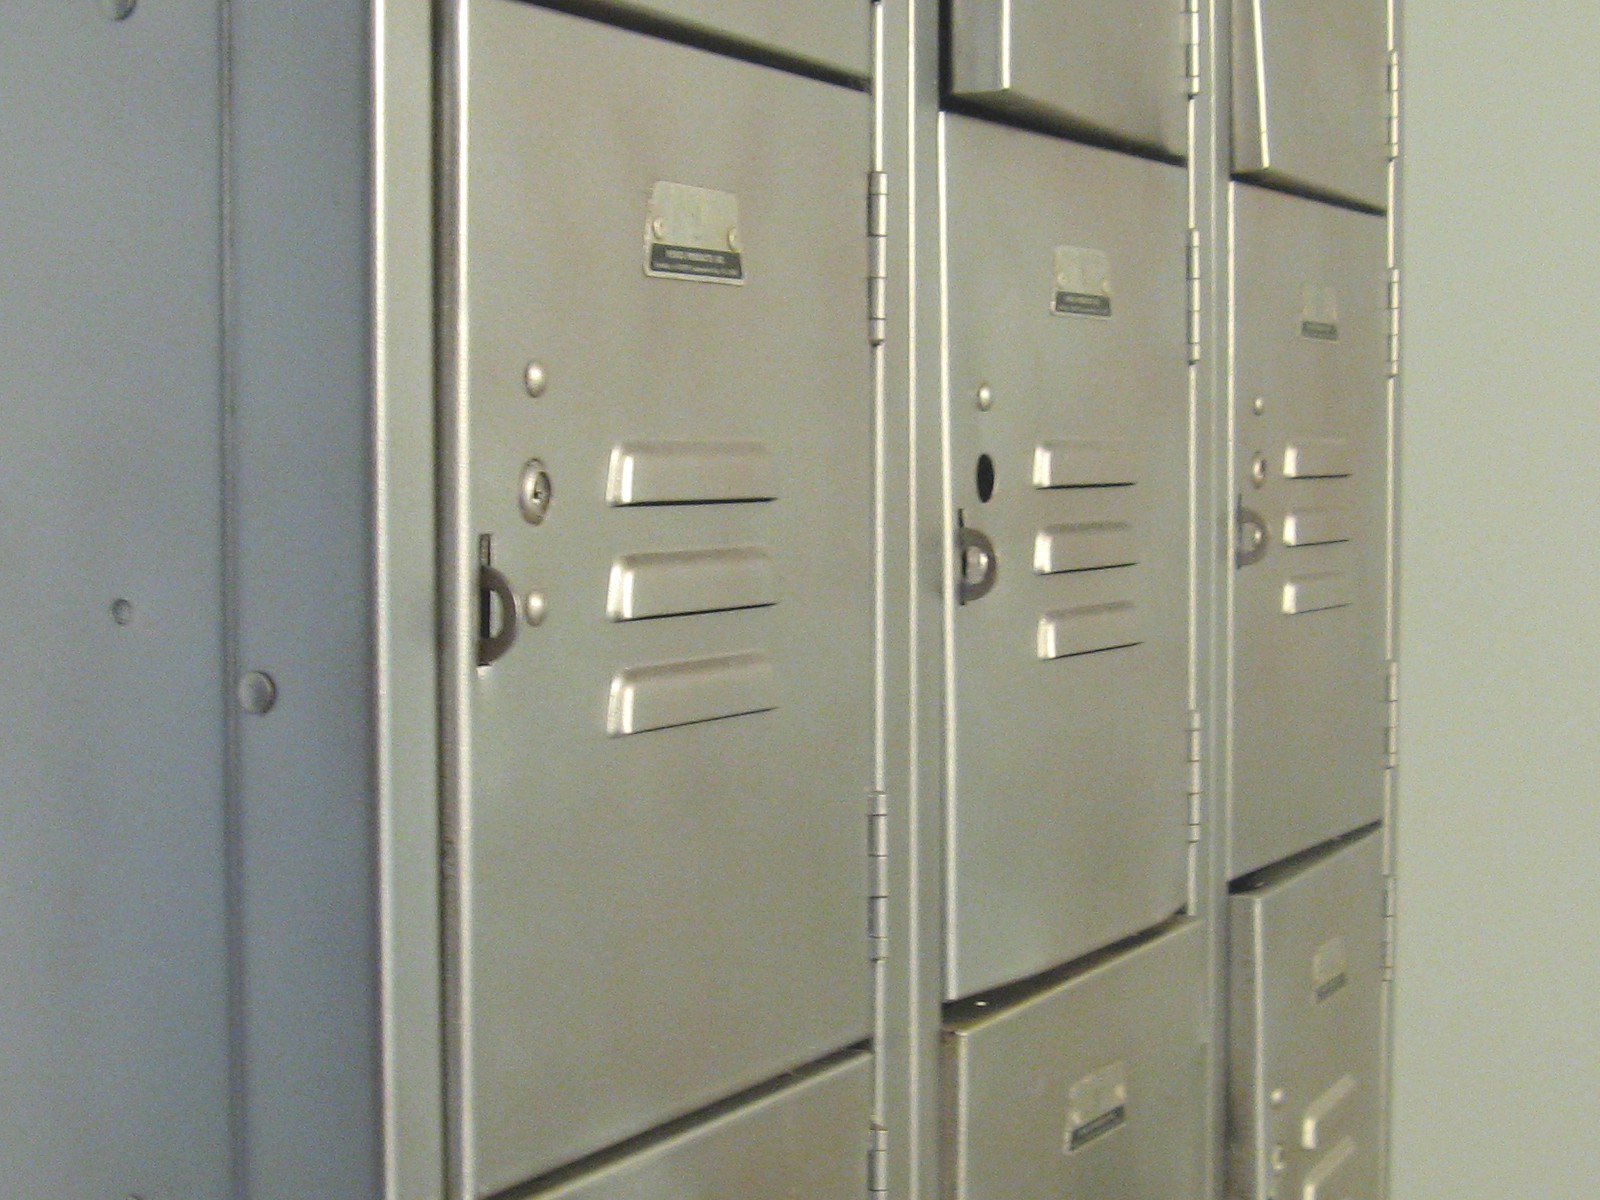
I really wanted to take these lockers to the bare, polished metal. Soooo…I stripped the paint off with a chemical stripper and a lot of elbow grease…and they looked filthy. I cleaned them and they got more rusty. I removed the rust and they looked filmy. And the rust came back. I tried to seal them with a clear sealer and they looked more filmy and more rusty. I pulled out my hair a bit and it is quite possible there was some wailing and gnashing of teeth. And I finally decided it was time to give up my dream of bare, polished metal and just be done with them already. So my awesome husband sawed off the rusted-out legs and I gave them a few coats of spray paint and declared them finished.
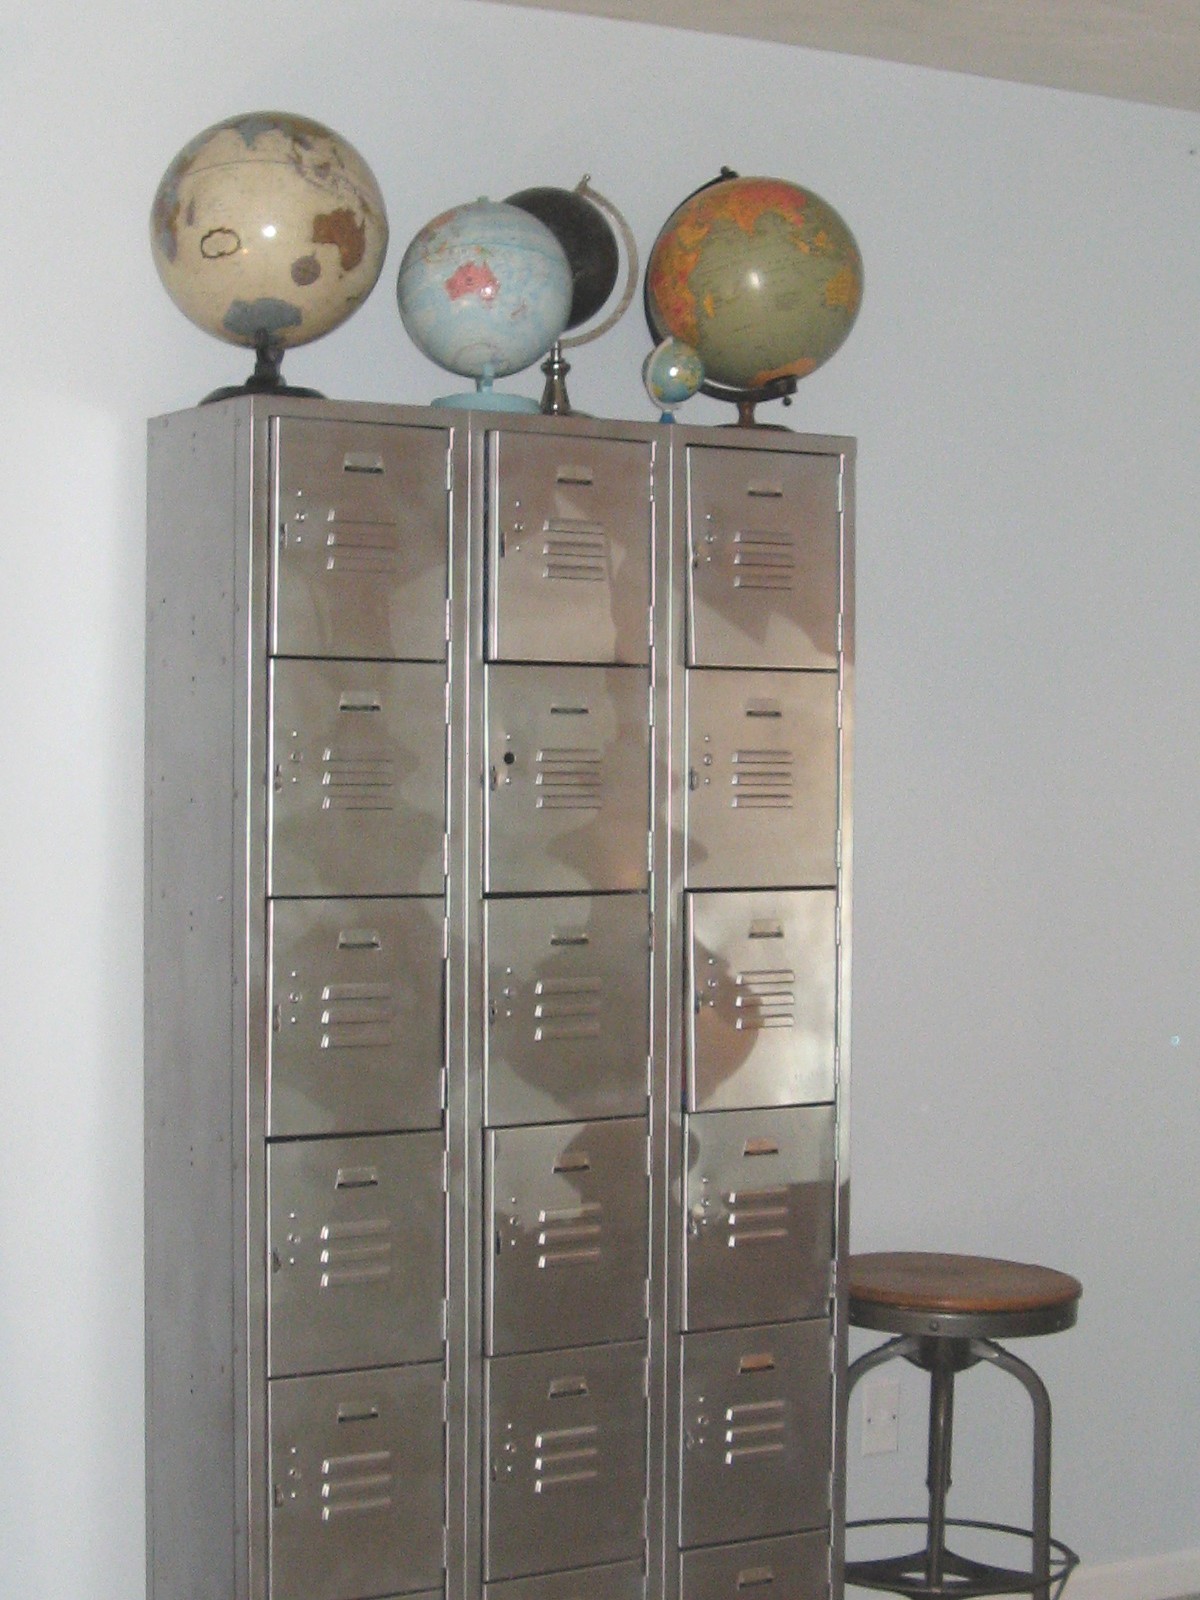
Despite all of that, they still managed to turn out great and I really love them. They now live in our bedroom where they’ve replaced one of our dressers.


Ooh, I love them! I’ve been on the hunt for some lockers myself. Yours turned out very cool!
They did turn out amazing! I am having the same problem with some metal stools I picked up. The vision of bare metal doesn’t seem to be meant to be.
LOOOVE it!! i’ve been searching and searching for lockers for months now- at this point I would even settle for some baskets!! It looks great- you both did a fab job
Are you kidding??? These are FANTASTIC. I’m beyond jealous…and am constantly searching for old lockers…lucky you! Posting this to my facebook page now…Thanks for linking it up!
:-)
shaunna
Fantastic! I can think of a dozen places in my house I would love to have these.
just perfect!! So inspired that I just got a wooden one on craigslist. Not as cool as yours…but hey! :)
This would be perfect in my boys’ room. I absolutely love this, and would love it if you would share this at my linky party.
Oh, now I’m jealous. So cute!
I totally empathize with you about the lockers. I bought a smaller set and finally gave up on the filthy rusty monsters. I admire your perseverance!
What a great find! AND a truly unique piece for a bedroom, or ANY room!
FAB.U.LOUS!! Totally worth all the hard work! I would LOVE to find something like this for my son’s room!
These are pretty cool! Don’t you just looooooove those projects that you want to pull your hair out to? ;) They look awesome!
What a great refinishing job! Love all of your projects! I’m your newest follower, hope you come follow me too!
They turned out great. And $10 was the deal of the century! Great find.
love those! I’m amongst those on the lookout for lockers of my own :) atta girl!
I think $10 was a steal no matter what shape they were in. I am so glad you never gave up. They are wonderful. Months ago I painted a cubby shelf 4 or 5 times because it kept going wrong. I almost gave up and I am glad I didn’t because it turned out to be one of my favorite projects. Enjoy your lockers.
They’re so cool! And paying $10 for lockers is almost unheard of! You scored, and you did a great job on them!
LOVE the lockers!!!
What a great find! Persistence pays off when it comes to DIY. You did a great job. Such a fun piece to have in your home. Hope you will stop by and visit my summer giveaway.
My daughter and I just fell in love with some lockers that were in a store called Marshalls that were rusty etc. I wish I took a picture of them.
You did fine!
Love these~ they turned out great! We found an old set of numbered lockers in a shed at my grandparents house that I am planning to pick up and try to fix-but not sure about how I am going to seal up the rusty areas, and clean up the grunge without taking away the charm of the old numbers yet! Thanks for the inspiration with your charmers~ stopping by from SNS today- I host a Friday linky party about decorating at my blog if you would like to come share sometime! :)
I love them too – great find and your hard work really paid off – they look wonderful and are a really fresh alternative to a chest of drawers. Fabulous job!
The before pictures on these look just like the ones I sold in my yard sale! I hated to let them go but I had to move. They look great! Maybe I’ll find some more one day. I never thought of stripping them down.
These are so unique and fantastic! I want some now. :) Great job!
Congrats, looks great. Loves from Turkey:)
I got lucky, my husband asked about some unused lockers in a warehouse at his work and they gave them to us for free!
Hi all,
I know the secret to bare metal refinishing…
Find a “Sandblaster” in your area. They usually do piece parts (like lockers, steel lawn furniture, or stools) and charge per piece. You haul your dirty/rusted/piece of metal to them, let them blast it a couple times with their sand set up and Voila! it’s returned to you in bare metal.
Note: Cover it IMMEDIATELY with clear coat or primer–or it will start rusting with any moisture.
Some Sandblasters will also offer to use their pneumatic paint set ups to apply the primer or a final paint color for you.
I had some lawn furniture and an old kitchen stool sandblasted long ago, then picked them up and repainted at home–I think it cost me around $100 for 4 old solid metal chairs and a kitchen stool. But don’t qoute me on that!
AWESOME! Love these lockers!
I love these! How stinking cute! I am pretty jealous right now. Good job sticking it out even though they project didn’t go how you planned (isn’t that how all DIY projects go?) They turned out great!
Love!!! I defiently have locker envy, these look brilliant and I love that they are in the bedroom, clever use!
My Mom picked up some lockers for me and I was debating on what to do with them. I love the silver that you picked. I may go that route. Thanks for the inspiration!
Lucky you getting some lockers! Glad I could inspire you. I love the silver – it can go with really any look, but a bright color would be really fun too. I also have another locker redo you might want to check out – https://www.lovelyetc.com/2012/01/lockers-with-graphic-punch/
Beautifully done
What paint did you use?
To be honest, I don’t remember exactly. It was a metallic spray paint from Lowes. I believe the color was aluminum.
These. Lockers. Are. AWESOME!!!!!
Thanks April! They were such a lucky find.
LOL! No matter how you got there, they look great now!
My last metal project after similarly stripping, sanding, and shedding a few tears…A neighbor asked why I didn’t just get them sandblasted. It would have been less than $100. I had spent more than that on stripper, sanding pads, and smeared mascara:) Live and Learn!
Jennifer, such a good point. Sometimes I am way too cheap – and it just costs me in the end! Next time I’ll definitely at least look into sandblasting!
looks great! I loved the way they turned out!