How to Paint a Chippy Farmhouse Dresser with Milk Paint
Learn how to use Old-Fashioned Milk Paint to create a beautiful chippy paint finish that looks authentically vintage for the perfect farmhouse dresser.
When I found this old dresser at an estate sale, it was love at first sight. I could tell it was at least 100 years old and had beautiful proportions.
But it was also filthy, missing some of the hardware, and just very, very tired.
Apparently, the sellers didn’t see the potential I saw, because they sold it to me for the bargain price of $12. Sold!
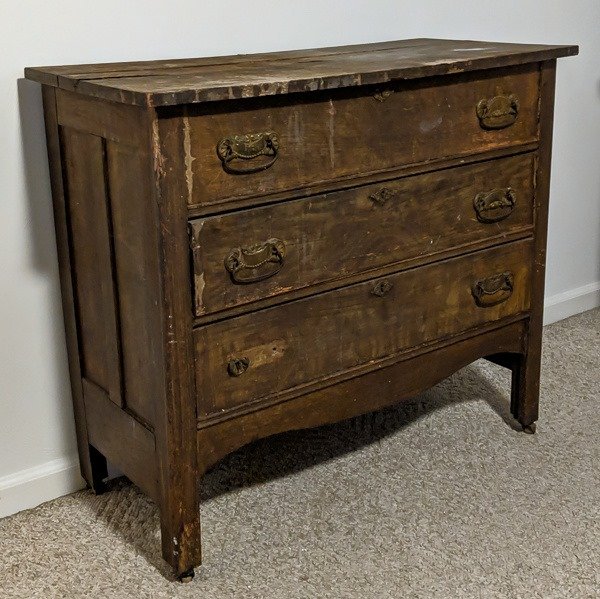
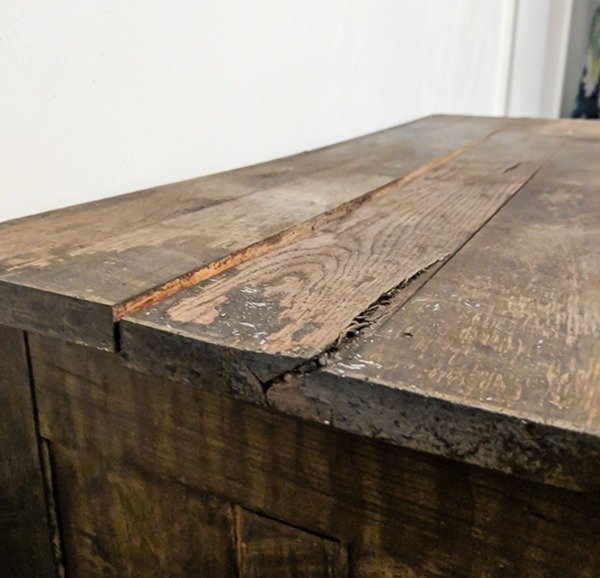
When I got it home, it quickly became apparent just how incredibly filthy this little dresser was and there was also some damage to the top. The poor thing looked like it hadn’t been loved in decades and clearly needed help. I decided to give it a makeover that would embrace its age and history rather than fighting against it.
I wanted to bring it back to life and give it a beautiful chippy paint finish. I wanted this dresser to look like it had seen many years of use and love, completely unlike the sad, lonely state I actually found it in.
I’ve been wanting to experiment with Old Fashioned Milk Paint for a while and I knew this dresser was the perfect piece.
In case you aren’t familiar with milk paint, it is a vintage-style furniture paint made from milk protein along with other completely natural, safe ingredients.
Many furniture painters love milk paint because it gives a very authentic vintage look to painted pieces of furniture.
Milk paint was often used for painting furniture over 100 years ago and painting furniture with milk paint today is the best way to get a similar aged look.
When painting raw wood, milk paint actually absorbs into the wood, while most other paints simply coat the surface. Milk paint is also the absolute best way to recreate an aged, chippy paint effect.
This post contains affiliate links which means if you make a purchase after clicking a link I will earn a small commission but it won’t cost you a penny more. Click here to see my full disclosure policy.
Materials for this Dresser Makeover
- Krud Kutter Prepaint Cleaner – for cleaning your furniture before you paint. You can also use Dawn dish soap and warm water, but when I’m dealing with an extra dirty piece, I like the Krud Kutter cleaner.
- Clean rags or paper towels – for cleaning your furniture
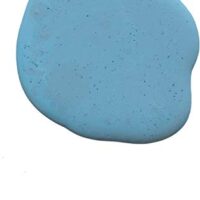
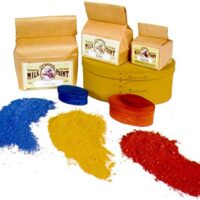
- Old Fashioned Milk Paint in Sea Green and Oyster White – there are also lots of other great milk paint colors, but these are the two I used
- Miss Mustard Seed Milk Paint in French Enamel – this is another brand of milk paint that comes in lots of great colors
- Cup and plastic fork – for mixing the paint
- Paintbrush – I like to use chip brushes for applying milk paint. They are great for adding texture to a chippy piece. Foam brushes also work well.
- 220 grit sandpaper – for revealing the layers of color and texture
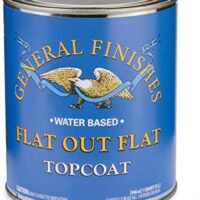
- General Finishes Flat Out Flat Topcoat – this is my favorite top coat for vintage style furniture. It has a completely matte finish which really gives that authentically aged look.
For refinishing the dresser top:
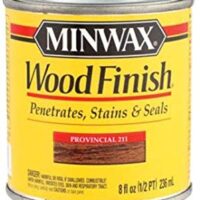
- Minwax Stain in Provincial – this is a great medium brown stain
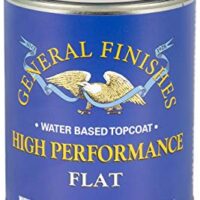
- General Finishes High Performance TopCoat in Flat – for sealing the wood finish. You could also use the Flat out Flat Topcoat again here.
How to Paint a Chippy Farmhouse Dresser
Clean the Dresser
The first step to any furniture makeover is to remove the hardware and clean the piece well.
I often just use a mix of Dawn dish soap and water for cleaning furniture, but this dresser was so filthy, I knew I would probably need something more heavy-duty.
I bought my Old-Fashioned Milk Paint at my local Woodcraft store. The gentleman helping me was super knowledgeable and recommended I try Krud Kutter Prepaint Cleaner before painting so I gave it a try.
I love that, unlike many other cleaners, you don’t have to rinse it off before painting. I’m glad I used a more heavy-duty cleaner this time because it was truly amazing how much dirt and grime came off this dresser.
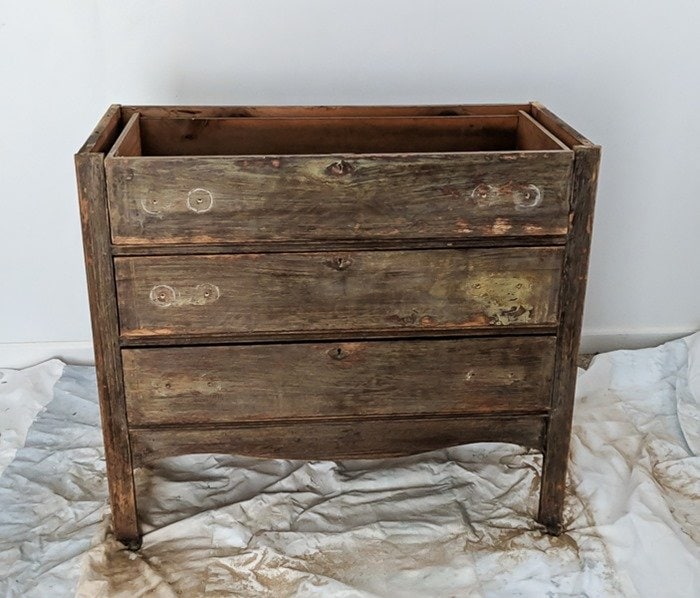
I also decided to remove the old top at this point. The top was made of multiple strips of wood and had some major cracking and swelling issues.
Even after all of the cleaning I did, I still didn’t feel 100% confident it was completely clean, so I also lightly sanded the dresser to be totally sure I was starting with a fresh surface.
Mix the Milk Paint
Finally it was time for paint!
Old-Fashioned Milk Paint and other milk paints don’t come in liquid form like typical paints. They come in powder form and must be mixed with water to create the paint.
It’s very simple to do. I used a plastic cup and plastic fork to mix my paint. (You could also use a glass jar and regular fork to be a bit more environmentally friendly.)
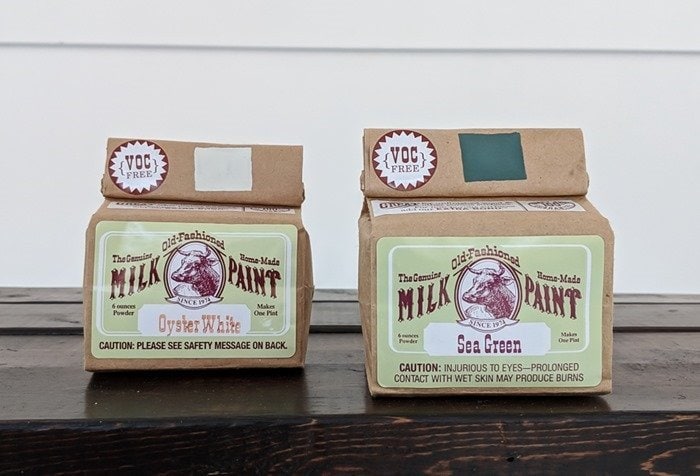
The milk paint comes with instructions that recommend a 1:1 ratio of paint to water. I found it easiest to add my powder to the cup and then slowly add a little water at a time until it seemed like a good paint consistency.
Then stir with the fork until most of the lumps of powder are dissolved into the liquid.
If you find your paint is a bit too runny, you can add a bit more powder. If it is too thick and doesn’t glide on smoothly, add a bit more water.
Milk Paint comes in a limited color palette, but it is very easy to mix together to make new colors. To create the color I was going for, I mixed Old Fashioned Milk Paint in Sea Green (love this color!) and Oyster White.
It was still a touch too green, and I happened to have a sample of Miss Mustard Seed’s Milk Paint in French Enamel stashed away so I added a tiny bit of that as well.
The two brands of milk paint mixed together beautifully and I ended up with the perfect color.
When painting old furniture with milk paint, you may choose to add a bonding agent to help the paint adhere to the old finish.
Using a bonding agent like Old-Fashioned Milk Paint’s extra bond will help make sure the paint adheres well and doesn’t flake off.
But if you want some of the paint to flake off for that gorgeous old chippy paint look, you can skip the bonding agent.
I chose to paint my dresser without the bonding agent. I love the chippy, aged paint finish milk paint can give and I thought it would be the perfect fit for my old dresser.
Paint the Dresser
You do not need to use a primer with milk paint, so once my paint was mixed, I painted the first coat.
The first coat of any paint doesn’t usually look great and this is especially true with milk paint. The first coat of paint went on looking very thin and streaky, but thankfully I knew to expect that and didn’t panic.
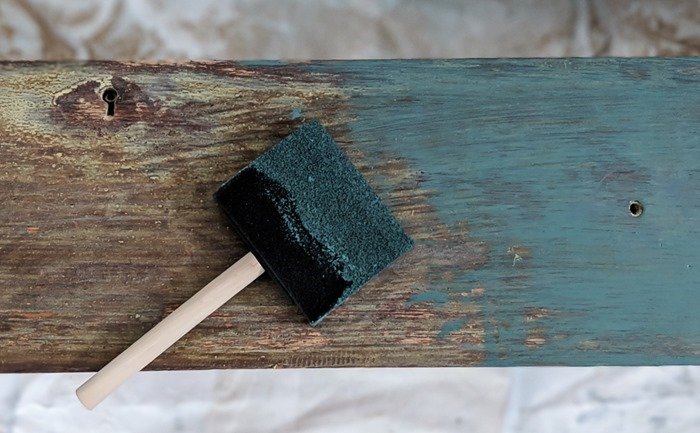
It’s a good idea to seal your cup of milk paint with a lid or some plastic wrap and keep it in the refrigerator between coats of paint.
Milk paint is sold in powder form rather than as a liquid because once it is mixed into a liquid it can spoil just like regular milk. But like milk, it can last in the fridge for several days this way without going bad.
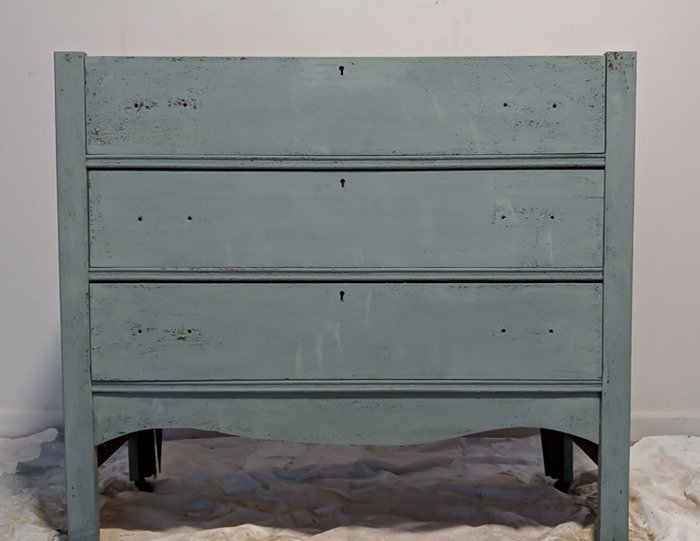
After letting the paint dry thoroughly, I painted a second and a third coat. I probably could have gotten by with just two coats of paint, but I wanted to make sure I got good, even coverage everywhere.
Distress the paint finish
Once the paint was dry, I was excited to see chipping happening all over the place. I was also a little bit nervous.
Usually, I distress furniture by sanding it and I am in control of where and how much paint I remove.
Milk paint is a whole different animal. It chips wherever it decides and however much it chooses and you have no absolutely zero control.
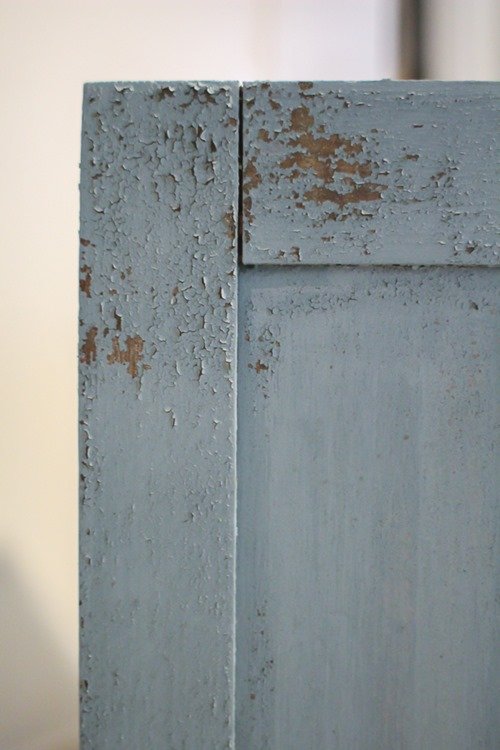
My dresser was chipping all over like crazy. Way more than I probably would have chosen if I was in charge. But then again, I guess it was a good exercise for a perfectionist like me in just letting go and seeing what happens.
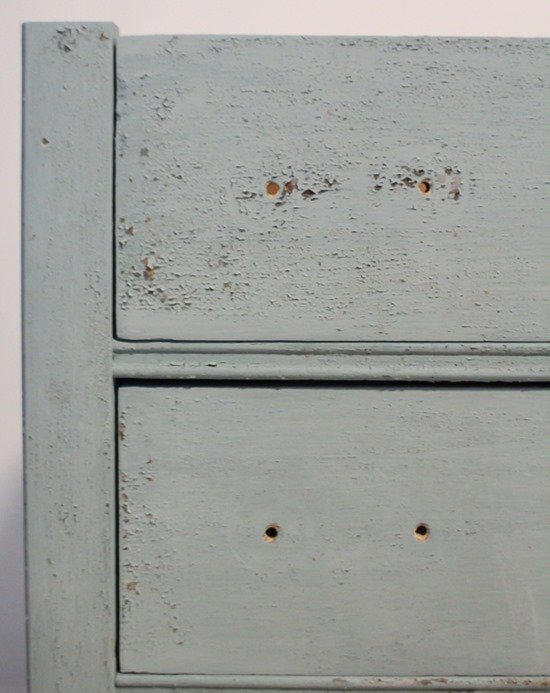
When the paint was completely dry, I used my 220 grit sandpaper to VERY gently wipe the chipped paint away. I didn’t have to truly sand anything and could have probably just used a rag or paper towel to gently knock off the paint that had already chipped.
Seal the Dresser
Then I sealed the entire piece with two coats of General Finishes Flat Out Flat Topcoat.
Milk paint always needs to be sealed with a good sealer. Without a sealer, the paint will show water spots if anything drips on it and isn’t wipeable. The sealer will also protect the paint from chipping off further or scratching off.
Flat Out Flat is my favorite top coat for pieces with a vintage look. It is incredibly easy to apply, gives a completely matte finish, and is very durable. (You can read more about my favorite sealers for painted furniture right here.)
Refinish the dresser top if needed
Then it was time to figure out the dresser top. I had originally planned to just cut a new top, but I kept looking at the boards from the old top and thinking how beautiful they were. (I’m not the only one who finds old wood beautiful right?)
So I came up with a better idea that would make the most of the original wood.
I sanded down the old wood top as best I could to get rid of the stains and white spots. (I’m not sure what the original finish was but it didn’t want to go easily!)
Then I simply rearranged the order of the boards.
The old top was made of four different planks of wood and only one of them was noticeably warped and damaged. So I simply moved the damaged board to the very back against the wall where it wasn’t very noticeable.
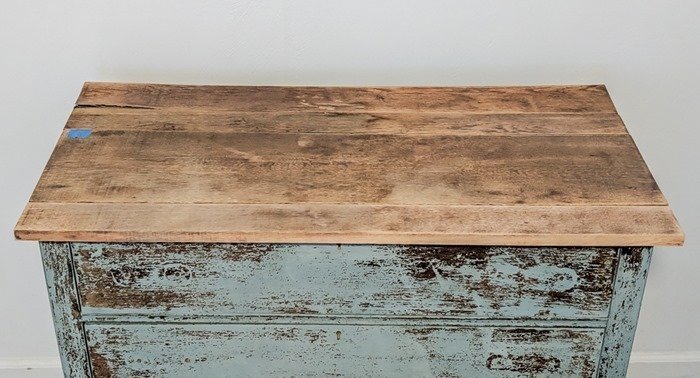
I stained the boards using Minwax Stain in the color Provincial and then sealed it with General Finishes High Performance Top Coat. (I could have used the Flat Out Flat again, but I wanted the wood to have a slight sheen.)
Then I simply nailed the top back to the base, the same way it was attached before.
Reattach the hardware
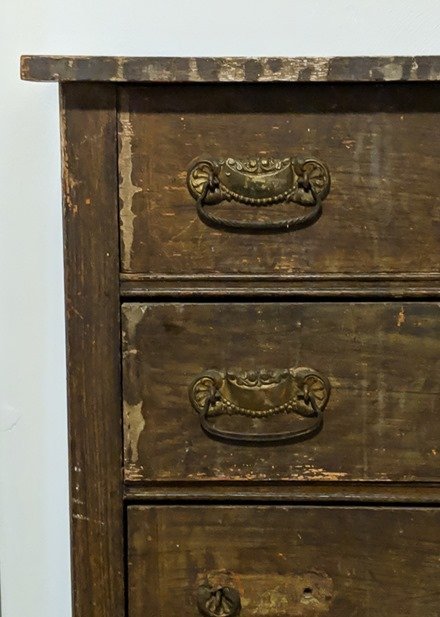
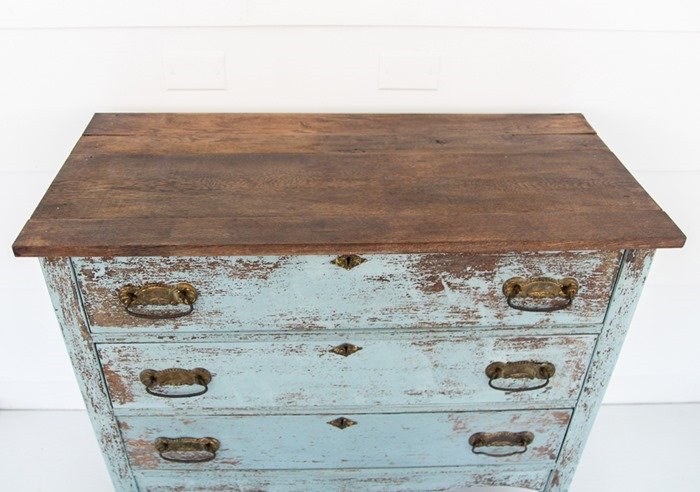
And finally, the hardware. I considered changing the hardware for something a bit simpler. But I really loved the original hardware; it was part of what drew me to this little dresser, to begin with.
I know those old pulls may not be as popular right now as simple bin pulls, but they are authentic.
And if they’ve lasted this long, it really doesn’t seem right for me to toss them in favor of the latest thing. There was the issue of one handle being missing though.
I did a bit of research online and found a nearly identical match. Of course, when it came, it was shiny new brass and looked completely out of place.
There was a bit of a crazy mishap with the replacement drawer pull when I attempted to use a chemical reaction to darken the finish and things went very wrong, but I’ll save that story for another day.
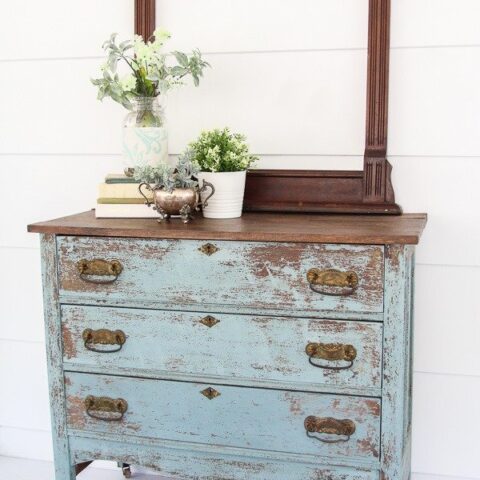
Luckily it wasn’t too hard to use a bit of dark brown paint to tone down the color and now I’d bet money you couldn’t tell which drawer pull is the one I painted. (Ok, you might be able to tell because it has a bit of a different shape, but the paint finish definitely doesn’t give it away!)
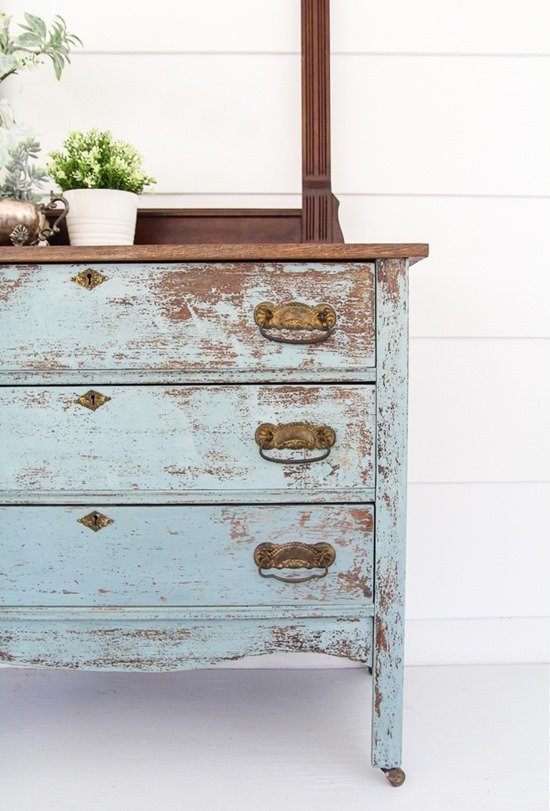
And here she is: my chippy farmhouse dresser.
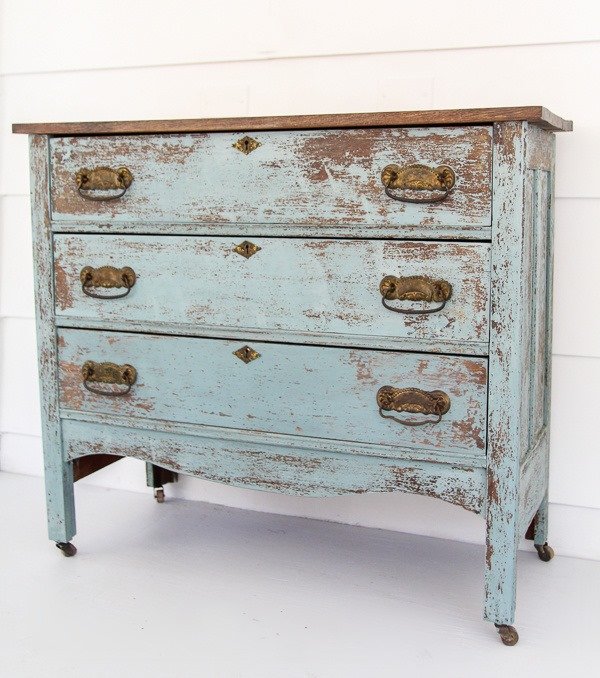
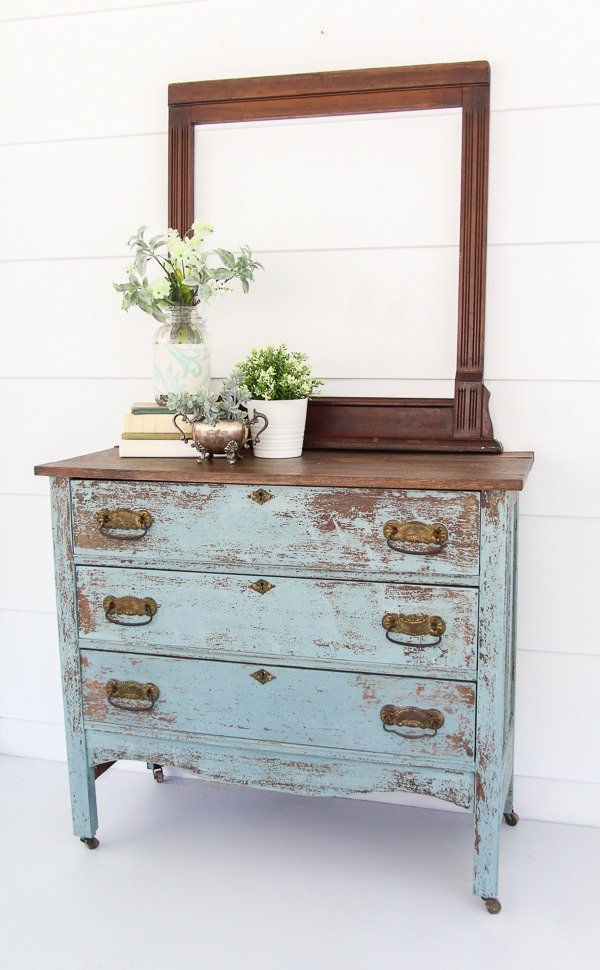
She’s way more chippy than I originally imagined, but I’m okay with that.
I love how this dresser doesn’t look like it was just painted in the twenty-first century. It looks like it could have been pulled straight out of an old abandoned house looking exactly like this.
And I think she is going to look perfect mixed with a few more streamlined pieces in the master bedroom makeover I am wrapping up.
Here’s one last before and after – this lady really came a long way!
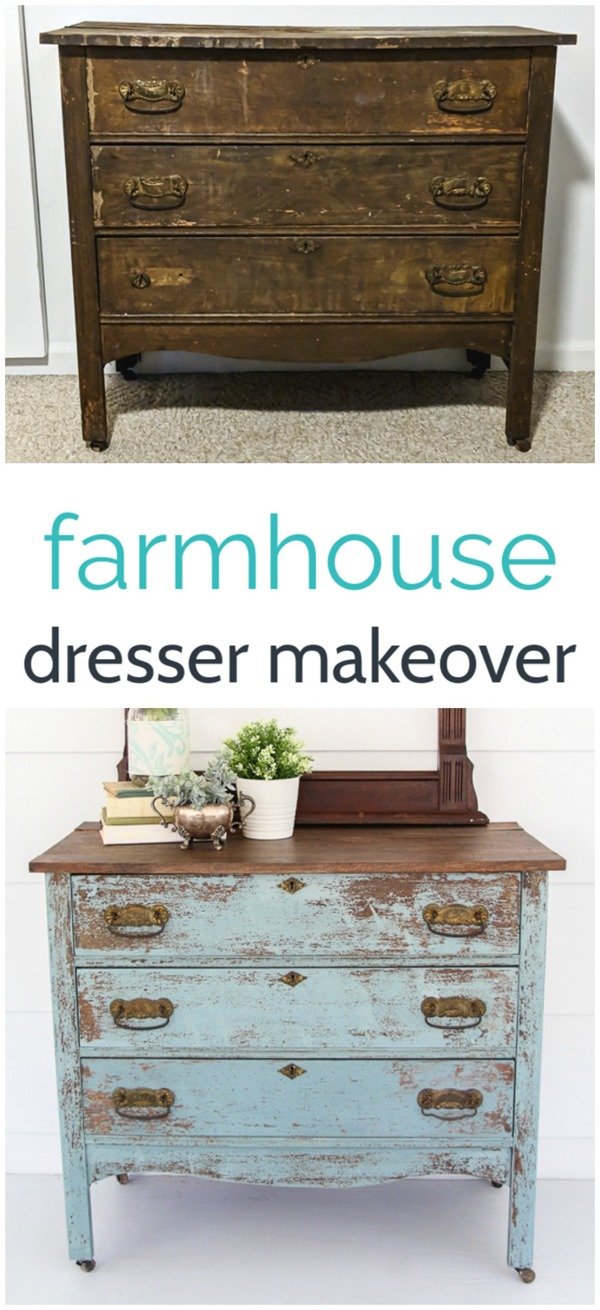
Now be sure to head over and check out the latest furniture makeovers from the rest of The Furniture Flippers. I’m always inspired by the pieces they share!
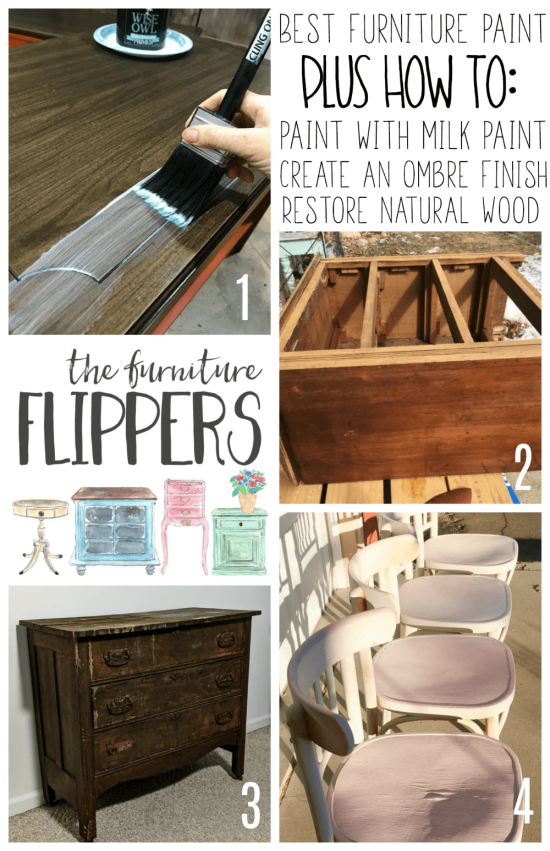
- Repainting Furniture with the Best Furniture Paint that Will Save You Time by Just the Woods
- How to Bring Old Furniture Back to a Natural Wood Finish by Refresh Living
- Farmhouse Dresser with Old Fashioned Milk Paint by Lovely Etc. (you are here)
- How to Mix Ombre Paint by A Fresh Squeezed Life
How to Paint a Chippy Farmhouse Dresser with Milk Paint
Use Old-Fashioned Milk Paint to give an old dresser a beautiful DIY farmhouse makeover with a chippy blue paint finish.
Materials
- Krud Kutter Prepaint Cleaner
- Old Fashioned Milk Paint in Sea Green and Oyster White
- Miss Mustard Seed Milk Paint in French Enamel
- General Finishes Flat Out Flat Topcoat
- Minwax Stain in Provincial
- General Finishes High Performance TopCoat in Flat
Tools
- Clean rags
- Cup and plastic fork for mixing the paint
- Paintbrush
- 220 grit sandpaper
Instructions
- Remove the hardware and clean the dresser well. I used Krud Kutter Prepaint Cleaner.
- Lightly sand the dresser.
- Use a plastic cup and fork to mix the paint.
- Add the Old Fashioned Milk Paint powder in Sea Green to the cup and slowly add a little water until it is a good paint consistency.
- Stir with the fork until the lumps of powder are dissolved.
- Mix Old Fashioned Milk Paint in Oyster White and Miss Mustard Seed's Milk Paint in French Enamel into the cup of paint.
- Paint the first coat. Let dry.
- Painted a second and third coat, letting it dry in between coats.
- Use 220 grit sandpaper to gently wipe the chipped paint away.
- Seal with two coats of General Finishes Flat Out Flat Topcoat.
- Sand down the old wood top.
- Stain with Minwax Stain in Provincial.
- Seal with General Finishes High Performance Topcoat..
- Add the hardware.
Recommended Products
As an Amazon Associate and member of other affiliate programs, I earn from qualifying purchases.
-
General Finishes QTHF High Performance Water Based Topcoat, 1 Quart, Flat
-
Minwax 22110 1/2 Pint Provincial Wood Finish Interior Wood Stain
-
General Finishes Flat Out Flat Topcoat, Quart
-
Miss Mustard Seed's Milk Paint French Enamel 30g
-
Old Fashioned Milk Paint Non-VOC Powder Paint, 1 Pint, Sea Green
-
Pro-Clean Basics White T-Shirt Cloth Rags: 1 lb. Bag
-
KRUD KUTTER PC326 PC32 Prepaint Cleaner/TSP Substitute, 32-Ounce, Original Version
Happy painting!


I love this, Carrie! And $12 was a steal!
Carrie I Love it!!! I love it !!!!! Great job
Thank you so much Velma!
Thank you Randi! It really was!
you are very talented at what you do and to get this for $12.00 you are also very lucky. I am from a rural area with lots of farms they have yard sales but I have never found a dresser like this for that price . very nice !!!:o) Sherry from New Brunswick Canada
Thank you Sherry! You have me drooling with your description of lots of farms that have yard sales!
Looks awesome! I love that you reused the original wood top and stained it in a wood tone. The contrast is beautiful. Btw, the drawer pull you painted was the bottom right one? Only say that because the pull is shaped a little different. You did a great job blending it in.
Thank you Robyne! And you are right – that is the one I painted. Good eye! I forgot the shape is a little different when I said you probably couldn’t tell, lol.
Loved the dresser makeover. It makes me want to find an old dresser and restore it. Thank you for the idea and how to. Thank you, Paul.
Thank you so much! Fingers crossed you can find one too!
Wow it looks amazing. Love the color you picked.
Thank you so much Maria!
What an amazing transformation! It is beautiful and I live the color.
Thank you Linda!
So beautiful!
Thank you Yvonne!
I’m in love with what you did Carrie. Sooooooo beautiful
Hi. I’ve never used GF dealers and would like to try – can you tell me how you apply it (roller, brush (synthetic/sponge…)?
Love this dresser by the way! I’m picking up a similar Eastlake dresser today and will likely paint it in MMS French Enamel. Thanks!
Thank you! You can apply the GF flat out flat with a synthetic brush, a foam brush, or a roller. I prefer to use a good synthetic brush because I like the smooth finish it gives. Good luck with your dresser!
Excellent, one step at a time instructions.
And thank God no gigantic side story. That’s the problem I come across so often, who wants to know what you made for dinner last night, lol.
Good timing for this article too! I made a potato bins with 3 hinged compartments that open to about 70 degrees. And each compartment is see through with just chicken wire over the opening.
I made this before and used the same company as you. Then I beat the heck out of it with varying things laying around my wood shop.
I used Boiled Linseed oil for a sealant.
Takes longer to dry and as long as it’s indoors it’s fine to use. And alot, cheaper
then GF flat out flat or their High Performance top coats.
Don’t get me wrong I absolutely GF products, especially their gel stains.
And now since purchasing a HVLP system it’s so much fun adding different costings to any of my projects.
Anywho, thank you for taking your time to make us crafty individuals more informed!
Your potato bin sounds really cool! And thanks for the tip about the boiled linseed oil. I’m all about saving money so I will have to give it a try!
Great Job and beautifully contrasted with original wood!
Thank you!