Create a photo wood slice Christmas ornament with this easy DIY tutorial.
Today I have another sweet DIY Christmas ornament to share. I adore photos and already have several photo ornaments hanging on our tree with photos of my husband and I and the Christmases from our childhood.
This year I most definitely needed to add some photos of my adorable little boy and his first two Christmases.
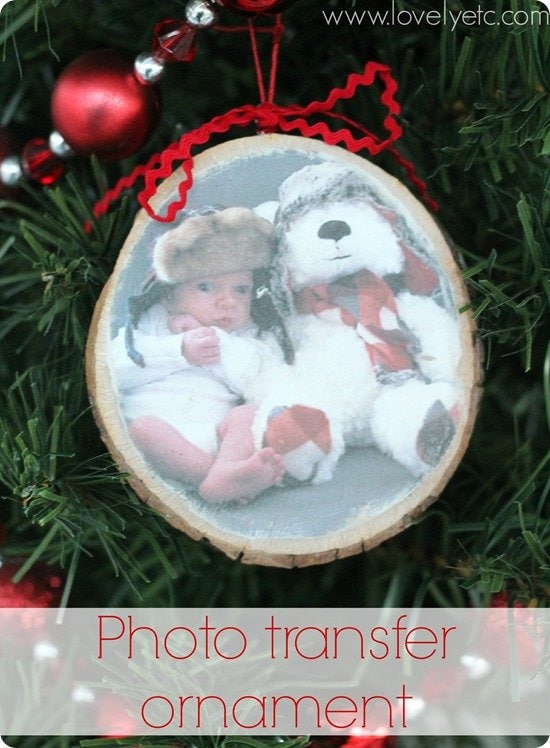
I decided to try transferring the photo directly onto a wood slice for this one because I wanted the photo to look like it was actually part of the wood, not just stick on.
(Plus, I’ve been thinking about a bigger photo transfer project so I figured a little practice wouldn’t hurt!)
*Update 2021: Even though I was pretty happy with this little photo transfer ornament, it wasn’t perfect so I kept experimenting. I’ve since created a new set of DIY photo ornaments that look amazing. You can keep reading for the tutorial for this ornament or head over and check out my updated DIY photo ornament tutorial.*
This post contains affiliate links which means if you make a purchase after clicking a link I will earn a small commission but it won’t cost you a penny more. Click here to see my full disclosure policy.
Supplies
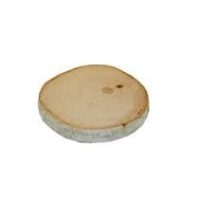
- 3″-4″ wood slice – you can always cut a slice off a branch outside, but it’s much easier to just to buy some.
- a photocopy of your photo
- scissors
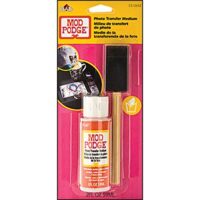
- photo transfer medium
- a wet cloth or papertowel
- fine grit sandpaper (220 grit or higher)
- eye hook and string – for hanging your ornament
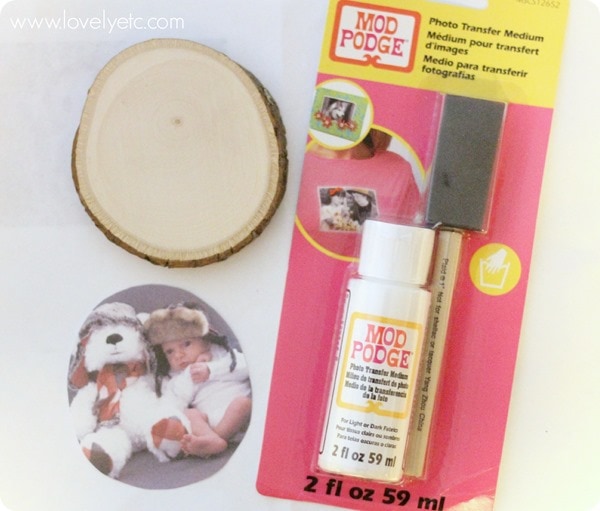
How to Make a DIY Photo Transfer Ornament
The first step is making a color photocopy of your photo. And yes, it needs to be a photocopy, not just a print out on your home printer.
To be honest getting myself to Staples to make a copy was the most difficult part of this project!
But that hassle aside, the rest is pretty easy!
(Just make sure that your photo is the right size for your wood slice before you copy it. Also your photo is going to end up reversed so if there is any writing in your photo you may want to reverse it before you print it so it will end up correct.)
Trace the wood slice onto your photocopy and cut it out slightly smaller than the tracing you made.
Apply the photo transfer gel liberally onto the top of the photocopy.
Press the photo, gel side down onto the wood slice Be sure to smooth it out and press it down firmly.
Allow this to dry fully – I left mine overnight and it was ready the next morning.
Using a wet cloth, wet the back of the photo. Gently rub the back of the photo until the paper all rubs off.
When nothing else rubs off, you are done!
Use a piece of fine sandpaper to gently sand the edges of the photo. (You can skip this if you want but it gives it a nice ‘been there forever’ look).
Twist an eye hook into the top of the tree slice and add some string and you’re done!
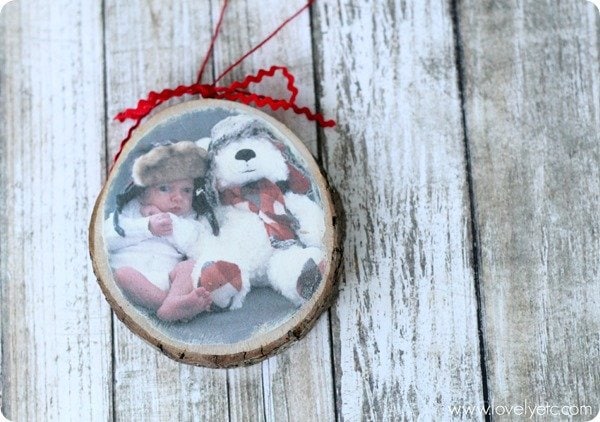
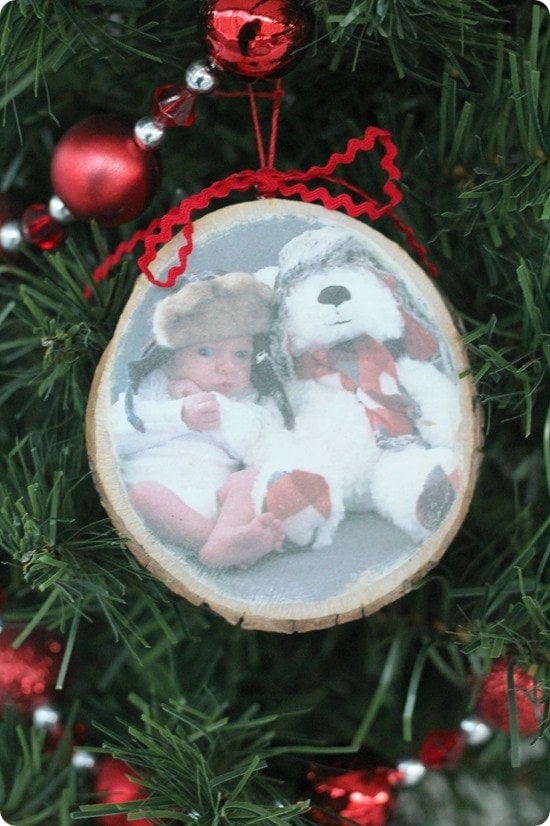
You can see all of my handmade ornament ideas right here.
And here are eleven more amazing handmade ornament tutorials from some of my favorite bloggers!

Fabric Scraps Christmas Ornament | Whats Ur Home Story
Chalkboard Christmas Ornament | Remodelando la Casa
Marbled Ornament | Bigger Than The Three of Us
Painted Pinecones Ornament | All Things G&D
Bottle Brush Tree Ornament | It All Started With Paint
Wood Slice Noel Ornament | Cherished Bliss
Glitter Inside Glass Ornaments | Mom 4 Real
Mason Jar Ring & Recycled Card Shadowbox | Serendipity Refined
Monogrammed Wood Slice Ornament | May Richer Fuller Be
Glitter Paper Ornament | The Happier Homemaker
Wooden Photo Ornament | Lovely Etc
Mini Woodland Wreath Ornament | Thrifty & Chic
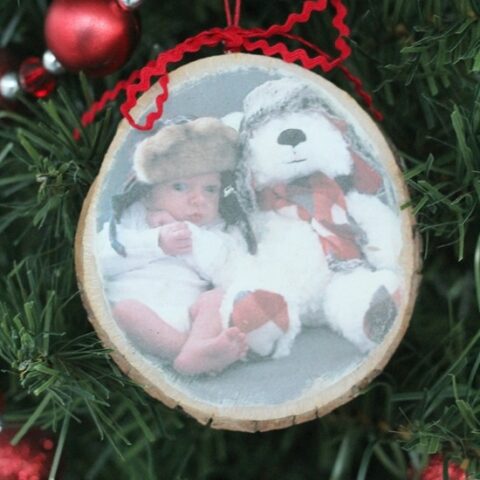
Photo Transfer Wood Slice Ornament
Transfer family photos onto a wood slice for a DIY Christmas ornament to be cherished for years to come!
Materials
- Wood Slice Coaster
- Photocopy Of Your Photo
- Photo Transfer Gel
- Wet Cloth
- Eye Hook and String
Tools
- Sandpaper
- Scissors
Instructions
- Trace the wood slice onto your photo copy.
- Cut it out slightly smaller than the tracing .
- Apply the photo transfer gel liberally to the top of the photocopy.
- Press the photo, gel side down, onto the wood slice.
- Allow this to fully dry.
- Wet the back of the photo using the wet cloth.
- Gently rub the back of the photo until all of the paper rubs off.
- Use a piece of fine sandpaper to gently sand the edges of the photo.
- Twist an eye hook into the top of the tree slice.
- Add string for hanging.
Recommended Products
As an Amazon Associate and member of other affiliate programs, I earn from qualifying purchases.


Lisa@2perfectiondecor says
What a great gift idea!! I am totally going to make one for my mom and mother in law!!
Thanks for sharing!
Carrie says
Thanks Lisa! I hope they love them!
Tricia says
What kind of paper are you photo copying picture to? Just regular copy paper?
Carrie says
Yes Tricia, just regular copy paper. I made my color copies at Staples but any color copier should work!