A super simple tutorial for adding cheap and easy finials to basic DIY curtain rods.
Of all the projects I have shared over the past five years, one of the most popular is my super cheap DIY curtain rods.
They may not be flashy but they are such a great alternative to expensive curtain rods – especially when you are dealing with an extra-wide window.
It really is amazing how inexpensive curtain rods can be when you put them together yourself using a few simple items from the hardware store.
Anytime you can whip up a cute, functional curtain rod up to ten feet long for less than $15, it is a major win.
Four years later, my curtain rods are still going strong, but one little detail continues to nag at me – the lack of finials.
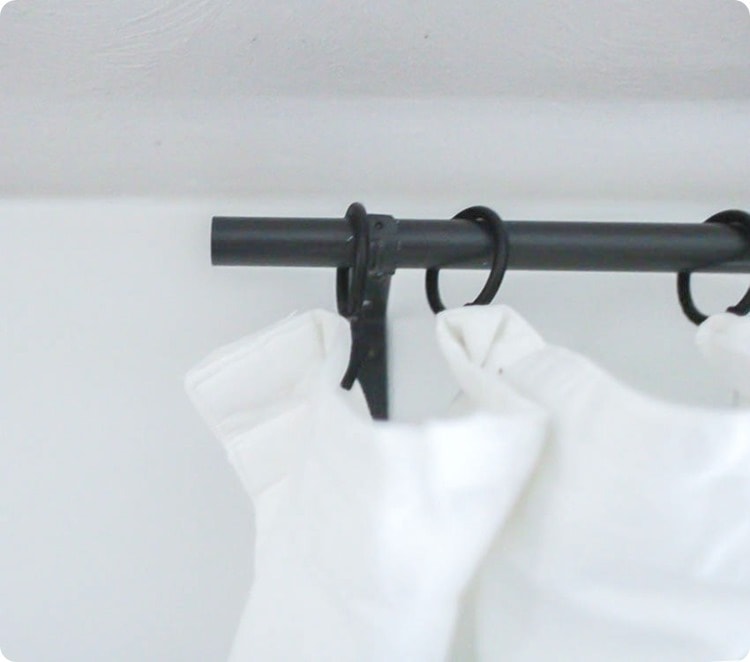
Not a huge problem, but I have to admit they were looking a bit naked so I finally decided to do something about it.
This post contains affiliate links which means if you make a purchase after clicking a link I will earn a small commission but it won’t cost you a penny more. Click here to see my full disclosure policy.
You can buy curtain finials on their own. But the inexpensive ones typically cost $10-$15 a pair and it seems incredibly silly to buy curtain rod finials that cost more than the entire curtain rod.
Which meant a DIY job was in order.
So I started pondering how to whip up some cheap finials that would be easy enough to compliment the cheapest curtain rods ever, but still, look classy. And I finally came up with a great idea.
How to Make DIY Curtain Rod Finials
The finials themselves are made from cabinet knobs.
The beauty of using cabinet knobs is there are a million different styles available so you can choose the exact look you want to match your room. Plus, if you know where to shop they are super cheap.
I shared my favorite sources for inexpensive cabinet pulls and knobs here. There are tons of styles for less than $3 and some are as little as $1 each!
But how to attach them?
I considered using strong glue, but because the curtain rod is made from a hollow pipe, it would be really tricky to line up the knobs and pipe exactly.
Instead, I tried a new product I’d heard good things about and it worked perfectly!
It is called Sugru and it is sort of a cross between play-doh and glue.
It is moldable and can be attached to all kinds of things. And it just so happens, it is perfect for turning cabinet knobs into curtain finials.
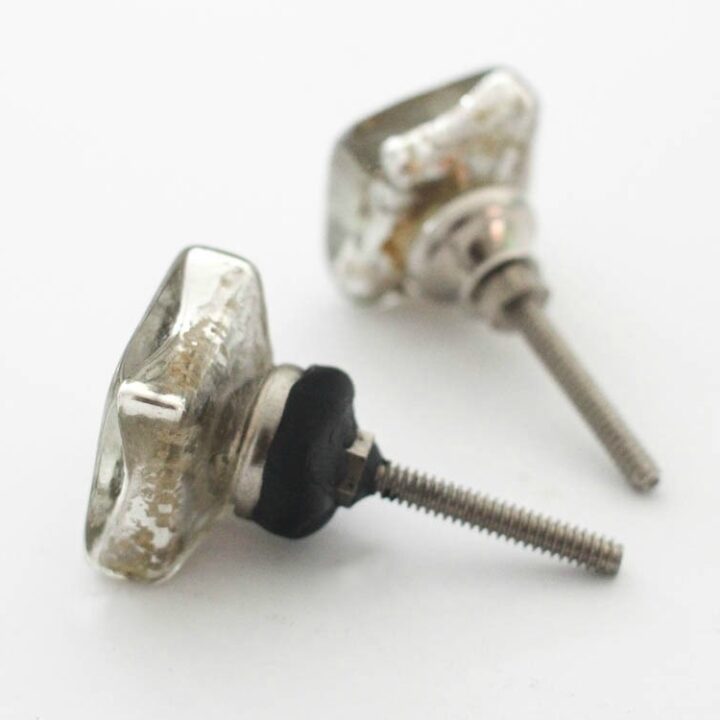
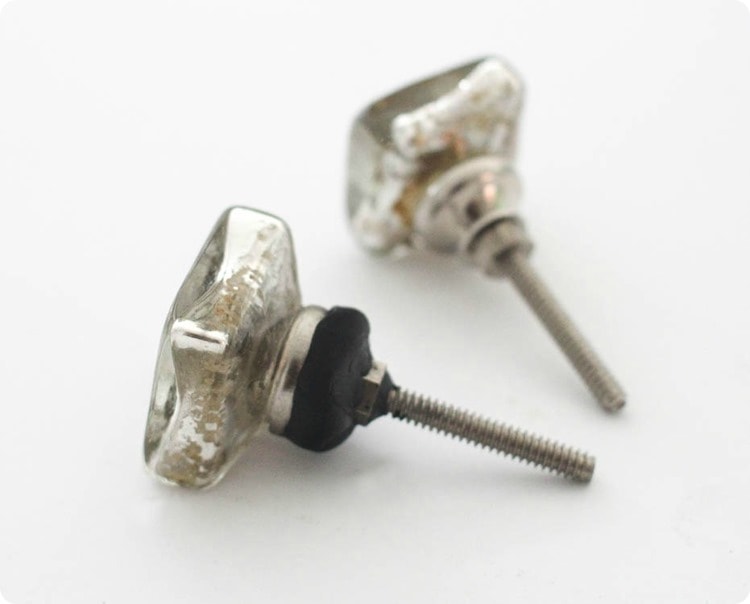
I used mercury glass knobs that I bought on sale at Hobby Lobby. Sugru comes in several different colors; I chose black to match my oil-rubbed bronze curtain rods.
This is seriously ridiculously easy to do. If your knobs have an attached screw-like mine, form a small ring of Sugru around the screw right at the base of the knob.
If there is no screw, you can simply press a small ball of Sugru into the base of the knob. Then press the knob to the end of the curtain rod.
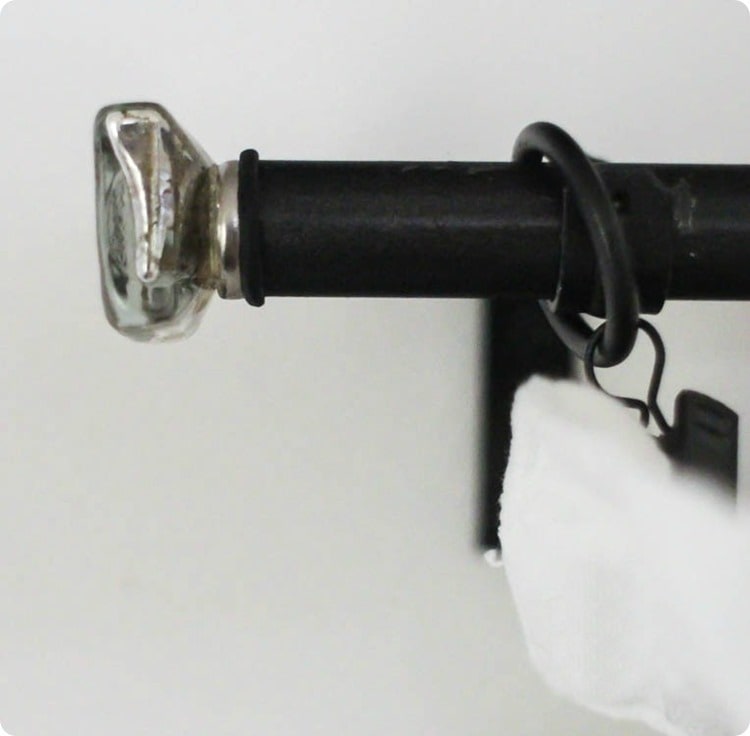
There will probably be some Sugru that squishes out between the curtain rod and finial. Simply wipe off the excess with your finger.
And that’s it. So simple.
I was able to attach four finials using one small pouch of Sugru.
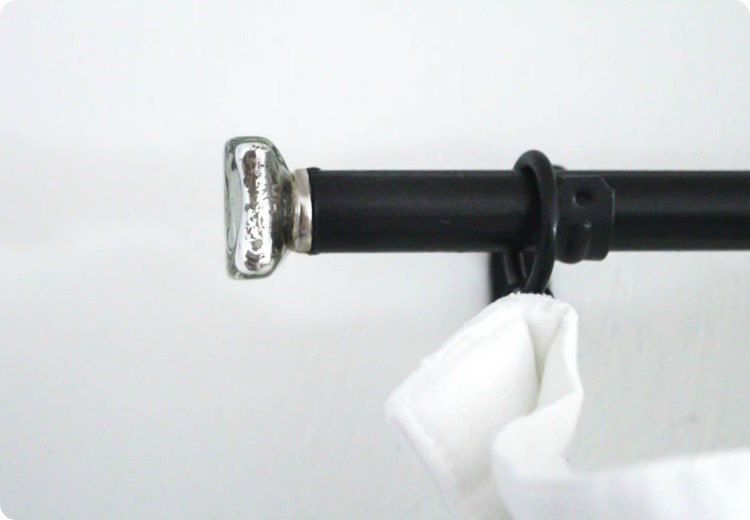
It is a just tiny change, but these curtain rods finally feel finished!
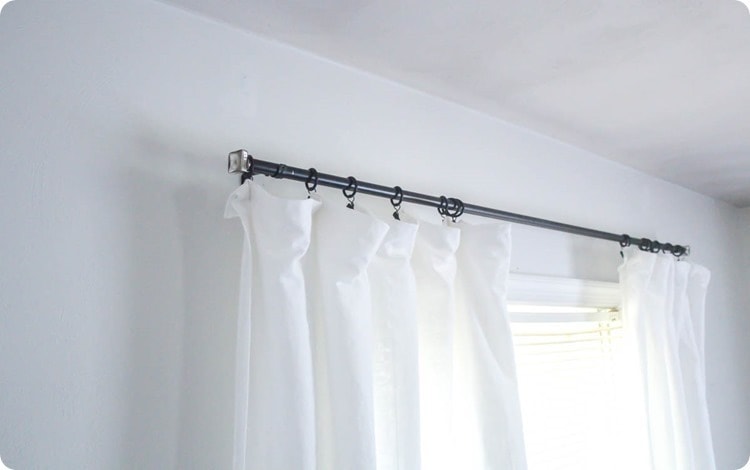
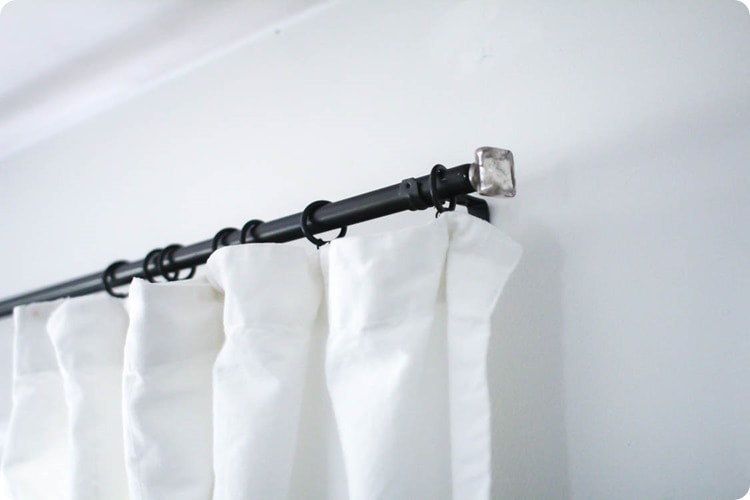
You could completely change the look of the curtain rods depending on what type of knob you chose.
You could go subtle with a metal knob in the same finish as your curtain rod. Or make a splash with something big and bold.
Looking for more inexpensive DIY curtain rods and curtains? I’ve got you covered:
- The Cheapest DIY Curtain Rods Ever
- 20 Inexpensive DIY Curtain Rods that Anyone Can Make
- Where to Buy Inexpensive Cabinet Knobs and Pulls
- 25 Amazing DIY Curtains that Anyone Can Make
I’d love for you to pin this post on Pinterest!
Add DIY finials to Cheap Curtain RODS
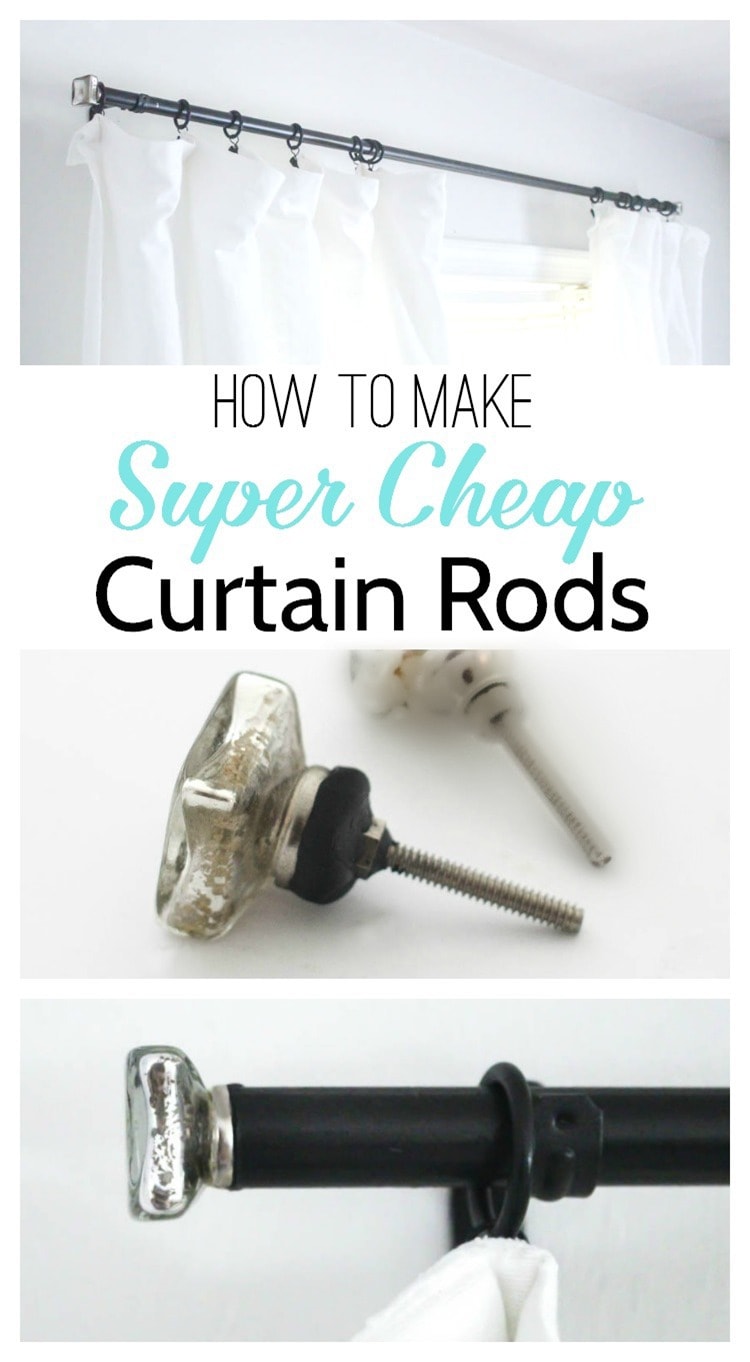
Make inexpensive DIY curtain rod finials using cabinet knobs! They look like the ones sold at high end stores, for a fraction of the price. This trick works well for any plain curtain rods, including inexpensive DIY curtain rods made from electrical conduit.
Materials
- Sugru (modeling glue)
- Cabinet Knobs
Instructions
- If your knob has an attached screw, form a small ring of sugru around the screw at the base of the knob.
- If there is no screw, press a small ball of sugru into the base of the knob.
- Press the knob to the end of the curtain rod. Wipe off any excess sugru.
- The sugru will harden within 30 minutes.
Recommended Products
As an Amazon Associate and member of other affiliate programs, I earn from qualifying purchases.
-
Set of 10 Handmade Glass Knobs Clear Vintage Designer Flower Shape Furniture Handle Cabinet Drawer Pull Silver Finish
-
IQUALITE IQ_01 12pcs Diamond Shape Crystal Glass 30mm Knob Pull Handle Usd for Cabinet, Drawer, Clear
-
Sugru Moldable Glue - Original Formula - All-Purpose Adhesive, Advanced Silicone Technology - Holds up to 4.4 lb - Black & White 8-Pack



Linda says
Another excellent tip! Thanks!!
Carrie says
Thanks Linda!
Carrie says
Oh I absolutely love this idea! I make glass beads so I will be able to make some beautiful and unique pieces. I already have the glue. Thank you for the inspiration.
Carrie says
Wow, glass bead making sounds amazing! I bet you can definitely make some gorgeous pieces!
Eunice Roman says
How would you remove the curtains if you ever want to switch them out with something else, or to wash them? Is there a way to take the finials off or are they permanently attached?
Carrie says
The curtain rods can be lifted off the brackets just like regular curtain rods you would buy. Also, if you use clips to hang the curtains like I did (because I just like that look), you can simply unclip the curtains to wash. Also, you can remove the finials but you would have to reattach them with fresh adhesive putty. Lots of options! :)
Rachael Cottrell says
You’re brilliant.
Carrie says
Ha, thank you!
liona shareing says
What a great idea, I tried to do several things to add knobs to finish off my curtain rods, but they didn’t work and the knobs fell off I will give this a try.
The other thing I wanted to offer if someone wanted to make strong-cheap- double brackets is to make the bracket like shown with 2 1/2″ shelf supports then make a 2nd one using 1″ shelf supports.
You screw the larger one into the wall at it’s lower hole, then attach the 2nd one using the top hole of the 2 1/2″ bracket to secure them both.
Carrie says
Great tip for double curtain rods!
Tracey Way says
Awesome I’ve been trying to figure out how I was going to finish off my super cheap curtain rod for my Florida room (aka PVC pipe). You are a genius!!!!! Thanks for the tip
Carrie says
Thanks Tracey! I am glad I could help!
LMarker says
I read with interest your idea to use Sugru. I had never heard of it. My issue is that I am using electrical conduit as a rod, and my finials are glass doorknobs. If the finials are permanent, the curtains can’t be slipped over the rod – they have to be installed on clip rings. However, it does appear that Sugru is permanent. I am going to try museum putty, which has a strong hold, but is ultimately removable, to attach one finial. That way, I can remove the curtain for washing.
I am going to buy and play around with Sugru for other projects, though!
Carrie says
Good point about not being able to remove the curtains over large finials. I would be interested to hear how the museum putty works. Also, I absolutely love the idea of glass knobs as the finials!
Holly Burns says
Another idea I just thought if would be to fit some hard styrofoam inside the pipe and insert the screw for the finial or cabinet knob into the styrofoam. You would make the styrofoam stay in place by putting some glue on the inside of the pipe before inserting the styrofoam inside. I am thinking of the hard white stryofoam you see that comes in packages you order in the mail.
Carrie says
Holly, that is a great idea!
Natalie says
This is a wonderful idea Carrie!
I have a lot of wine corks. I might try stuffing them into the ends of the rods and then screwing in the knobs into the cork. Easy to unscrew at a later date, if necessary.
Carrie says
Yes, that is such a great idea! Cheap and easy and I bet it will work great!
Donna M Blunt says
This is so affordable! Being a single woman and not a lot of money for pretty things, this fits my needs perfectly!!! Thank you so much.
Carrie says
I’m glad it can help!
Jeff says
I use conduit for curtain rods. It is stronger than conventional rods and comes in a variety of diameters. My problem is finding the piece that goes into the rod which the finial screws into. Any idea where those can be found? Is there a name for them?
Carrie says
I’m not sure. If you don’t want to use the method I did, another idea is to screw the finial into a short piece of wooden dowel that will fit into the conduit.
liona shareing says
I wanted to add a further tip for securely fastening ( with easy removal) the DIY finials made of cabinet knobs.
I used metal electrical conduits for my curtain rods. The guys at Home Depot were kind enough to cut to my desired length free.
In any case I was trying to find a “cheap” way to attach the knobs and found Widget Company has a #1 rubber stopper with a hole drilled in it for just 80 cents each, and they ship free!!!
I had a longer 1 1/2″ screw that fits the knob. This fits through the hole and you can secure the knob to the stopper tightly without glue or anything else.
Best of all you can easily remove it if needed to wash the drapes.
The black stoppers can be painted with Zinsser bullseye 123 water based primer (I did 2 coats) then whatever color will match the knobs or walls.
I wish it was possible to add pictures. best wishes to you all in the New Year
Carrie says
Oh my goodness, what a perfect tip! Thanks for sharing!
LJ says
Other options:
1. Wine cork. You may need to carved it down a bit if it is too thick. If you have painted rods a dark color, wrap a bit of black electrical tape around the cork. This way, if any cork happens to be visible, you won’t notice it. Screw finial into cork. Slip cork with finial into rod.
2. A wood dowel just small enough to fit inside rod. Wrap with electrical tape enough to be snug but still fit. Screw finial into dowel, slip into rod.
Carrie says
These are both great ideas – thanks for sharing!