How to make a cheap and easy table runner
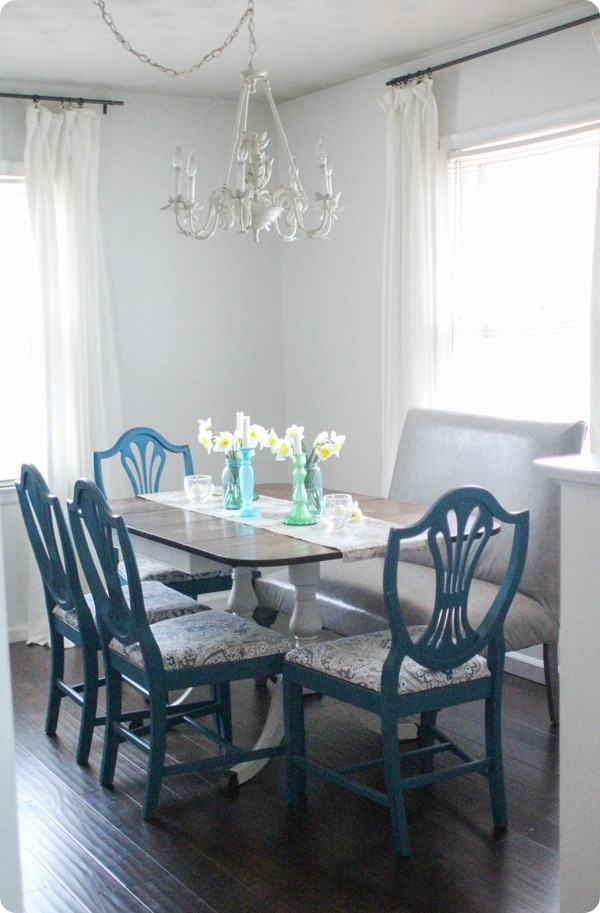
I’ve been having so much fun freshening my home up for spring using things I already own. I shared my spring home tour earlier this week and one of my favorite parts was the dining room table. The thing that brought it all together – the cheap and easy table runner. And when I say cheap and easy, I really mean it. You could make a dozen of these for $5 in about 30 minutes.
This post contains affiliate links. See my full disclosure here.
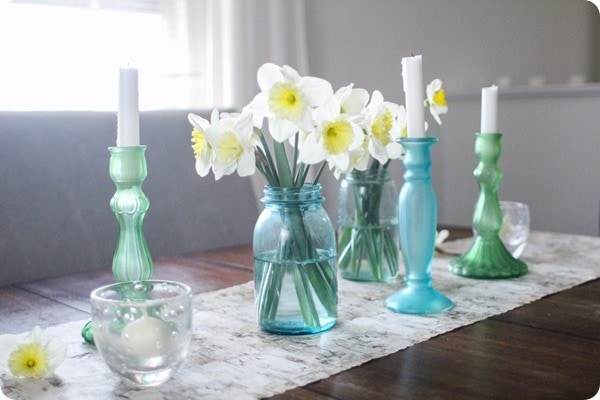
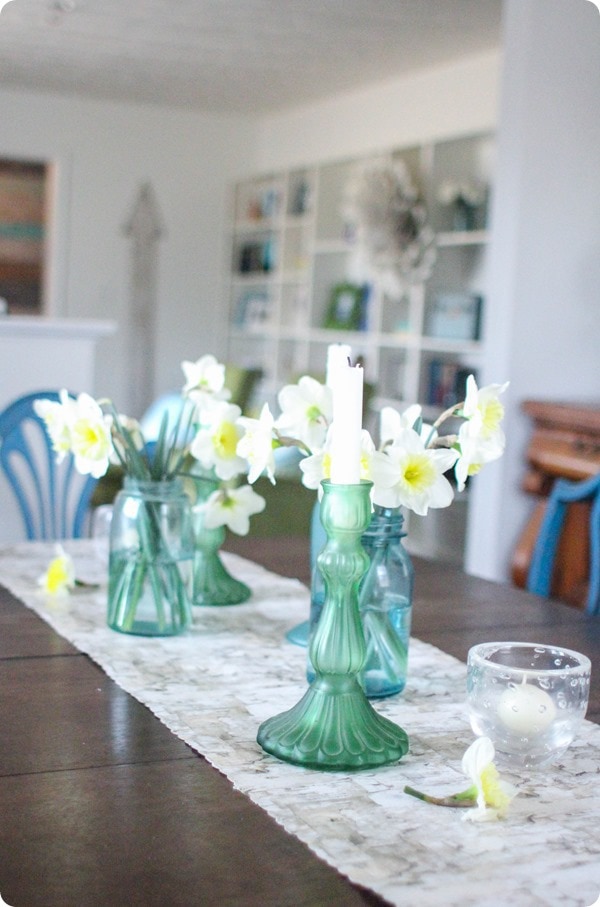
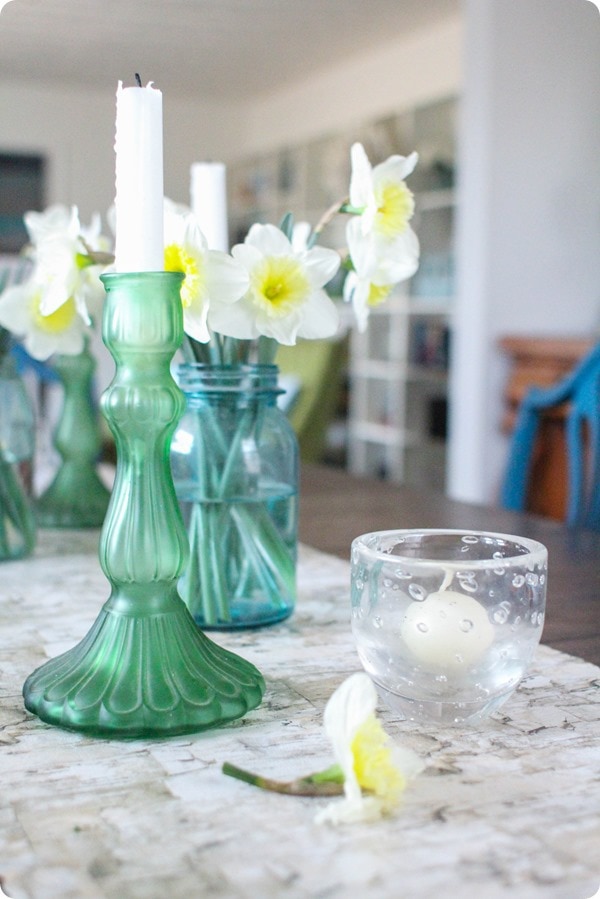
A few years ago, I picked up these aqua and green glass candlesticks at yard sales and I love them. Something about them just screams spring to me and I knew I wanted them on the dining room table along with some of my vintage blue mason jars. But when I pulled them out and added them to the table, they just looked weird. I tried clumping them closer together. (That’s an interior design term right? Clumping?) They still looked off. I tried spreading them out. Still weird. The problem was they looked like they were just floating oddly in the middle of the table. I didn’t think to take a picture so you’re just going to have to trust me on this.
I was pretty sure the solution was a table runner – it would help bring everything together and make it look more intentional. The problem is I don’t own a table runner. I know – shocking for someone who loves to decorate as much as me! But I’ve just never needed one before. I was pretty determined to put this table together using only things I already own so buying a table runner was out. Which meant I was just going to have to figure out how to make one.
I pulled out all of my fabric scraps and found a few that would be really pretty…but, to be quite honest, I just didn’t feel like sewing. Or ironing for that matter. It sounds kind of lazy but whatever. It’s just decorating – cutting corners here and there isn’t the end of the world. Plus, every now and then, a little laziness leads to the best ideas and this happened to be one of those times.
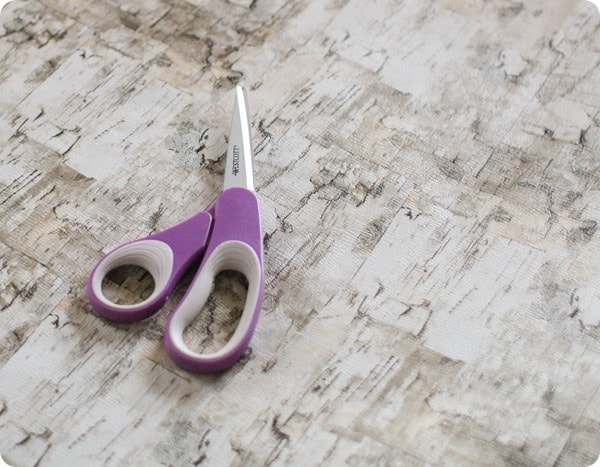
Fabric was out, but what about paper? Then all I would have to do is cut it with some scissors! I happen to have a thing for pretty wrapping paper. Whenever I find a really gorgeous paper I snap it up, knowing I’ll figure out some way to use it. In this case, I pulled out some pretty birch printed wrapping paper I bought last year. Mine is from TJMaxx (my favorite source for inexpensive wrapping paper), but I found the green candlesticks online at an awesome price.
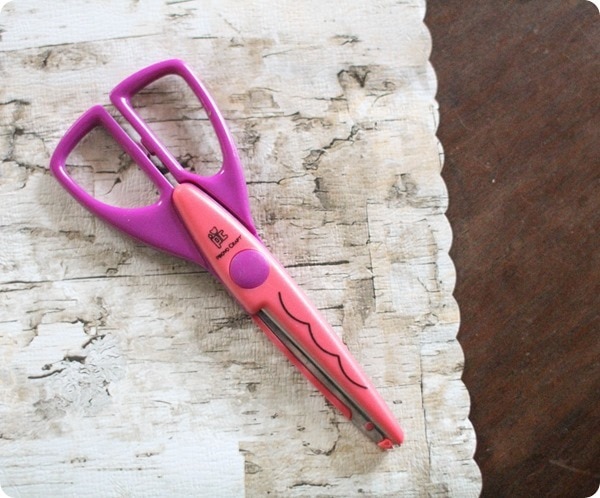
I cut a piece of the paper a little longer than the length of my table. Then I folded it in half lengthwise and cut along the fold. This gave me the perfect width for a table runner. To make it extra pretty, I pulled out a pair of green candlesticks and gave it pretty scalloped edges.
I added my candlesticks and jars again and it was perfect! Wrapping paper for the win!
.
This isn’t the first time I’ve used wrapping paper in my decorating. I actually used the exact same wrapping paper to update a lampshade …and I liked it so much, it is still there two years later!
Anyone else have creative ideas for repurposing wrapping paper? I’ve certainly got enough stashed away that I would love to put to a good use!
*I’ve had several comments about my pretty colored glass candlesticks. I lucked into finding these at yard sales but I did find similar green candlesticks and blue candlesticks on ebay if you are looking for your own set.
I am linking this post at Work it Wednesday.


Love super simple ideas like this one! And the candlesticks are perfect. In fact, I’m on the hunt for something similar. Visiting from Work It Wednesday party.
Thanks Victoria! Sometimes it’s really nice to take a break from big projects and tackle something that I can actually finish quickly!