Industrial Family Command Center
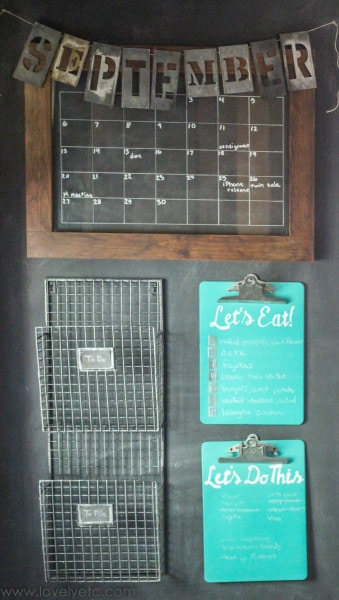
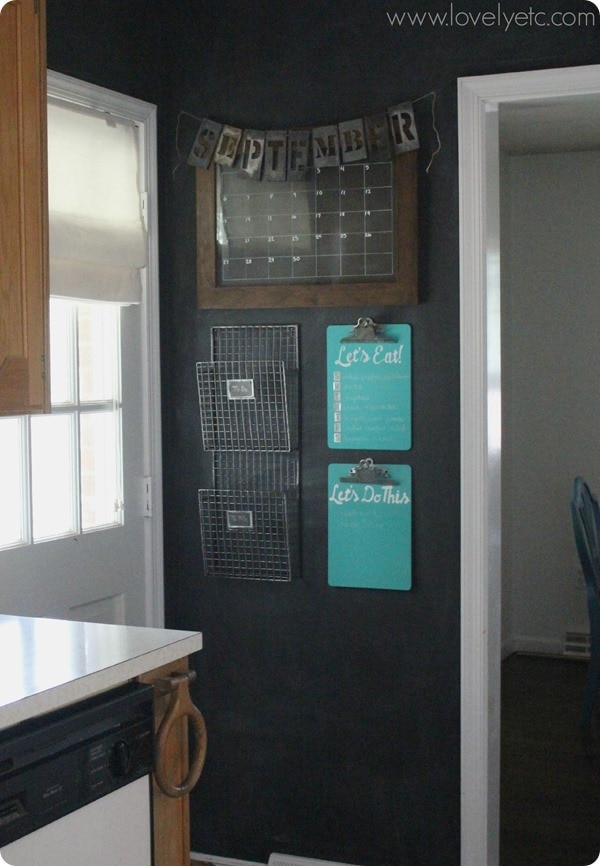
This industrial family command center wasn’t just something I wanted to make, it was something we really, really needed.
The piles of papers in our house were completely out of control. Our previous system consisted of setting the mail on the kitchen counter, letting it pile up for several weeks, and then sorting it into piles of bills to pay, things to do, and papers to file. Until we needed to use the counter and everything got shoved back into one huge pile. It was so not working for us. The kitchen always looked messy because of all the papers and we were constantly losing things we needed and even paying bills late. Something seriously had to change.
Enter the family command center.
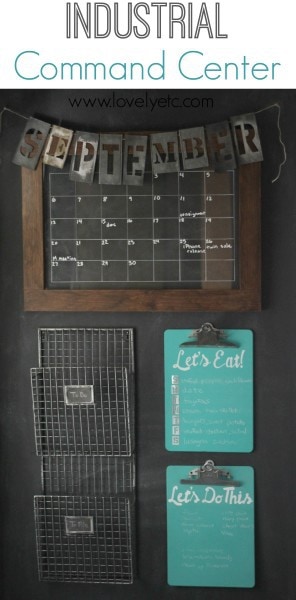
There was a little strip of wall in our kitchen that I painted with chalkboard paint several years ago. My two year old, Griffin, loves to draw on the lower part of the wall, but the upper section was perfect for our little command center.
This post may contain affiliate links. You can read my full disclosure here.
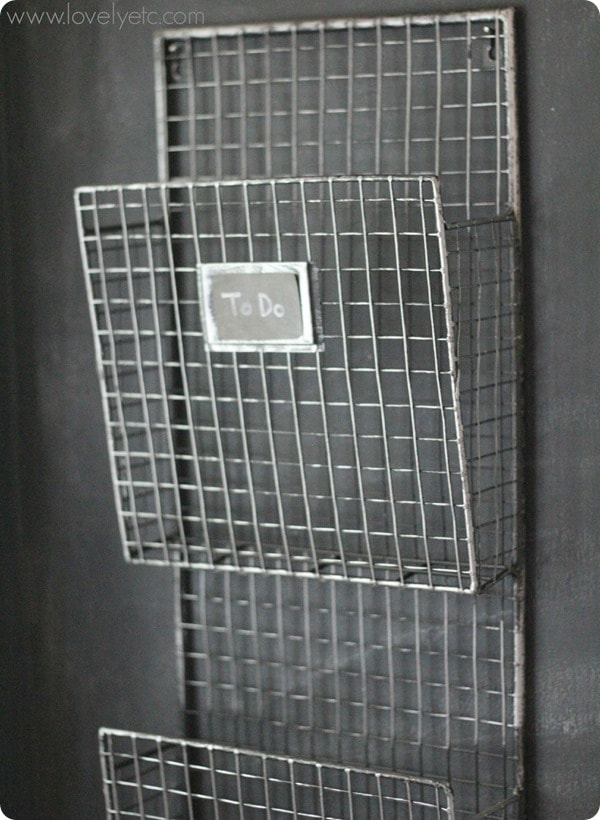
The most important thing I needed was somewhere to keep papers waiting to be taken care of. Somewhere other than the kitchen counter. This metal wall organizer is from TJMaxx and has a section to hold papers that require some sort of action and a section for papers waiting to be filed away. (Amazon has some similar wall baskets.)
Of course I realize this won’t help one bit if we don’t use it. The key to making this work is to open the mail immediately when we bring it in, toss the junk, and put everything else in the section where it belongs. It is crucial that no papers ever touch the counter for this to work – if one paper lands there, the next thing I know ten more have joined it!
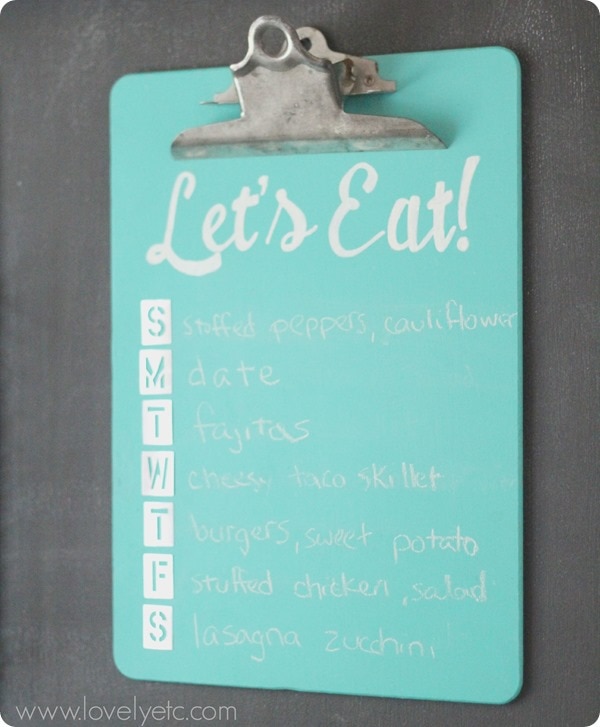
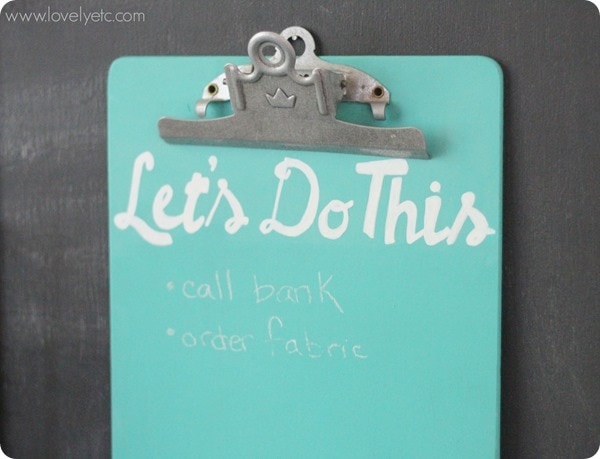
The two clipboards were painted with turquoise chalkboard paint from Urban Oasis Décor. The top one is a menu planner – each week I write down our meals for the week as I’m making my grocery store list. This has been so incredibly helpful. I’ve always planned our meals before buying groceries, but half the time I would forget what I had planned by the end of the week.
Plus, now when my husband asks what is for dinner (which happens daily, even when it is his turn to cook), I can just point him to the board.
The second clipboard is for my to do list. “Let’s Do This” is written with white paint pen but the rest is blank which leaves lots of flexibility.
Right now, it’s really working for me to have a list of things I would like to get accomplished before the week ends. There are days I can’t seem to get anything done between the 2 month old and the 2 year old so a daily list just won’t work. But usually by the end of the week I’ve managed to cross everything off the list.
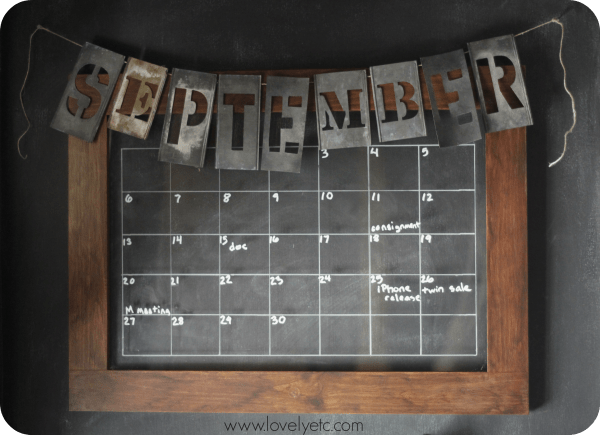
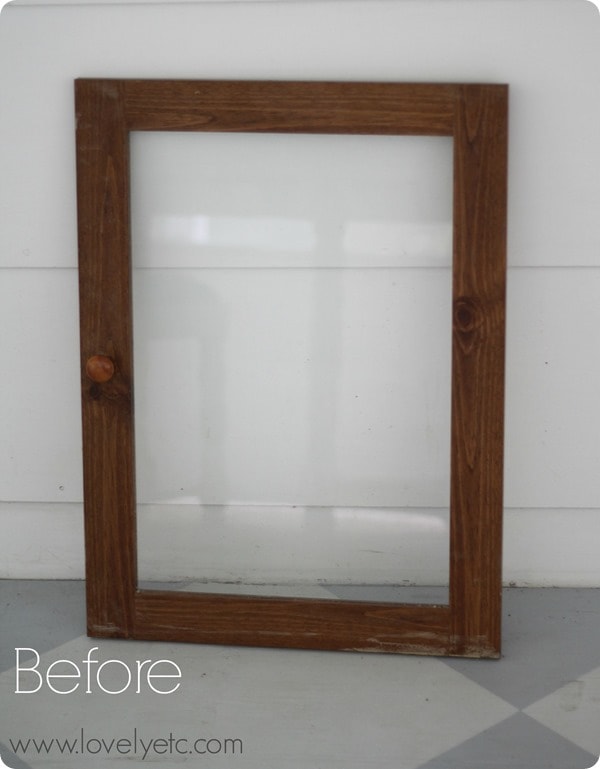
Which leaves my absolute favorite part – the calendar. The calendar itself is made from a glass cabinet door leftover from a furniture redo.
(It was originally part of the entertainment center that became Griffin’s awesome play kitchen.) I just removed the knob, filled the hole with wood filler, and used a little brown paint to darken the color.
Of course, if you don’t have a glass door, you can always use a picture frame. I used a paint pen to draw the calendar grid on the back of the glass and a chalk marker to write the numbers. If you haven’t used chalk markers before, they are awesome! They write with the ease and sharpness of a marker but can be erased like chalk. They work on most chalkboards, but also any nonporous surfaces including glass. I’m going to use chalk markers to add all of our appointments and activities to the calendar each month as well.
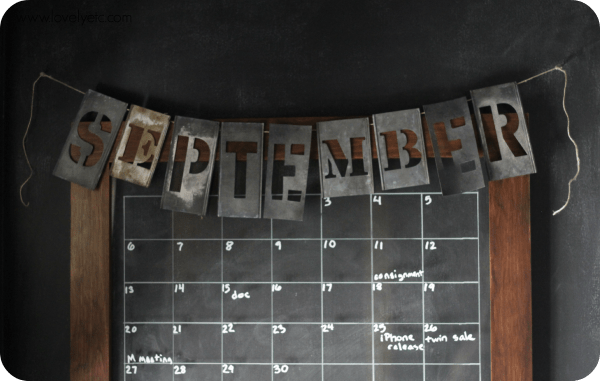
The letters spelling the name of the month are vintage metal letter stencils. I was super lucky to find a huge stack of these at a yard sale a few weeks ago for less than $5. But even if you don’t have a stash of these, you can still have your own awesome vintage stencils. Look closely – can you tell that two of the letters are actually cardboard? I didn’t have two of the letters that I needed, so I made them using cardboard and paint and I think they look pretty indistinguishable from the real thing. Click for the step by step tutorial to make your own vintage stencils.
And that’s our command center. Here’s to getting organized and moving one step closer to clear kitchen counters!
And if you are planning to create your own command center, you’re going to want to read my Guide to Creating a Fabulous Command Center.


Wow, this looks great. I can totally relate to the constant battle to keep the mail and junk off the counters. The stencil letters make this command center very unique.
Thanks Suzy!
This is really cute, Carrie, and gives me some inspiration for a wall in one of my hallways!
Thanks Suzy! I am loving having it!
I get that you put the grid and the back of the glass and change the numbers month to month. How do yo write on the chalkboard though, if it’s under the glass and how to write your appointments on chalkboard, if the glass is over it? Maybe I’m misunderstanding?
Linda, good question. The grid is written on the back of the glass with permanent paint pen. I write the name of the month, the numbers, and our appointments and things on the front of the glass each month with a chalk marker. You can just wipe it off with a damp paper towel at the end of the month. You can get chalk markers at a craft supply store or even at Walmart. (Even though it is called a chalk marker, it works great on glass too.)
What size is your calendar/cabinet door?
Dana, it is 18 inches by 24 inches.
Love this! Wondering what you hung the clipboards up with?
Thanks Carrie! Each clipboard has a little hole in the metal part at the top so I just hung those on small nails. If that isn’t an option, commmand strips would also work great!