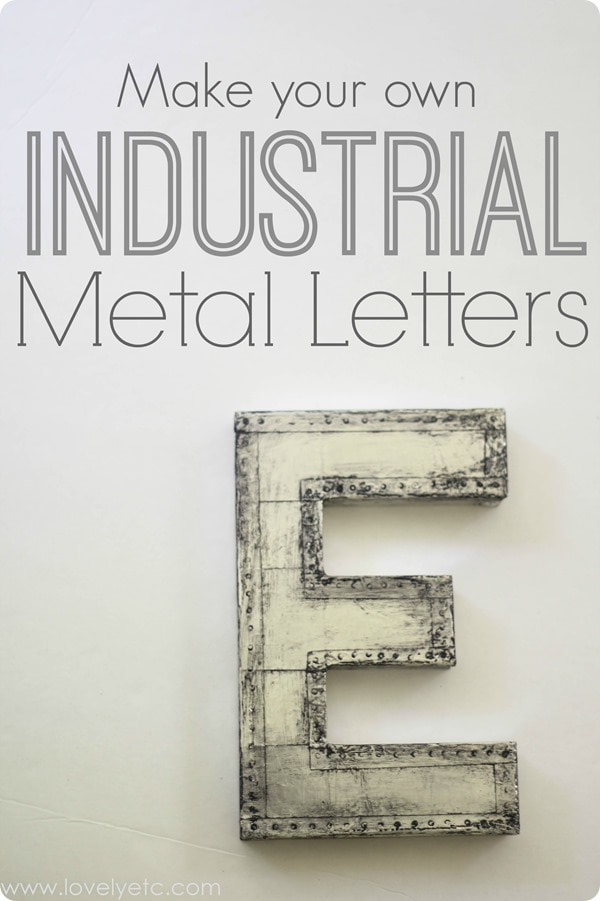
Make Your Own Industrial Metal Letters
I have a new secret weapon in my DIY arsenal. This is the best material I have found for transforming pretty much anything into a vintage metal masterpiece!
A few weeks ago I shared my son’s newly completed Little Explorer bedroom. One of my favorite parts of the room is the Explore sign over his bed. I love the eclectic, rustic, industrial vibe it has – so appropriate for a little explorer’s room!
The great part is I didn’t have to scour vintage shops to get the vintage industrial feel. All of the letters were bought from local craft stores. To keep things eclectic without being over the top, I only chose letters that were fairly large in sans serif fonts (more manly that way!)
Many of the letters were already finished when I bought them. The large X and final E were bare wood that I finished off with some paint.
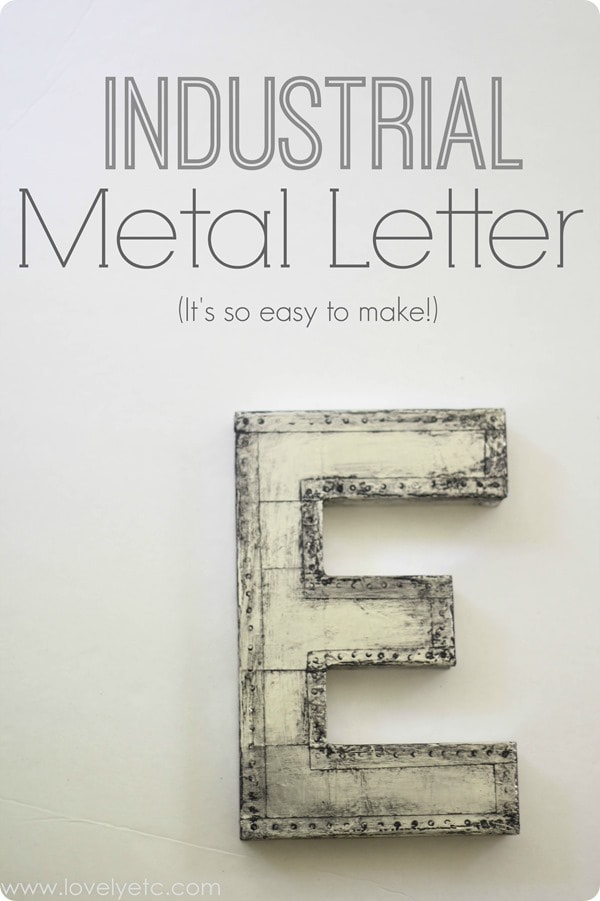
But the letter I am most excited about it the very first E. This started out as a run of the mill paper mache letter and now it is a vintage metal masterpiece!
The secret to making the metal finish look so realistic?
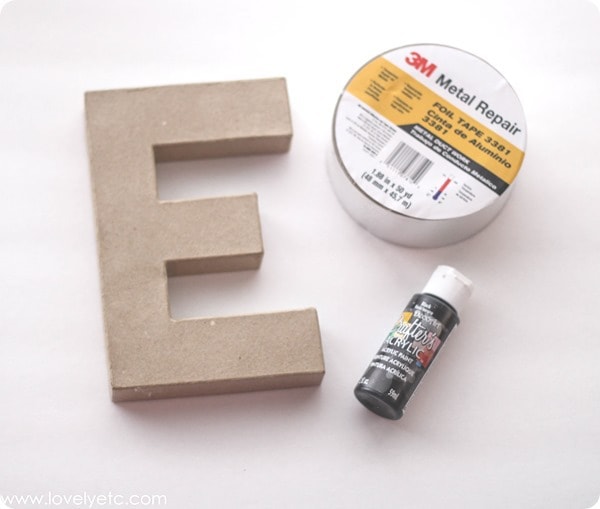
Metal repair tape. It looks so real because it really is made of metal! This tape is normally used for sealing air ducts, but it also happens to be the perfect thing for the crafter looking to achieve a metal finish. (Note, this is not the old trusty duct tape you can use to fix anything. Even though it is for ducts. Confusing, I know. This is an actual metal foil tape.)
This post contains some affiliate links for your convenience. Click here to read my full disclosure policy.
Materials for DIY Industrial Metal Letter
small nail
small paintbrush
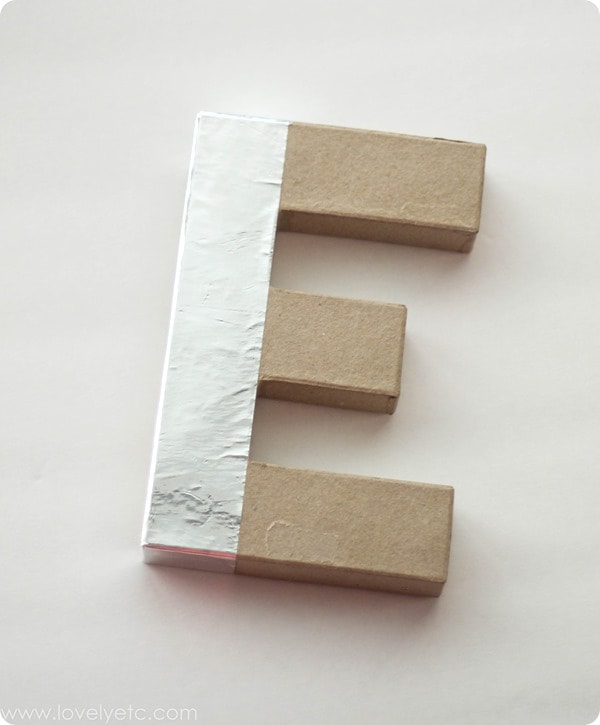
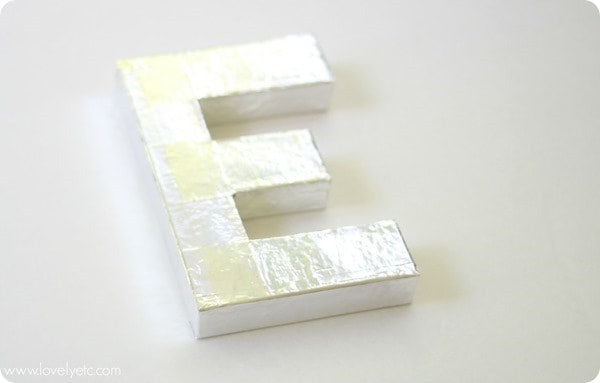
Back to my E. I started out with a plain old paper mache E. First I covered the front of the letter using the metal tape. Then I wrapped the tape around the edges, overlapping onto the front a little.
So far so good – but it was looking way too shiny and new. Not so much vintage industrial.
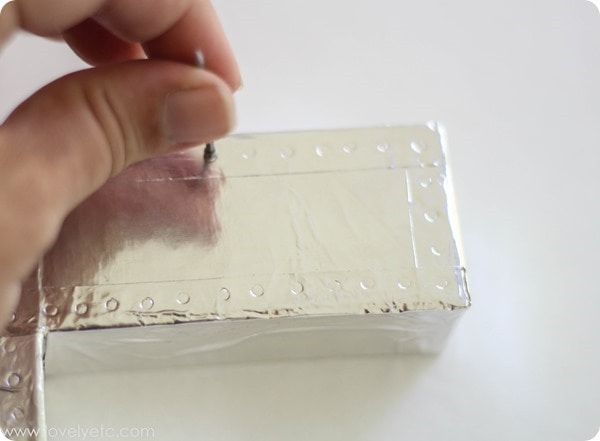
I used a small nail to make ‘rivets’ around the edges of my letter. Simply press the nail head gently into the metal.
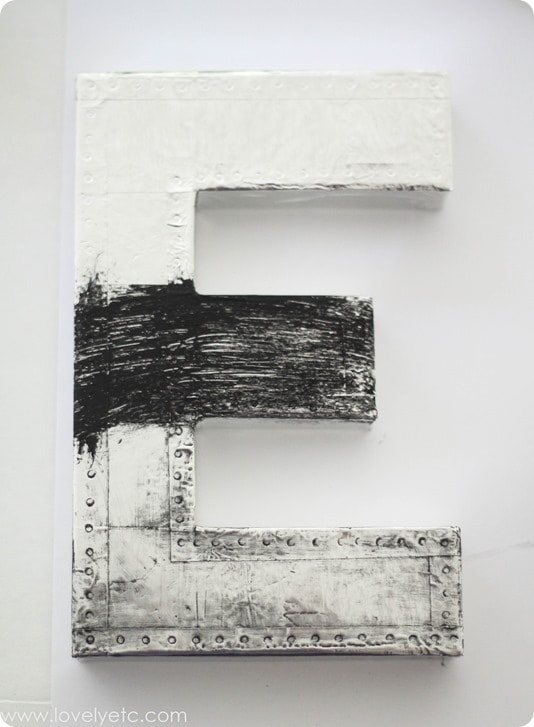
To get the vintage look, working in small sections, use a small paintbrush to dry-brush on some black craft paint. (Dry brushing just means you wipe most of the paint off the brush before painting. I usually just wipe my brush on some paper towels.)
Then go back over the painted area with a slightly damp paper towel to wipe off the excess.
Here are all three stages. The top is plain tape, the middle has been painted, and the bottom has been painted and wiped.
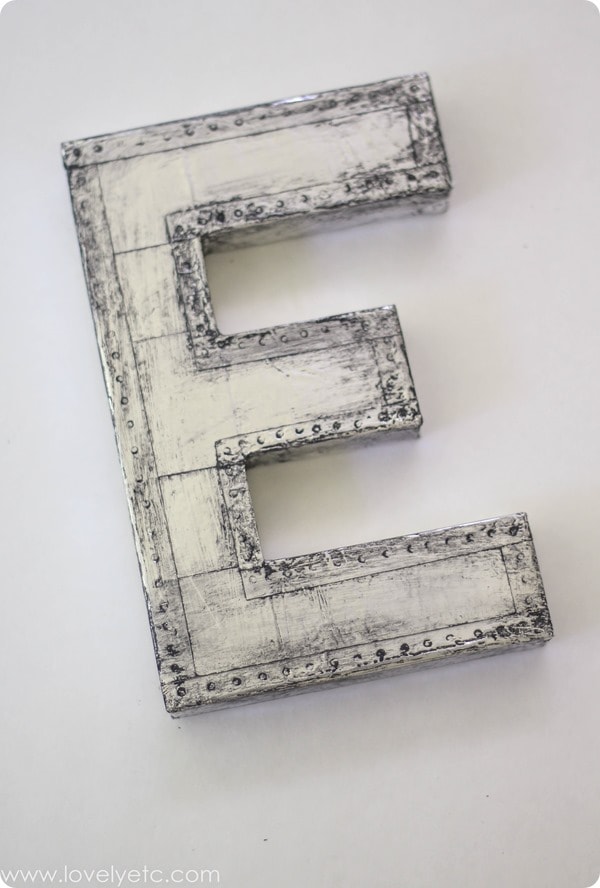
The paint should stick nicely in all those little rivets you just made and along all of the tape seams. If you accidentally wipe too much off – just paint more on and repeat the process.
I wish you could see this letter in person – it looks seriously authentic.
You can bet my mind is racing with all the possibilities this brings to crafting!
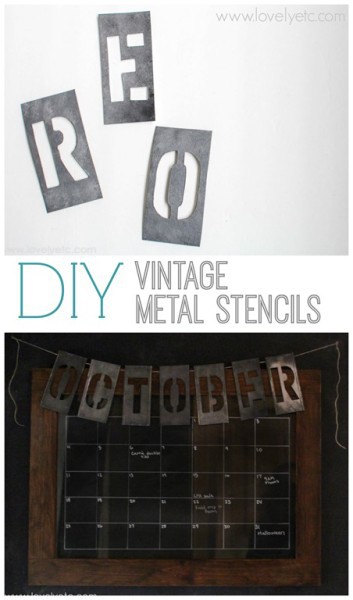
And if you are into metal typography (which I clearly am), you have to check out these vintage style alphabet stencils as well.



Oh my god…you’re genius! I have seen a zillion ways to make industrial letters (some cool, some not) but this is by far my fav. Especially if you get the weekly coupon from Michaels for the cardboard letters! Thank you!!
Thanks! Love those Michael’s coupons!
How did you get the lines in the letter to look like planks and around the border on the nail heads! Did you indent them like the nail heads or did you us the tape to do it?
Leann, I let the tape do it. Since the tape is only around 2 inches wide, there are going to be lines where the edges meet – I just tried to make the lines look like they made sense. And once I had covered the letters, I outlined the edges with tape where the nail heads would be, to make it look authentic.