DIY Shibori Table Runner
I’ve been wanting to try creating my own DIY shibori project for awhile now. So when I found out a bunch of my blogger friends were tackling shibori for this month’s Create and Share Challenge, I was pretty excited!
Not sure what shibori even is? It’s a Japanese fabric dyeing technique that involves bunching or twisting cloth and then dyeing it indigo. Basically it’s like a much more sophisticated tie dye. You can make all kinds of beautiful shibori patterns ranging from the super simple to the very complicated. Shibori has gotten very popular over the last year or two so odds are you’ve seen it in stores or while browsing Pinterest, even if you didn’t know what it was called.
I’ve been wanting some cute table runners so this seemed like the perfect time to create a pretty shibori table runner…or two.
This post contains affiliate links; see my full disclosure here.
Supplies for DIY Shibori Table Runner
White cotton table runner or a piece of white cotton 18″ x 72″
Tulip one-step tie dye kit in blue
How to Make a Shibori Table Runner
This project was a lot faster and easier than I expected it to be. All you really need is fabric and dye. It is important that you use an all-natural fabric so that it will accept the dye. I had an old cotton curtain panel from Ikea that had shrunk in the wash and was too short for our windows, so I cut my two table runners from that. You could also buy some white cotton fabric by the yard or you can even buy a plain white cotton table runner that is all ready to go.
For my dye, I chose to use a one-step tie dye kit. I’ve used this kit for several other projects (including my ombre curtains) and I really like it. It includes gloves, rubber bands, dye, basically everything you need. The dye itself works well and is very affordable. And it comes with a squirt bottle for applying dye exactly where you want it; that means no dealing with big buckets full of dye. (You can also buy a dye kit that is specifically for shibori that includes more project instructions if you prefer.)
Really the only thing about shibori that is potentially complicated is the folding. Before you dye your project, you can fold, twist, or even stitch it different ways to produce different patterns. DesignSponge has a great tutorial on some different folding techniques here. I chose to try two different techniques with my shibori – mostly because I wasn’t really sure how they would turn out and I wanted to have a back up!
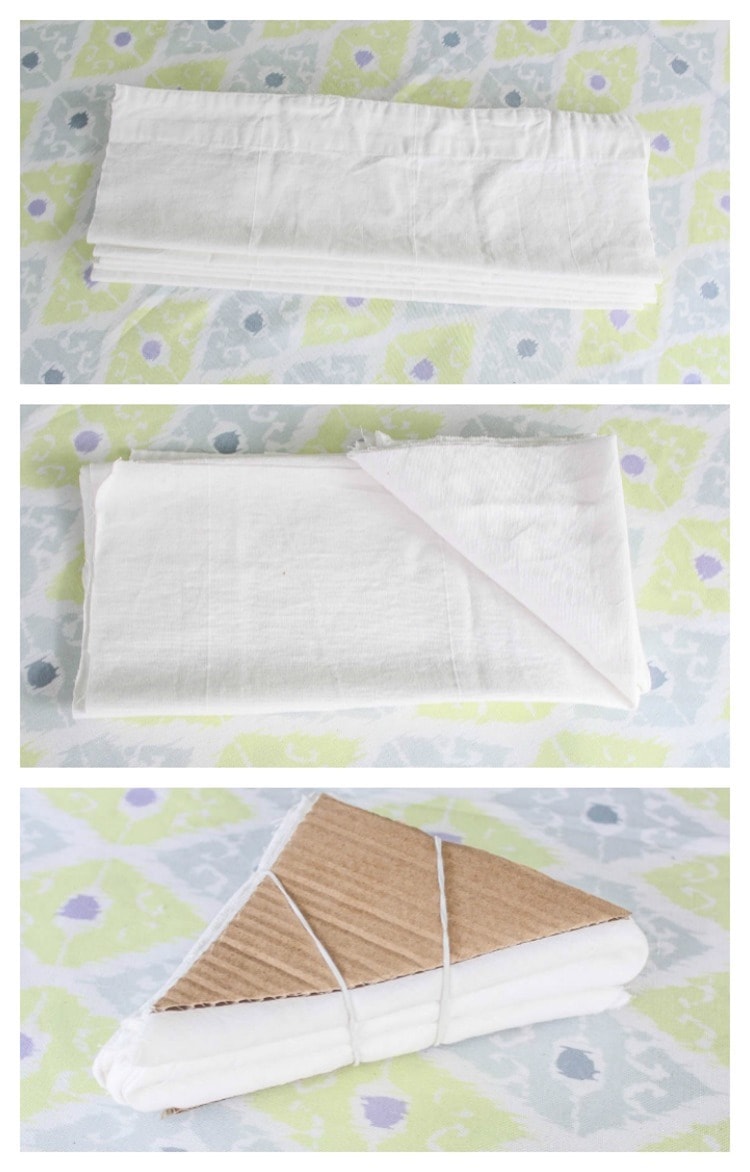
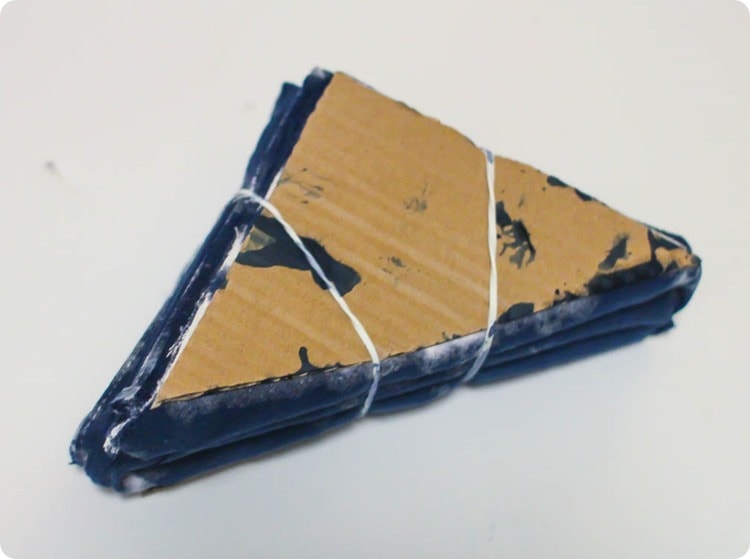
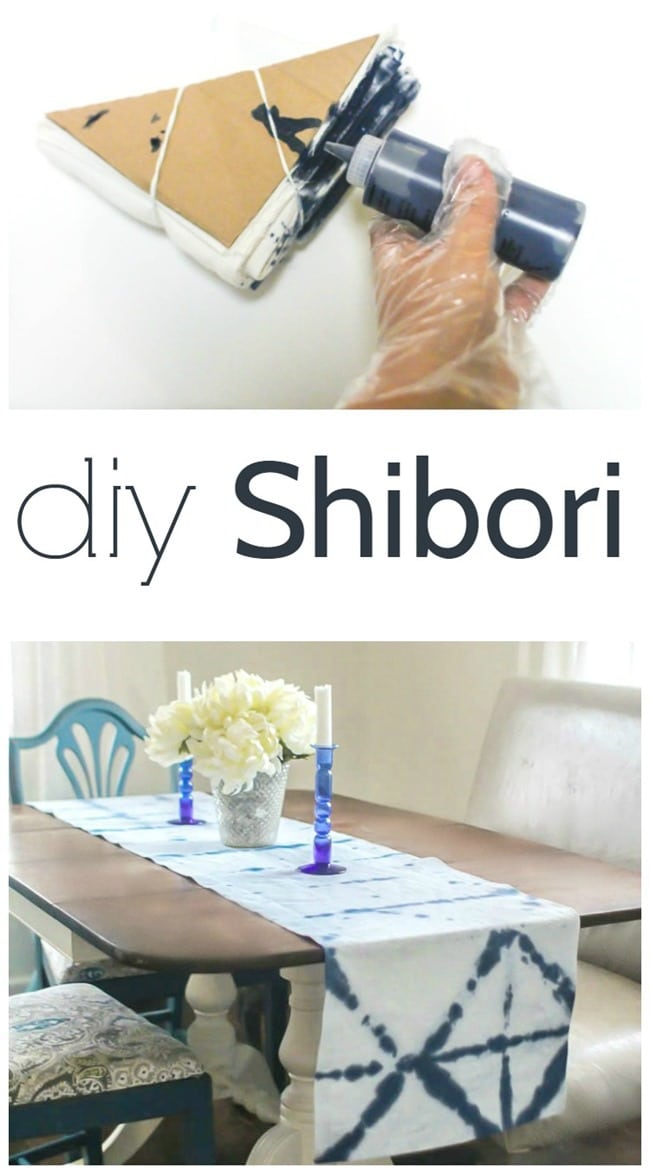
For my first pattern, I folded my long piece of fabric accordion style. Then I folded it into triangles. I used rubber bands to secure two triangles I cut from cardboard to each end. This is simply to help keep the dye from getting out of hand on the end pieces.
(Something went awry with this one. I intended for the entire thing to end up printed with triangles, but somehow the triangles only worked on one end of the fabric. Luckily it actually looks really cool that way as well, but it’s a good reminder for all of my fellow perfectionists to be flexible. Shibori isn’t necessarily supposed to be precise so there is a good chance your finished product won’t turn out exactly the way you intended and that’s ok.)
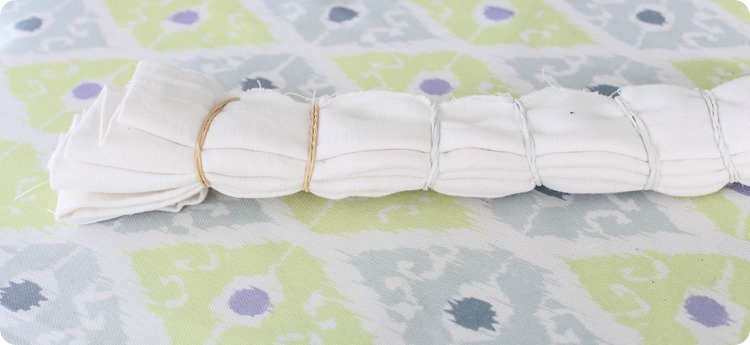
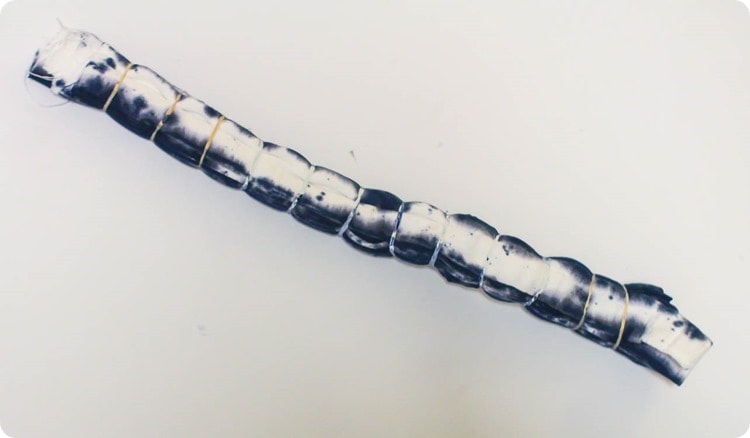
For my second piece of fabric, I folded the length of the fabric into thirds to make it more manageable. Then I folded that into a long skinny accordian so that the folds were going along the length of the fabric. I used several rubber bands to hold it in place.
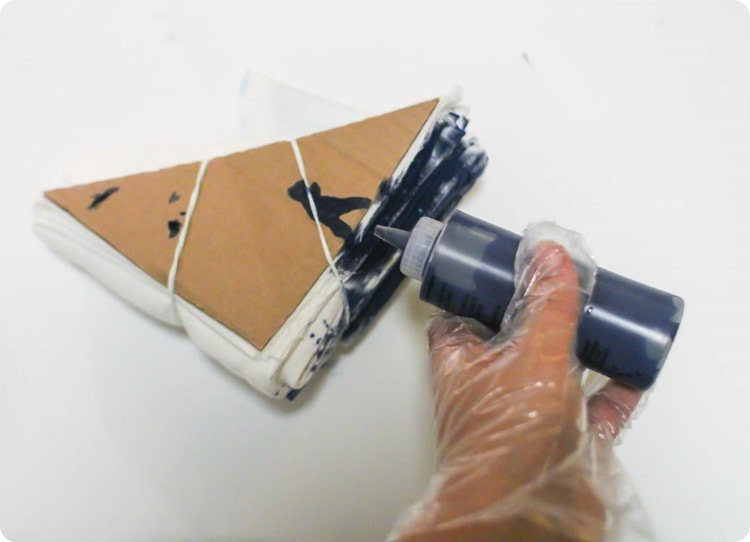
When you are ready to dye your fabric, mixing the dye is super easy. The dye comes preloaded in a little squirt bottle. All you need to do is fill the bottle to the fill line with water. Be sure to protect your dyeing area well – I used a trash bag to protect my area with a few layers of old towels beneath it just in case. Then I just squirted the dye along all of the folded edges of my fabric. (Be sure to wear the provided gloves for this because your hands will end up blue if you don’t!)
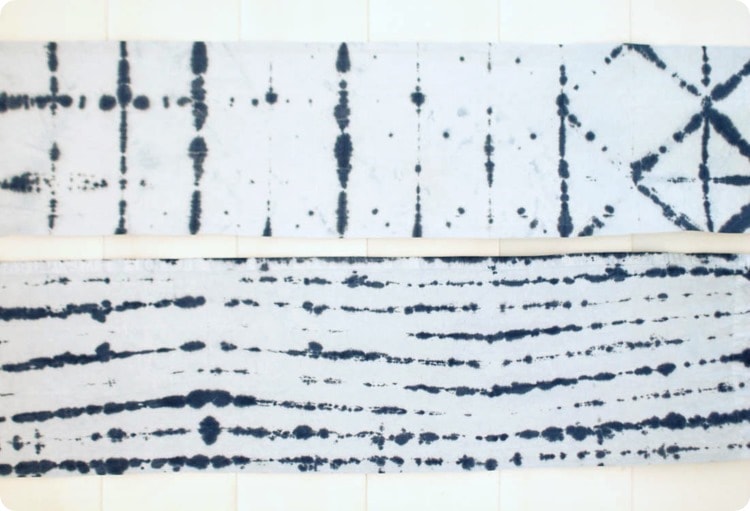
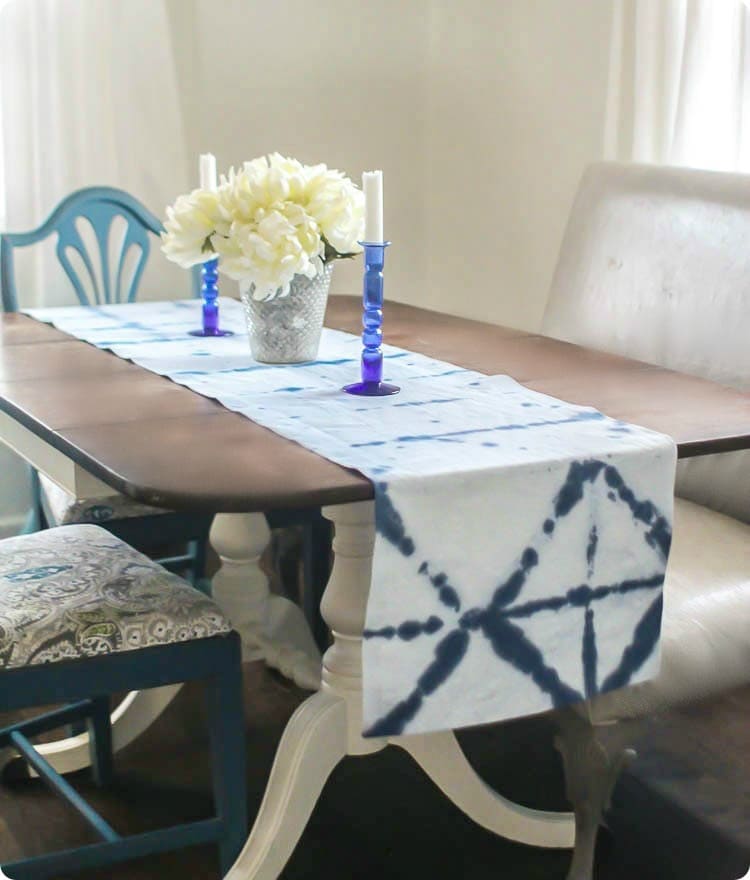
Once everything is dyed, wrap it in plastic (a grocery bag will work), and leave it to sit for 6-8 hours. Then rinse it thoroughly, run it through the washing machine, and dry it. Finished! This is what my two finished pieces of fabric looked like:
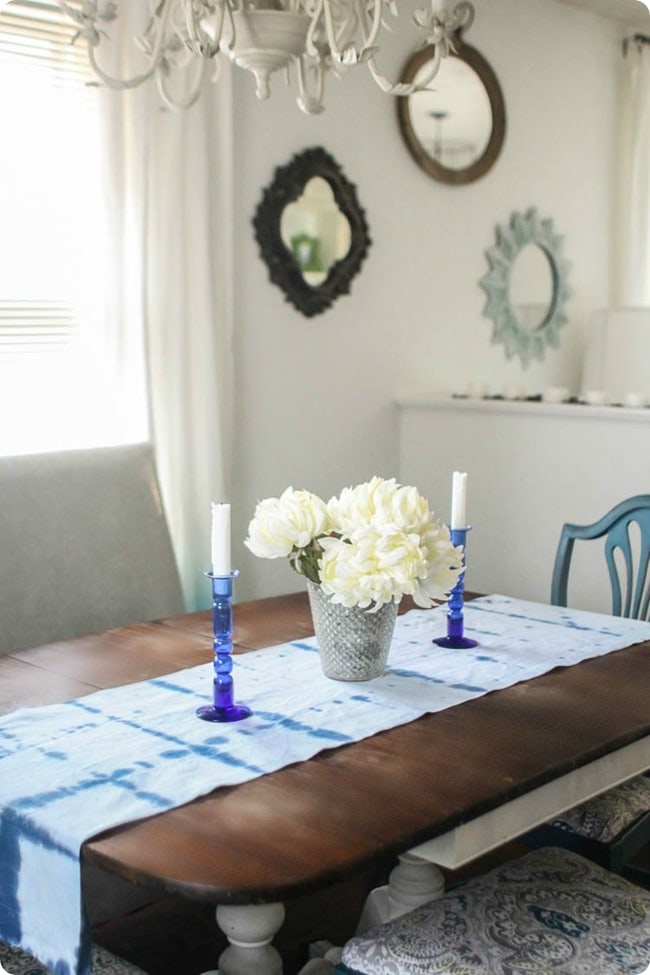
How cool is that? They look like actual works of art. I especially like how the pattern changes on the top one. It isn’t at all what I had in mind when I started, but I love it.
Since I was using raw fabric and not a pre-finished table runner, I used some iron-on hem tape to quickly finish off the edges.
I was expecting at least one of my shibori attempts to be a total disaster, but I ended up really liking them both!
The awesome part about a project like this is there really isn’t a right and wrong way to do it. There’s beauty there no matter how it turns out.
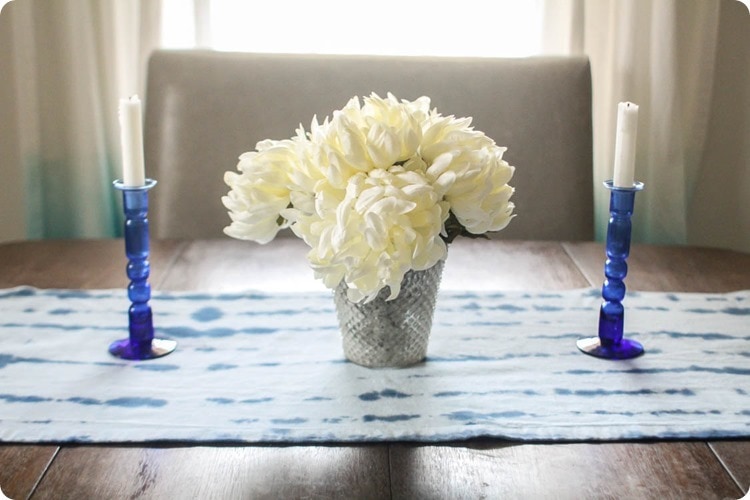
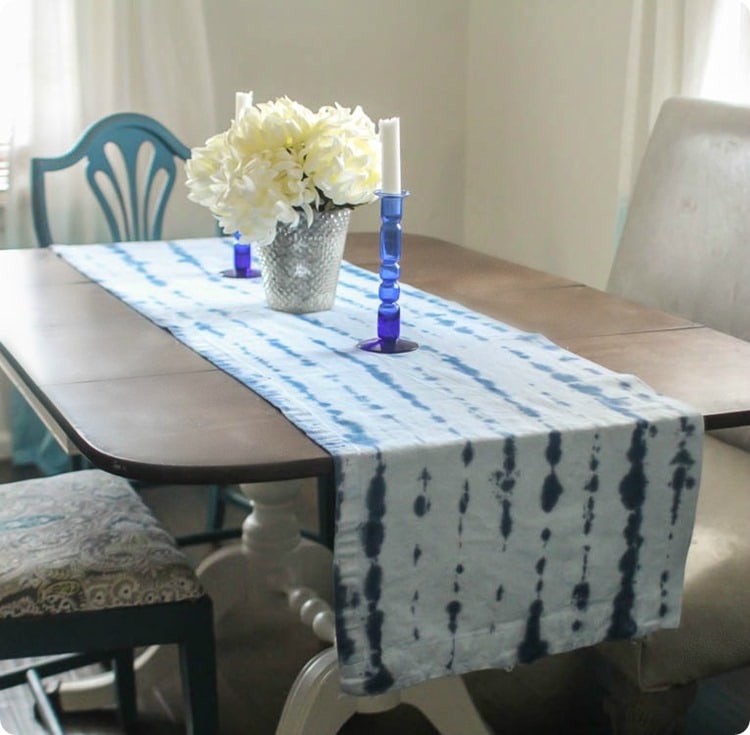
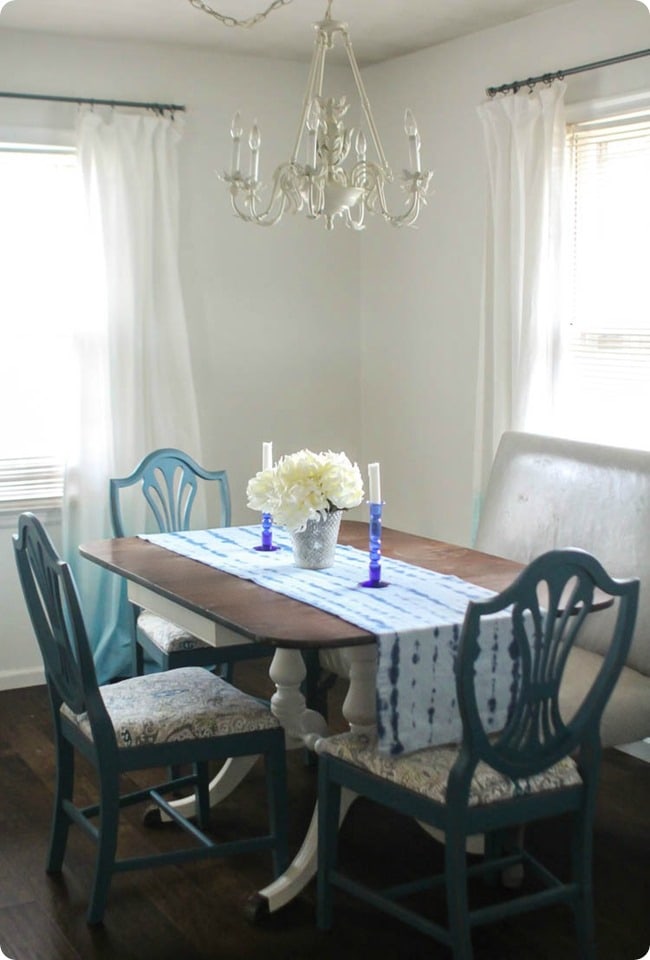
I am loving how these look in my dining room.
And now I really want to try a few more folding techniques. And I’m pretty sure I need to make a shibori swaddling blanket for our new sweet baby boy. (Due in only three more months!)
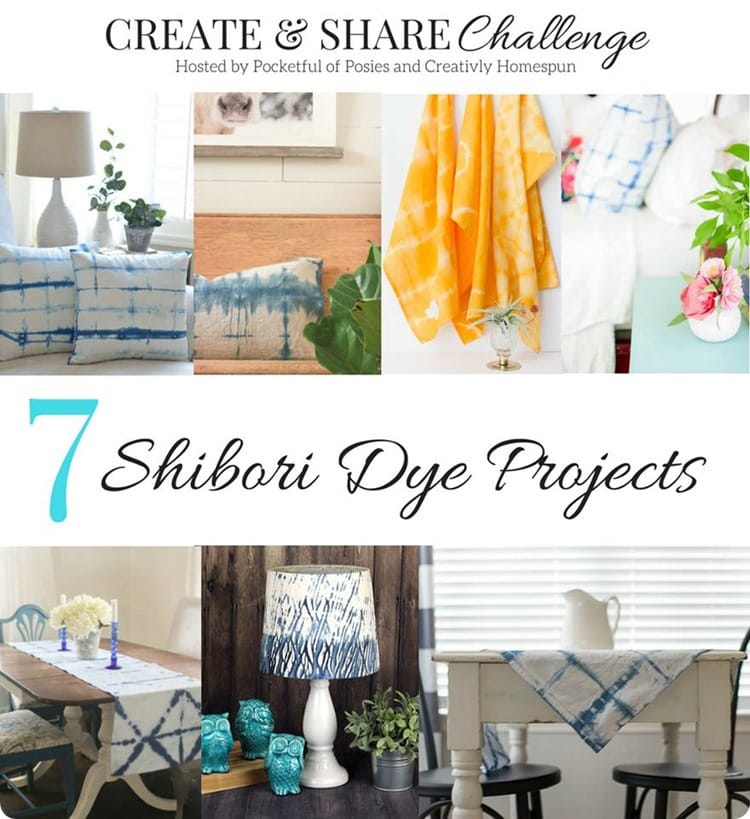
Ready to see more DIY shibori masterpieces? There are some real beauties from my fellow bloggers in the Create & Share Challenge this month.
For The Love of Shibori! How to Shibori Dye a Pillow – A Shade of Teal
DIY Shibori Drop Cloth Pillow – Twelve on Main
Create and Share Challenge: Shibori- A Tea Towel Tutorial – Iris Nacole
Shibori Dyed Euro Pillows and Small Batch Shibori Dye Recipe – Pocketful of Posies
DIY Shibori Table Runner – Lovely Etc.
Arashi (Pole Wrapping Shibori) Dyed Lampshade – The Kim Six Fix


I love this! The pattern is beautiful!
Thanks Iris! I was a little nervous about how these would turn out but I love them!
They turned out so pretty Carrie!
Thank you Cindy!
Love the method you used on this table runner! The pattern is so great!
Thanks sara!
Your runners turned out great! I also love the idea of using a bottle to apply it, I need to remember that next time since it seems so much cleaner.
Thanks! The bottle was so easy – and ever better, easy to clean up!
Love both!
Have seen it before & you are right I didn’t know what it was called or how to do-it-myself.
(Did tye-dye back in the day lol! this is sooo much easier!).
You have inspired my new beach tote and more! Thank you! For All of Your Wonderful Creations, Inspirations! and! sharing (& showing) how to do-it-yourself! TY!
Thank you, you are so sweet! This would be amazing on a beach tote! And yes – it really is just a variation on tie dye!