As I shared a few weeks ago, I have been wanting a kitchen herb garden for a long time now. I love the idea of being able to pluck fresh herbs right off the plant to throw into soups, sauces, salads, and my favorite, homemade pizzas! Well I finally decided it was time to make it happen! First step, create a cute container to house my fresh herbs. Second step, plant everything. Third step, get cooking!
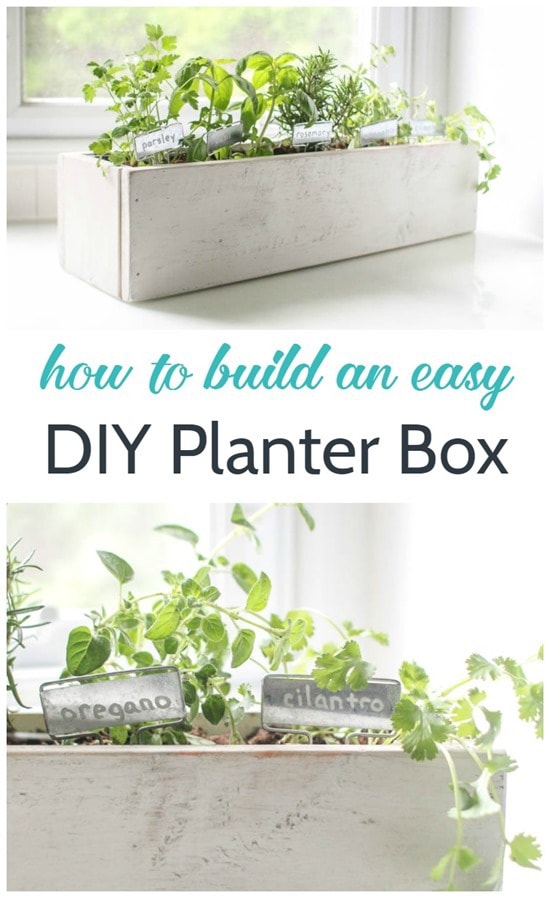
My indoor herb garden is meant for my kitchen counter, so I really wanted it to be beautiful as well as functional. I decided to build a super simple DIY planter box with a bit of farmhouse style and I absolutely love how it turned out! It looks beautiful on my kitchen counter and it was so simple to build. Even if you’ve never built anything before in your life, you can do this. It’s that simple.
Building a farmhouse planter box
This planter box is so simple to build. Building the box itself takes less than thirty minutes and it is beautiful! Plus, you don’t have to worry about finding old wood to repurpose; I have an easy trick to make brand new boards look weathered.
Supplies
- 1” x 6” x 8’ pine board (Look for a board that is straight but has plenty of rough spots and knotholes)
- saw
- hammer and finishing nails
- white paint
- sandpaper
- weathered oak stain
- mineral spirits
- clean rags
How to build a simple farmhouse planter box
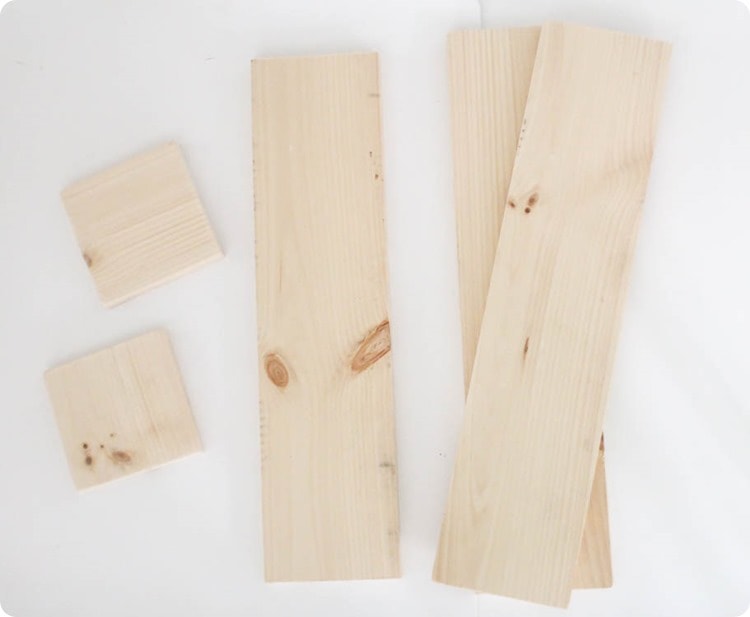
This finished box is two feet long and seven inches wide, the perfect size for a countertop herb garden or even a simple table centerpiece. The great thing about this project is you only need to make a few cuts in your board to get all of your pieces. You can even have them cut the wood for you at the home improvement store where you buy your wood if you would prefer not to do it yourself.
Here are the cuts needed from your 6” board. (By the way, a 6” board is actually only 5.5” wide. Weird, I know.)
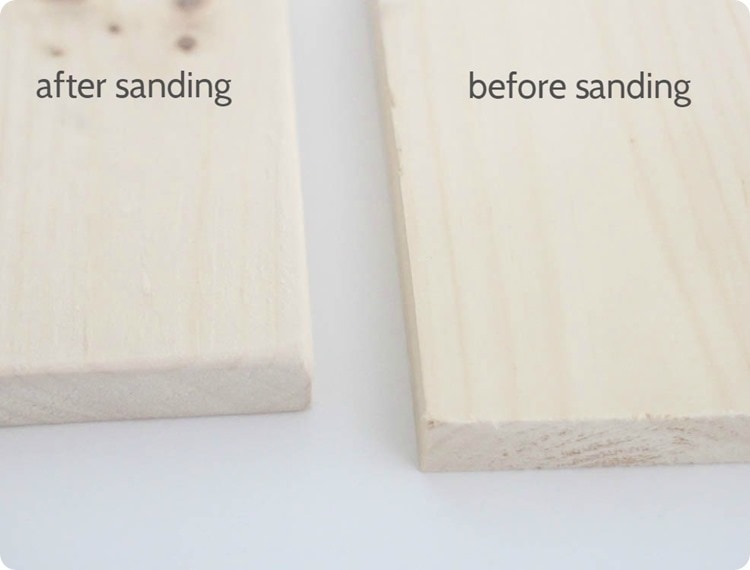
For this planter, we’re going for a weathered, farmhouse style. So I sanded all of the edges and corners of my wood to give it more of a worn-in look. (I used a small palm sander with 120 grit sandpaper for this and it was super fast.)
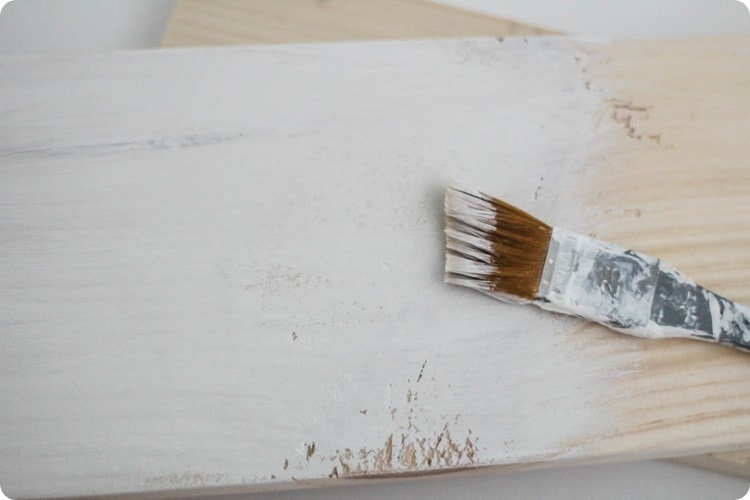
Getting an authentic white weathered finish takes a few steps, but it goes very quickly. First paint a quick coat of white paint on your boards. Don’t worry about covering the wood grain or getting into the little knot holes and rough spots. All you want is a very quick, rough coat. For this technique, chalk paint isn’t great, but any leftover wall paint or paint samples you have on hand are perfect. (Tip: to save time, you can skip finishing the 22.5 inch board for the bottom of the box. Nobody is going to see it anyway.)
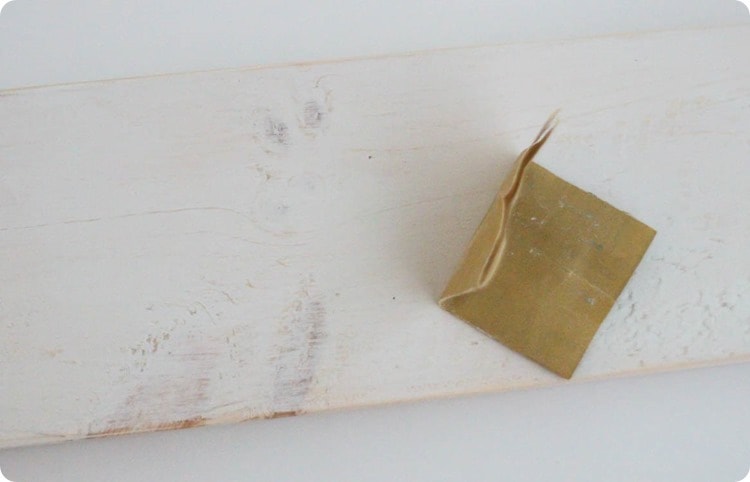
Let the paint dry and then sand the board. You aren’t sanding to make things smooth, you’re just sanding off a bit more paint to expose more of the bare wood. Put extra focus on sanding the edges and corners again. Don’t worry about spending a lot of time on this – a few minutes should be plenty.
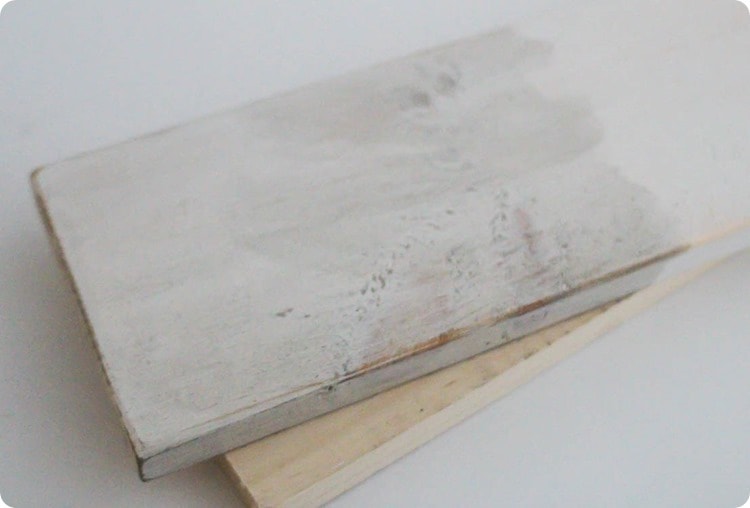
Use a clean rag to rub weathered oak stain over the painted wood.
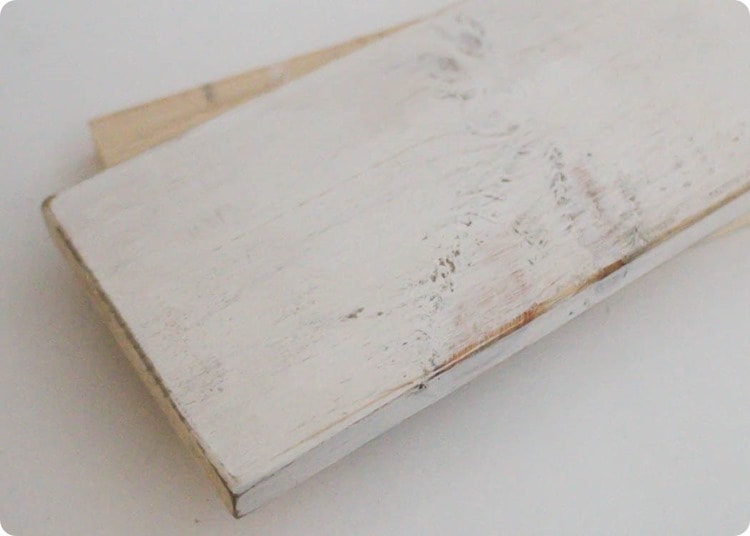
Immediately, go back over the wood with a clean rag dipped in mineral spirits. This will take most of the stain off of the white paint, while leaving the stain on any bits of bare wood that are peaking through. The result is a really nice weathered white finish. This might seem like a lot of steps, but the painting, staining, wiping, etc. really only takes around 20 minutes. And you would never guess this was a brand new, raw board less than an hour before.
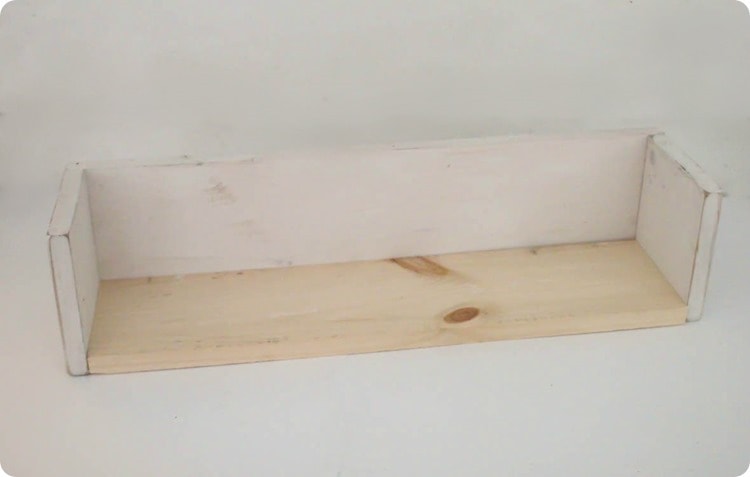
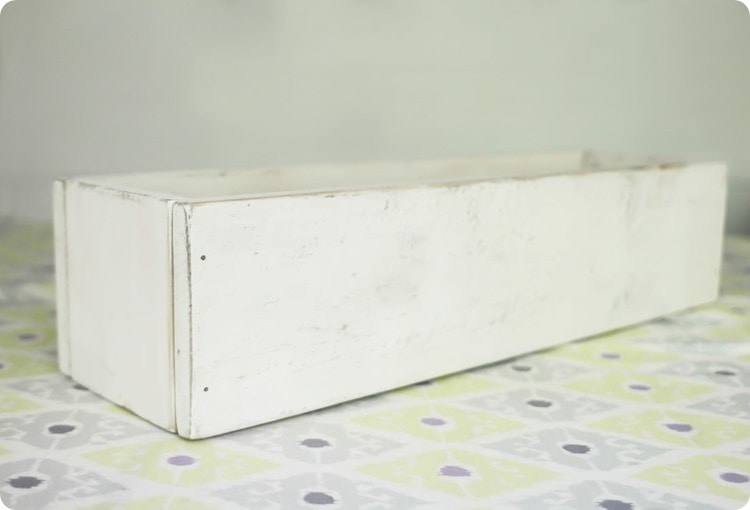
Building the box is also super easy. All you need are a couple of finishing nails at each corner. Nail the front to the two sides and then slide the bottom into place. It should fit snugly into place. If it is a bit too big, you can sand it down a little.
Then, with the bottom in place, nail on the fourth side. The pressure of the sides should keep the bottom in place perfectly, but if it feels a little loose, you can always add a couple of nails along the bottom to reinforce it.
And now our weathered planter box is ready for you to plant whatever you want!
Planting a Kitchen Herb Garden
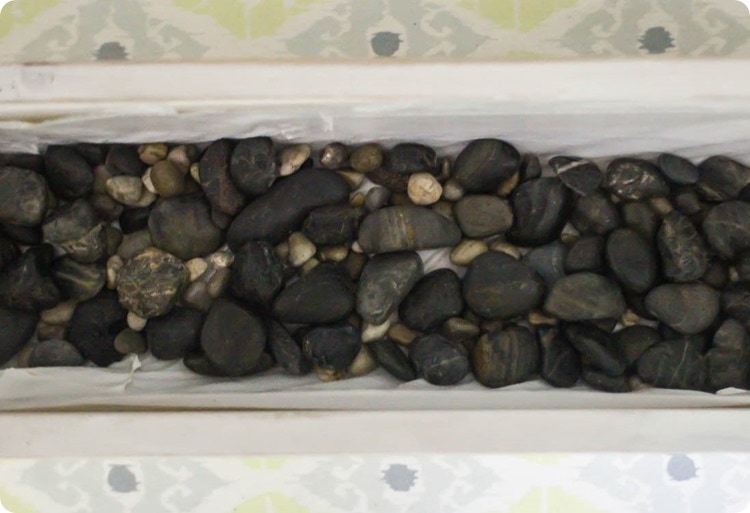
Since this herb garden is going to be hanging out on the kitchen counter, I didn’t want to drill drain holes in the bottom. Instead I lined my planter with a few layers of plastic to help contain the water and prevent the wood from getting too damp. I simply used a small staple gun to staple the plastic to the edges.
Then I needed to create some drainage by adding a thick layer of rocks to the bottom of the planter. This gives the water room to drain away from the plant roots. Even with this added rock layer, it is still very important to avoid over-watering plants in any pot without drain holes. Keep the soil moist, but not saturated. (And, yep, this is a reminder to myself too!)
After the rock layer, I added potting soil to my planter box and and planted my herb plants as usual.
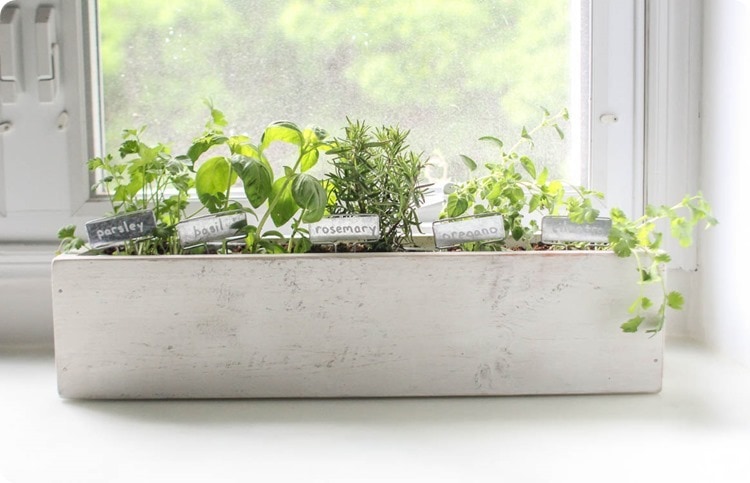
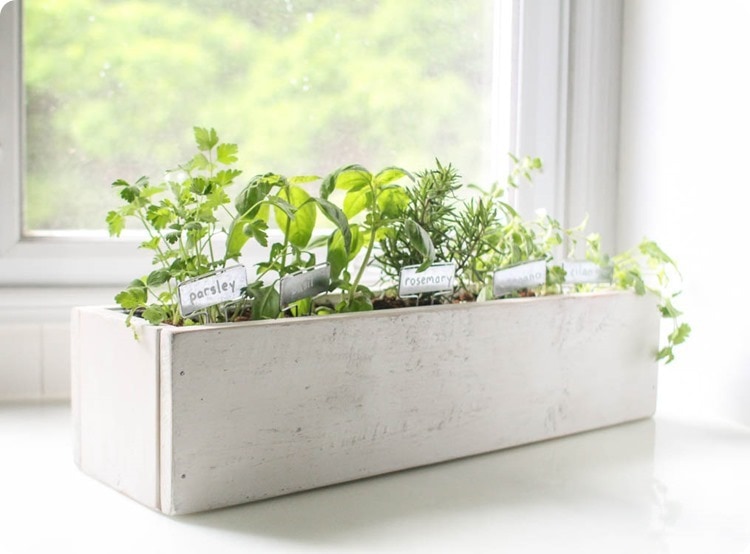
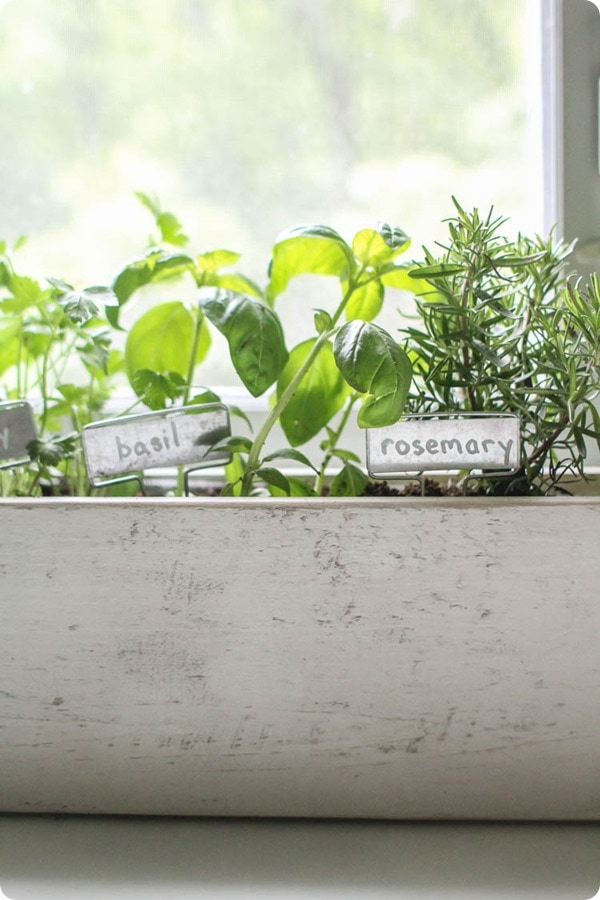
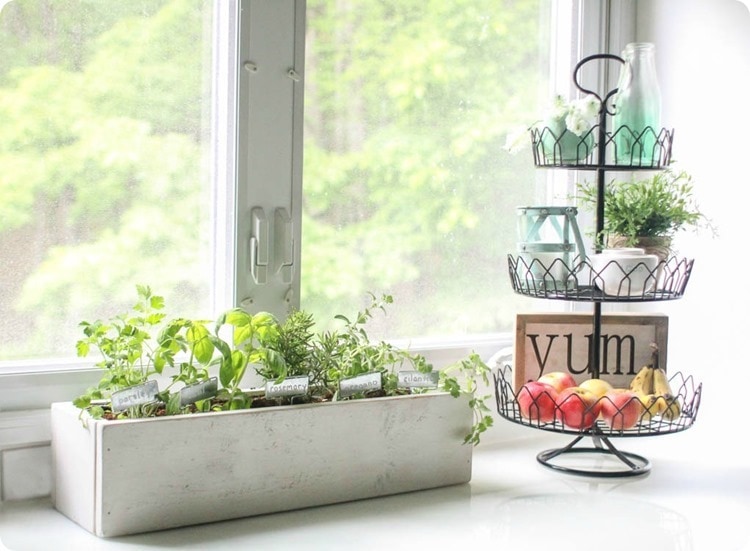
I chose to plant Italian parsley, sweet basil, rosemary, greek oregano, and cilantro.
Some sort of labels were a must – even if I managed to recognize what was what, there’s no way my husband would remember! I used some simple galvanized plant markers and wrote the names of the plants with a chalk marker. A paint pen or permanent marker also works, but this way I can easily erase and rewrite the labels if I decide to change a few herbs out in the future.
These herbs smelled so good when I was planting them, especially the basil! I cannot wait to make some fresh margherita pizza and caprese salads this summer. Mmmm!
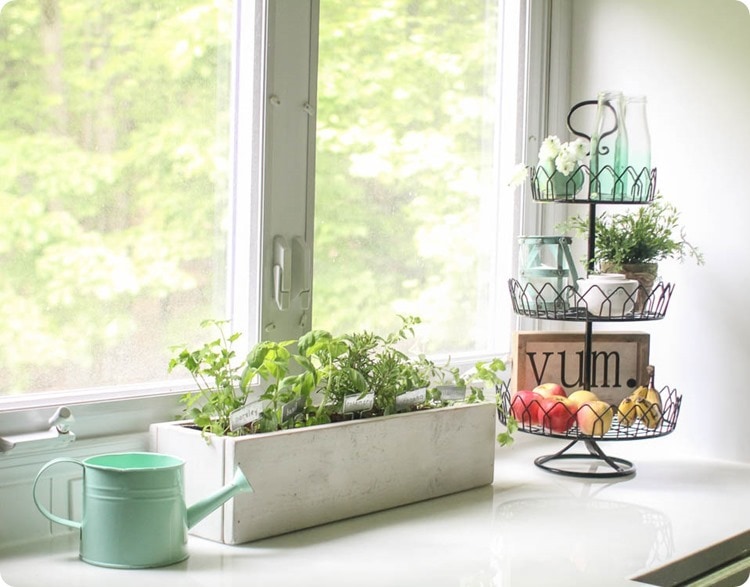
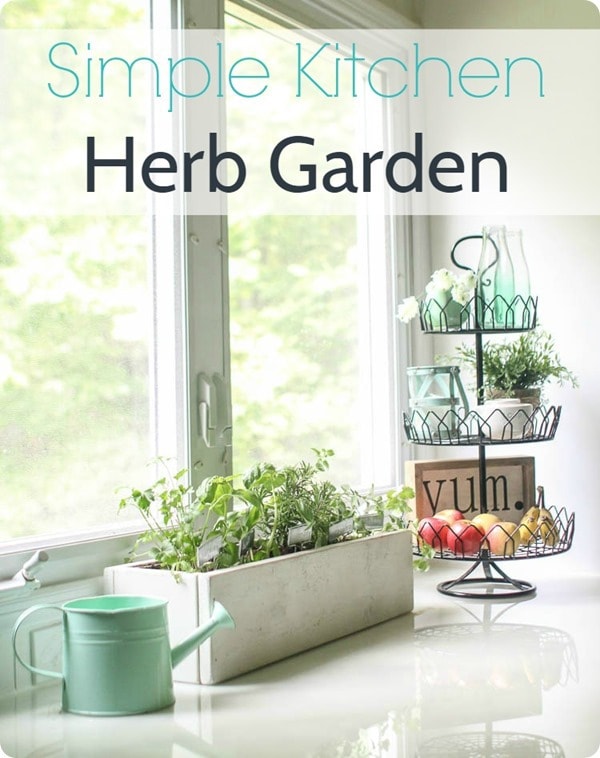
Now my little herb garden is right at home under the window on my kitchen counter.
I decided to be extra smart and leave my cute little watering can right next to my herb garden. There’s nothing like a visual aid to help you remember to water your plants!
Up next I have a pair of empty planters next to our front door just waiting for some pretty flowers. I can’t wait to get them planted and finally wrap up my porch refresh!
What planting projects do you have coming up?


Laura / Pet Scribbles says
Such a pretty planter you made!
Carrie says
Thanks Laura! I love it!
Mary Beth says
Such a beautiful project! I love Miracle Gro – before I even owned a home I had a small garden on the patio of my townhouse and I kid you not, one of the very first things I bought for my garden was Miracle Gro!
Carrie says
Thanks Mary Beth! Miracle-Gro really is the best!
Amy says
I need a kitchen garden and this looks easy! Love it!
Carrie says
Thanks Amy! It really is easy!