I never would have dreamed that I was capable of learning how to reupholster an armchair. In fact, I wasn’t entirely sure that it was even possible!
Not only was it possible, but it also wasn’t nearly as difficult as I imagined.
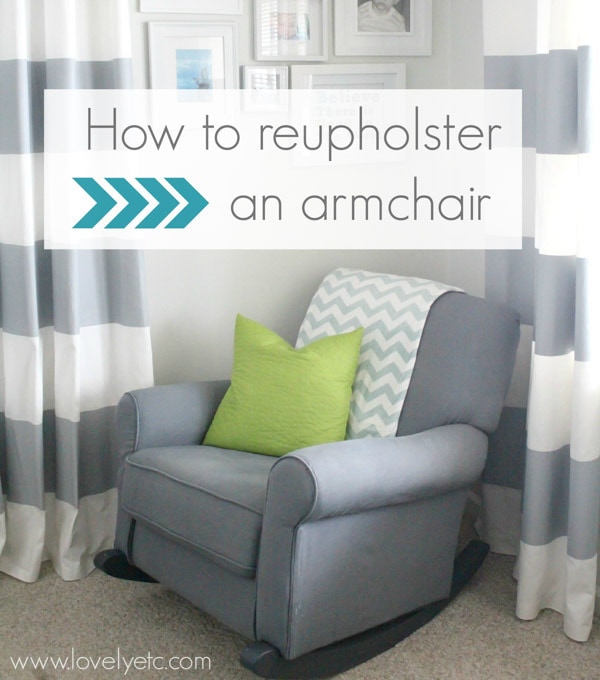
When I started planning our nursery, I knew that one thing I absolutely had to have was a big cushy glider for snuggling up in.
The kind that is basically a big armchair that rocks.
The problem was those big cushy gliders cost several hundred dollars. And that wasn’t exactly in my teeny, tiny budget.
So I began earnestly stalking Craigslist for such a glider. And quickly realized that they really just don’t turn up on Craigslist often. (At least not in my area).
Until one great day when I spotted this upholstered rocking chair listed in a neighboring town for $40.
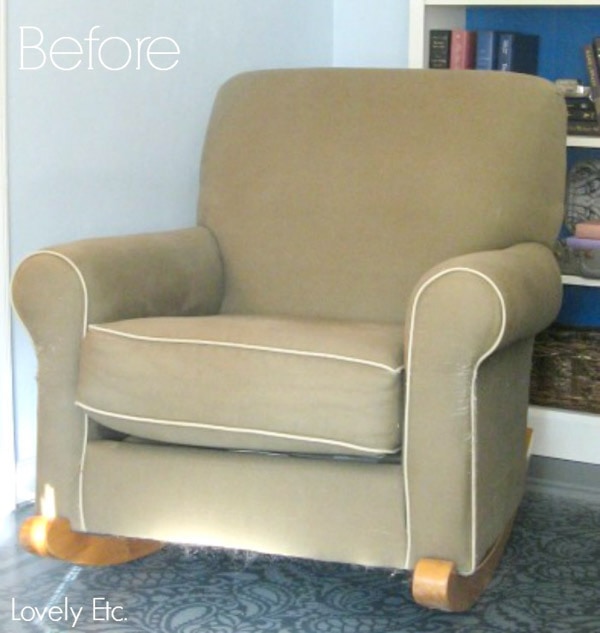
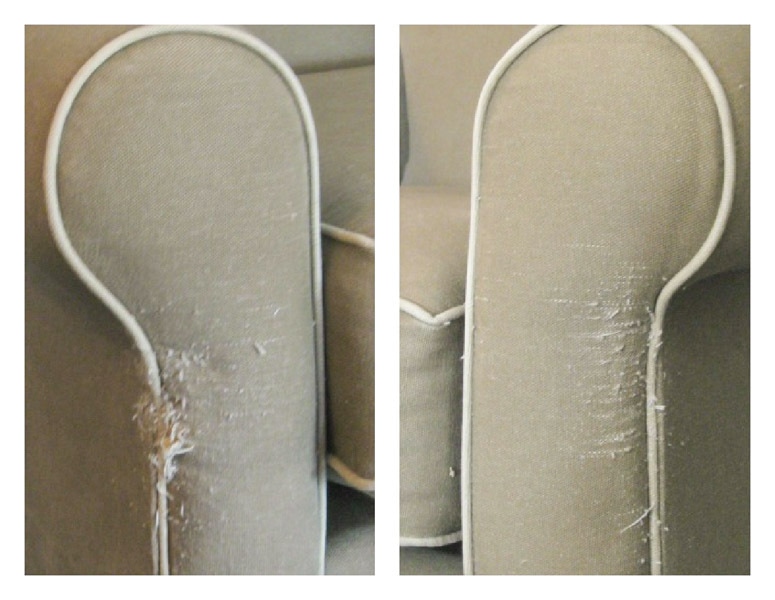
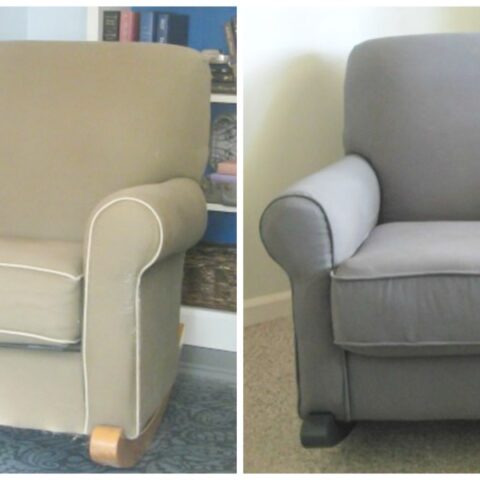
It had a few issues – the color was kind of blah but the bigger problem was a cat had been using the front of the chair as a scratching post.
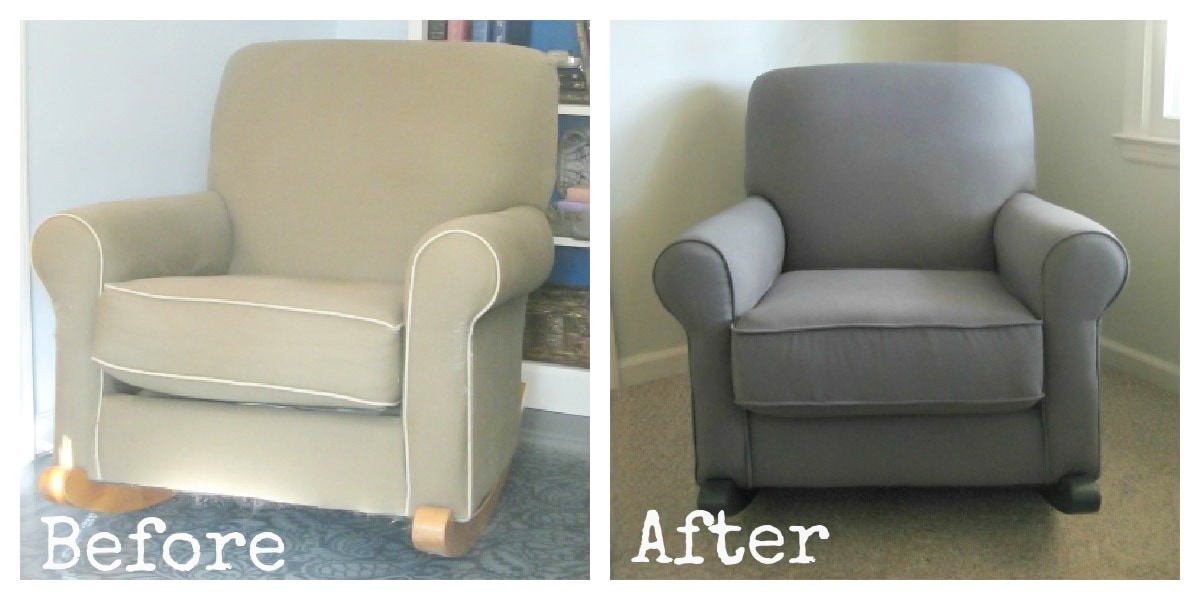
After a bit of back and forth, I decided to take the plunge and reupholster it. And I am so glad I did.
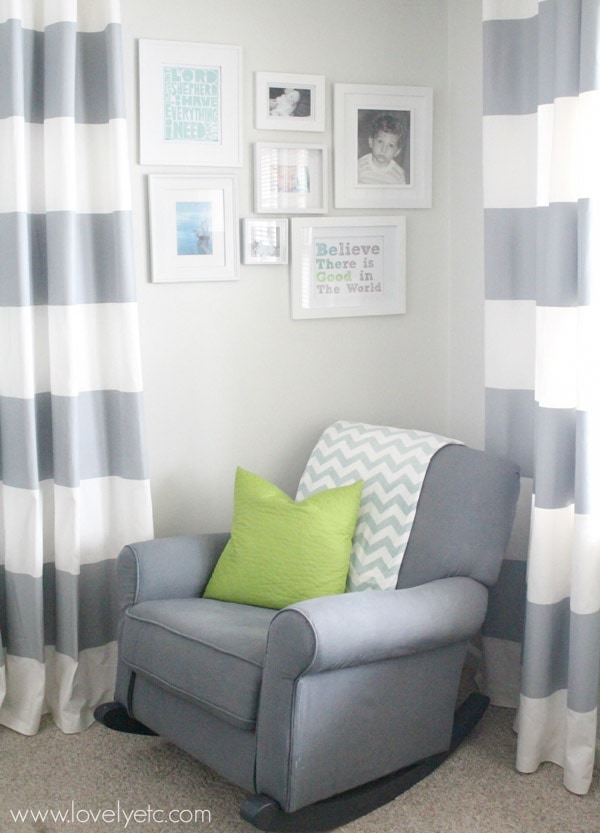
It is the just-right shade of gray. And it is so plush and cozy – by far the comfiest seat in the house.
I didn’t want to spend a fortune on a great fabric since this was my first big reupholstery project and I wasn’t 100% sure I could pull it off successfully.
So I got creative.
I found two sets of white sailcloth curtain panels on clearance at Target.
After a bit of experimentation with fabric dye, I had yards and yards of beautiful gray fabric.
(And the best part – the cost of the curtains and dye was only $27! Which works out to around $2 a yard. For other cheap ways to score great fabric, check out this post).
How to Reupholster an Armchair
A brief disclaimer: I realize there are some very good reupholstery tutorials out there already. (And I will certainly be including links to some of my favorites).
However, I decided to still write this tutorial because all of the DIY chair reupholstery tutorials I found were based on redoing a wingback chair or a dining chair, or an antique chair.
I really didn’t see any guidance for reupholstering a full-on armchair. So I thought, I would let you know how I did it.
A briefer disclaimer: I am no expert. (This should be clear based on the fact this is the first major chair I have ever reupholstered).
These are the basic steps that worked for me. Remember each piece of furniture is unique and will include its own challenges.
This post contains affiliate links. See my full disclosure here.
Removing the old upholstery
The first step is to get that baby naked. Before you start taking it apart, study your chair for a few minutes.
Try to get some idea of how it is put together. And take lots of pictures from all angles to remind you of how it should look in the end.
Begin by removing the rockers or feet of your chair.
(One awesome part of my particular chair and most chairs like it is the rockers easily screw off. This means that in the future if I no longer need or want a huge rocker, I can simply remove the rockers and attach some cute little feet, and have a sweet armchair).
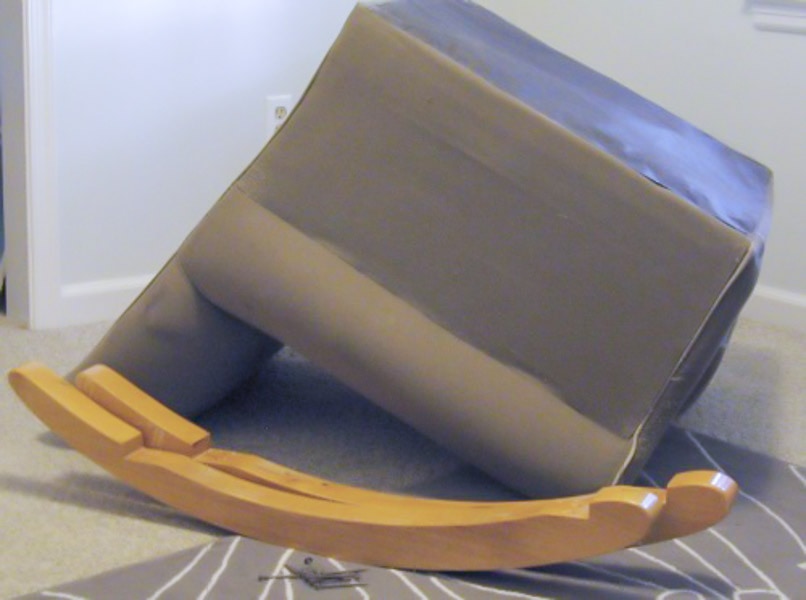
Carefully remove the first piece of fabric. For an armchair like mine, this will be a thin layer of fabric on the bottom of the chair.
The next layer was the panel of fabric on the chair back, which was easily pried off with a flathead screwdriver.
Most of the fabric will be attached by staples or tack strips. To remove them you can use a flat-head screwdriver and needle-nose pliers or I have heard that these staple removers make the job much faster.
Remove the rest of the chair fabric layer by layer. As you slowly take the chair apart, it will become more apparent which layer you need to remove next.
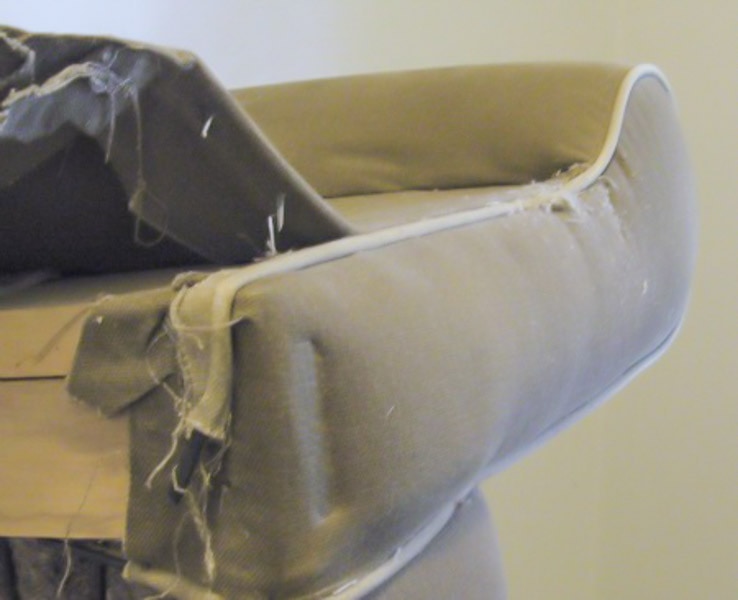
As you remove each piece of fabric, be careful to keep it intact. And label it. You will be using these fabric pieces as your pattern.
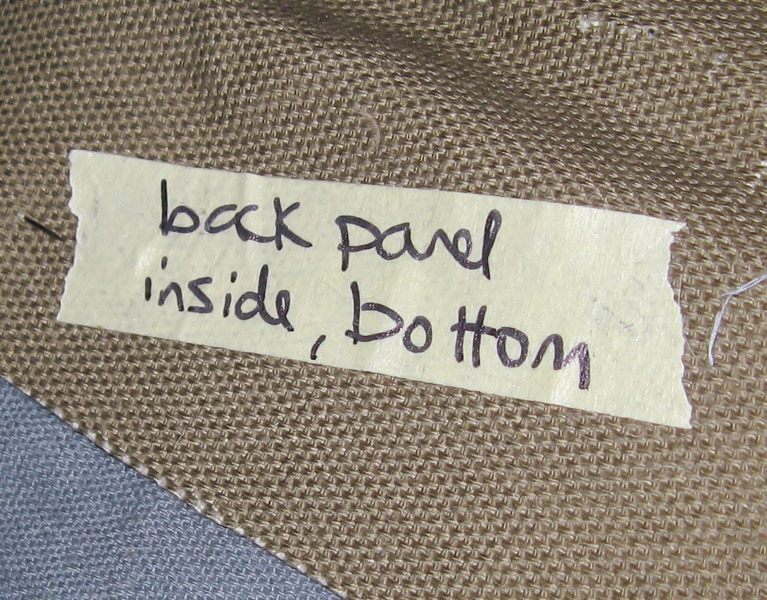
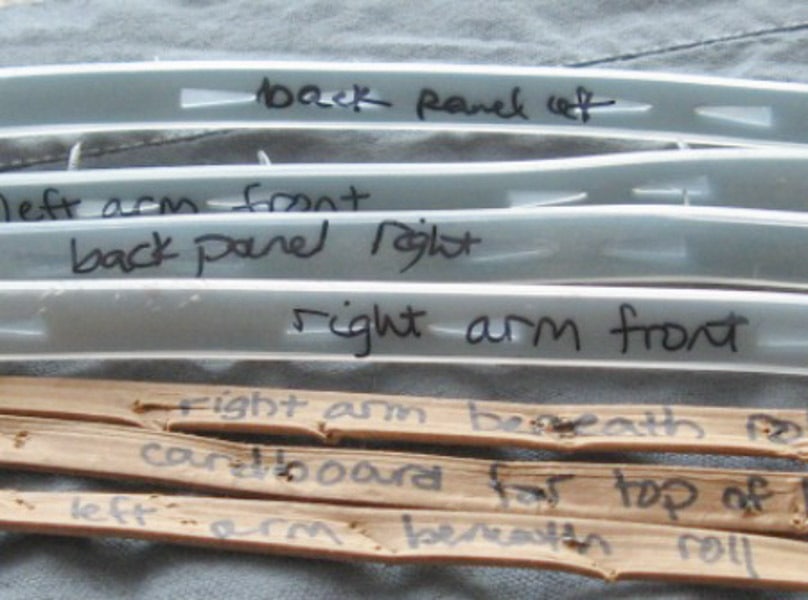
Also keep and label any miscellaneous pieces – tack strips, piping, cardboard pieces. Any random things that come off with the fabric and are a part of how the chair is put together.
As you are taking the chair apart, take lots of pictures of every angle and detail of the chair.
Also, take lots of notes of exactly how everything is put together. Both of these can be invaluable when putting your chair back together.
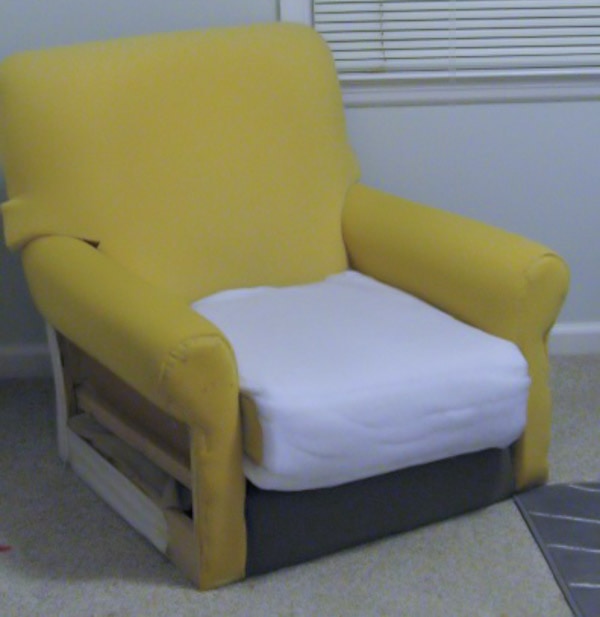
Cutting the fabric
Lay the fabric you removed from the chair out on your new fabric. Once you have arranged your pieces to make the best use of your new fabric, pin them in place and cut your fabric.

Reupholstering
Begin putting your chair back together in reverse order. The last piece you removed should be the first piece you put back.
This is where your photos and notes will come in handy.
As you put your new fabric on, take care to put everything back together with the same way it was before.
If it was attached with a tack strip, reattach it with the same tack strip. If it was stapled, restaple it.
On my particular chair, there were some areas around the arm where the fabric was sewn together.
At first, I tried to be clever and avoid sewing by stapling it instead, but I quickly realized that completely changed the shape of the arms.
So I sucked it up and sewed it back on.
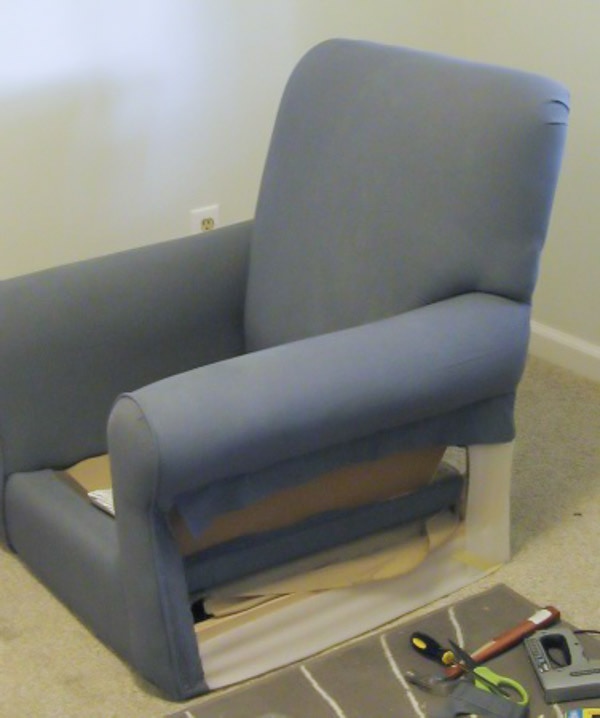
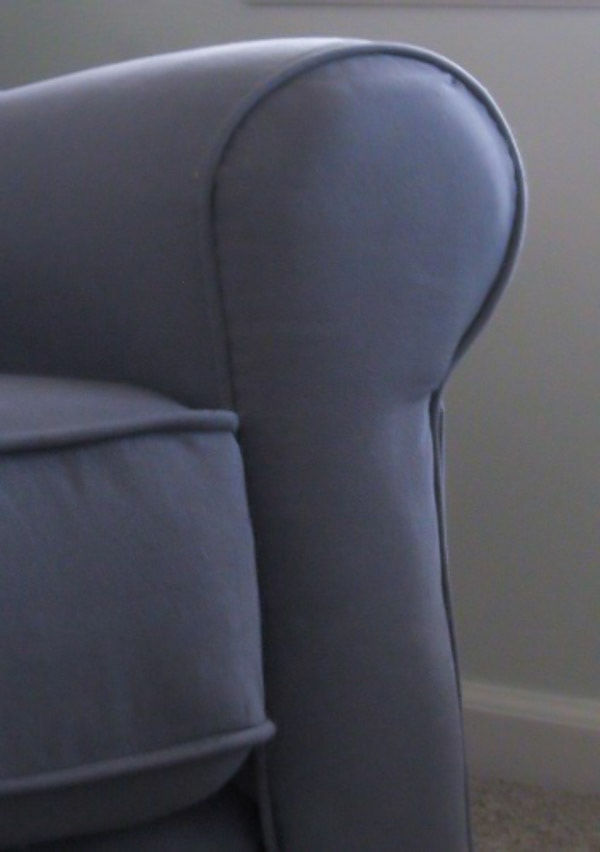
As you can see, I chose to use the same fabric for the piping but you can also choose a contrasting fabric if that is the look you are going for.
You could just leave the piping off for simplicity’s sake but it adds so much polish to any project.
Piping can be the detail that takes your project from looking homemade to looking professional.
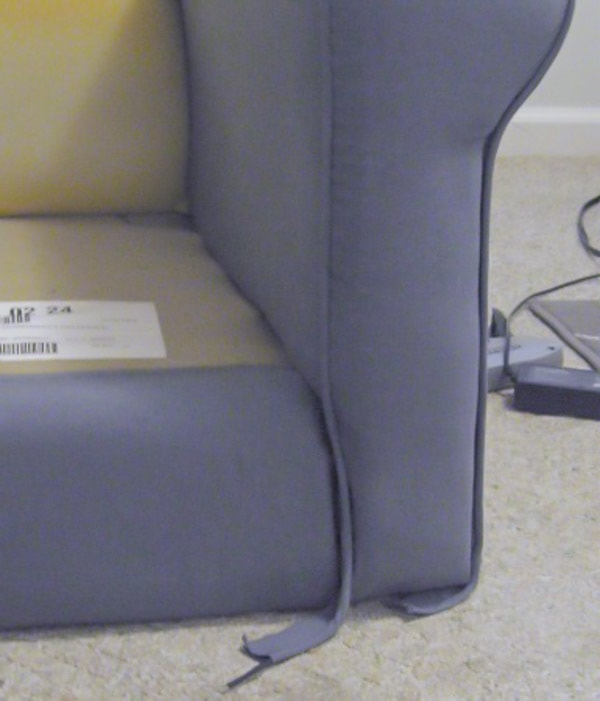
Sewing the cushion
This was the part of this whole project that I was most afraid of.
I can paint and use power tools and all kinds of other things. But sewing still scares me.
The first step of making the cushion is sewing the piping. As I mentioned, don’t leave this off – it really makes the whole project look polished.
I don’t profess to be any kind of expert on cushion making and I am frankly amazed and astounded at how well mine turned out.
(I will say, that I closed the back of my cushion with velcro rather than a zipper. I’m not at zipper caliber sewing yet).
Finishing details
I chose to paint my chair rockers a color very similar to my fabric for a more monochromatic look.
I considered doing white piping and white rockers for a high-contrast look but decided that just wasn’t right for this particular project.
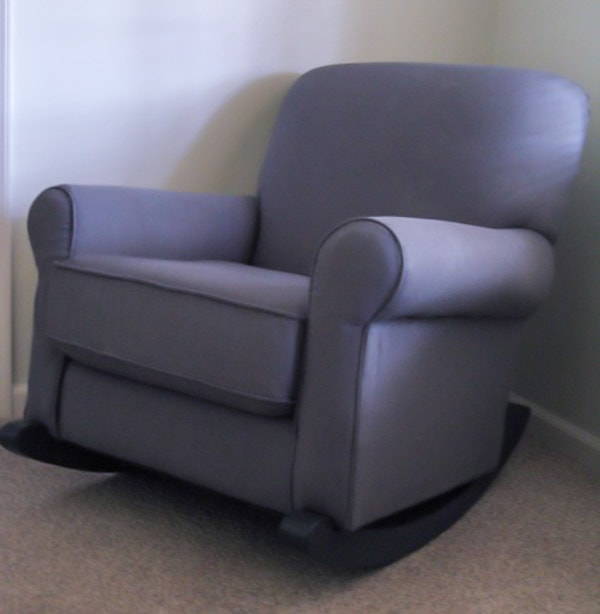
And with a few cute accessories, it looks even better.
Since originally writing this post, I’ve gotten even braver and tackled another huge upholstery project.
I reupholstered a vintage tufted sofa! It turned out absolutely beautifully!
You can see the after and tons more upholstery tips right here.
So what do you think – are you going to give it a try? Do you feel totally empowered to make over any and everything?
I hope so because I certainly do.
Other DIY upholstery ideas I think you’ll love:
- How to Reupholster Chairs: A Simple Step-by-Step Guide
- How to Make Easy Double Welt Cord for Reupholstering Furniture
- How to Reupholster a Couch on the Cheap

How to reupholster an armchair
Let me show you how easy it is to reupholster an armchair with these super simple steps.
Materials
- Fabric of your choice
- Pins
- Zippers or velcro
Tools
- Flat head screwdriver
- Needle-nose pliers
- Staple Gun
- Sewing Machine
Instructions
- Start by removing the staples or tack strips with a flat head screwdriver and needle-nose pliers.
- Remove the chair fabric layer by layer.
- As you remove each piece of fabric, keep it intact and label it.
- Take lots of pictures of every angle of the chair with notes of how everything is put together.
- Lay the fabric you removed on your new fabric.
- Pin the pieces in place and cut your fabric.
- Begin putting your chair back together in reverse order.
- Reattach it with the same tack strips.
- If it was stapled, restaple it.
- The final step is to sew a new cushion for the chair using the old fabric as your pattern.
Recommended Products
As an Amazon Associate and member of other affiliate programs, I earn from qualifying purchases.

Rebecca says
Thank you for this! I’ve been following this project of yours… since you dyed the curtains. I have a chair like this in my living room. It looks disgusting, but is sooo comfortable! I was just about to go out and buy $80 worth of fabric… and I’ve never even reupholstered before! But I should probably consider getting a cheaper fabric and following your tutorial!
Laurie says
OK, Carrie, you’ve given me the courage to try this! I’m going to find something small to practice on first, I’m still a little intimidated but if I can master one that doesn’t really matter if I fail, then I’ll take on a bigger one! Thanks for a great tutorial.
Cassie @ Primitive & Proper says
i love the new look! it’s so much classier!
Cassie @ Primitive & Proper says
i love the new look! it’s so much classier!
Kelli says
Thank you so much for writing this up! My sister-in-law gave us a comfy chair but her dogs had ripped the arms and the slipcover is too floppy for my taste. I might just try to tackle this, but needed encouragement like this.
The rockers are so cool on this chair.
Thanks again!
Carrie says
Sounds like the perfect project for some reupholstery. If you go for it and don’t give up, I know you can do it.
Kit says
I have a green arm chair I purchased years ago, that one of our dogs used as a rubbing post along the back. I’ve been hauling it around for years saying I was going to reupholster it, even bought fabric a year ago. You’ve inspired me to get started. Thanks for the post.
Carrie says
Yay! You will be so happy you did. I think reupholstery seems way more intimidating than it should be.
Debbie Perkins says
Finally, someone with a chair with arms!! I am in the process of reupholstering a Schnadig chair and a half. Yes, I took pictures, did I look at them, nah, haha. Put them on your computer and do a slide show. I didnt put the piping on the chair, just sewed the arm piece. I did treat myself to a staple puller. Worth the money. I also bought a small compressor and a staple gun. Yes, the $6 chair & ottoman, $120 matlesse, and the $130 harbor freight…is still cheaper that a new chair. Use chalk to mark the fabric also. Didn’t think about tape. I left one side still stapled so I could see how to put it back together. My son is ready for his chair back. :) Soon, Eli, soon. Thanks for the tips! Staple On!
Carrie says
Sounds like an awesome project Debbie! I’m thinking I should probably invest in a staple puller and a ‘grown up’ staple gun myself before my next upholstery project. I am constantly frustrated by my little staple gun and its lack of power!
Anna says
Thank you!! I have been searching for a tutorial and yours was the first I found with arms! While out with a friend recently we saw a “Happy Chair”. LOVE! I have an old chair in the attic and I am going to make my own funky, fun chair. Thanks for your tutorial and the links about the piping – very helpful!
Carrie says
Thanks Anna! Glad I could help. I’ve seen some happy chairs and they really are pretty amazing. Have fun and good luck!
Amanda says
Hi!!!!!! OMG I love this!!!! I am almost 7 months pregnant and I am re-upholstering my nursery glider chair to a beautiful pink!!!!! my hubby thinks im crazy and I might not can do it! BUT I am going to and so going to use your tutorial!!! because I have looked every where for DIY chair and I have not found any UNTILL now of an armchair!!!! I am sooo excited and cant wait to use your directions!!!!!!!!!! thanks soo much!!!!!!!!!!
Carrie says
That is awesome! I hope your chair turns out great – be sure to let me know when you finish!
Ash says
Hi Carrie ,
I have the same exact chair & have been procrastinating on starting the reupholster project. Besides the fabric, did you purchase any new materials (tack strips, nail tack strips, etc.)? How long did it take from start to finish? Just gauging if this is a 1 day or weekend proje t. Thanks!
Carrie says
Ash, It is a big project but very do-able and worth it! I would say it is definitely a weekend project. I worked on this for a few hours a night over the course of about a week. I only purchased the fabric and some piping (the part that goes inside the sewn piping for the edges of the armrests and cushion). I was able to just reuse all the foam and tack strips that were originally in the chair.
Rosita Aldrich says
Thank you! I found a chair kind of like that with footstool and rocking beside the road. The people sd that I could have it she felt so bad because of the spots …children ate in chair and spilled things. I had thoroughly cleaned it and put a cover on it ..now so excited to start reupholstering!
Carrie says
Wow, great find! Good luck reupholstering – it will be like having a brand new chair!
Renee says
holy cow, this is a GREAT tutorial!! and your finish product looks awesome.
Question – how much did your fabric cost and approx. how much time did it take you start to finish? :)
Carrie says
Thanks Renee! I was so happy with this project! My fabric was super cheap because I used two pairs of curtain panels that were on clearance. I dyed them gray and the total cost was around $20. My favorite way to get really cheap upholstery fabric is to use curtains or shower curtains. Using regular upholstery fabric would be a bit more expensive, but you can find some good deals. And I’m not sure the total time, but I worked on this for two or three hours each evening for about a week.
Cassie says
Thanks for the post! I’m wondering how the fabric is holding up and how easy it is to clean with it being curtain fabric. I’m hoping to reupholster chairs that will be used daily , so wondering if I should splurge on fabric for better wear and cleaning? Thanks for the all the great info!
Carrie says
Hi Cassie, the fabric is holding up really well. I think using curtain fabric was totally fine, but I can see a bit of unevenness to the color since I dyed the fabric before using it. We have used this chair now for 5 years and babies (whew!) It doesn’t look quite as fresh as the day I finished but it still looks pretty good. If I had it to do over, I would probably use a fabric that didn’t need to be dyed though.
Chris says
This tutorial is inspiring me! I have a really high-quality old chair from Germany that my neighbor gave me. I love it because it fits my 5’2″ frame perfectly – so comfy! And within a week of getting this chair, my son somehow ripped the whole darn seat cushion — auggh! Stretchy slipcover isn’t working well, and reupholstery estimates were astronomical, so I’m excited to try this approach. I will start my fabric search soon!
Carrie says
I am so glad you are inspired! Your chair sounds amazing and definitely worth saving with some new upholstery!
Sue chambers says
This has really inspired me, I loved your attack on your project. Nice and easy …. So here I go. I was thinking of making my arm chair in a patchwork design as I have various fat quarters I could use up.
Feeling excited to start now
Carrie says
That is such a fun idea! Good luck, you can do it!
Lisa Czora says
Your chair is so beautiful, Carrie! I am considering reupholstering an old couch with the same style arms. I am so impressed that even as a beginner you were able to pull those arms off! Would you mind briefly explaining what you did to make them turn out so well?
I see that you used the existing pattern for the panel on the front of the arm. But I still have a few questions about the steps involved in the sewing process: Is the piping attached to the small panel on the front of the arm or is it attached to the larger piece that wraps around the arm? How do you know where you should join them together?
Carrie says
The biggest thing that helped me with the arms was really paying attention as I took the old upholstery off the chair. I paid careful attention to how things were previously sewn and attached and even made notes and took photos in case I needed to refer to them. And then I simply copied it as best I could. I honestly don’t remember all of the details of which part of the chair the piping was attached to. But I know I attached everything the same way it originally was done. Good luck with your couch!
Anna says
I know this comment is years later than the post but I have this exact same chair and my family has finally destroyed the fabric. I just got a professional quote and it was over $1000 to get it reupholstered. You have inspired me to try it myself. Seriously, I love this chair and the thought of getting rid of it breaks my heart. I’m so happy to have found this post.
How many yards of fabric would you say you needed?
Carrie says
How fun that you have the same chair! It really is incredibly comfy. And it’s crazy just how expensive reuphosltery is! It has been awhile since I reupholstered this chair and I couldn’t find any notes anywhere about how much fabric I used. I’m sorry. One option would be to start by taking the old upholstery off and laying it out to measure what yardage you will need. Good luck!
Cynthia says
Thank you for this tutorial. You mention piping really finishes the look. Is it sewn on before putting attaching the new fabric or added after?
Carrie says
Yes, the piping does really finish it off. Usually you sew the piping itself and then sew it to the fabric before attaching it to the chair. You can also sometimes buy piping in a color that will match or complement your fabric, but it can get pricey. And you would still need to sew it to your fabric. If you are upholstering something that had piping previously, you will be able to see how it was put together when you remove the old fabric and that really makes it easier to visualize how to sew it.
Misty says
Thank you for this! I’m very confident in making my own clothes, but not reupholstering an armchair! I bought a stained bluish gray armchair for $40 with hopes of finding the right slipcover, but never could. I desperately want a faux tan leather chair. I’m going to attempt this during Christmas break. I hope mine turns out as amazing as yours!
Carrie says
I hope so too! You can do it!
Kendra says
Thanks for posting!!
I have an old armchair that I was just going to make a slipcover for (and might still do just for some variety), but your article has emboldened me to take on actually reupholstering it. Thank you!!
Carrie says
Yay, good luck!