How to Make Easy Double Welt Cord for Reupholstering Furniture
Make your own double welt cord for gorgeous reupholstered furniture with this simple step-by-step tutorial.
When I first started reupholstering old furniture, I was way too intimidated to make my own trim. I didn’t have a lot of confidence in my sewing skills and double welting just seemed way too complicated.
For my first few reupholstered pieces, I used store-bought trim and it was fine. But when I decided to reupholster my latest set of chairs in blue velvet, I knew I wasn’t going to be able to find a trim that was a close enough match. It was finally time to get brave and sew my own double welt cord.
Thankfully it wasn’t nearly as difficult as I had imagined.
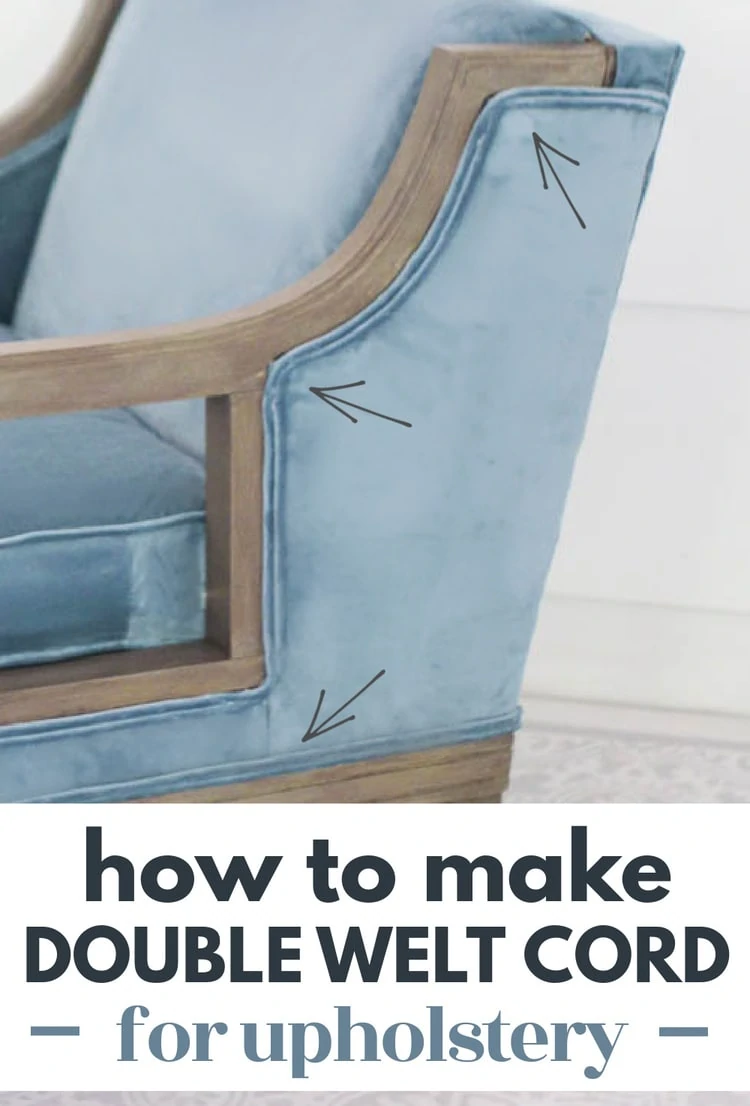
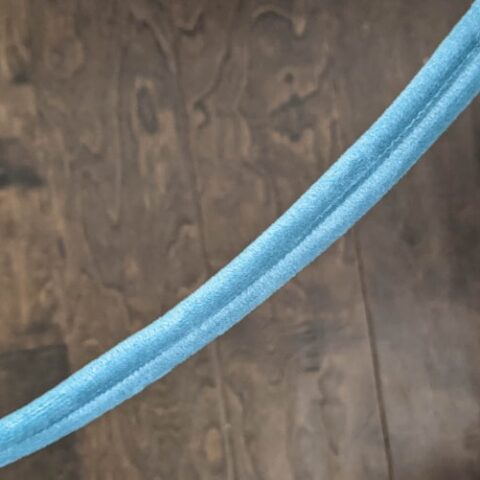
Double welt cord is basically just a double row of piping that is used to hide staples when upholstering furniture.
It is what professional upholsterers usually use and it gives your finished upholstery projects a gorgeous finished look since you can make your double welting using the exact same fabric that you used to upholster the furniture.
Even though making your own double welt cord can seem intimidating, it really isn’t very difficult. Even if you’re more of a beginner seamstress, this is something you can probably handle.
I’m sharing step-by-step how to make your own double welt cord along with tips for attaching it to upholstered furniture plus a simple video tutorial.
This post contains affiliate links which means if you make a purchase after clicking a link I will earn a small commission but it won’t cost you a penny more. Click here to see my full disclosure policy.
Materials
- Fabric of your choice
- Matching thread
- Piping cord or double welt cord – either will work, but regular piping is a bit more affordable.
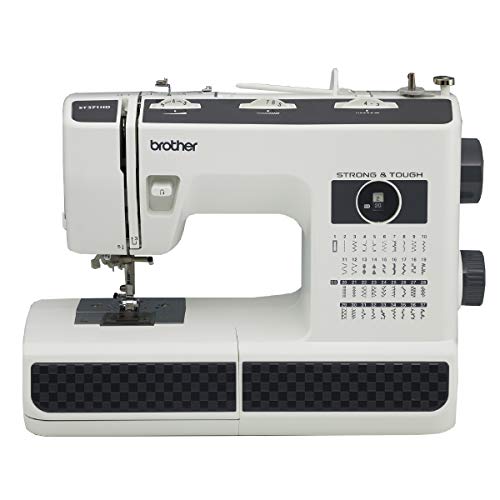
- Sewing machine – this is the one I have and love. It’s super easy to use even if you aren’t the most experienced at sewing.
- Double welt presser foot – having this makes the whole process so much easier
- Fabric scissors or Rotary cutter and cutting mat – a rotary cutter and cutting mat make cutting your fabric into strips super easy and scissors work well for trimming threads and excess fabric as you go
- Seam ripper – in case you make any mistakes
How to Make Double Welt Cord
Using a double welt cord foot
I’ve seen several tutorials that said you can just make your double welting using the standard presser foot on your sewing machine, but I really don’t recommend it.
I tried using my regular presser foot and the double welting just ended up looking flat and smushed. It didn’t have the nice defined channel in the middle and it didn’t look like anything I would want to put on the chairs I just spent hours reupholstering.
You will end up with much more professional looking results if you use a double welting foot on your sewing machine. And just as importantly, the whole process will be a million times easier.
I used this basic double welt cord foot which was less than $10, but you can find several options available on Amazon.
And if you don’t have a lot of practice with changing your sewing machine’s presser foot, it’s incredibly easy. You can find the instructions for your specific sewing machine in the instruction manual, but it should take less than thirty seconds to do.
Double Welt Cord vs. Piping
You can buy true double welt cord to cover or you can also just use two rows of piping cord. While I highly recommend using a double welt cord presser foot, using actual double welt cord isn’t necessary. The finished product will look just as good if you use a double row of piping.
And since piping is generally much easier to find and less expensive, that is what I am demonstrating in this tutorial.
In fact the original double welting on the chairs I reupholstered was made using piping and I actually took it apart and just reused the same piping cord for my new trim. I love to reuse as many old parts as possible – it saves me money, creates less waste, and was already cut to the perfect length.
If you aren’t reusing the original piping, you can cut still use the old piping as a pattern to cut your new piping cord to the correct length.
Cutting the fabric into strips
Use your rotary cutter to cut your fabric into strips that are 2″ wide. (If you are using a large piping cord, you may need to make your strips a bit wider.)
It is best to cut your fabric on the bias or at a 45 degree angle. I have to admit I did not do this for my own double welt cord because I didn’t have enough fabric and it worked out fine, but cutting on the bias is best practice.
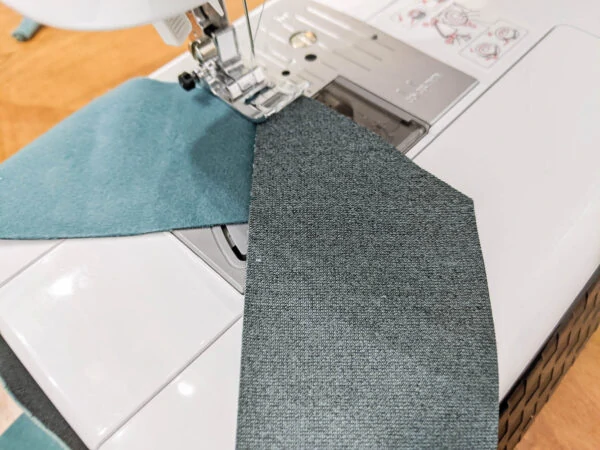
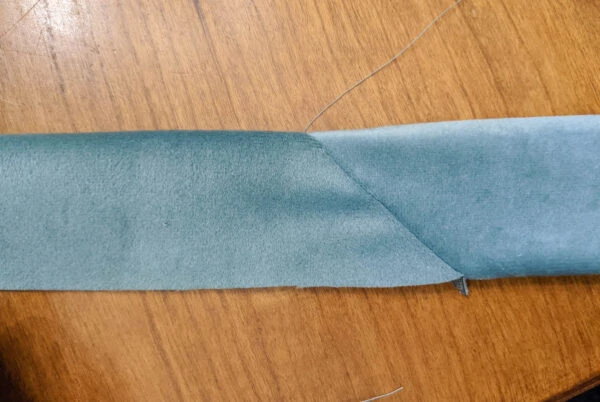
If you need any extra long strips of double welting for your project, you can sew two strips of fabric together to make a long strip. Just be sure to sew them together on a 45 degree diagonal as shown in the photo. This will help keep the seams as smooth as possible so that you don’t end up with bumpy double welting.
Sewing the first row of piping
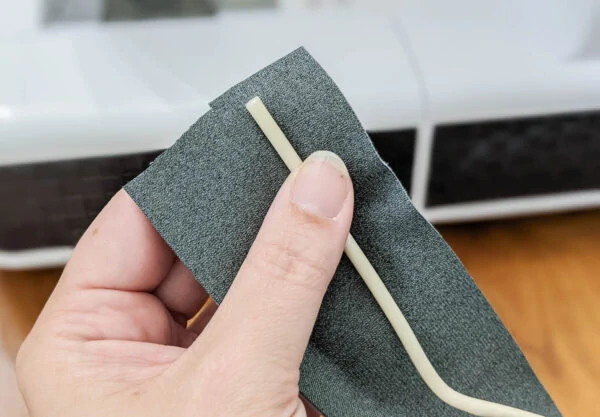
Take your first fabric strip and wrap one edge around your first piece of piping.
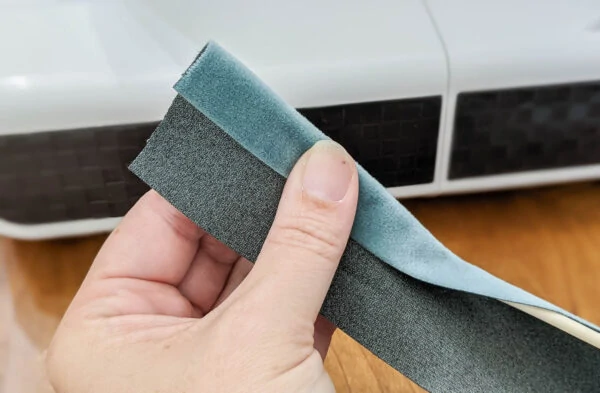
It helps to use a couple of straight pins to keep it in place.
Then you can sew it in place the same way you would regular piping.
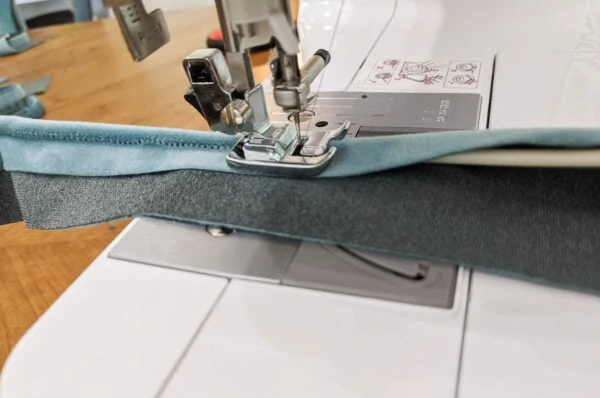
Your double welt cord foot has a little channel for the piping to go into and holds it in place as you sew. You want to sew as close to the piping cord as possible for a nice, clean look and this foot makes that super easy.
Sewing the second row of piping
After sewing the first row of piping, add a second piece of piping cord right next to the first one.
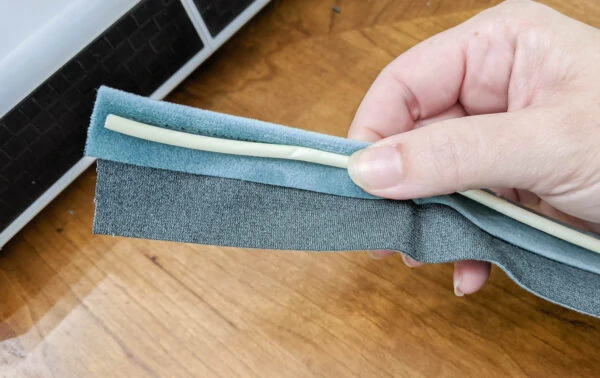
Wrap the extra fabric around it and then turn the whole thing over.
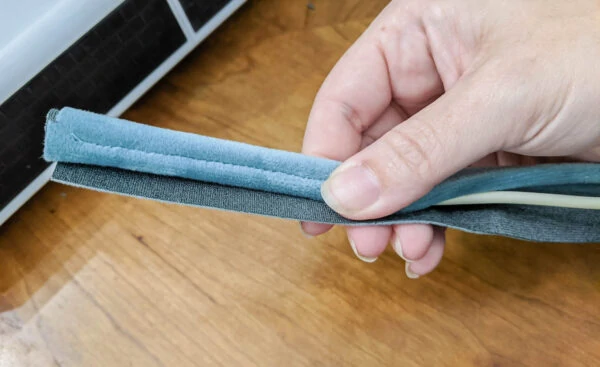
You should see a row of stitches right down the middle from where you sewed in the first row of piping. You’re going to be sewing along this same row of stitches again, sewing right through the middle channel between the two pieces of piping.
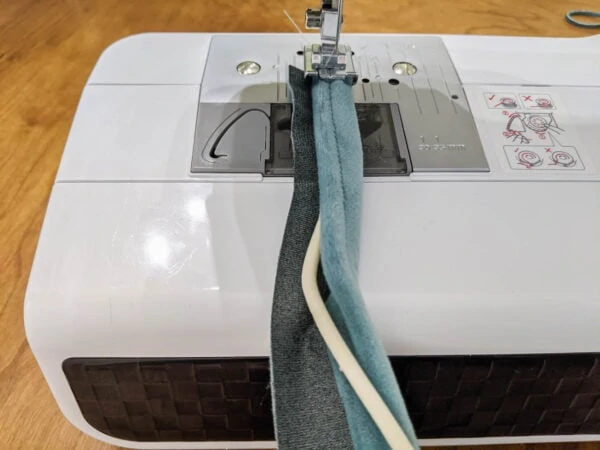
This is where having the double welt cord foot really comes in handy because it has two channels, one for each piece of piping, and it really holds them in place. You should be able to easily sew right between the two pieces of piping and make a nice deep channel.
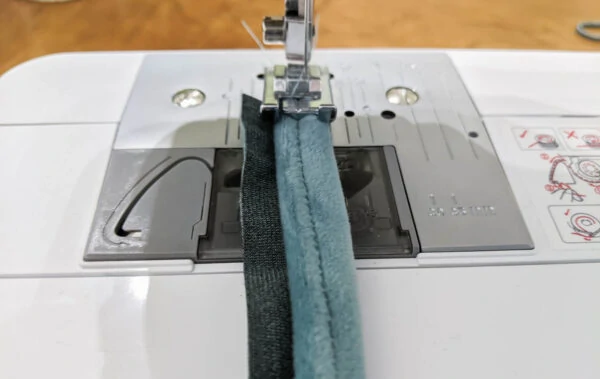
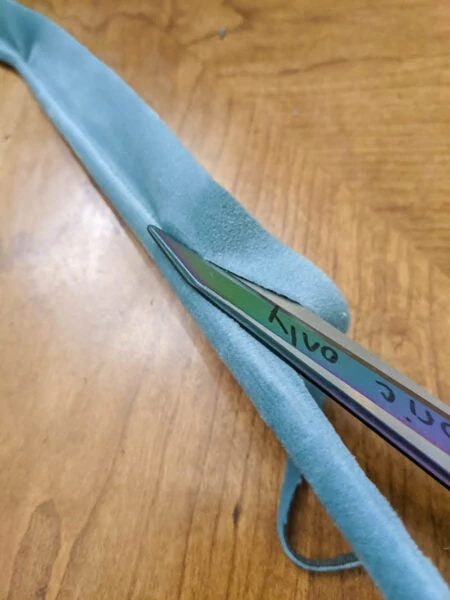
The final step is to cut off the excess fabric from the back of your double welt cord.
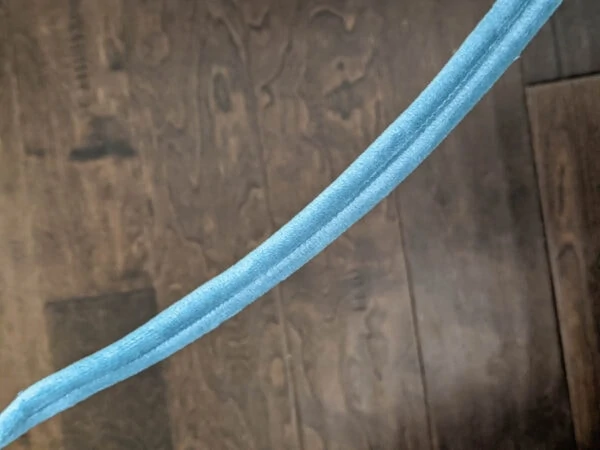
Then it’s finished and ready to attach!
How to attach double welt cord
You can attach your trim using either a staple gun or glue.
If you use staples, you just staple right through the center in the channel between the two rows of piping. I tried this method first, but I found it really hard to get the staples in deep enough that you couldn’t see the shiny metal.
So instead I went with plan B.
If you are using glue, you can use either a fabric glue like Liquid Stitch or you can use a hot glue gun. I decided to use a hot glue gun to attach my trim to my chairs because I had one handy and it worked really well.
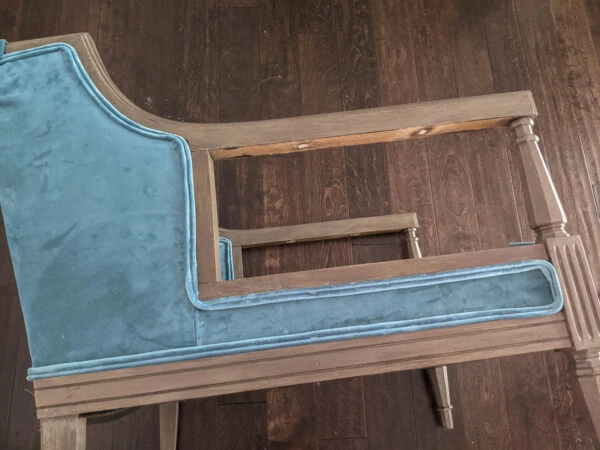
I’m so glad I finally tackled making my own double welt cord and I will definitely be doing this for all of my diy upholstery projects from now on. It really is that easy and it looks beautiful on my chairs.
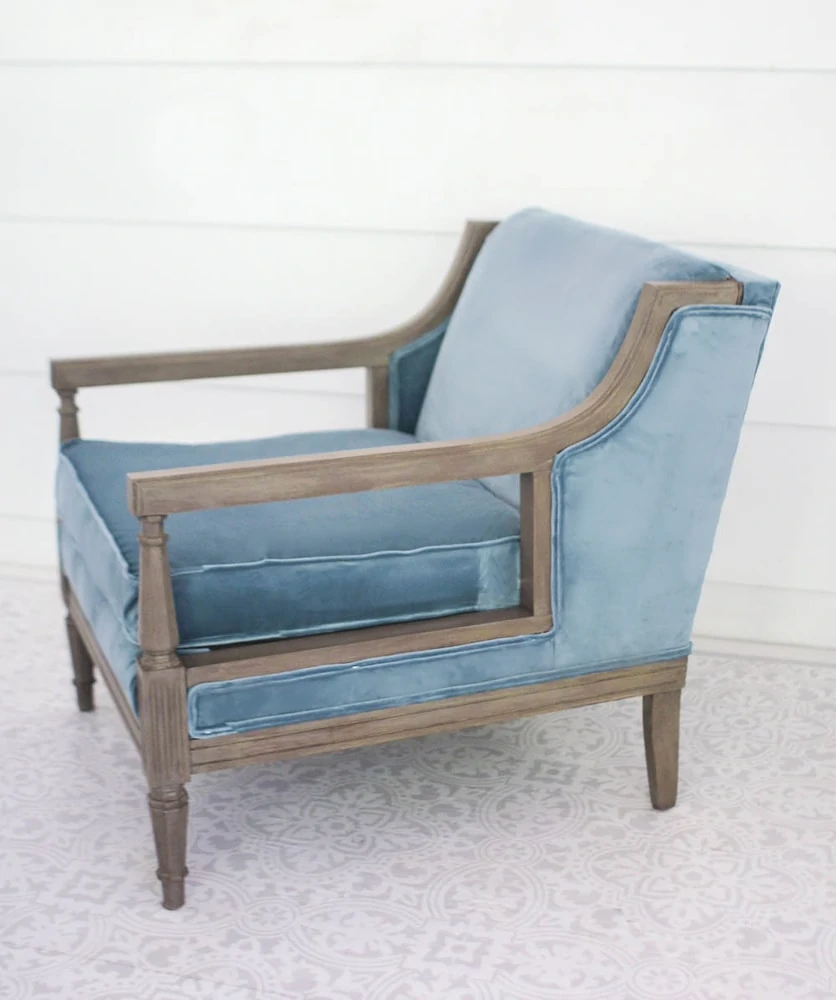
If you haven’t yet, you should check out the tutorial for the rest of the reupholstery project. In addition to the step-by-step tutorial, I share lots of tips for reupholstering all different types of chairs and furniture.
Video Tutorial
I’d love for you to subscribe to my Youtube channel!
Other DIY upholstery ideas I think you’ll love:
- How to Reupholster Chairs: A Simple Step-by-Step Guide
- How to Reupholster a Couch on the Cheap
- 10 Secrets for Finding Incredibly Cheap Fabric
I’d love for you to pin this post on Pinterest!
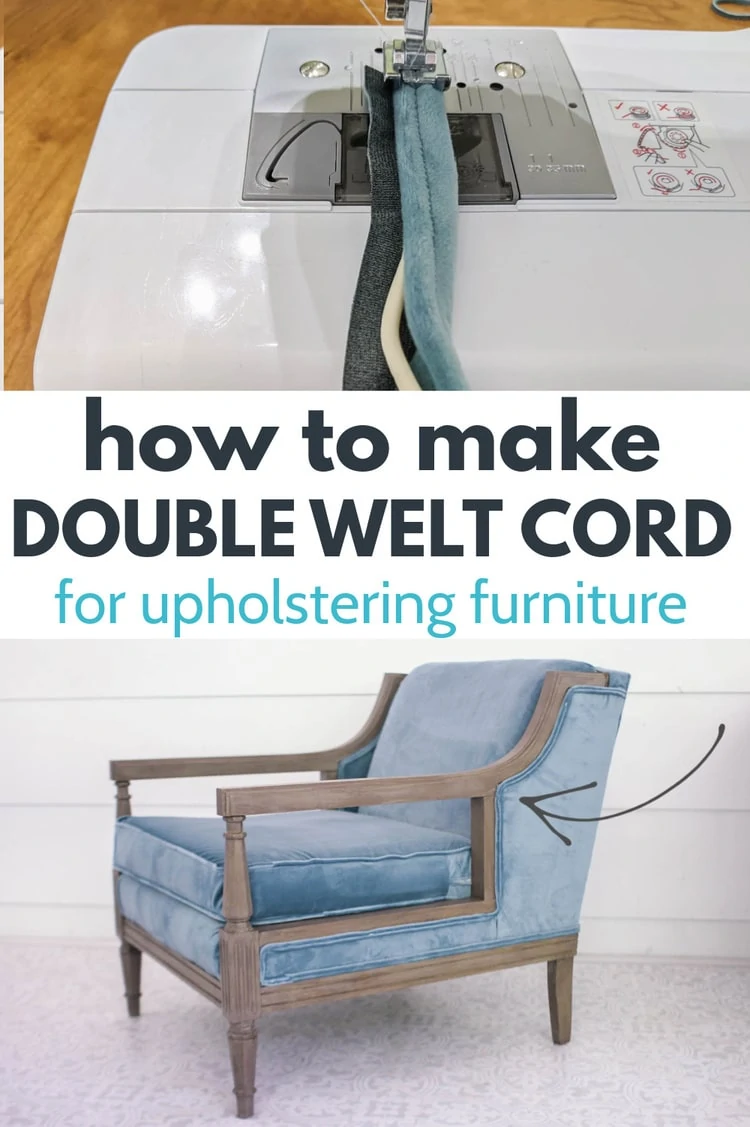

How to Make Easy Double Welt Cord for Reupholstering Furniture
Follow this easy DIY tutorial to make your own double welt cord for reupholstering furniture.
Materials
- Fabric of your choice
- Matching thread
- Piping cord or double welt cord
- Double welt presser foot
Tools
- Sewing machine
- Seam ripper
- Fabric scissors or Rotary cutter and cutting mat
Instructions
- Use your rotary cutter to cut your fabric into strips that are 2″ wide. Cut your fabric on the bias or at a 45 degree angle.
- Take your first fabric strip and wrap one edge around your first piece of piping.
- Use a couple of straight pins to keep it in place.
- Sew it in place the same way you would regular piping.
- Add a second piece of piping cord right next to the first one.
- Wrap the extra fabric around it and then turn the whole thing over.
- Sew right through the middle channel between the two pieces of piping and make a nice deep channel.
- Cut off the excess fabric from the back of your double welt cord.
- Attach your trim using either a staple gun or glue like Liquid Stitch or a hot glue gun.
Recommended Products
As an Amazon Associate and member of other affiliate programs, I earn from qualifying purchases.
-
DREAMSTITCH SA192 F067 7mm Double Piping Presser Foot for All Low Shank and High Shank (Use Master Shank) Singer,Brother,Babylock,Janome,White,Juki,Janome,New Home,Simplicity,Elna Sewing Machine
-
Brother ST371HD Sewing Machine, Strong & Tough, 37 Built-in Stitches, Free Arm Option, 6 Included Feet
-
Twin (Double) Cotton Piping Welt Cord Size 0 (5/32") 45 Yards



Thank you for this! I was all ready to go and thought I had everything but I had to order the proper presser foot, I tried it without it but its too hard.
Yes, that presser foot really makes a big difference! Good luck!