How To Letter A Sign Perfectly And A Free Printable
Learn how to letter a sign with these simple tips and get the free printable!
I’ve got a thing for painted signs. The vintage feel, the meaningful messages; they are pretty much my favorite thing to make. So when my best friend, Hannah, mentioned wanting a custom sign for her foyer, I was all over it.
(Well, I was super excited about it, but didn’t actually get it finished until this weekend. Did I mention this was a Christmas present? For last Christmas. Yikes. Luckily she doesn’t hold it against me.)
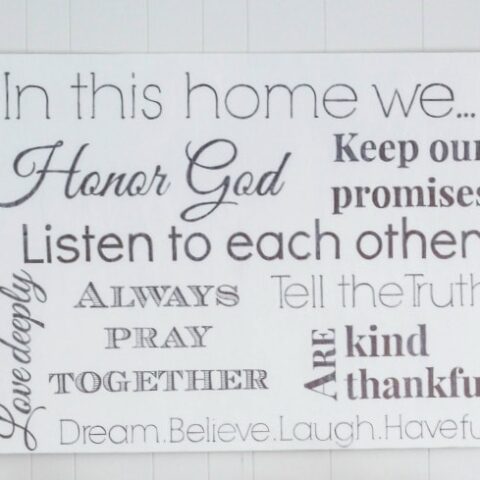
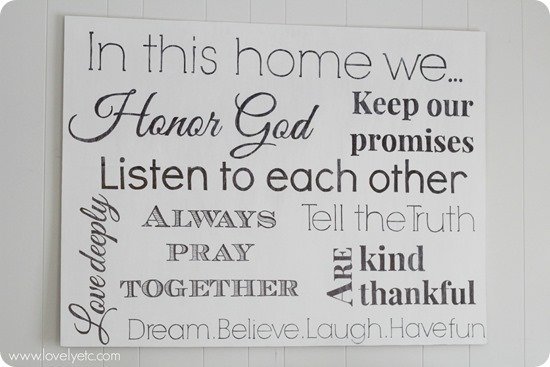
She requested a ‘family rules’ sign with a list of rules she and her husband came up with together. I wanted it to look perfect, so I started by designing the layout in Picmonkey. (affiliate link)
I bought a sheet of birch plywood and primed it with spray primer followed by three coats of white paint.
This is the part where my crazy perfectionism came into play. See, I don’t have a Silhouette or Cricut or any other fancy stencil making machine. But I wanted the lettering on Hannah’s sign to look just like my design.
So I printed out my design. But as my painted sign is three feet by four feet, I had to change my printer settings for my print to fit five by five sheets of paper. Yes, I printed it out on twenty five sheets of paper.
Sorry, trees. (If you need more info on how to print your design super big, you can find step by step instructions with photos here.)
Then I transferred the design to my plywood using my super old school transfer technique that uses only a pencil. (You can see exactly how to do it in this post).
In the past I have used both small paintbrushes and paint pens to hand-letter signs. But I wanted these letters to be quite precise. Plus, this sign has a ton of words – doing multiple coats with a paintbrush would have taken weeks!
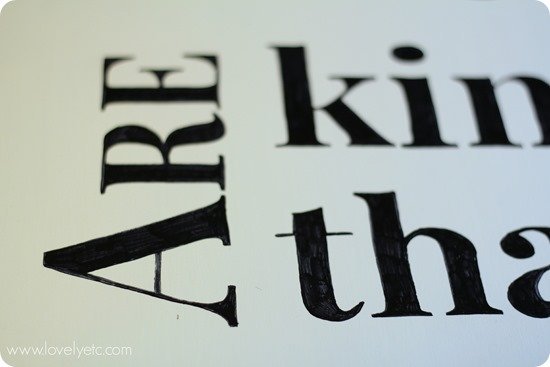
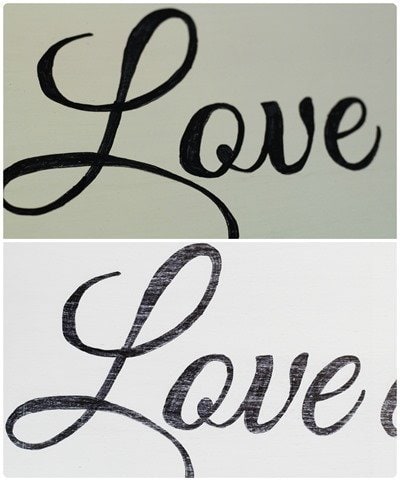
So I went with something that can handle pretty much any job – Sharpie markers. I simply colored in all of my letters with plain old black sharpies.
At first, the letters did not look hand-painted. They looked very much like Sharpie letters. But once I had finished the lettering, I lightly sanded the whole sign with 180 grit sandpaper and it knocked the marker look right off.
This is now my favorite way to precisely letter a sign in any font you want!
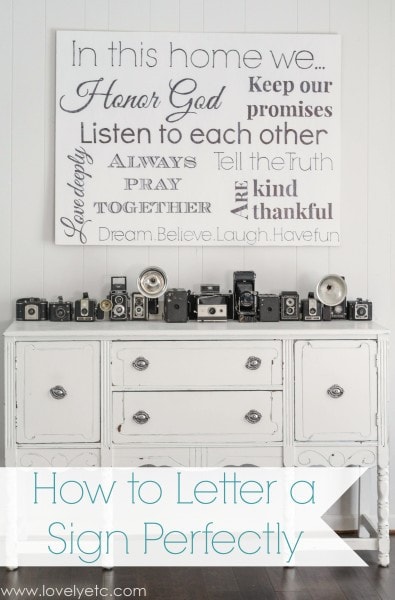
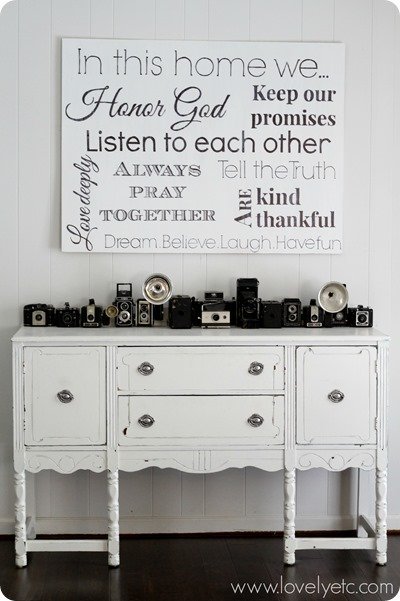
As I said, this sign is a gift, but I just had to hang it up in my house to see how it looks hanging on the wall.
And for those of you who want to hang your own family rules but don’t have the patience to paint a sign, here’s a free printable version. Just print it out and stick it in a frame – doesn’t get much quicker than that!
Just click here to download your own. Enjoy!
How To Letter A Sign Perfectly
You can easily make a beautiful DIY wood sign for your home using a piece of plywood and inexpensive sharpie paint pens. Just print out the included free printable and follow the tutorial to make your own.
Materials
- Plywood
- White Paint
- Printout of your sign design
- Primer
- Pencil
Tools
- Printer
- Sandpaper
- Small foam paint roller
Instructions
- Paint a coat of primer on the plywood.
- Once the primer has dried, paint with 2-3 coats of white paint.
- Print out your sign lettering.
- Turn the printout over and lightly cover over the back of the design with a pencil.
- Tape it to the sign where you want the lettering to be, with the pencil shaded side facing the plywood.
- Trace around each letter firmly with a pencil or pen. This will transfer your sign design to the plywood
- Go over your sign lettering with a black Sharpie.
- Lightly sand the whole sign with 180 grit sandpaper.
Recommended Products
As an Amazon Associate and member of other affiliate programs, I earn from qualifying purchases.





Oh my goodness, I love it! Thanks for the tip about sanding the “sharpie look” off. Your friend is a lucky girl! :)
Thanks Kimm!
Love it and pinned it!!!! What a fabulous idea!
:) Linda
Thanks Linda!
Fabulous tutorial, Carrie! I don’t have a fancy cutter either, so this is perfect. Pinning and sharing!
Thanks Tasha!
I absolutely adore this project! It looks amazing above the console table too. Thanks for providing the free printable and for linking up to our Inspire Me Monday party!
Thanks Kim! And thanks for hosting!
Hi Carrie! Such a beautiful sign! The phrases and fonts and design is just perfect! Don’t worry, there’s lots of trees out there!
Blessings, Diane (visiting from Work it Wednesday)
Haha, thanks Diane!
thank you carrie!
I love it, Carrie! I also made a sign using sharpie markers, and it turned out amazing! Thanks for sharing. ~Lisa
Thanks Lisa! I think I am going to have to give some colorful Sharpies a try next time and see how that goes!
Very clever! I really appreciate the sand paper tip!
Thanks Jenna!
This is amazing! Found you from Serenity Now’s linky party. I’m definitely trying this soon!
Thanks Kristin! I am glad you stopped by – you will have to let me know how it works out when you try it!
Love it! How do you print it out so large?
I just printed it on my home computer using Windows Live Photo Gallery. I went to options, printer properties, page setup and chose tiling/poster. Click on it then click specify and you can tell the printer how many pages you want your pic to print on.
Hi. I love your sign. I transfer with my students and show them all the ways you can transfer. Chalk is a great alternative to pencil if you want a quicker option.
Christine, great tip! Thanks. I will have to give that a try next time.
Do you still make the Family Rules sign? I’d be interested in hiring you to make one for our family. Let me know, please.
Yes, I would love to make a sign for you and your family! Thanks for reaching out. I will send you an email with more information.
Hi! How do you transfer the text before filling it in with sharpies?
Hi Jennifer. You can transfer the design really easily using just a pencil. Here’s a post explaining the process: https://www.lovelyetc.com/i-need-transfer/