Aqua Striped Mason Jar
A few years ago when I was hitting yard sales like it was my job and buying up all the things, I discovered a few vintage things that I just could not pass up. Okay, maybe more than a few. But in any case, one of the things that always grabbed me was old jars. The thing about old stuff that gets me every time is how even the most basic, utilitarian things had major style. Even plain old jars.
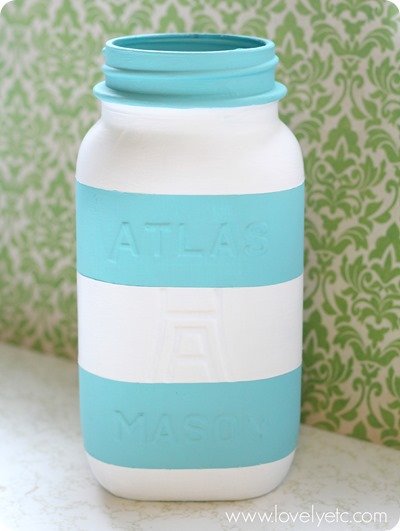
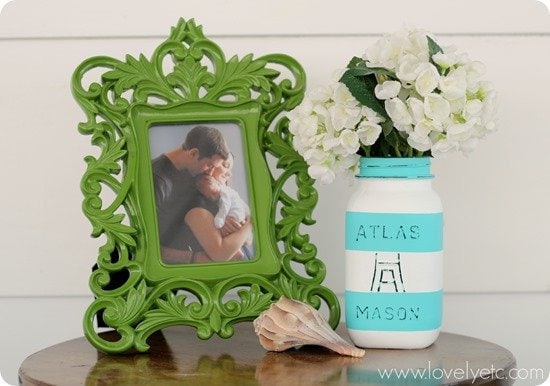
Well, a few months ago I stumbled upon this gorgeous painted striped jar from The Crafted Sparrow and I knew I had to make my own version. Of course, by this point I had seen the error of my hoarding ways and the only jars that escaped my massive purging were ones that were way too awesome to paint. Luckily, as beautiful as vintage jars are, they are pretty much everywhere. Seriously, I am not sure I have seen an estate sale yet without at least one old Ball jar lurking in the basement. I swung by the Goodwill and found the cutest little Mason jar for 50 cents. I’m a little bit in love with the clean modern graphics on this thing.
This project was fairly easy and super cheap. And perfect for adding a bit of Spring to your home.
I actually started out painting two jars; one didn’t make it. It was so awful, I ended up throwing it away. And I’ve gotta admit, I feel pretty guilty about that. What a waste of a jar! But I painted it with some fancy satin craft paint and it looked hideous. So I tried to sand the paint off and that was a huge mistake. I had to call time of death on that one. But I did learn a valuable lesson which I will pass on to all of you – regular old flat craft paint is the way to go. Forget the fancy stuff.
Materials
jar
two colors craft paint
Sponge brush (a regular brush will also work, but a sponge brush is a bit smoother)
painter’s tape
sandpaper
Okay, so this is really quite simple. I did not use any primer; I went straight for the first color of paint. I started by painting my jar with three coats of aqua paint. Once that was thoroughly dried, I taped off my stripes, pressing down the edges with my fingernails.
To really get nice crisp lines, seal the edges of your painter’s tape by painting over them with one coat of your first color. That way any paint that manages to seep under the tape will be the same color. Then paint your second color – three coats again.
When I removed the tape, I did have to make a few small touch-ups, but not nearly so many as I had expected. My jar was looking pretty cute at this point, but all of those amazing details were really getting lost. I had read on another site that you can distress your jar using an emory board so I tried that first. It was very easy to control, but was extremely slow. So I ended up using regular old sandpaper. I lightly sanded the graphics and the top of the jar.
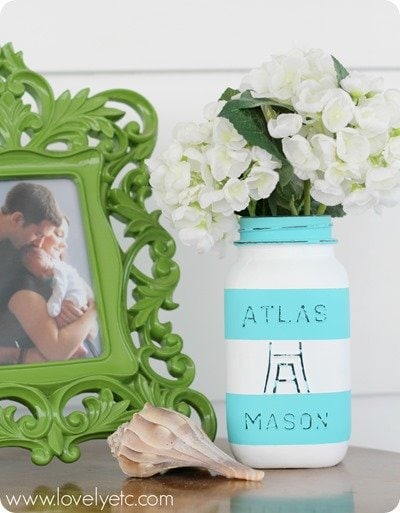
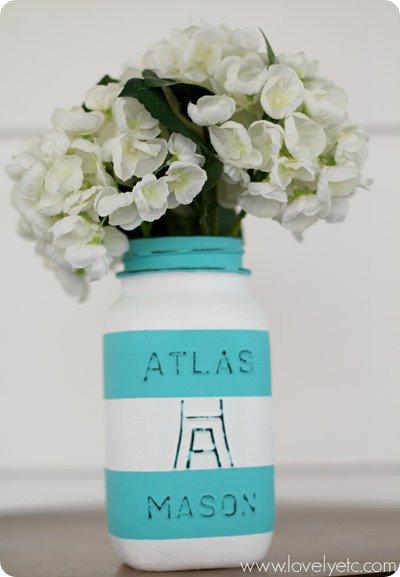
And that’s it – I have a happy, striped jar!
Ah, this little jar is keeping the hope of spring alive! It may be snowing or sleeting every other day now, but one day spring will be here. I cannot wait!
Have you started adding any touches of spring to your house? Or are you hanging on to winter a little longer? Any rogue Christmas decorations still hanging around? I won’t judge, I promise!



So pretty and romantic! Would you be okay if I shared on my Mason Jar Crafts Love blog? I think my readers would love this!
:) Linda
Thanks Linda! I would love for you to share it on your Mason Jar Crafts Love blog! I was thinking of you and all of your gorgeous jars when I was painting it. :)
These are lovely! I love how the aqua pops against the white. Pinned! ~Lisa
Thanks Lisa! I definitely have a thing for aqua and white. :)
Carrie,
So cute! :-)
~Sarah
Thanks Sarah!
This is so cute! I did a mason jar project too, but I like how you added the stripes. :)
Thanks Dee! I am heading over to check out your project!
Ok…This has to be my Favorite painted mason jar technique ever! LOVE the stripes! And the color is so fun…the perfect turquoise. Pinning!
~Ariean
Thanks Ariean! I’m loving the stripes too – I like how it gives it a little modern edge.
darling..I also am a big fan (polite word for hoarder) of jars…
Haha, love your polite word for a hoarder, I will have to borrow it!
I absolutely love this!!!! Mason jars are a must in my house (for practical and decorative purposes) and I will have to do this to one of my jars! LOVE LOVE LOVE it! :)
Visiting from SITS!
Thanks Jessi! I think that is why jars are so awesome – they are beautiful but they are also the best for storage.
This is very pretty, I love how you kept the original wording on the jar. Looks like a vintage piece!
Thanks Sarah! Anything that looks vintage is a win in my book!
Super fun twist on the bar jar project. I have not seen this look. Really cute, a little navy and white could give the Kate Spade look.
Fun!
Thanks! You are right – navy and white would look so chic!
Oh my gosh this is darling! I love it and am going to do a few myself!
Thanks Ginger!
It turned out so super cute! Thanks for the shout-out! Love the turquoise!
Thanks! Love your sweet black and white version too!
This is awesome. I’m going to try one!
Thanks and good luck!