DIY Wrapped Photo Canvas with Real Canvas Texture
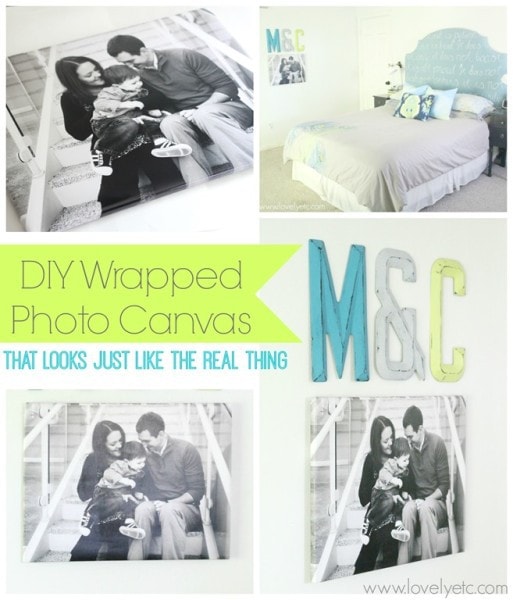
Last year I shared my DIY photo canvases that look exactly like the expensive ones you can buy. That is still one of my favorite money-saving DIY projects and I recently made another larger photo canvas for our master bedroom makeover. In the process I learned a few new tips and tricks for getting that perfect finished project and I definitely had to share them.
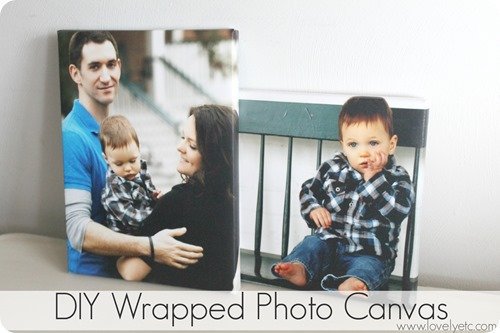
I love the look of photo canvases – there is just something about them that elevates a great family photo to an actual work of art. The problem is they can be very expensive. There are DIY versions all over the place, but honestly, a lot of them just don’t really look like the genuine thing.
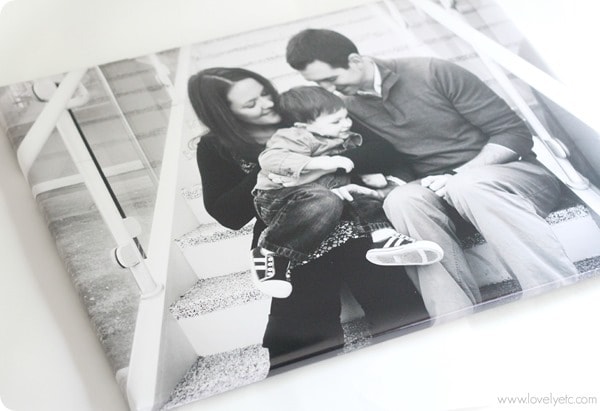
I found there are two key factors in making a photo canvas that looks like the real thing. One, the photo needs to wrap all the way around the canvas; not just be stuck to the top. And two, the photo needs to have the texture of real canvas. If the finished project is smooth like paper, it will never look like a real canvas.
Since this DIY project is all in the name of saving some money, the biggest question is “Does it really save all that much money?”
Well, the canvas in my bedroom is 18×24 inches and cost $22 to make. I checked several photo printing sites that I regularly use (Snapfish, Shutterfly, and Walgreens) and found similar photo canvases cost around $99 plus $15 shipping. I’d say $22 is a major savings over $115. (And even if the photo canvases were on sale, the DIY version is still way cheaper.)
Materials for Photo Canvas
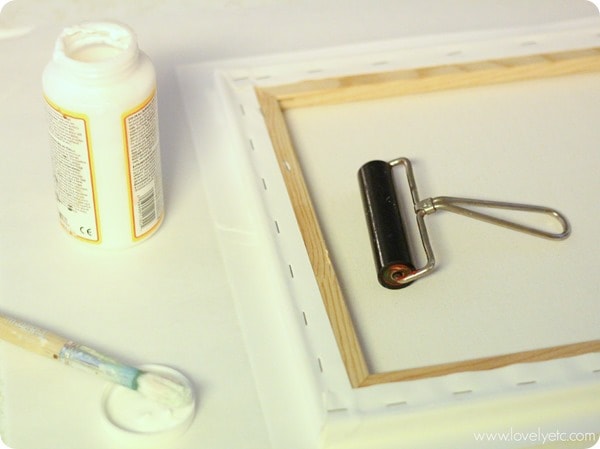
Poster Print of your Photo – It is essential that you get a poster print of your photo, not a photo enlargement. The difference is the paper. You don’t want a photo printed on real photo paper – it will be way too stiff to wrap around the canvas. You also do not want to use an engineering print for this; it would be way too thin and become a wrinkly mess. I would also beware of using super cheap poster prints from discount printing companies which are also likely to be printed on very thin paper. You can, however, find a fantastic deal by waiting for a sale at a reputable photo printing service. I got my 20×30 poster from Walgreens during a 40% off sale. Sales happen pretty regularly so it shouldn’t be hard to find one.
Canvas – The width and length of your canvas need to be at least two inches shorter than your poster. For my 20×30 inch poster, I used an 18×24 inch canvas. I picked up my canvas pretty cheaply at Michaels. The canvas multipacks there are the cheapest and, of course, you can save even more by using a coupon. Or you could go the free route by reusing an old canvas you already have. Amazon also has a great deal on a 6 pack of canvases.
Matte mod podge – It has to be matte finish or it will look strangely shiny and not like other photo canvases.
Foam brush – A regular paintbrush should also work, but I prefer using a foam brush with Mod podge.
Duct tape
A scrap of canvas fabric – It doesn’t have to be actual canvas fabric, but does need to have the heavy texture of canvas. Most drop cloths also work well for this.
A brayer or rolling pin – A brayer is a little roller that is awesome for doing any type of craft with Mod podge. But if you don’t happen to have one, a rolling pin will also work. (For that matter, you may be able to use a can from the pantry. This is only needed for smoothing things.)
The trick to making a DIY Photo Canvas
First, you need to attach your photo to the front of the canvas. Pour a little Mod Podge onto the front of your canvas and spread it evenly over the canvas using the foam brush. Center your photo on top of the canvas and press it down using your brayer or rolling pin. Then turn the canvas over, and roll all over the underside as well to make sure the photo is firmly attached.
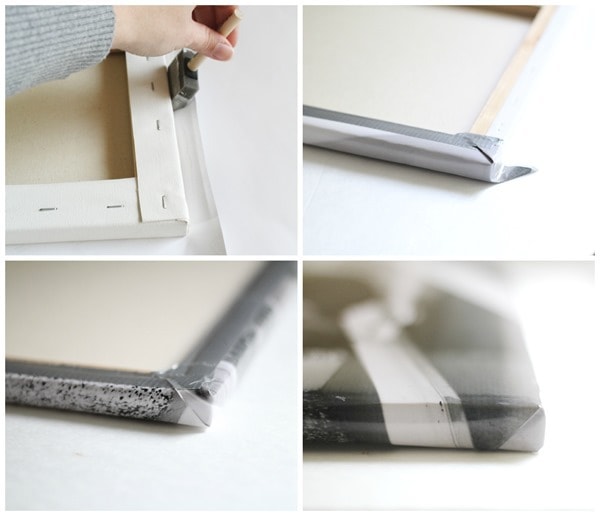
Let everything dry thoroughly and then use your fingers to wrap the photo around the edges of the canvas. With your foam brush, brush mod podge onto one of the canvas sides. Fold the photo up and duct tape it to the back of the canvas one side at a time. When you come to the corners, simply fold the corner in similar to if you were wrapping a present. You could of course use a staple gun to attach your photo to the back of the canvas instead, but I found duct tape to work well and it is much quicker and easier than dragging out a staple gun.
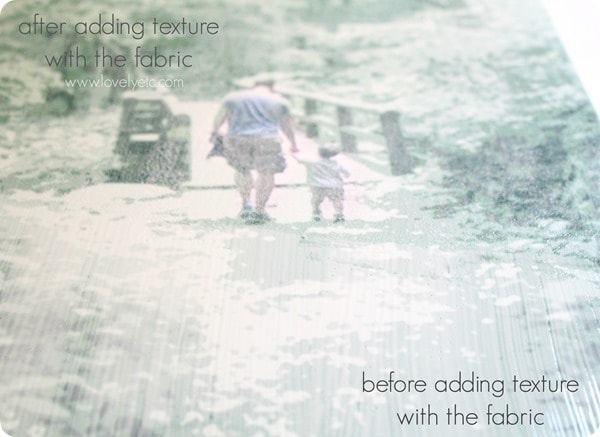
Give your sides a little time to dry thoroughly and then it is time to add some texture!
But first, there are a couple of things you can do to help make this go smoothly. The last time I made photo canvases, I had some problems with little fuzzies sticking to my canvas when I lifted the fabric. This time I got smart. First of all, my fabric had been folded up for quite awhile and was terribly wrinkled so I ironed it to avoid any wrinkles in my canvas texture. Then I used a lint roller to carefully remove any little strings, fuzz, and dust hanging around. This made such a huge difference! Last time, I was trying to remove all these little tiny fuzzballs from my photo canvas with tweezers; this time I didn’t have any problems with that at all.
Use the foam brush to brush a thin layer of mod podge onto the front of your canvas. You do not want any thick puddles of Mod Podge but you also do not want any bare spots. Make sure every little spot is covered. As quickly as possible, press your fabric onto the top of your canvas. Smooth the fabric thoroughly with your brayer or rolling pin for a few seconds and then remove the fabric. If your canvas is larger than your fabric, just move the fabric to the next section and repeat the process. Don’t forget to texturize the sides of the canvas as well; it may be easier to allow the front of the photo to dry and then do each of the sides separately.
Once the mod podge has fully dried, if you notice you missed some spots or you just aren’t really happy with how it looks, you can simply brush on another thin layer of mod podge and repeat the process.
I am so happy with how beautiful my photo canvas turned out. Even my husband commented on how much it looks like a real canvas. (And at this point, it takes a lot for him to really notice a DIY project!) I love when a DIY project turns out just like the real thing…but for so much less money!
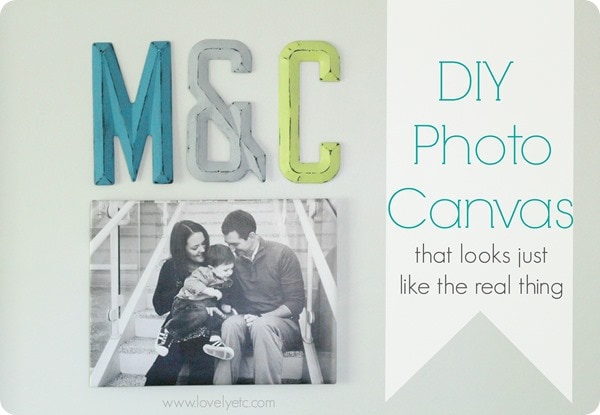
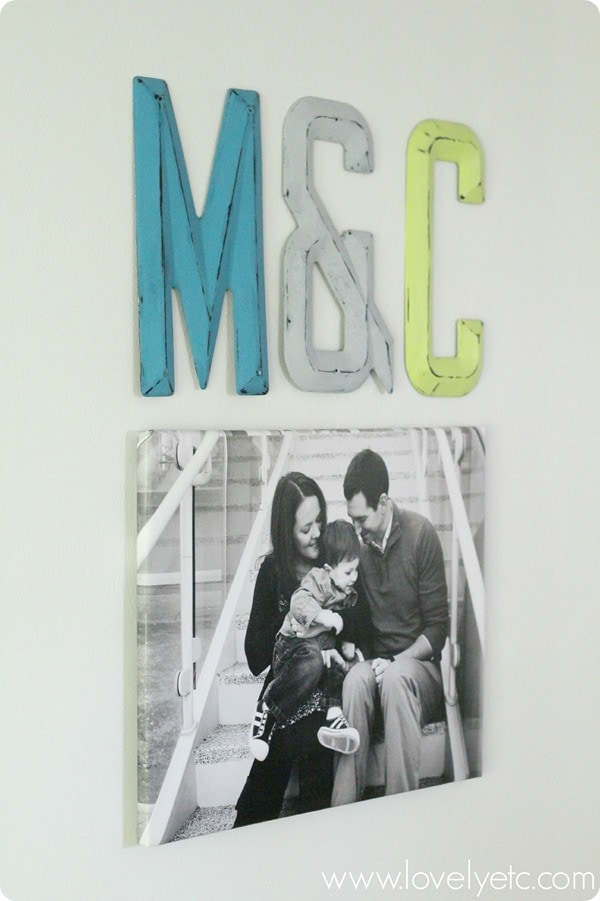
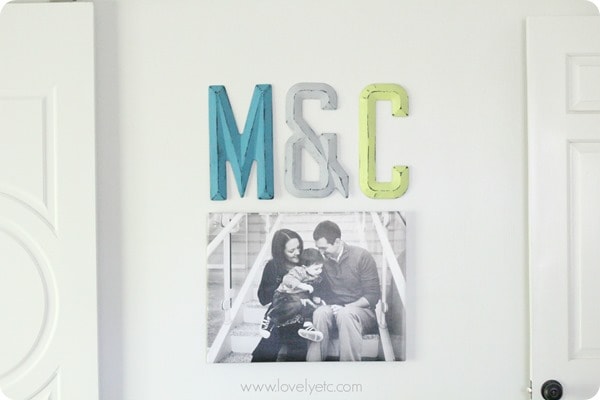
This canvas is hanging in our master bedroom along with some metal letters of our initials that I painted. I love the combo. And I’m loving my canvas so much, I’ve already got some more canvas projects in the works for my son’s room that I can’t wait to share!


Is there any way around removing a spot in which my texture canvas left a large white spot from leaving it on too long?
Laura. Yes, I am a major perfectionist so there were a few times I wasn’t happy with the texture. Once it was dry, I just reapplied the ModPodge and repeated the process with no problems. This should hopefully take care of the white spot.
What can I use for the cloth part???
Could it be a heavy towel???
I’m very new to this and can’t wait to make my first one but worried about the cloth issue after I place the photo on!
One more thing, I was just onWalgreens photo shop page to order my poster prints but it doesn’t offer anything besides ( gloss) can you help me out with this as well.
I’m trying to get these made for the Holidays as gifts and still will have to ship them out of state. So any help would be wonderful! Thank You So Much, Ruth from Florida ❤️
Ruth, these would definitely make great Christmas gifts. I wouldn’t use a towel for the cloth part because it is really likely to leave lots of fuzzies on your photo. You could use a piece of dropcloth or any canvasy fabric. If you don’t have anything on hand, you can get a half yard of canvas fabric at a fabric store for a couple of bucks. As for the photos, go under the poster tab and choose single image. All of the posters are printed in satin finish. It looks like the poster prints themselves aren’t on sale right now but there is a sale going on for $20 off of $40 which is awesome.
I love your concept and have a question. I wanted to make smaller versions of these – for example a 5×7 canvas. The problem is I can’t find anywhere to print a 7×9 poster print. I think you said you get your poster prints from Walgreens – my Walgreens only prints poster sizes in real poster sizes (obviously). Have you made the smaller versions? If so, how do you get a paper print the right size?
Hmm, great question. You may be able to print photos at a copy shop, but I would be worried about how to select the appropriate weight/thickness of paper. One option is you can order collage posters from Shutterfly in small sizes: 8×8, 8×10, 12×12. Even though they are supposed to be collages, you can choose to just use one large photo instead. Other sites may have something similar but that is the first one I found. https://www.shutterfly.com/prints/collage-posters
I was wondering if you tried using a blank canvas laid on your picture to make the texture instead of the cloth.
Hi Jo Ann, I haven’t tried that but I can’t think of any reason it wouldn’t work! The only downside is it would leave a film on the blank canvas, but it you are going to be using it to make more photo canvases, it should be fine.
Hi! I was wondering… Do you leave the duct tape on the back or staple it after it’s dry?
I just left the duct tape on since it is on the back and won’t really be seen anyway. If you do this, white duct tape would work well and be less noticeable. But if you wanted you could probably take it off and staple it for a cleaner look.