How To Paint Plastic To Look Like Vintage Metal
Awesome tutorial on how to paint plastic inexpensive dollar store bins to look like vintage metal locker bins
I absolutely love using vintage crates, baskets, and boxes as stylish storage – unfortunately, they aren’t always easy to find.
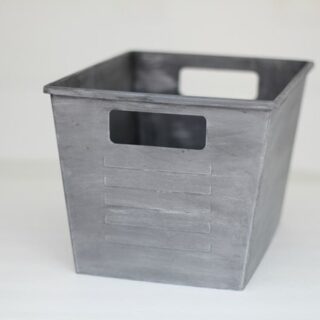
So I found an inexpensive solution: paint ordinary plastic bins to look like vintage metal. All it took was three simple steps and now they look fantastic!

I started with two plastic bins that look like lockers baskets and a plastic bucket, all from the dollar store.
They were all in very bright, happy shades that just weren’t what I was looking for at all. But not anymore!

This post contains some affiliate links. See my full disclosure here.
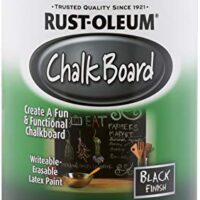
Materials for Painted Metal Finish
- Inexpensive plastic container
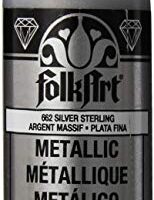
- Gray primer
- Chalkboard paint
- Silver craft paint
- Foam brush
- Clean rag

I started with primer. I chose to use gray automobile primer because it sticks really well to plastic and gives a great matte gray finish.
You can pick a can of this up at most home improvement stores for just a few dollars.

Once the primer was dry, I pulled out the chalkboard paint. Chalkboard paint also has a nice matte finish.
I used a foam brush to rub a thin coat of chalkboard paint on and then immediately wiped the excess off with an old rag.

The final step was to add a hint of shine. I used some silver craft paint and a chip brush.
I just barely loaded some silver paint onto the ends of the brush and then wiped the excess off onto a paper towel before lightly dry brushing it onto the bins.

The final effect looks pretty authentic to me!
And super affordable. The bins and bucket were each a dollar.
I had all of the other supplies on hand but even if you had to buy them, you should be able to pick up all three paints for around ten dollars.
Not a bad deal – especially if you are planning to do several bins at a time.


I’m sure these will eventually find their way into my sons’ rooms, but for now, I’m using one locker bin to corral some books on our bookcase.

And the bucket was the perfect size to hold our winter hats and mittens.

And you can bet I’m already looking for more cute containers that are just waiting to be discovered and transformed into ‘vintage metal.’
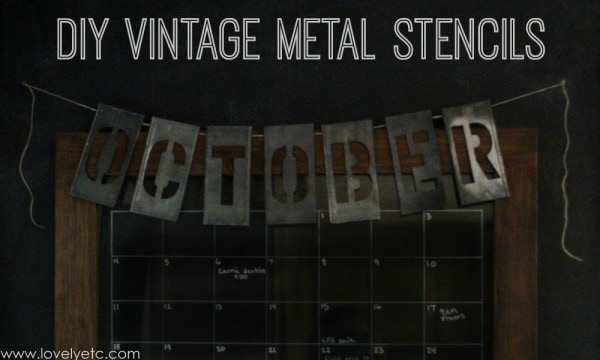
Looking for more easy ways to get that vintage metal look on the cheap? Check out these projects:
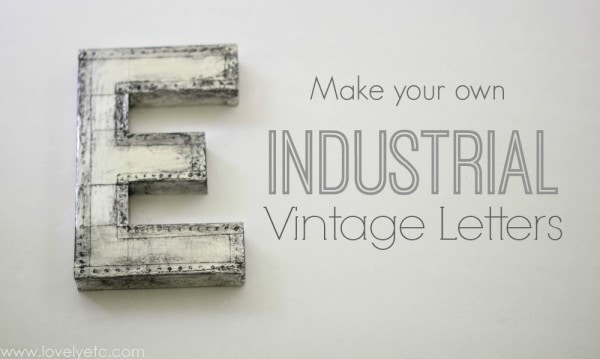
Make your own industrial metal letters
I originally posted this tutorial at Domestically Speaking on 1/28/2015. The project and all photos are my own.

How to paint plastic to look like vintage metal
Paint inexpensive plastic bins to look like vintage metal with three simple steps.
Materials
- Gray Primer
- Chalkboard Paint
- Silver Craft Paint
Tools
- Foam Brush
- Clean Rag
Instructions
- Paint the bin with gray primer.
- Once the primer is dry, use the foam brush to rub a thin coat of chalkboard paint on the bin, then immediately wipe it off with the rag.
- Dry brush silver paint on to the bin to give it a little shine.
Recommended Products
As an Amazon Associate and member of other affiliate programs, I earn from qualifying purchases.

Love this idea! They turned out great!!
Thanks Dacia!
If I wanted to give it a hint of a tad of ‘rust’ would I use some brown spray base?
Kate, I am not sure because I haven’t ever tried that. But it seems like that would work well. Or you could dry brush a rusty color around the edges at the end.
This is super awesome! And your photos and steps are very easy to follow. Super, super cool!
Thanks! It is good to hear the tutorial was easy to follow – I’m always working on that!
Love this idea! The look of tin is so pretty but they can be pricey. Pinning!
Thanks Raquel! That is exactly how I feel. Of course, I would love to have the real thing. But I think this is an awesome alternative for super cheap!
How have these held up? Did the paint scratch off over time, just wanted to know before I decide if I’m going to try this.
So far they have held up great and the paint hasn’t scratched off at all. I haven’t used them for anything super high traffic like holding toys though.
I’m so excited to try this! I’m planning to do this on some large planters for my patio- we’ll see how they hold up outside, but I won’t mind doing some touch up next year if they need it. The look you achieved is exactly what I was looking for- thanks for sharing!!
Thanks Julia! I don’t know how it will hold up outside either because I haven’t tried it but it is definitely worth a try!
I am considering doing this to hold ice and drinks at my wedding… Do you think the paint would be ok?
I haven’t tried it with liquid inside, but I’m not sure I would advise it. You would definitely need to put some type of sealer over the paint and I would probably do a test run first to make sure the paint holds up.
I am going to try this with some clear wall pockets I have. A nice vintage look.
Thanks Tirre, I think that is an awesome idea!
How many bins/buckets can you spray with one can of spray paint?
I’m not sure, but I would guess probably around 10.