How to Regrout a Tile Floor: A Simple Step-by-Step Tutorial
Simple step-by-step tutorial showing how to regrout a tile floor so that it looks new again.
Any time something goes wrong with a tiled surface, it’s almost always a grout problem.
While a good tile job can last for decades, it’s highly unlikely the grout is also going to look good that entire time. Grout tends to become stained, dirty, broken, and loose over time.
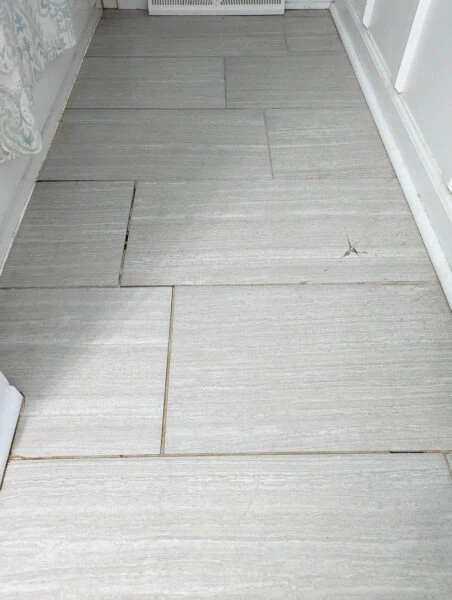
This is what was happening in our main bathroom. It’s only been six years since we had the floors retiled, but the grout had already become discolored and hard to clean. And even worse, it was becoming loose and crumbly and the missing bits of grout were threatening the integrity of our bathroom floor.
I’ve been putting of regrouting our tile floor for awhile, because it isn’t exactly a fun DIY.
But then my seven year old decided to bring a huge rock inside and clean it in the bathroom. And in the process, he dropped it on our tile floor, smashing one of the tiles.
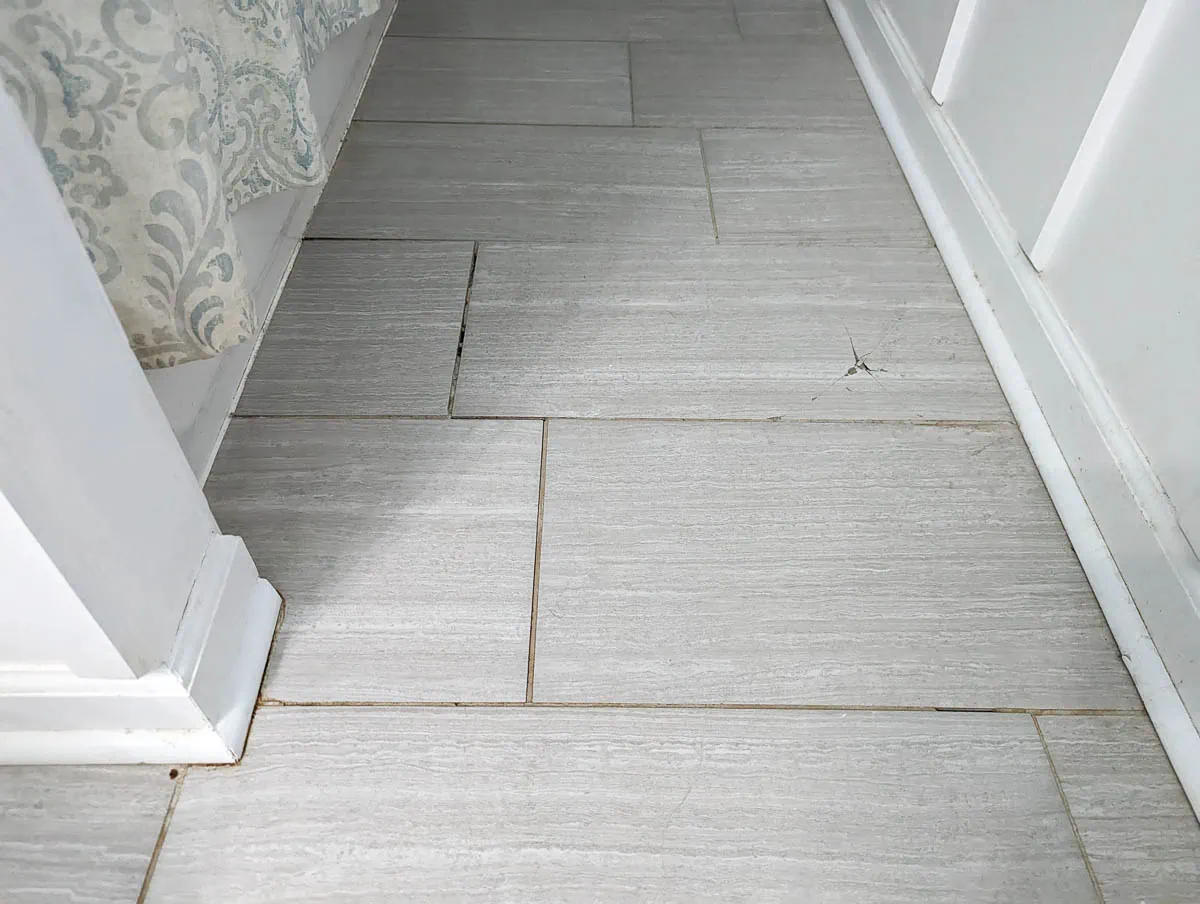
So I decided it was time to go ahead and replace the broken tile and regrout the floor all at the same time.
Thankfully, regrouting your tile really isn’t a very difficult DIY. In this post, I’m sharing tips for knowing whether or not you actually need to regrout your tile along with a simple step-by-step tutorial showing how to regrout tile floors.
This post contains affiliate links which means if you make a purchase after clicking a link I will earn a small commission but it won’t cost you a penny more. Click here to see my full disclosure policy.
How to update your grout without removing the old grout
Depending on the condition of your old grout, you may not actually need to regrout your tiles.
If your grout is cracked, crumbling or loose, you really need to completely remove the affected grout and replace it with new grout.
But if your grout is stained and dingy but functionally sound or if you simply want to update the look of your tile with a new color of grout, you don’t have to completely remove the old grout to get a fresh new look.
Instead of removing the old grout and replacing it with new grout, it is much faster and easier to refinish your existing grout.
This is basically like painting your grout to give it a fresh, new look. But of course, you can’t use regular paint; you need to use a product that is designed to adhere well to grout and hold up well to both moisture and frequent use.
There are several products on the market that promise to renew your grout.
The grout pen functions a lot like a paint pen, but for grout. It comes in a few different colors, looks very easy to use, and has amazing reviews on Amazon.
Grout renew is another highly rated epoxy stain and sealer formulated for updating your grout. It comes in a pretty wide range of colors including several ‘whites’ and is also very highly rated.
I haven’t personally used either of these products, but if your grout is in good shape, using one of these is going to be much quicker and easier than completely regrouting your tile floor or wall.
How to Regrout a Tile Floor
Materials
- Grout saw – these inexpensive hand saws are especially useful for removing grout in tight spots and near walls
- Oscillating tool with carbide grout removal blade – this is the quickest and easiest way to remove old grout. I have a Dewalt oscillating tool that has served me well for many projects, but any oscillating tool will work. Just make sure you use a grout blade.
- Shopvac or vacuum – for clearing the old grout and dust from the joints between tiles. Any vacuum with a handheld option or hose attachment will work fine for this
- Grout – of course you’ll need new grout in the color of your choice, I used this grout in the color silver
- Empty bucket or other container – to mix your grout in, you can buy an empty bucket at any home improvement store for a few dollars
- Drill with mixer attachment – for mixing your grout, you can also mix grout by hand using a hand trowel.
- Grout float – for applying your new grout
- Grouting sponge – these are very inexpensive, oversize sponges. They are often labeled as grout sponges, but any large rectangular sponge will work.
- Clean cloths – for cleaning up excess grout
- Grout sealer – grout sealer will help protect your fresh new grout. It seals your grout from absorbing oil and water and prevents staining.
- Protective face mask – removing grout is messy, dusty work. You are definitely going to want to protect yourself from breathing in the dust while you work.
- Ear protection – Using an oscillating tool in a room filled with tile and other hard surfaces gets very loud. Be sure to protect your ears. I love these hearing protection headphones with built-in bluetooth, but simple earplugs will also work.
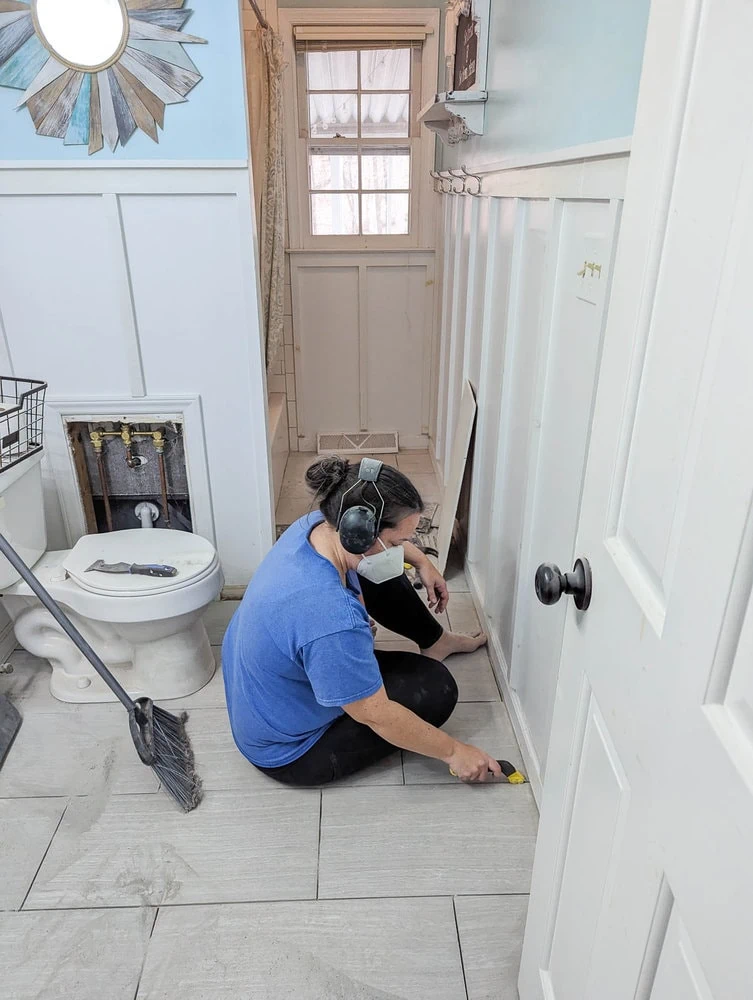
Clear the Room
Start by removing everything you can from the room where you’ll be working.
Of course, you need to remove anything that is sitting on your tile floor. But I also recommend removing everything possible from the room.
Removing the old grout is a very messy job and grout dust will coat absolutely everything.
If there is anything in your room that you can’t remove that is difficult to clean, it’s a good idea to cover it with a dropcloth to keep it dust free.
Remove the trim
Before you start, you’ll need to remove the wood trim around the edges of the floor. If you have baseboards and shoe molding, you probably won’t need to remove them both; just the shoe molding should do.
The goal is to make sure all of the grout is exposed so you can access it freely.
If you are working on a bathroom floor, you can also remove the toilet to reach all the grout underneath, but you don’t have to. If your floor has tiny tile with lots of grout lines surrounding the toilet, it may be easier to just remove the toilet rather than trying to work around it.
But if you only have one or two grout lines that run underneath the toilet, you should be able to work around it.
If you are regrouting in a bathroom, you should also remove any caulking along the floor including the caulk next to a bathtub. You can usually remove this pretty easily by running a utility knife along the edges of the caulk and then scraping it off with a scraper.
Remove the old grout
Removing the old grout is the most labor intensive part of this project. It’s also the messiest.
As I mentioned above, dust will go everywhere. It’s really unavoidable. Be sure to wear a face mask to protect yourself from breathing it in.
To help this go as quickly as possible, I recommend using two tools to remove your old grout: a grout saw and an oscillating tool with a carbide grout removal blade.
The oscillating tool removes the grout very quickly and easily. Just be careful as you are using it to keep the saw positioned straight up and down.
If you go in at an angle, you can easily chip the edges of your tile.
If you are removing grout from a large tile floor, you will probably need more than one of these blades.
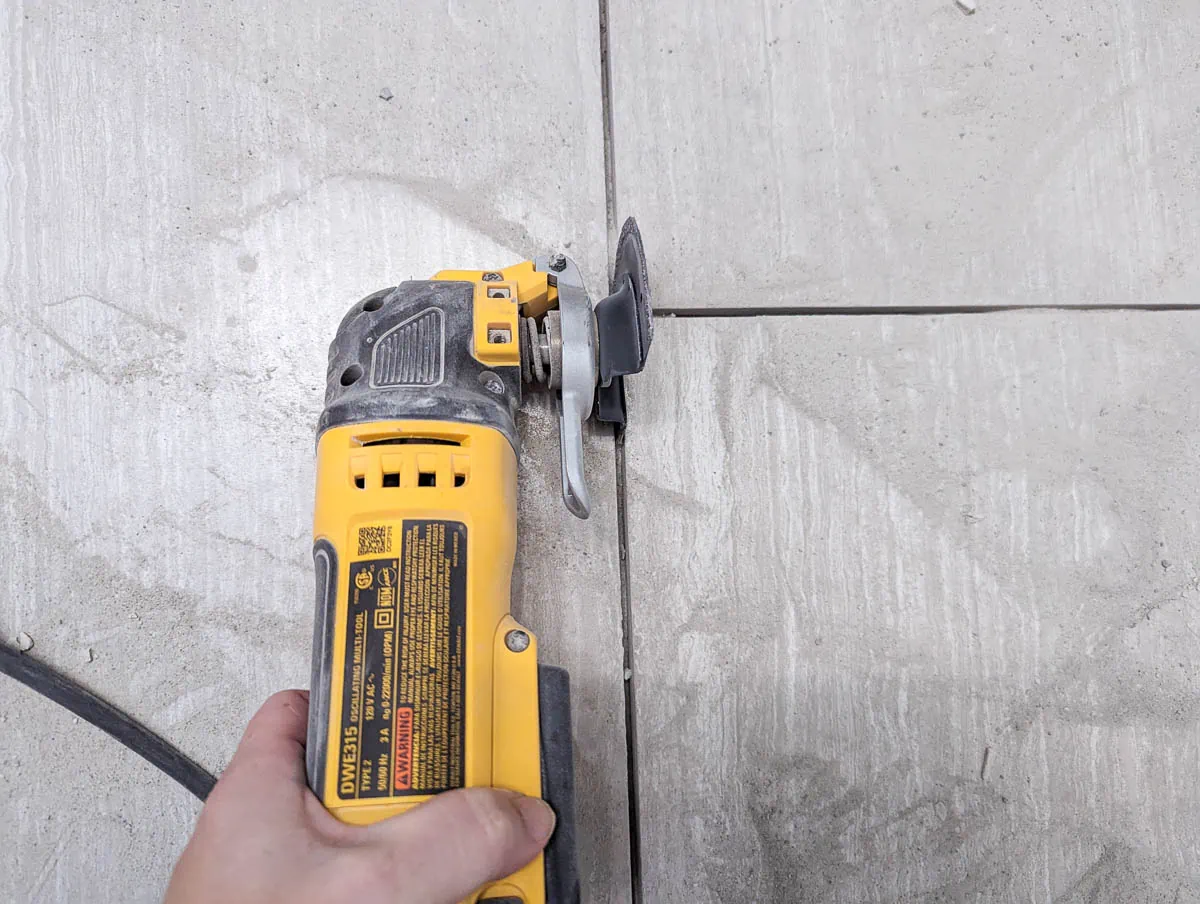
The oscillating saw will remove the grout from the main part of the room quickly. But it can be hard to maneuver around the edges of the room where the floor meets the walls.
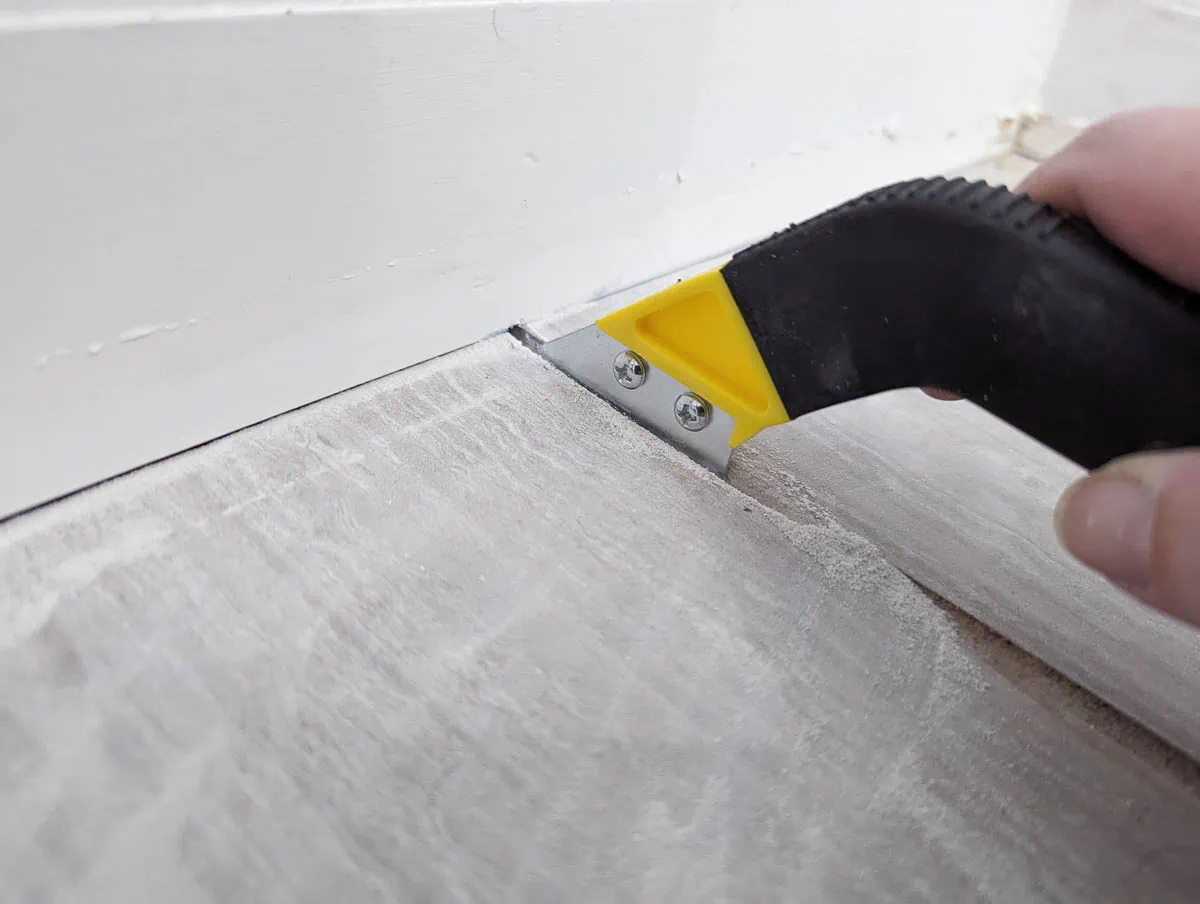
These small handheld grout saws work well in these tighter areas.
This type of saw also saws through grout pretty easily but it does require a bit of elbow grease. You will likely need more than one saw blade to do an entire room. Our bathroom is fairly small and I used 2-3 saw blades.
Clean the old grout and dust away
Once the old grout is gone, you need to clean your floor thoroughly before you can add the new grout.
You want to remove all the loose bits of grout and grout dust not only from the tile floor, but also from the grooves between each tile where the grout used to be.
Start by sweeping or vacuuming up all the loose debris on the ground.
The easiest way I found to remove the loose bits of grout between the tiles was to gently run a screwdriver between each tile. This helped loosen up any bits of grout that were stuck.
Then I vacuumed between each tile. If you have a Shopvac, that will work, but if not, I just used my Shark Rocket vac in the handheld mode and it also worked quite well.
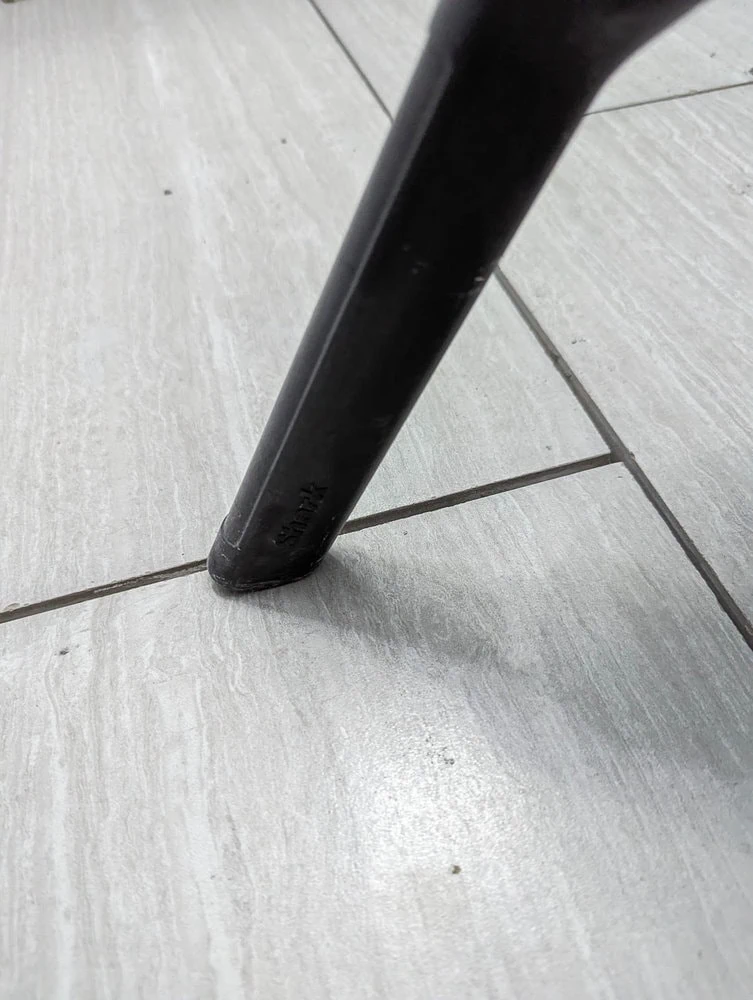
Then sweep the entire floor one final time to make sure everything is nice and clean.
Mix your grout
Now you are ready for your fresh, new grout!
Be sure to use a grout that is appropriate for your tiles and the width of your grout lines. If you aren’t sure what type of grout to use, this article explains the different choices well.
Mix your grout with water in an empty bucket. Be sure to follow the instructions on your specific grout as far as how to mix it.
You can mix your grout using a drill with a grout mixer attachment or you can mix it by hand using a hand trowel.
Be sure to mix the grout thoroughly until there are no clumps. You want it to be about the consistency of mashed potatoes.
Regrout the floor
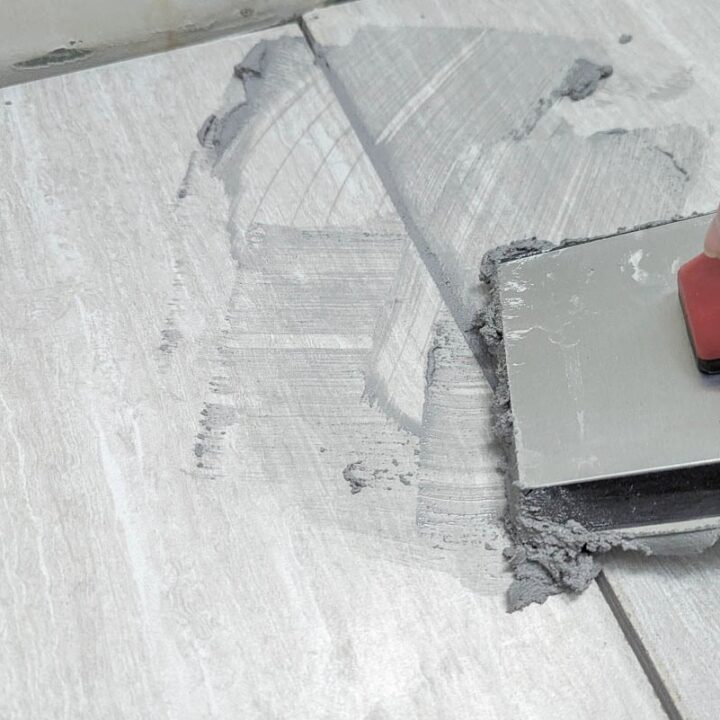
Load your grout float with a bit of grout and start applying it to the floor, starting in one corner of the room.
Hold your grout float at around a 45 degree angle and use it to push grout into the empty grout joints. You want to move your grout float diagonally across the grout lines and really push the grout down into the joints.
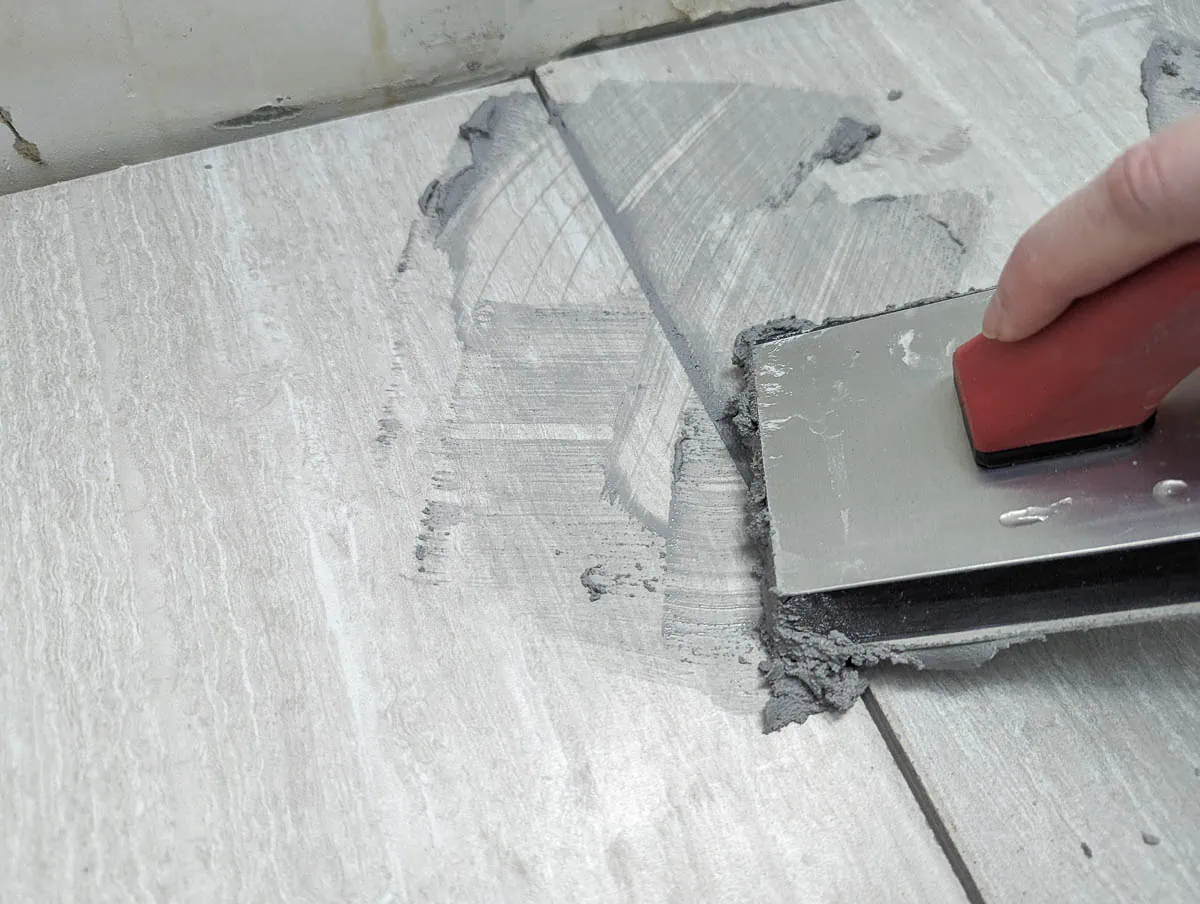
Once your grout is in place, hold your grout float at a 90 degree angle and scrape the excess grout from your tile floor. Again, it’s best to do this at a diagonal. Removing the excess grout now will make clean up later much easier.
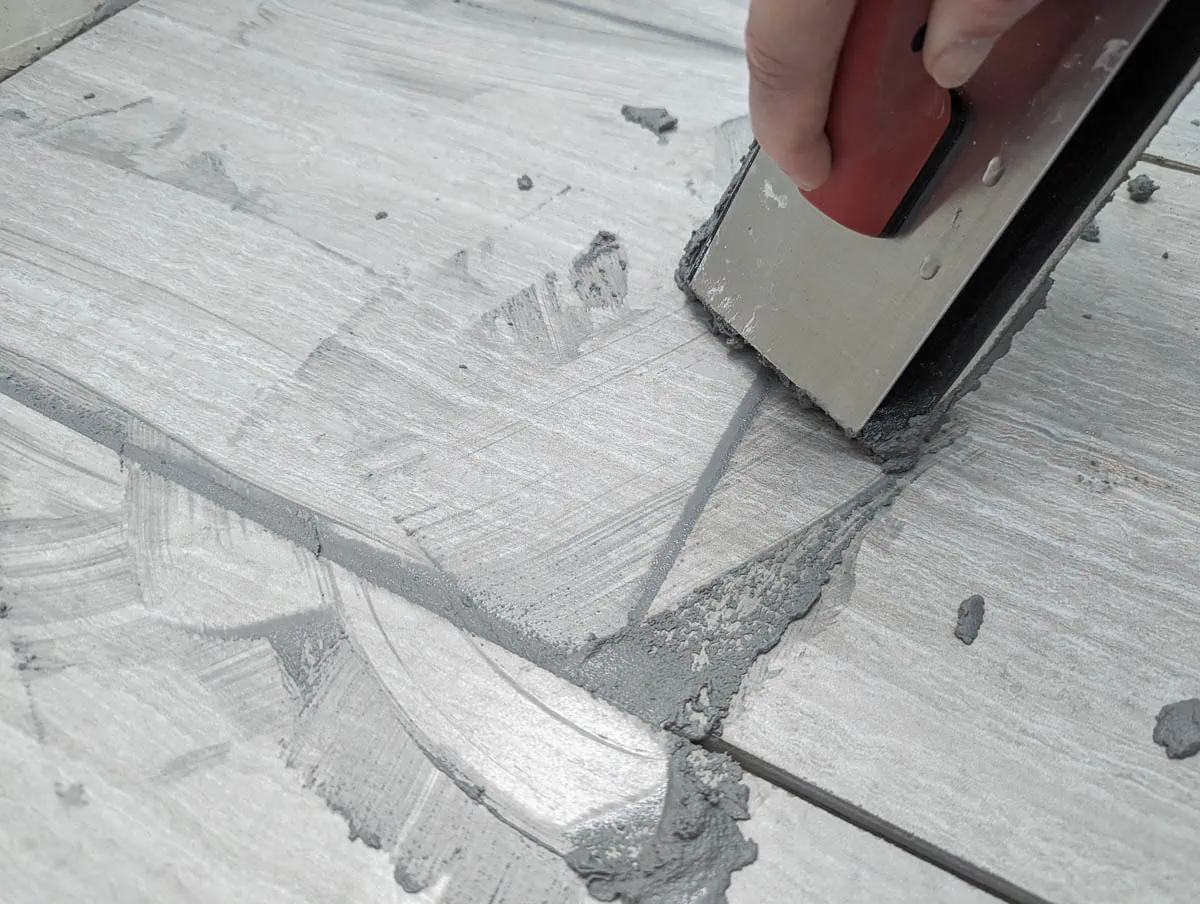
When you are finished grouting, it’s a good idea to cover your extra grout with plastic wrap and set it aside in case you need to touch up any areas during the rest of the process.
Clean up your tile
Before you start cleaning up your tile, you want to make sure your grout is set enough that it won’t pull out of the joints but not dried so hard that you can’t clean it up.
Generally this means it is a good idea to wait around 15-30 minutes before starting the clean up phase. But if you live in a very dry climate, you may need to start clean up more quickly.
You’ll need a bucket of clean water and a large clean sponge.
Wipe your damp sponge gently across the tile floor and grout lines to remove excess grout from your tile while also smoothing the grout lines. You want to hold your sponge flat against the floor for this step.
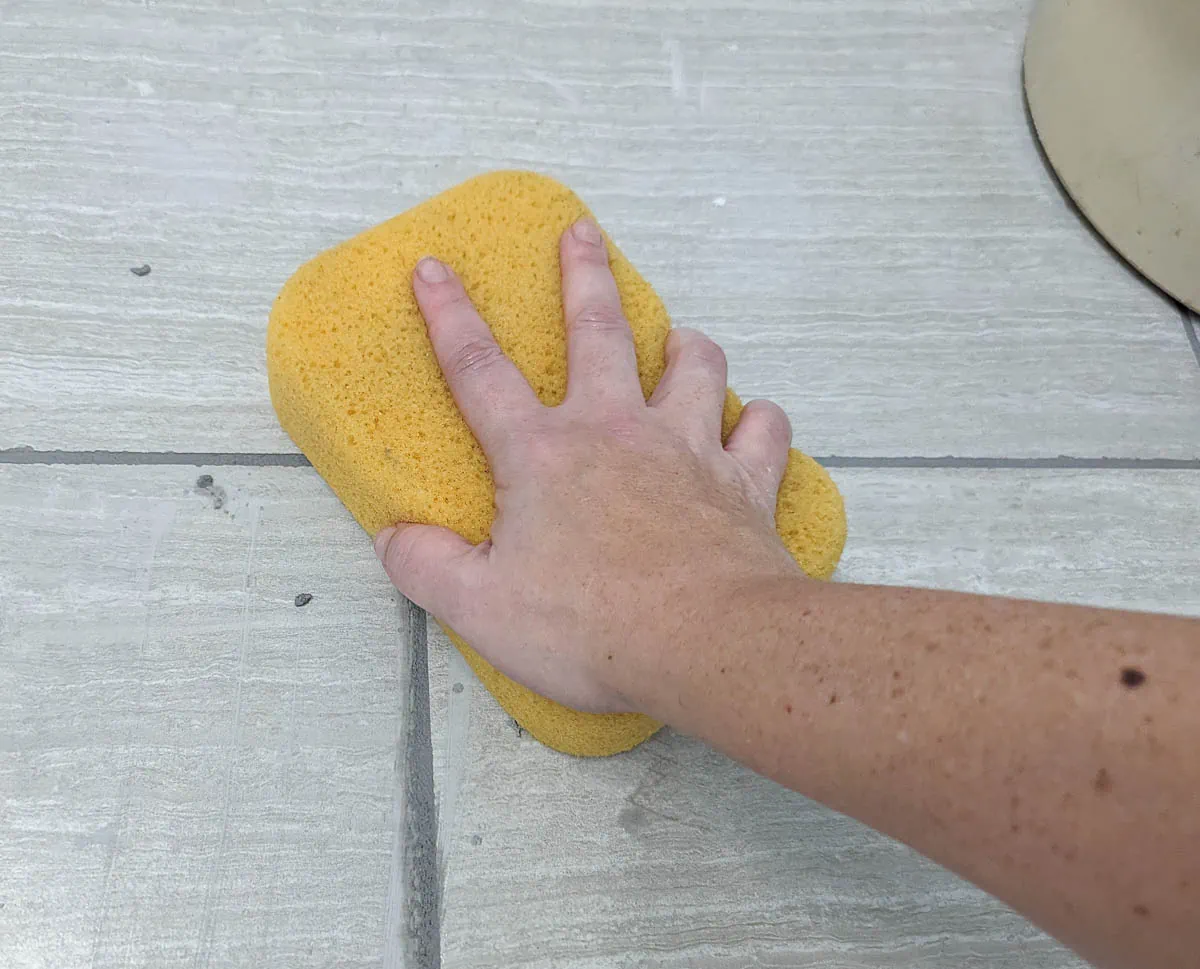
If your grout is moving around as you wipe, then you need to let it set a bit longer before wiping it down.
As you wipe down your floor, rinse your sponge and change out your water frequently so that you are always wiping with a clean side of the sponge.
After the first pass with the sponge, go back and wipe everything down with the clean, damp sponge a second time.
As your tile dries, you might notice a hazy film left behind on the tile from the drying grout. If you see this, you can wipe it again with a clean sponge and buff it dry with a clean cloth. This should remove the haze.
Apply caulk and reattach trim
Let your grout dry for at least 24 hours before you reattach your trim.
After 24 hours, you can also apply fresh caulking next to your tub or anywhere else that needs caulking.
Seal your grout
The final step is to seal your grout. This will help make sure it is watertight and also protect it from future stains.
Your specific grout sealer will have instructions about how long you need to let the grout dry before sealing it.
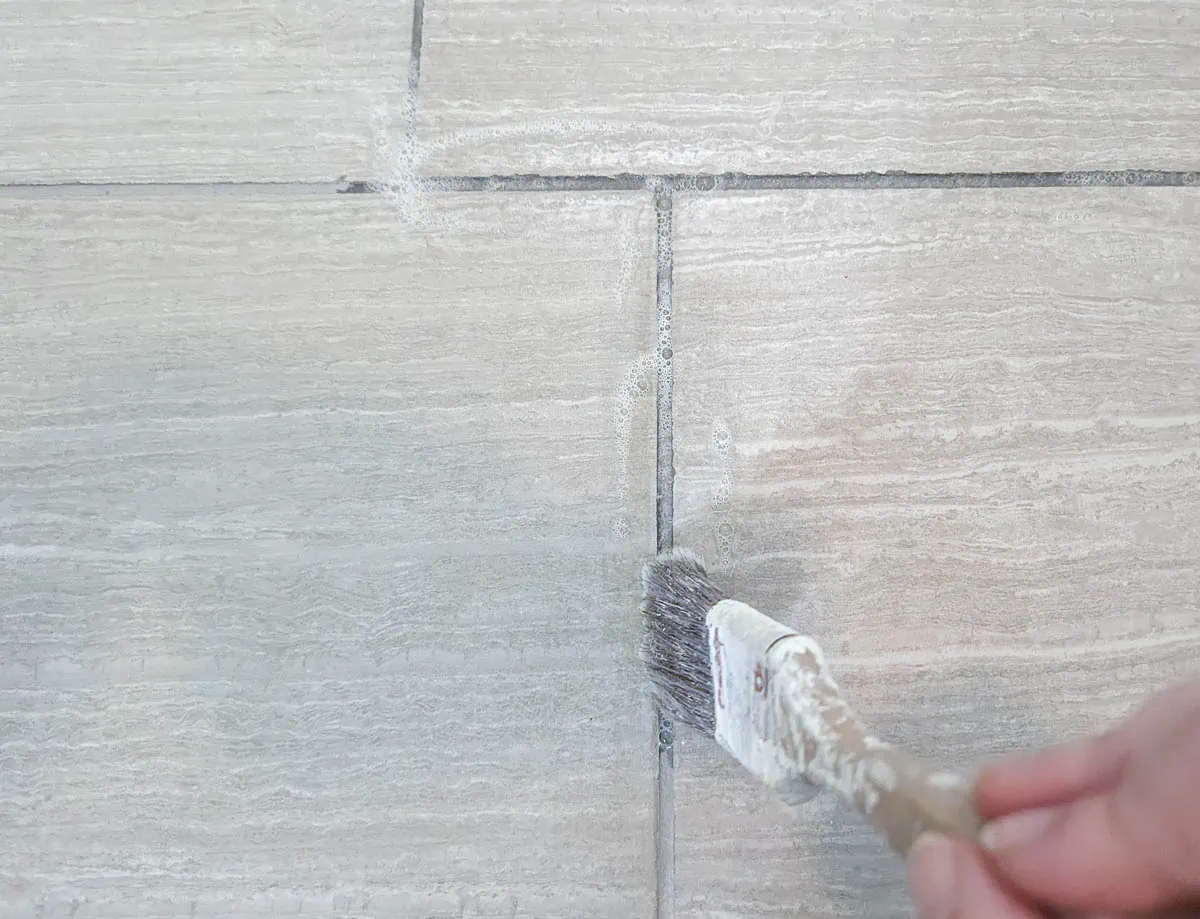
Applying grout sealer is simple, but you should always follow the instructions on the specific product you are using.
The general idea is that you apply it generously to your grout, let it absorb, and then wipe off the excess with a clean cloth.
The finished floor
I’m so glad to have our own floors looking good and functioning well again.
Here’s a before and after of the floor – even though the grout is the only thing that changed, it made a world of difference!
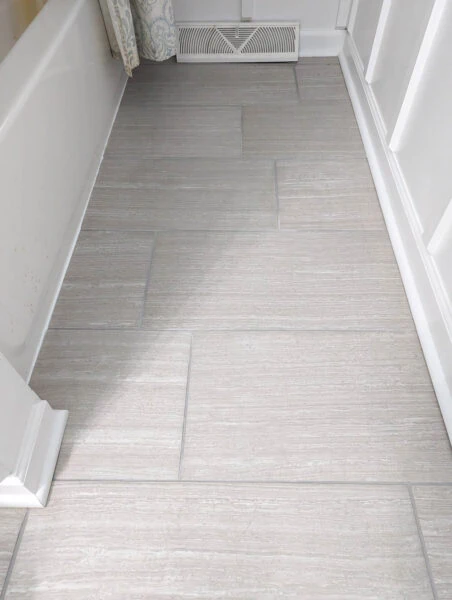
Of course once I regrouted the floor, I noticed a few other updates I needed to do in the bathroom and then the whole thing snowballed into a much bigger bathroom update. It’s funny how that tends to happen.
I’m hoping to finish up the last few projects this weekend so I can share the whole makeover next week.
In the meantime, here are some more bathroom DIYs you might like:
- How to Paint a Bathroom Vanity: Secrets for a Perfect Finish
- $100 Bathroom Makeovers you have to See to Believe
- How to Save Money on your Bathroom Remodel
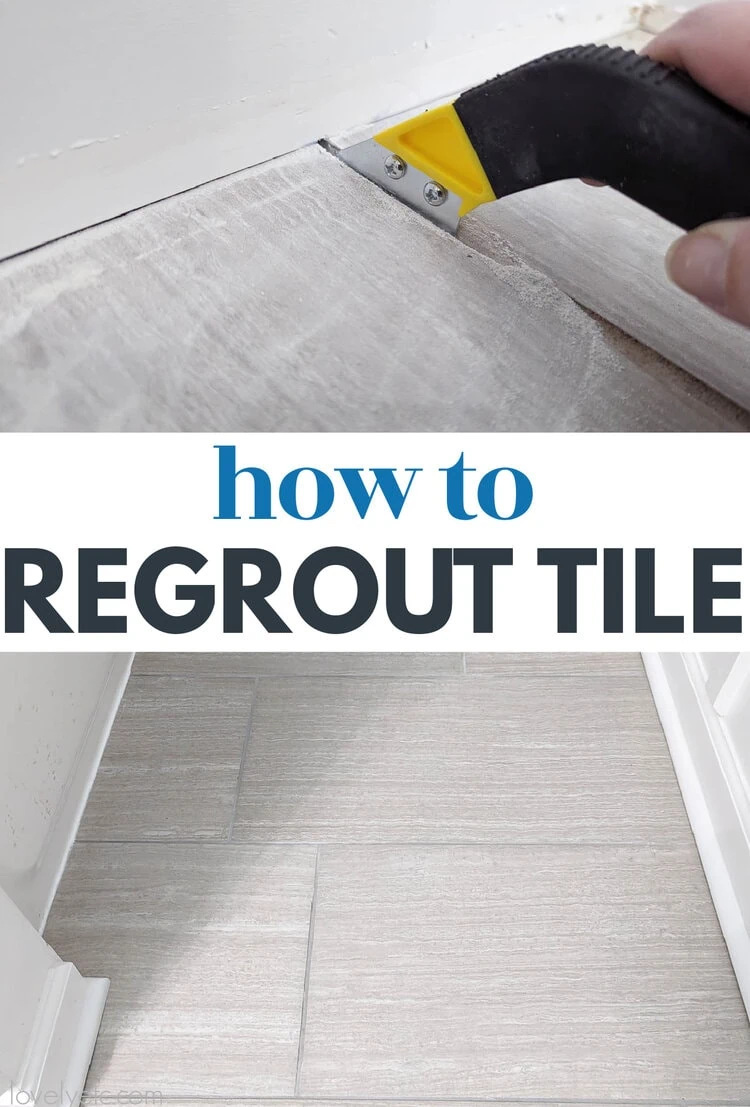

How to Regrout a Tile Floor
Make an old tile floor look new again by regrouting the tile. It's a bit of work but the final result is so worth it. Follow this tutorial for all the details.
Materials
- Grout
- Grout float
- Grouting sponge
- Clean cloths
- Grout sealer
- Protective face mask
- Ear protection
Tools
- Grout saw
- Shopvac or vacuum
- Drill with mixer attachment
- Oscillating Tool with carbide grout removal blade
Instructions
- Clear the room. Remove everything you can.
- Remove the wood trim around the edges of the floor.
- Remove the old grout with a grout saw and oscillating tool.
- Clean the old grout and dust away with a ShopVac.
- Mix your new grout with water in an empty bucket. Follow the instructions on your specific grout for mixing it. Make sure there are no clumps.
- Starting in one corner of the room use your grout float to start applying the grout to the floor. Really push the grout down into the joints.
- Scrape the excess grout from your tile floor at a 90 degree angle using the grout float.
- Let the grout set about 15-30 minutes before starting the clean up phase.
- Use a bucket of clean water and a large clean sponge to wipe gently across the tile floor and grout lines Hold your sponge flat against the floor for this step to clean excess grout while smoothing it down.
- Be sure to rinse your sponge and change out your water frequently.
- Let your grout dry for at least 24 hours then reattach your trim and apply fresh caulking next to your tub or anywhere that needs it.
Recommended Products
As an Amazon Associate and member of other affiliate programs, I earn from qualifying purchases.
-
4 in. x 9.5 in. Molded Rubber Grout Float with Non-Stick Gum Rubber
-
DEWALT Oscillating Tool Kit, Corded, 3-Amp, 29 Pieces (DWE315K) , Yellow
-
Muf 2 Pack Tile Grout Saw Grout Removal Tool, Angled-Design Grout Hand Saw with 8 Diamond Surface Blades (Include 6 PCS Extra Blades) for Tile Cleaning, Removing Paint and More
-
Grout Pen White Tile Paint Marker: Waterproof Grout Paint, Tile Grout Colorant and Sealer Pens - White, Narrow 5mm Tip (7mL)


