These rustic DIY wooden Christmas ornaments are easy and inexpensive to make and will look gorgeous on your Christmas tree.
Every year I love to make a few new Christmas ornaments to add to our tree. I’ve already shared one set of wooden DIY ornaments this year, and today I have a second set to share that complement them perfectly.
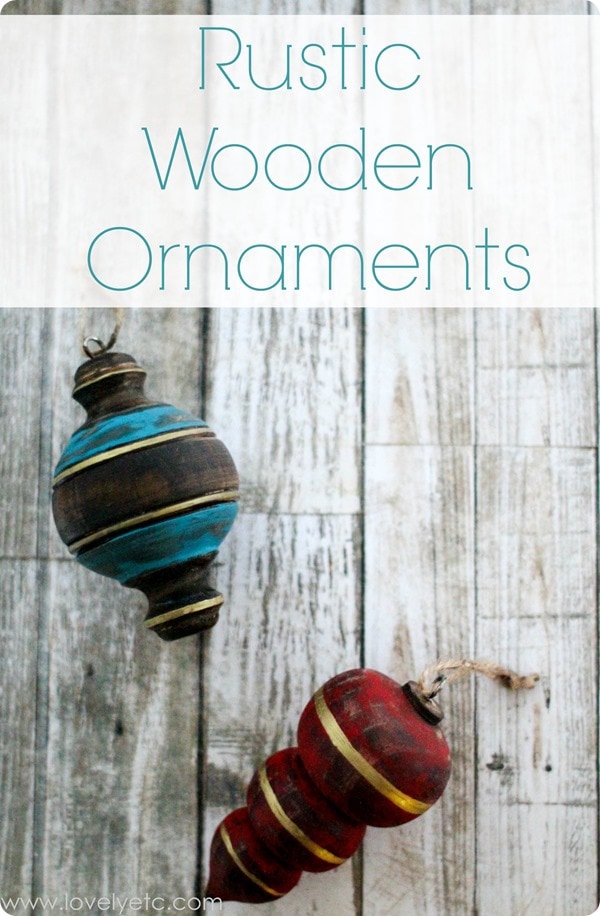
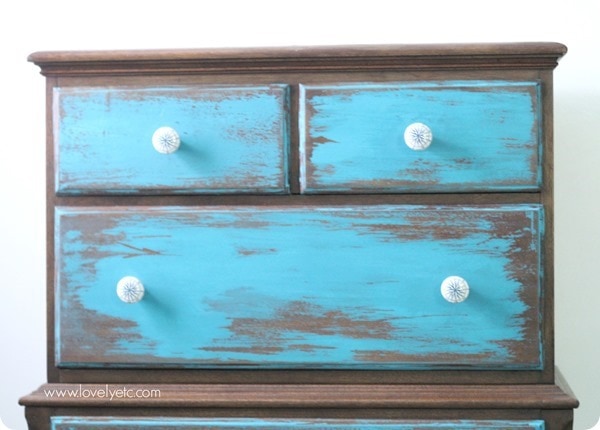
So these ornaments didn’t come about in the usual way – they were actually inspired by the dresser I painted for my son’s bedroom. You know what they say – inspiration is everywhere!
This post contains affiliate links which means if you make a purchase after clicking a link I will earn a small commission but it won’t cost you a penny more. Click here to see my full disclosure policy.
Materials
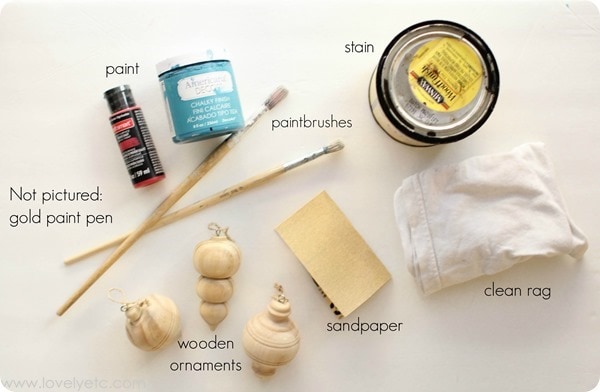
- Turned wood ornaments – There are good, inexpensive options available on both Etsy and Hobby Lobby.
- Chalk paint or acrylic craft paints – I used Americana Décor Chalky finish paint in Treasure and Craft Smart chalky paint in Scarlet (this paint is similar). (Secret paint tip – chalk paint and acrylic craft paint are actually surprisingly similar and can be used interchangeably for small crafts.)
- paintbrushes
- dark wood stain – I used Minwax dark walnut
- clean rag – for applying stain
- gold Sharpie oil-based paint pen – these are seriously the best paint pens
- small eye hooks and twine – if your ornaments don’t come with hangers already attached
How to Make Rustic Wooden Christmas Ornaments
I picked up these plain wooden ornaments from Michaels a few years ago but they haven’t carried them recently. But I found some other really great options online.
There are a few plain turned ornaments available on Etsy. There is also a huge range of small wood finials available on both Etsy and Amazon.
I actually like the wood finial options even better than the ornament shapes – there’s a huge variety of really beautiful shapes that are inexpensive and they come in a huge range of sizes.
And if you don’t want to order online, you can probably find a few options at your local home improvement store.
If you are using wood finials, you can screw a small eye hook into the top and tie on a piece of twine for hanging. This will also give you an easy way to hold your ornament as you are painting and staining.
Once you have your wooden ornaments, the first step is to was stain them using dark walnut stain. You can just wipe the stain on with a clean rag.
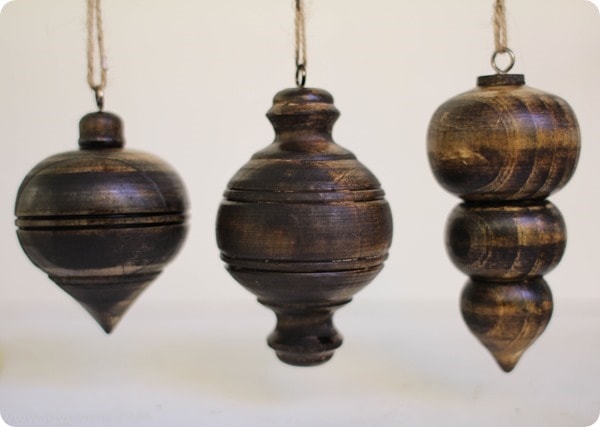
My husband thought they looked amazing just like this. And I had to agree – they look really beautiful just like this with all the wood grain highlighted.
But I knew they would be completely lost on the Christmas tree if I left them so dark.
So I carried on and painted them with a thin coat of paint in my Christmas décor colors – red and aqua.
(I made sure to leave a few sections stained wood for hubby.)
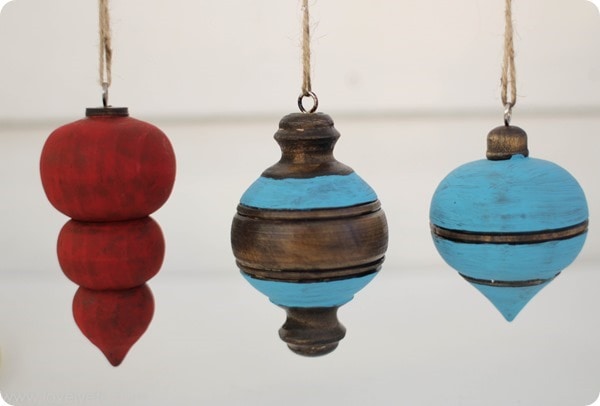
Then I used a wet sanding technique to expose more of the wood.
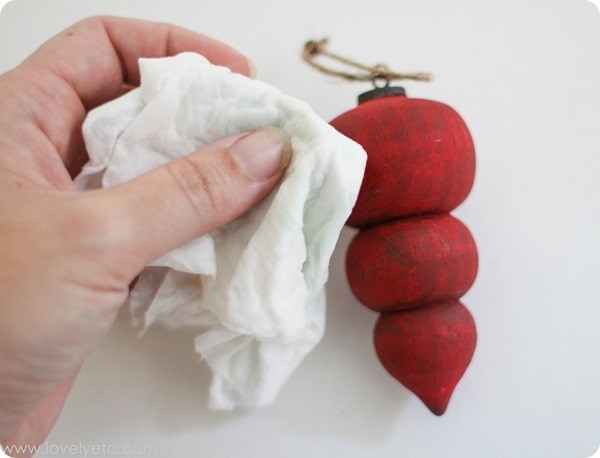
Sounds fancy huh? It really just means I wet the paint with a wet paper towel and then sanded with 180 grit sandpaper while the paint was wet and pliable.
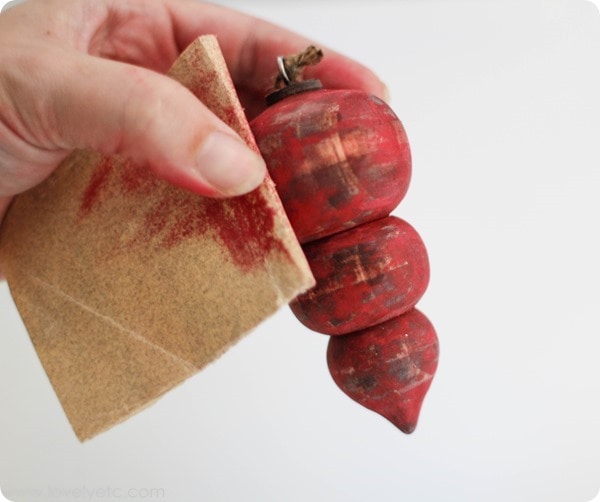
The sanding gives the whole ornament a weathered, aged look and lets the stained finish peak through.
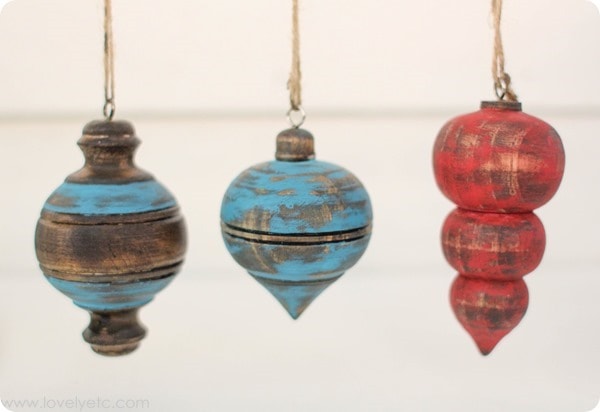
I was liking them at this point but I wasn’t loving them. Something was still missing.
And since my trusty gold paint pen seems to be my go-to this Christmas, I added a touch of gilt.
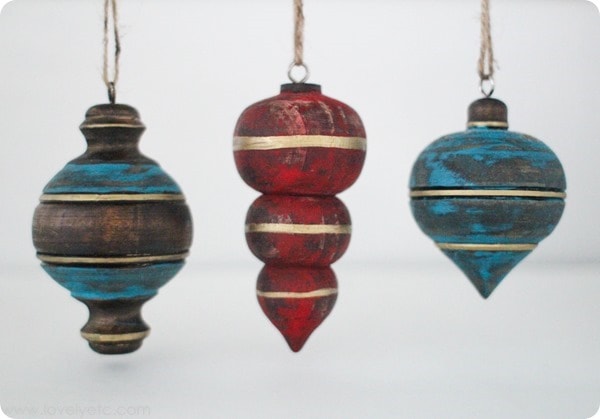
A little bit country, a little bit rock and roll. You can’t get much better than that!

If you’re looking for more ornament ideas, I’ve got more than a dozen handmade ornament ideas for you right here.
And definitely be sure to check out my custom painted wood ornaments – they coordinate perfectly with these ornaments.


cassie @ primitive & proper says
i love these so much- love the look and colors and the unbreakability! :)
Carrie says
Thanks Cassie! The unbreakability is definitely a good thing!
Barb says
Very pretty!!!
Carrie says
Thank you!