The easiest way to heavily distress furniture
I love a great piece of painted furniture with a perfect heavily distressed finish to it. I love the texture, the character, and the fact that you really don’t have to worry about messing up a piece of furniture that is supposed to look roughed up anyway.
And I’d have to say this is definitely the easiest way to distress a piece of furniture that I have ever tried.

This dresser makeover has been more than three years in the making. Not because it was such a difficult, time-consuming project.
More like it was a victim of DIY ADHD with a healthy dose of procrastination thrown in.

I was given this dresser three years ago and I just fell in love with its cute little shape and immediately got to work transforming it.
Overall the wood was actually really pretty and it was in mostly good condition.
But there were some scratches and I really wasn’t loving the hardware.
So I slathered a bit of wood filler in the cracks, painted a few paint samples on the side, and got to work removing the hardware.
But then I wasn’t sure exactly what I wanted to do with it and I quickly became sidetracked by a million other projects.
Leaving this little dresser abandoned in the basement.
Well, three years later I was in need of a dresser for the Griffinator’s big boy room and this lovely little dresser was still hanging out in the basement, untouched for the past three years.
Three years ago I was in the paint all the things phase. But when I looked at this dresser with fresh eyes, I started to really love the tone of the wood.
I couldn’t leave it unpainted because of all the wood filler I had already thrown on there which made it the perfect candidate for a two-tone makeover.
Since the drawers were the most problematic, I chose to paint them while leaving the frame unpainted.
I was inspired by this beautiful wet sanded piece from Julia at 551 East and decided it was time to give wet sanding a try for myself.
(This post contains some affiliate links. See my full disclosure here.)
How To Heavily Distress Furniture
After sanding all of the wood filler smooth, I rubbed Howard Restor-A-Finish![]() all over the entire piece to freshen up the wood finish. (This was the only prep that was needed before painting, which is one reason this is such an easy technique.)
all over the entire piece to freshen up the wood finish. (This was the only prep that was needed before painting, which is one reason this is such an easy technique.)

Then I pulled out all the drawers and started painting. I used Deco Art Americana Chalky Finish Paint in the color Treasure![]() which is a gorgeous bright blue with just a hint of turquoise.
which is a gorgeous bright blue with just a hint of turquoise.
Since I knew I was going for a heavily distressed look, I didn’t worry too much about getting a flawless paint finish.
Instead, I just went for pretty good paint coverage.

Then I distressed the drawer fronts using a wet sanding technique. That sounds super fancy but it really isn’t.
You don’t need any fancy equipment – just a wet paper towel and a high grit sanding block or sanding sponge. (I used 220, 320, and 400 grit. All worked fine but the 320 grit sanding block was my favorite.)
Wipe a portion of one of the drawer fronts with a damp paper towel (not soaking wet) to loosen the paint a bit.

Then gently sand it while it is still damp. The wet paint sands off very easily.
The goal is to distress the paint without damaging the wood finish beneath.
This same technique should work well with any chalk paint or milk paint, but not so much with latex.

After sanding, wipe off the dust with a clean rag and then if you want more distressing, wipe it down with the paper towel again and sand some more.
The great part about this process is you really cannot mess up.
I was planning to distress my drawer fronts really heavily so that lots of wood was showing.
But once I had done that, I didn’t actually like how it looked.

So I threw on a couple more quick coats of paint and resanded until I was happy with it.
Then I pulled the Restor-a-Finish back out and rubbed another coat on the drawer fronts using a soft rag.
I wiped over everything – paint and all. This helped get rid of any white water damage spots that showed up because of the wet sanding.
It also helped bring the wood back to life wherever it showed through.
It also had a side benefit of giving the paint a deeper, richer color as you can see from this picture where the right half of the drawer is restored and the other half is not.

This is the only top coat I used on this piece – no poly, no wax, nothing else.
While the Restor-a-finish is not technically a top coat and will not completely protect the paint, it will work just fine for my purposes.
This is a distressed piece of furniture so if there are minor scrapes and dings to the paint finish, it really won’t hurt anything anyway.
The final step was hardware. Since this dresser is for my son’s new little explorer bedroom, I wanted something that had personality but wasn’t overly cutesy.
I decided to use these ceramic compass knobs from Hobby Lobby.
I love the look of them, plus I was able to get eight for a great price during one of Hobby Lobby’s many 50% off sales.

I love the balance between the distressed drawers and the wooden casing.
I like how the pretty wood tone is showcased but the piece is anything but boring. (Plus, the paint was a great way to deal with the problems and imperfections of the original piece.)


So what do you think? I know this look isn’t for everyone, but I’ve learned that pretty much any piece of furniture with a major dose of personality isn’t going to be for everyone.
And I’m totally okay with that because I’m a huge sucker for furniture and décor with something to say.
To me, this dresser says to take risks, have adventures, and don’t be scared! Perfect for my little adventurer’s room.
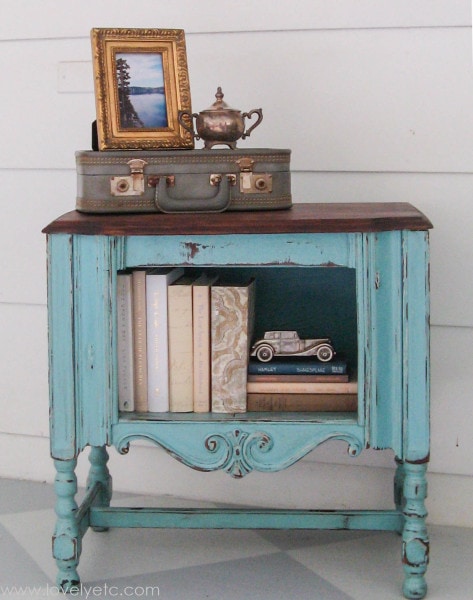
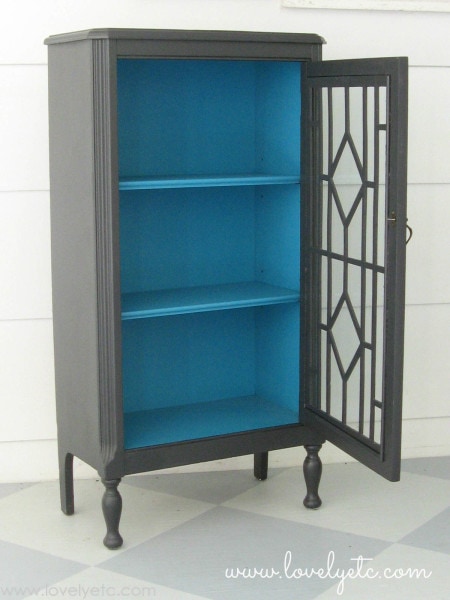
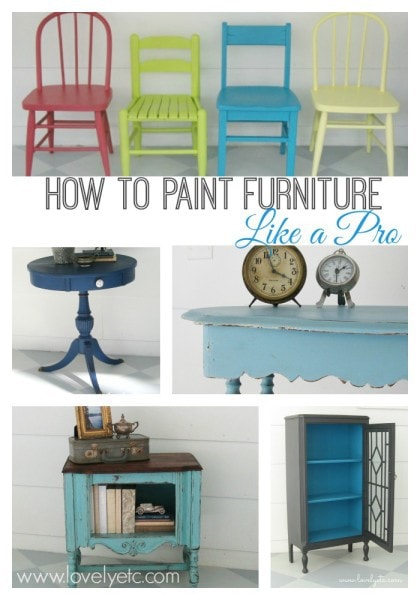
Looking for more furniture refinishing ideas? Check these out; just click the pic to see more info.


The easiest way to heavily distress furniture
Learn the easiest way to distress a piece of furniture with these simple tips.
Materials
- Howard Restor-A-Finish
- Wood Filler
- Clean Rag
- Paint
Tools
- Sanding Sponge
- Paintbrush
Instructions
- Remove the hardware. Fill in any cracks with wood filler.
- Sand smooth. Rub a coat of Howard Restor-A-Finish over the entire piece to freshen up the wood finish.
- Remove the drawers and start painting. Don't worry about getting a flawless paint finish; just make sure the piece is covered.
- Once the paint has dried, wipe one section of the furniture with a damp paper towel. While the paint is still damp, gently sand the drawer front with the sanding sponge.
- After sanding, wipe off the dust with a clean rag.
- Repeat the wet sanding technique until you are happy with the distressing.
- Add another coat of Restor-a-Finish on the painted areas using a soft rag.
- Add the hardware.
Recommended Products
As an Amazon Associate and member of other affiliate programs, I earn from qualifying purchases.


Oh how cute! Well, maybe not cute but full of personality! I like the way it turned out – looks like it’s had a few adventures of its own. Perfect for your son’s room.
I’ve never done the wet distress technique. Sounds easy. Thanks for the how to.
Thanks Cecilia! That is what my husband said when I asked him about it to – it looked like it had seen some adventure!
Hi Carrie, I just adore this dresser. Your little explorer can be happy with such a great crafty mommy. I think I’m gonna give the wet sanding a try real soon.
Thanks! The wet sanding really was easy – plus it makes you sound super smart and talented when you say you know how.
This turned out great – and I think it will go perfectly in your son’s explorer bedroom! I think I may have the exact same dresser sitting my garage right now, but mine is missing the bottom drawer. ugh! I just started hosting a new link party with a couple other bloggers, and we would LOVE for you to join us. It starts every Tuesday at 7pm and runs throughout the week. We hope to see you there! Dream. Create. Link. Party
Thanks Jenny! I’m sure you can save your dresser even without the drawer. I love that dresser because it seems like such a blank slate – almost any style would work!
Look great! I love this look and actually have a piece I want to do this to.
Awesome Kristin! Good luck with your piece!
Carrie, your dresser looks fantastic!!! Love the blue color and the knobs that you chose! Thanks so much for sharing at Dream. Create. Inspire. Link. Have a great weekend!
Thanks Tara!
You do beautiful work! Please come and share! I would love it if you would join in on my Making Broken Beautiful party! It starts 6:00pm (MST) this Thursday September 10 and I would love to have you join up each week!
Smiles for a great week!
Terry
(http://thecuratorscollection.wordpress.com)
Thanks Terry!
Carrie, I just saw this fabulous dresser featured at Artsy Chicks Rule. You, my dear just solved a love/hate relationship I’ve been having with my kitchen pantry! Thank you so much for the inspiration ☺
Marie, I’m so glad! Can’t wait to see what you do!
Beautiful! Do you think this would work on plastic? Like a plastic frame of some sort? Thanks!
This may or may not work on a plastic frame. But I have used another distressing technique on a plastic frame with really good results. It uses Vaseline instead of sanding. Here’s a link if you want to check it out: https://www.lovelyetc.com/how-to-transform-a-plastic-picture-frame/