Our master bedroom has been in need of some design love for awhile now. I last shared our bedroom back in 2015 after we installed a gorgeous thrifted sliding door leading to our master bath. I had given the whole room a colorful refresh not long before on a tiny budget and it was pretty cute.
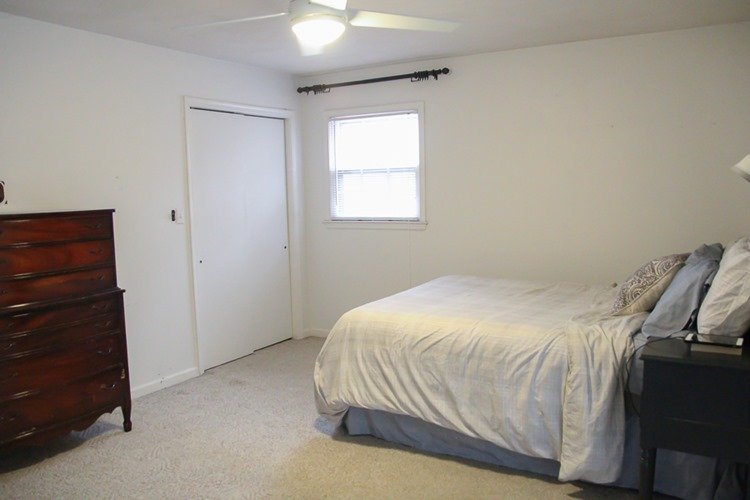
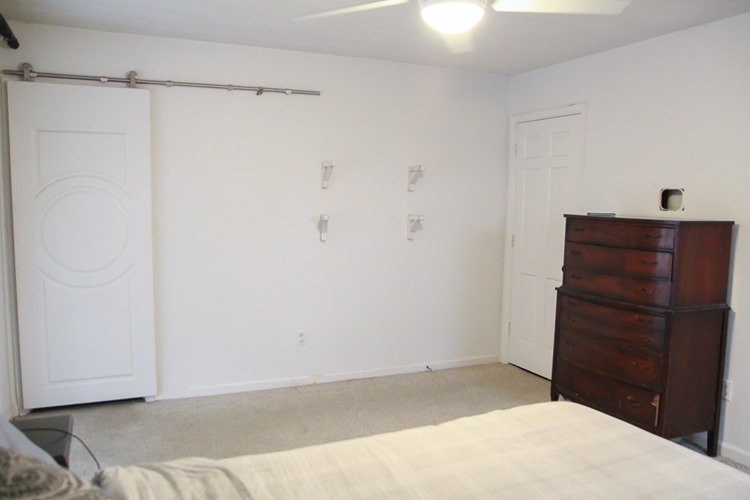
But over the past four years, my style has changed a bit. Even more importantly, as we continued to work on other parts of the house, we ‘borrowed’ several key pieces from our bedroom to use in other rooms. And then I ended up using one corner of our bedroom as a storage space for a bunch of projects I was working on that I didn’t want my kids to mess up. Basically things turned into a big old mess. I don’t have a great before picture of how things looked immediately before beginning this refresh because I was just way too ready to get started. But here are a few pictures of how things looked once I cleared the junk and other unnecessary stuff from the room.
I am all about decorating on a budget and I really wanted to challenge myself with this space. I’ve done a few $100 room makeovers now and I wanted to push it even further this time around. I was hoping to make this a $0 bedroom makeover. That’s right, a whole room makeover without spending a dime. Well, spoiler alert, I didn’t quite make it. I’ll let you in on the final budget breakdown at the end of this post but for now let’s just say I was sooo close.
So how in the world do you pull together an entire room without spending money? Well, in this case it mainly came down to pulling things from other rooms and from our basement along with a few fun DIY projects.
As hard as I am working to overcome my collecting (hoarding) tendencies, I still have a huge pile of really awesome decor and furniture in our basement. And I am committed to working my way through the stacks and either finding a place to use each item or selling it in a big yard sale later this summer. So my plan was to repurpose as much great stuff I already own as possible to completely transform the room.
In the end I did spend some money on paint and supplies to makeover a piece of furniture. But other than that I managed to pull the room together entirely using thrifted treasures and DIY projects that I already owned. And I love how it came together. Yes, it’s a bit eclectic with a little farmhouse, a little rustic, a little modern, and a touch of boho. But that’s what I love – a space that looks collected over time rather than purchased in one marathon afternoon at IKEA.
Let me just be totally frank here. I know I am not the greatest decorator on the Internet. I like to put together fun spaces but styling a magazine-worthy room is definitely not my strength. But I am darn good at creating a cozy, beautiful space for a teeny, tiny amount of cash. And that is what I want to share with you guys. You really can transform the spaces in your home for very, very little money. If you have a tight budget or you are saving all of your extra pennies for something other than your home, you can still have a home that you are proud of. One that reflects your family and what you love.
I am working on a post that shares my whole process more in-depth, but for now I want to share how I managed to come very close to pulling off a no-cost bedroom makeover. And at the bottom of this post, I’ve included a full budget breakdown as well as sources for everything in the room.
But first, let’s see some photos!
Now this is a space that makes me happy!
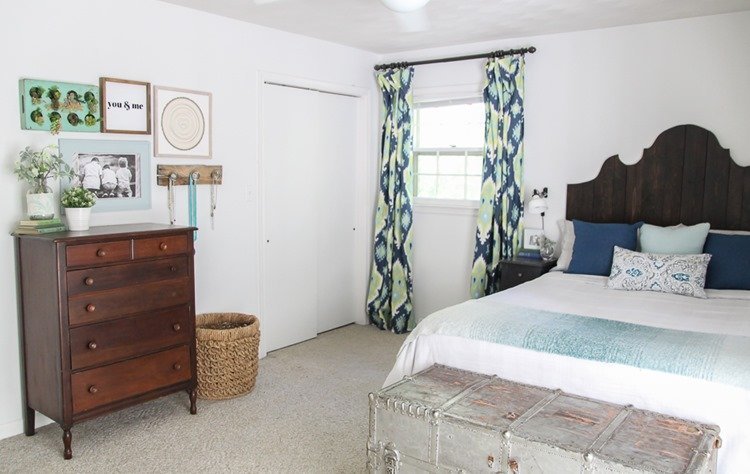
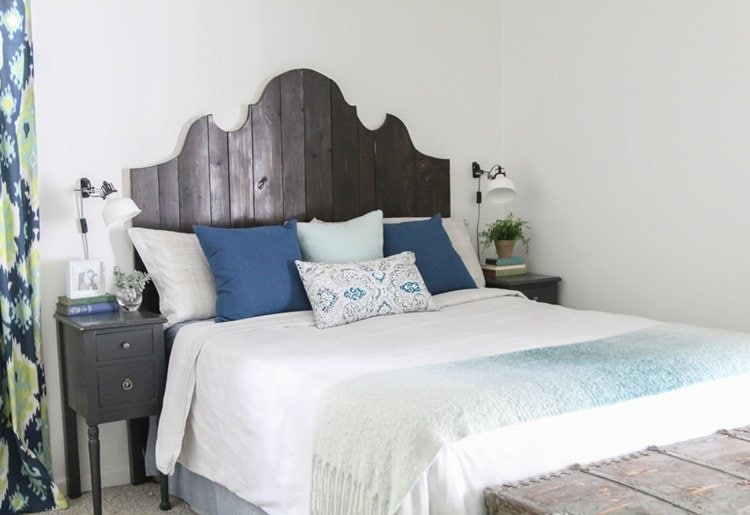
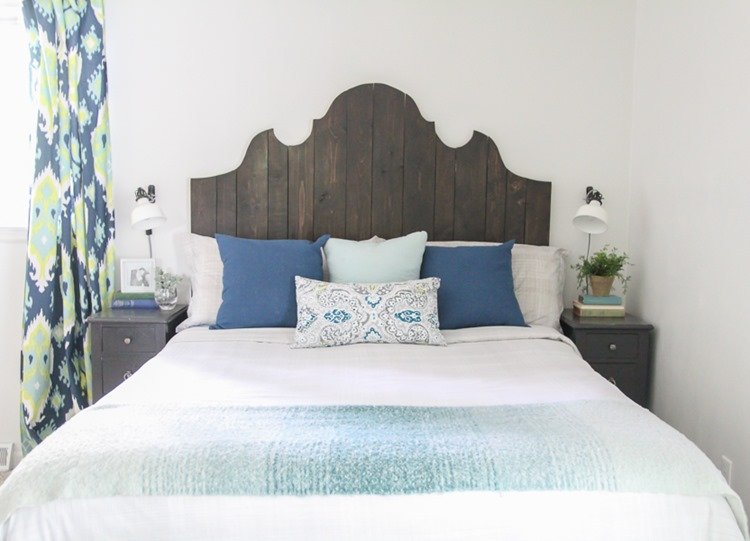
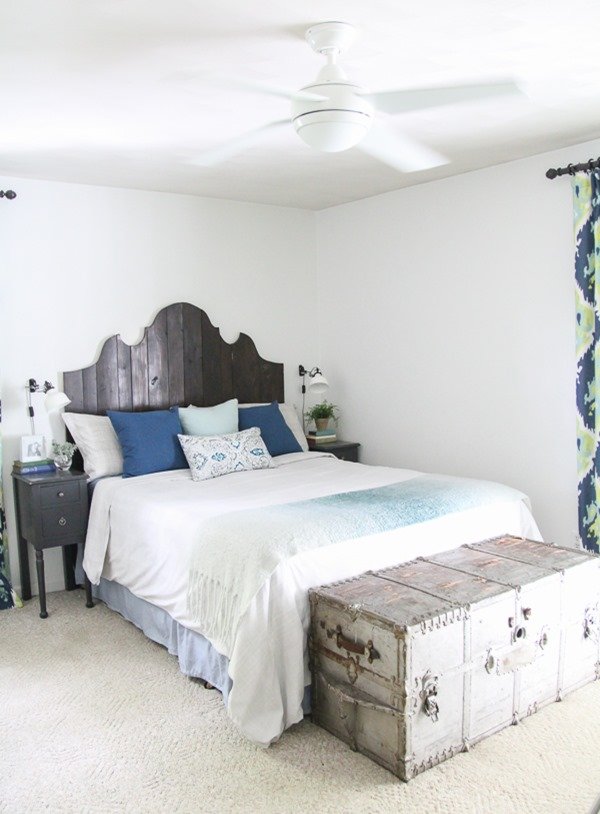
The first thing I did was take stock of what was already in the room that could stay. There wasn’t a ton but I had a neutral duvet cover, a pair of IKEA sconces, and painted nightstands that I knew I could reuse. I also had some bold ikat curtains I sewed back in 2015. At first I was planning to replace the curtains, but in the end I decided to work with them. Floor-length curtains aren’t cheap and I didn’t want to fall into the trap of changing things just for the sake of changing them. And I’m glad I made that decision. I love how they give the space a burst of color and keep it all from becoming too rustic.
Can we talk about that headboard for a minute? It is a DIY project and I am head over heels in love with it. I am obsessed with the combo of the rustic wood planks and the ornate curvy shape and I was so excited to get to use it in this space.
The nightstands were one of the first projects I shared on my blog years ago. I took an old vanity apart and turned it into this pair of nightstands and gave them a fresh coat of paint. And now, almost 8 years later, they are still going strong. And we’ve been using the old silver trunk as a coffee table for years but I recently built a DIY coffee table so the trunk got a new home at the foot of our bed.
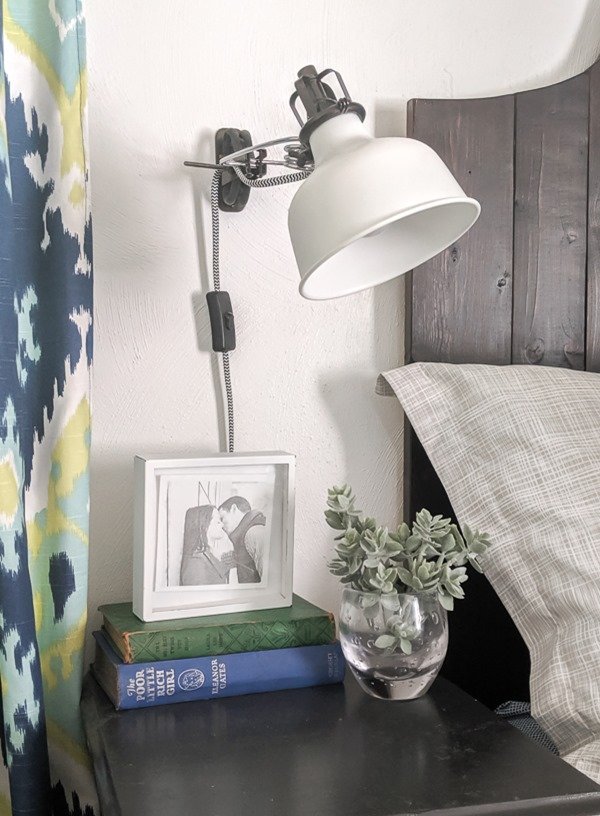
These sconces were in our room before as well. They are from IKEA and were originally gold, white, chrome, and black. I simplified them a bit by painting the gold parts with black spray paint.
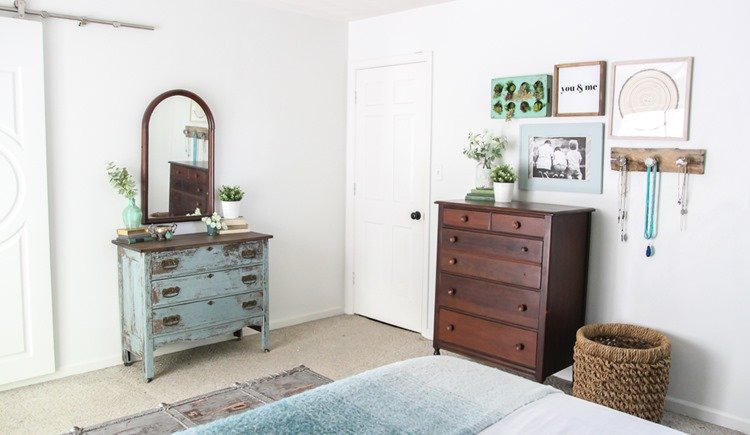
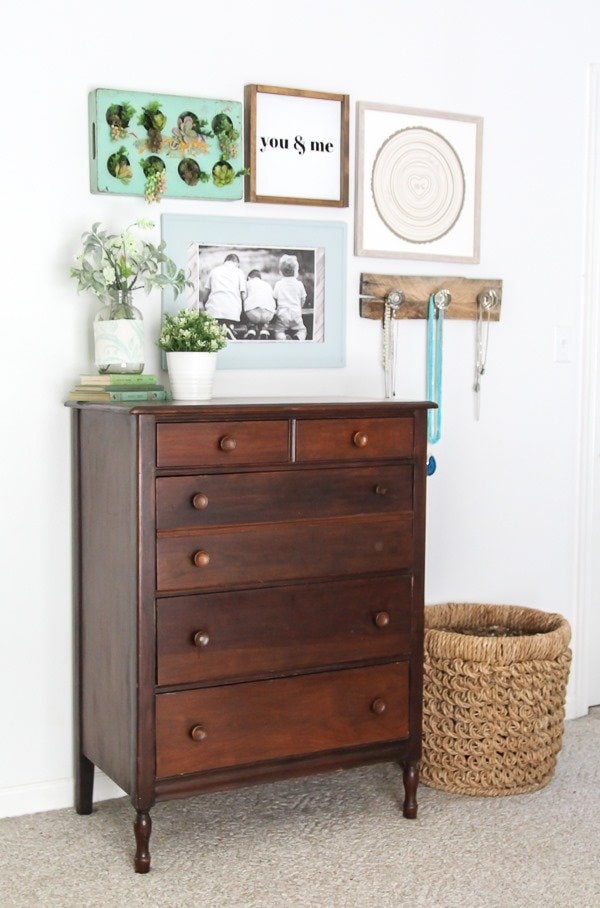
Across from the bed are our dressers. Since we don’t have a walk-in closet in this room, two dresser are a necessity to hold all of our clothes. These two dressers definitely don’t match but I’m okay with that. I love to mix different styles of furniture in a room. (Plus, let’s be real, they were both hanging out in our basement so they were free. Free furniture gets major bonus points.)
I originally brought this cute little dresser home from a relative’s basement. It was pretty dirty and a bit moldy but once I removed the attached mirror and cleaned it up with wood oil, it looks beautiful. It is missing one of the knobs but it’s fine for now until I find a replacement that matches.
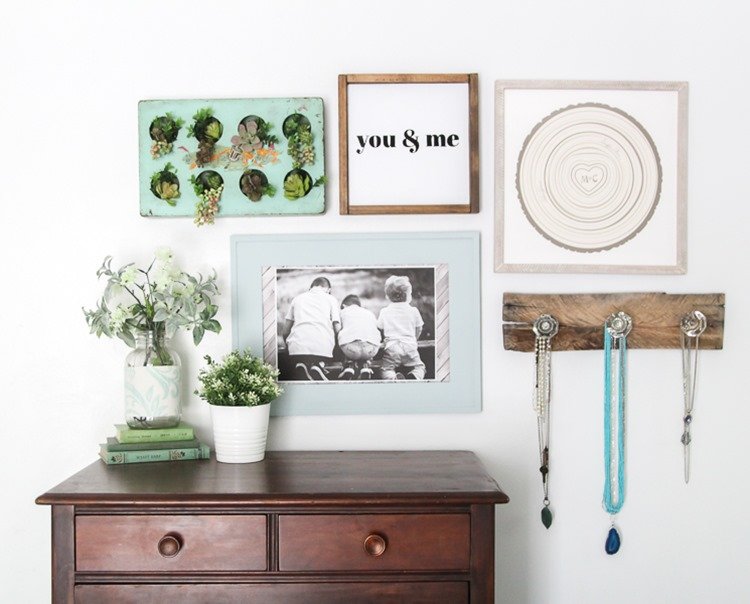
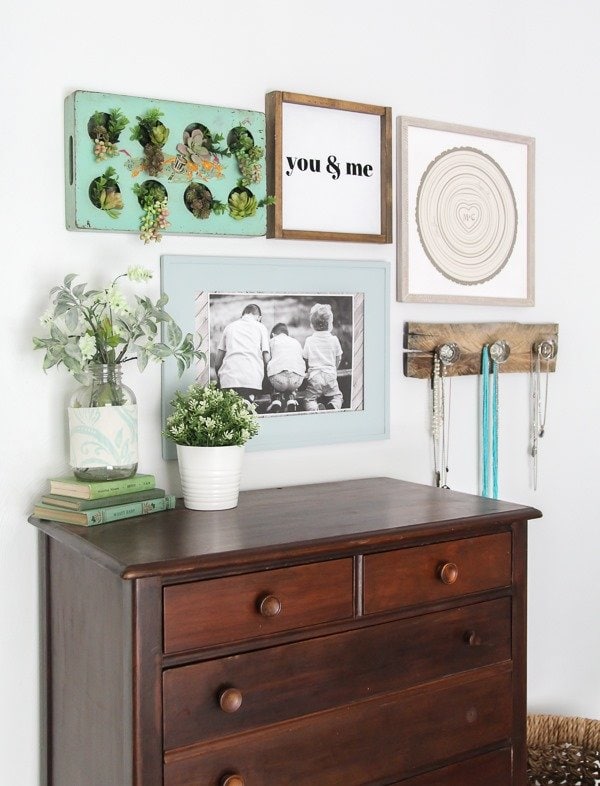
This little gallery wall is one of the my favorite parts of the room. The necklace hanger is a simple DIY project made from vintage doorknobs and a piece of reclaimed wood. The you & me sign is also a DIY and the succulents wall planter is upcycled from a vintage tray. The framed tree ring art I got from Minted several years ago and I painted a thrifted frame for that cute photo of my boys.
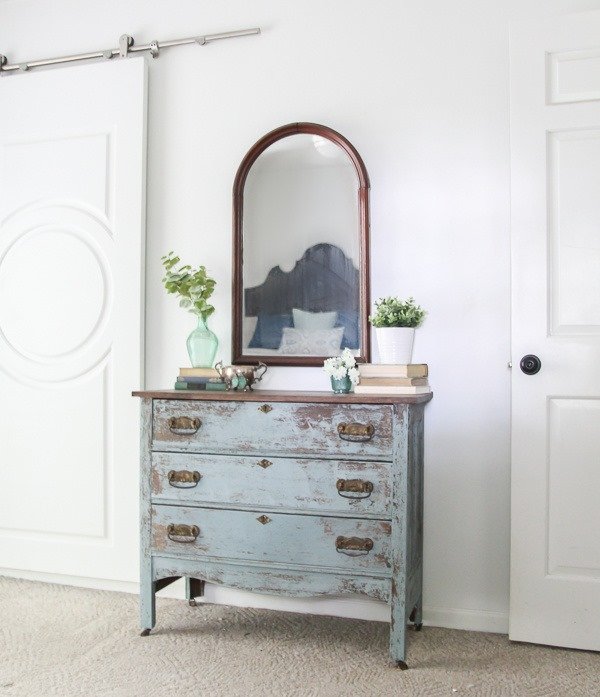
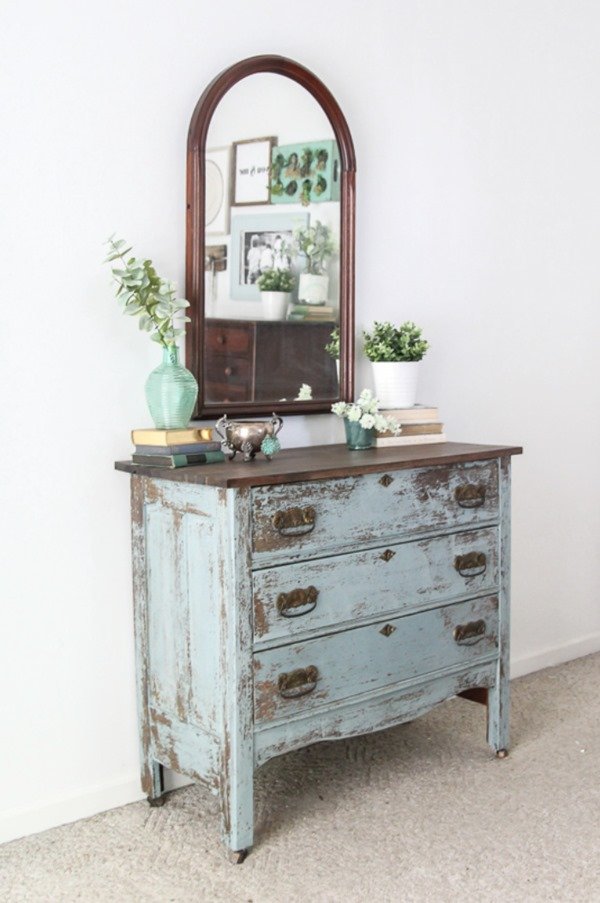
I bought the second dresser awhile ago at a yard sale for only $12! I couldn’t pass it up even though it was in bad shape so it’s been hanging out in the basement until I found a great place for it.
Unfortunately this dresser is the reason I didn’t quite make my goal not to spend any money on this room. It was in really rough shape and was also missing a drawer pull. The paint and a replacement handle that matched the originals cost a total of $25. Not terrible, but definitely not free.
The mirror was another find in the basement stash. I don’t know if it is absolutely perfect for the space, but I do love that little arch.
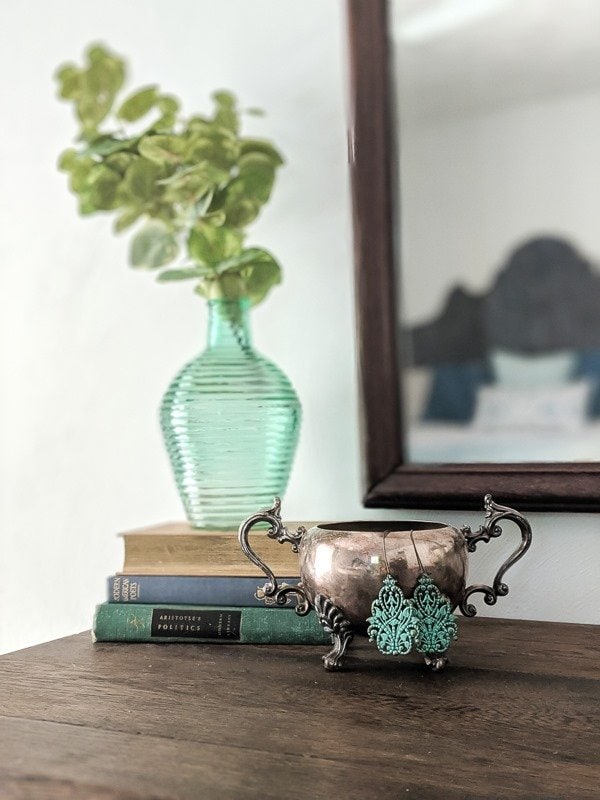
All of the accessories were gathered from around our home. And yes, old books and green plants are two of my favorite things. They are absolutely everywhere in this room.
Final Cost for the whole room: $25!
That is pretty darn good. Now admittedly, I was mostly able to keep the cost so crazy low because I had way too much stuff in my basement. But really that is one of the major secrets to super cheap decorating – finding new ways to use what you already own.
I’ve put together a quick reference list of everything in the room. It includes tutorials for all of the DIY projects and links to the sources of the other items. And since many of the items were thrifted, I linked to similar items whenever possible.
This post contains affiliate links which means if you make a purchase after clicking a link I will earn a small commission but it won’t cost you a penny more. Click here to see my full disclosure policy.
Sources and Tutorials
- Paint color: Bleached Slate by Valspar (I have used this color in almost my entire home and I am a huge fan. It is a great neutral creamy white.)
- Sliding door to master bath: DIY tutorial here
- Headboard: DIY project, tutorial here
- Trunk: thrifted
- Nightstands: DIY project, tutorial here
- Wall sconces: IKEA Ranarp sconces, painted black and white
- Curtains: DIY project using this fabric, curtain tutorial here
- Wood dresser: free hand-me-down
- Chippy blue dresser: thrifted, chippy paint tutorial here
- Arched mirror: thrifted, similar here
- Laundry basket: from World Market
- Succulent wall art: Upcycle tutorial here
- Necklace hanger: DIY project, tutorial coming soon
- You and Me sign: DIY project, similar tutorial here
- Tree cut out art: from Minted
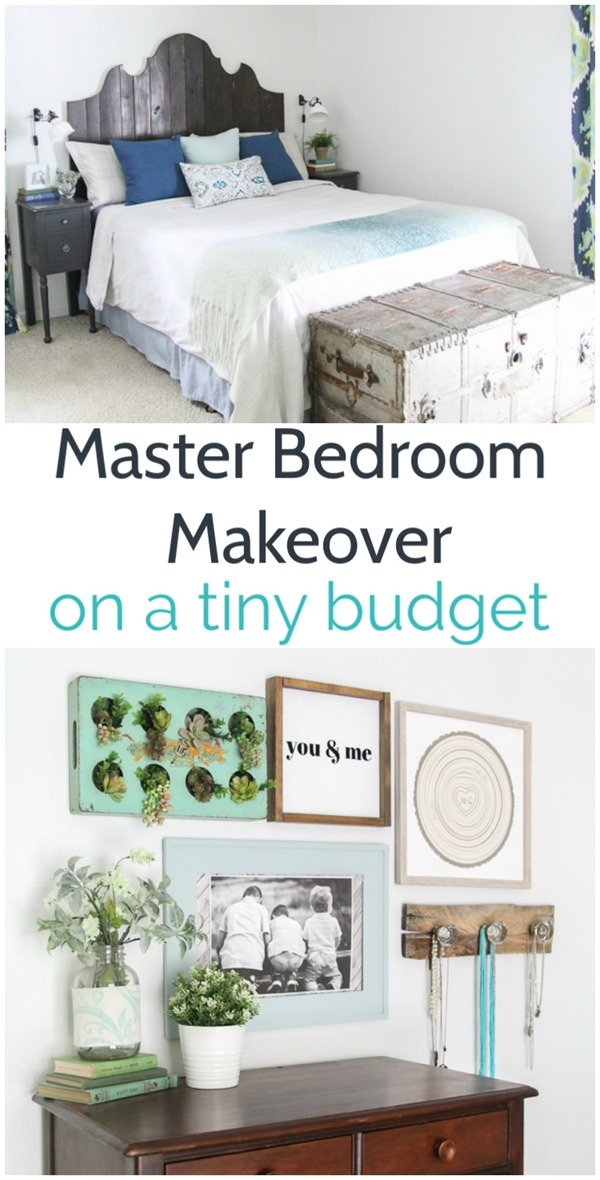
Don’t forget to pin it for later!

Leslie says
Just wonderful!!! Love it all, especially those bold curtains. The curves of your headboard are almost identical to the bed in our guest bedroom. The bed belonged to my paternal grandparents who were married 75 years; bed has a beautiful footboard, too. My last grandparent passed in l992 so I’m guessing the bed is around 100 years old. Thanks for the reveal.
Carrie says
Thank you Leslie. Your grandparents’ bed sounds beautiful – how special that you still have it!
Michelle says
Absolutely amazing! You did a beautiful job. I’m in LOVE with your headboard.
Carrie says
Thank you Michelle! I am too!
Nikki Gwin says
I love it! And I think the mirror is perfect. It ties in the wood dresser with the blue dresser! Great job!
:) gwingal
Carrie says
Thank you so much!
Tracey says
I love the resulting look of your bedroom, especially the bold curtains! But more than that, I love your attitude. Using what we already have leads to far more contentment than blowing a wad of cash on something new and trendy. Well done!
Carrie says
Thank you Tracey! I totally agree with you. I love the satisfaction and challenge of using what I already have. And I also hate to think of all the waste of just replacing everything with brand new every time you want a change!
Mikal says
A little wall color would go a long way…just a few shades lighter than coverlet….check with home Depot or Lowe’s they often have colors that were mixed for customer…but they refused the color…u can purchase these gallons cheap…
Like the headboard…
Carrie says
Thanks Mikal! I actually really like the fresh white walls for now but I do love to look at the mistint paints for great colors whenever I am there.
Trudy says
That’s awesome, you have done a great job,my favorite piece is the dresser you cleaned with the oil,look brand new to me.Keep up the good work that’s inside of you dear.
Carrie says
Thank you Trudy! I was so happy with how that dresser came back to life. No paint needed for sure!
Chris Jaspersohn says
Love your new bedroom, as well as your ingenuity in getting there!
Carrie says
Thank you Chris!
Sarah Alexandra says
Awesome and lovely ideas for the cozy master bedroom makeover o cheaper. The idea really helpful and it was a really great tour for me. Thank you.
Carrie says
Thank you Sarah!
Shana Sensenig says
You truly have a gift for bringing a room together for cheap. Very few of us feel like great decorators but you give all of us confidence that we can do something beautiful with what we have! Thank you for being inspiring!
Carrie says
Shana, that is so good to hear! That is exactly what I hope to do – inspire others to make something beautiful with what they have!
Ruhi Reddy says
Mesmerized with beautiful Master bedroom. Totally loved with the colors. Good Job. Thank you for sharing . :)
Carrie says
Thank you so much!