This cute upcycled house number is an easy and inexpensive way to up your curb appeal. And it is simple to make using a thrifted mirror or picture frame; just look for one with plenty of vintage details.
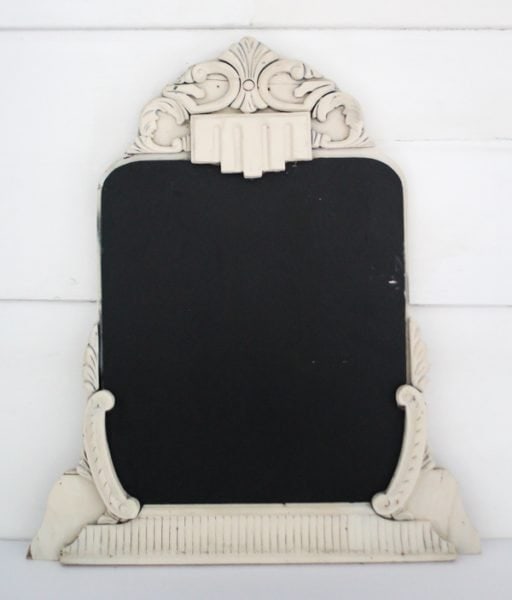
When I first saw this old mirror chalkboard at a yard sale, I had absolutely no idea what I could use it for. I almost didn’t even buy it even though it was a great deal because I’ve been really working on not hoarding all the awesome vintage things. But I really loved the vintage details and for five bucks, I couldn’t pass it up.
When I bought this little mirror, someone had actually already upcycled it into a cute little chalkboard, but the paint job was pretty messy so I ended up repainting the whole thing.
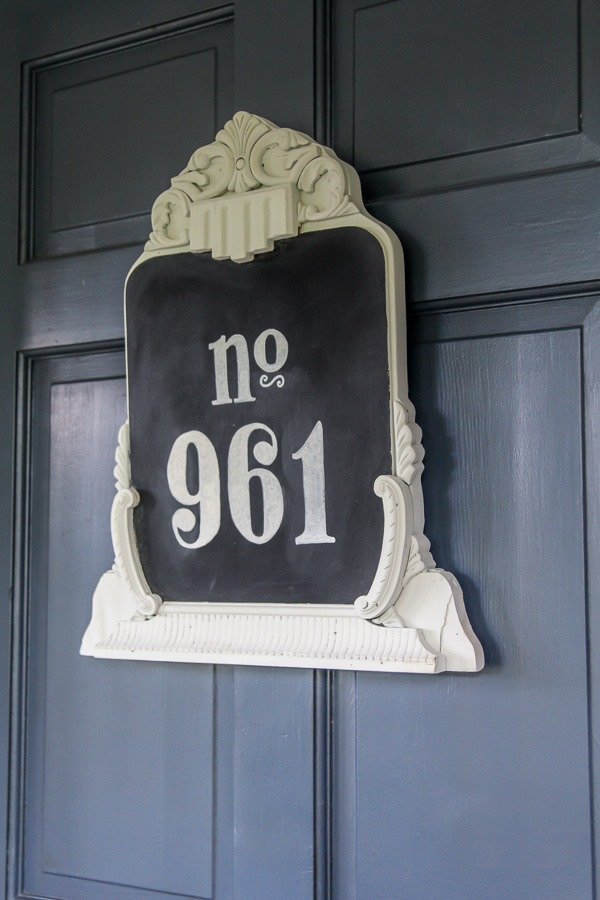
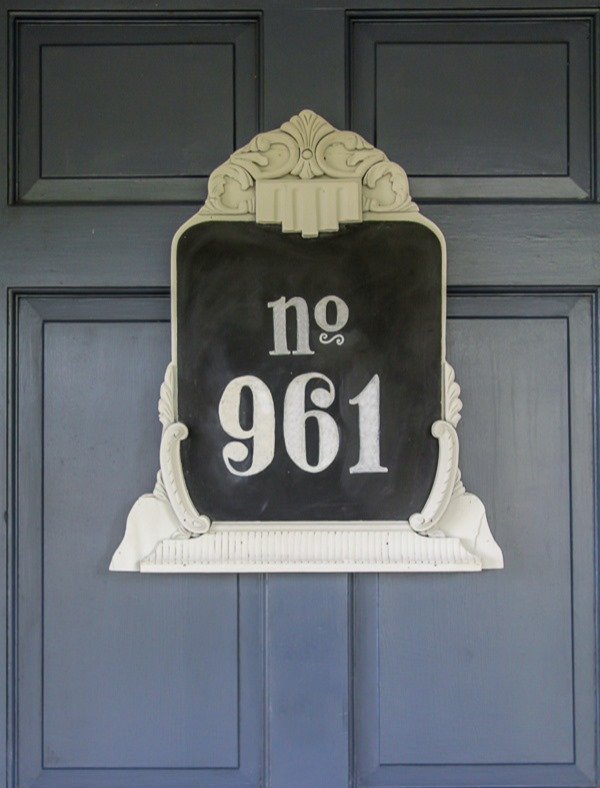
And then one day out of nowhere, I had a brilliant idea. My cute little vintage mirror turned chalkboard was going to become my new house number.
I know a chalkboard house number isn’t exactly traditional, but that’s kind of what I love about it. It is both simple and unexpected, the numbers are easy to see from the street, and it definitely makes more of a statement than your typical house number.
This post contains affiliate links which means if you make a purchase after clicking a link I will earn a small commission but it won’t cost you a penny more. Click here to see my full disclosure policy.
How to Upcycle a Vintage Mirror or Frame into a Unique House Number
Materials
Small mirror or picture frame (thrift stores and estate sales are full of great vintage frames)
Paintbrush
Chalk marker or White Sharpie paint pen
Number stencil (optional) I used this stencil from Amazon.
Steps
Turning an old mirror or picture frame into a chalkboard is actually really easy. If you are using a picture frame, you will simply be painting the glass rather than the mirror.
Start by cleaning the mirror well and then using painter’s tape to protect the frame. (If you are going to be painting the frame as well, you can skip the tape.)
Lightly spray a couple of coats of spray primer on the mirror or glass. The primer is important because it gives the paint something to stick to.
Once the primer is fully dry, paint on the chalkboard paint. Chalkboard paint comes in both spray paint and brush-on paint. Either is fine. I prefer the spray version for small projects like this because it gives a smooth finish without brush strokes. You will probably need 2-3 coats of chalkboard paint to get even coverage.
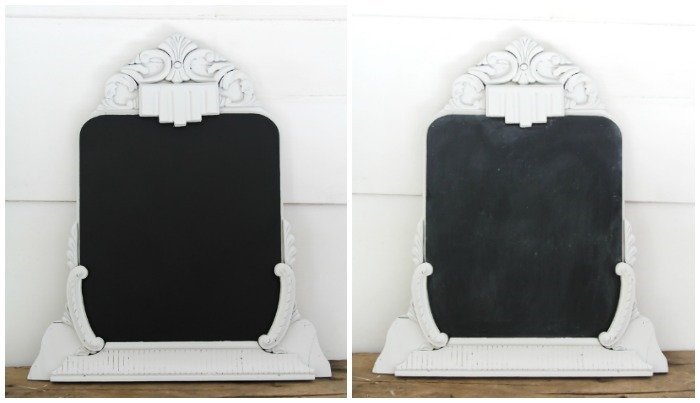
Be sure to follow the directions on your chalkboard paint for seasoning your chalkboard. Most paints say to wait 24 hours after painting. Then rub a piece of chalk all over the chalkboard and wipe it off. This prepares your chalkboard for chalk and also gives it that great chalkboard finish rather than just straight black.
before and after seasoning the chalkboard
When it comes to adding your house number, you have a few choices. Your house number is a big part of your home’s curb appeal and also needs to be easily read from the street, so it isn’t the best time to simply free hand your numbers.
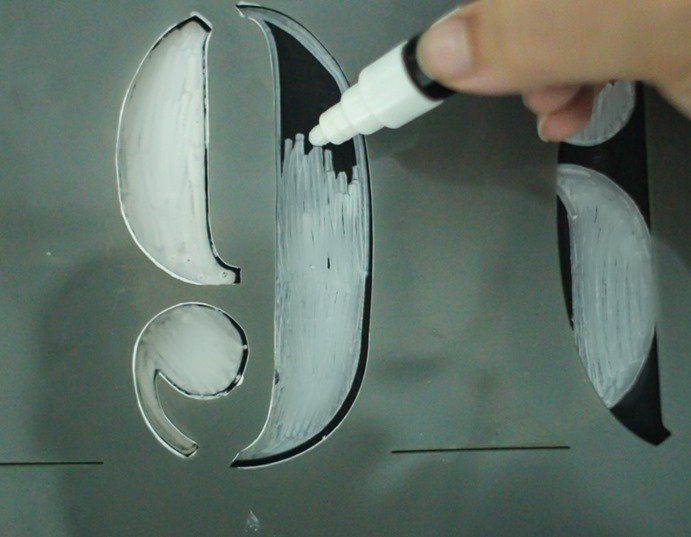
I used this stencil which includes all of the numbers 0-9 as well as several cute ways to write ‘No.” If you really don’t want to purchase a stencil for this, you can also print out your numbers and use chalk to easily transfer them to the chalkboard. If you want more info, the chalk transfer process is explained in detail in this post.
If using a stencil, simply hold it in place and trace the outline of each number with your chalk marker or white paint pen. Then carefully fill them in. Make sure to center your number before starting and try to keep everything nice and straight. You will probably need to go over your numbers a second time with the chalk marker or paint pen to get even coverage.
Chalk markers are different from regular chalk. They give a much cleaner look and unlike regular chalk, only wash off with water. I have had my chalkboard house number up for a few months now and it has held up perfectly. We have a small covered front porch that keeps the rain away from our house number.
On the other hand, if your house number is going to be more exposed to the elements, it would be a good idea to use a white paint pen instead. (I have used quite a few brands of paint pen and have always had the best luck with Sharpie oil-based paint pens.) Of course, you won’t ever be able to erase it and use it for another purpose if you use paint pen which is permanent.
Once your upcycled house number is finished, it is ready to hang. Simply add a picture hanger to the back. I chose to hang mine on our front door, but it would also look great beside your door or anywhere else you would hang a house number.
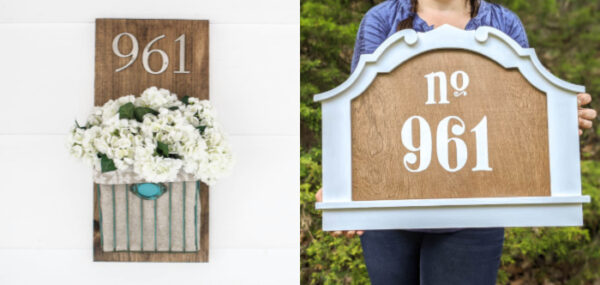
Looking for other DIY house number ideas? I have two more I think you’ll like:
Charming Stenciled DIY House Number
Pin it for later!

Michelle says
I love this! Love vintage markets and yard sales too. You can find the most amazing treasures.
Carrie says
Yes, you definitely can!
Claire says
I’ve been looking for a new way to display the number of my house. I love this idea, it looks fab.
Carrie says
Thanks Claire!
Linda at Mixed Kreations says
What a fun way to display your house number! Original and super cute!
Carrie says
Thank you Linda!
Velma says
Great Job !!!!!!
Carrie says
Thank you Velma!